There has been a lot of excitement lately with the new iPhone 6 and iOS camera improvements from Apple. Even though I am not upgrading from my iPhone 5, I am enjoying using the new features that come from the operating system update. Smartphones are really quite amazing in what the programmers can add and change without having a change to the hardware. As a photographer that is used to having more control over the exposure, I like the ability to have more controls. Previously, you hold your finger over a part of the image to set an area to meter the exposure. This really helps to get some control over the brightnes in the photo.
Monterey, California
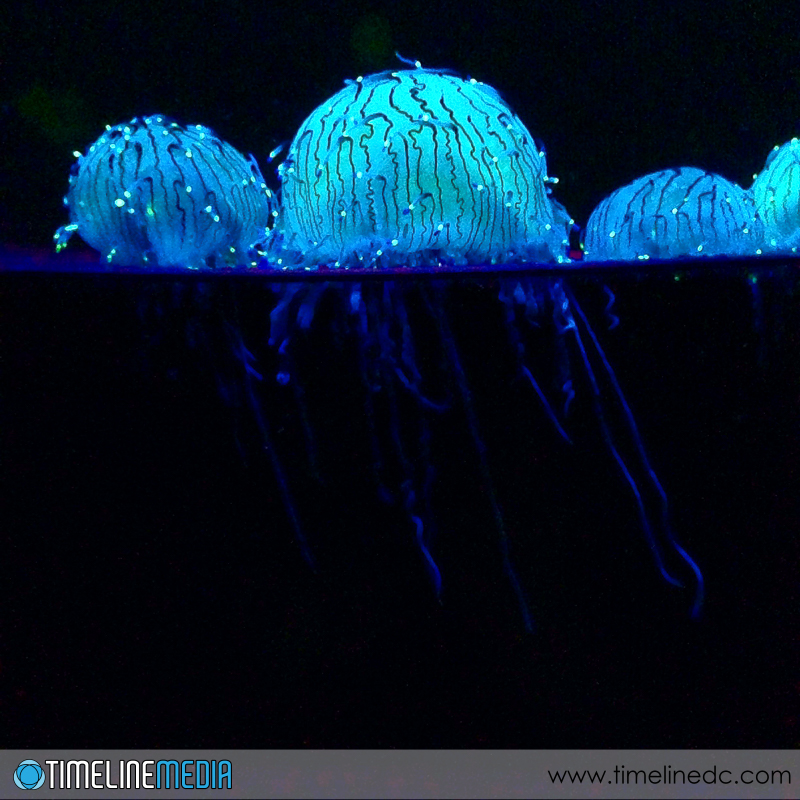
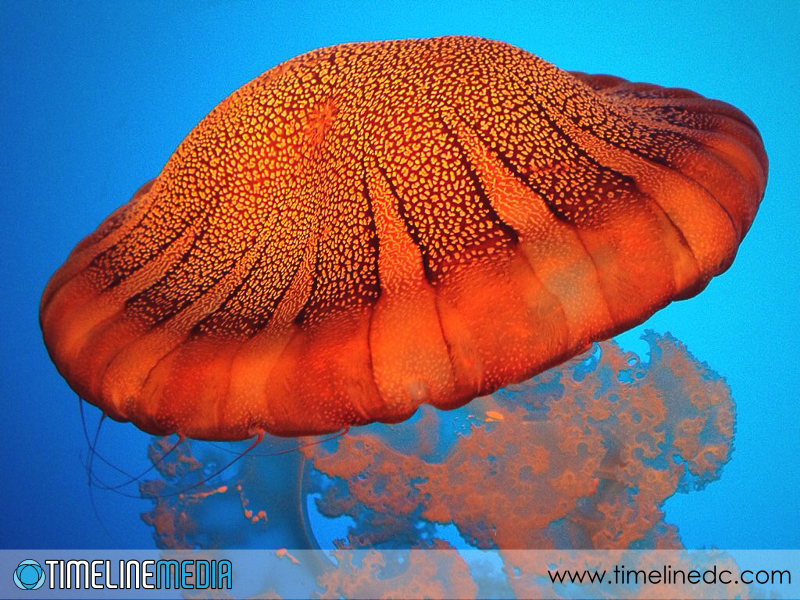
In the new iOS 8 version of the camera, you can still specify a point to get a meter reading. Now, an additional control has been added. To the side of the box that pops up after you select a metered area, there is a sun icon that appears. You can then move that sun up to increase the exposure, or down to decrease the exposure from that point. This really came in handy as we walked through the amazing displays at the Monterey Bay Aquarium.
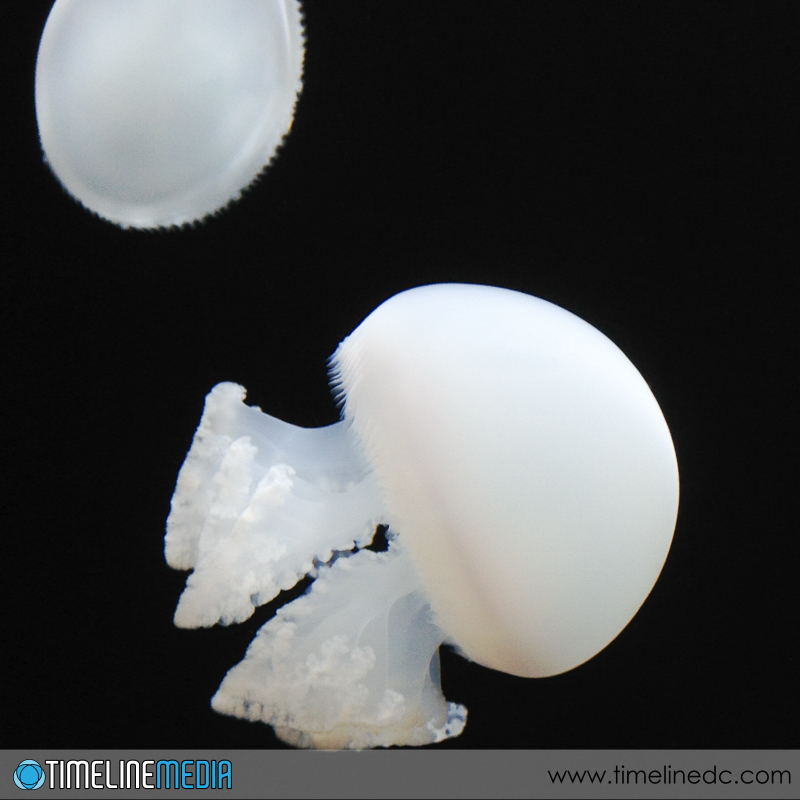
The glass that they use for display is so clear. You can put your smartphone right up to the glass without getting bad reflections through the lens. They also control the amount of stray light coming in with their darkened rooms,. This really puts the animals front and center. With the new exposure controls, I could ensure that the meter readings were taken from the bodies floating in the water, then took down the exposure. This helped to make a faster shutter speed to keep the subjects sharp, and helped to pop them out of the background. This was probably my most re-tweeted image yet!
TimeLine Media – www.timelinedc.com
703-864-8208
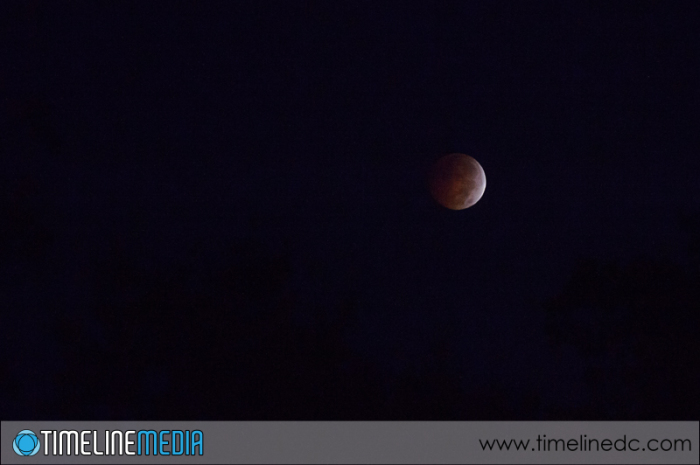 Early-morning-lunar-eclipse-©TimeLine-Media
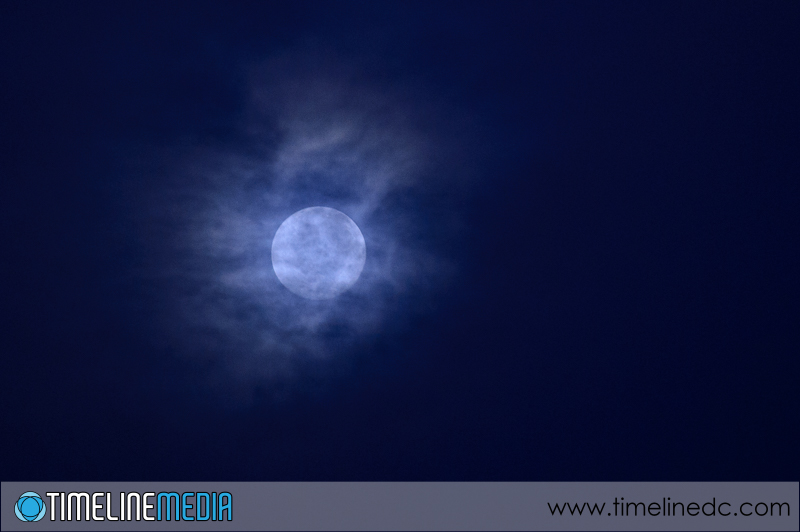
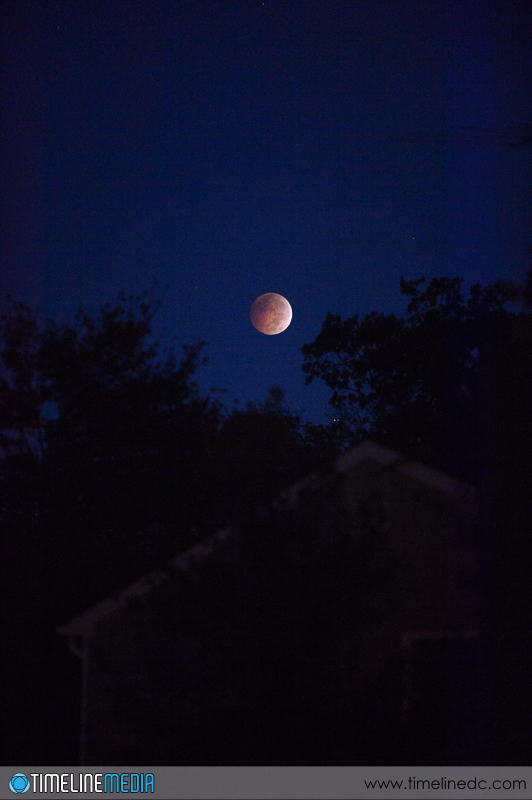
