Posts Tagged ‘technique’

Zoom Your Flash! – Tech Thursday

©TimeLine Media - motorcycle action photo with zoomed flash head

Of course you can zoom your lenses, but did you know you can zoom your speedlight flash? Depending on the model that you have, your flash head can be moved internally. On the Nikon SB-910, the flash head can be zoomed from 24mm to 200mm – a much larger range than their previous model, the SB-800 which had a range of 24mm to 105mm.

Speedlight Features

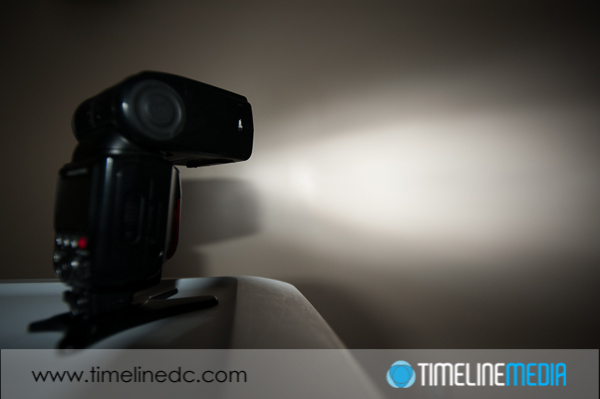
If you have this flash connected to modern Nikon cameras, the flash and the camera will talk to each other. They will automatically set the zoom of the flash to match the focal length of the lens that you are using by default. This is a great feature! As you use a longer focal length, the flash head will automatically zoom so that more flash power is given where you need it. Here are some example photos showing the difference in the light produced by the flash at different zoom lengths:

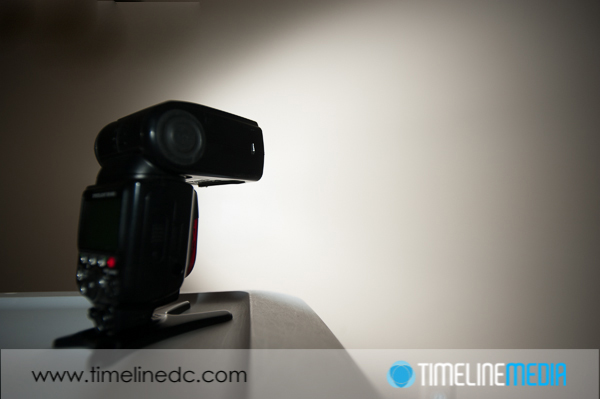
©TimeLine Media - Nikon Speedlight set at 24mm
©TimeLine Media – Nikon Speedlight set at 24mm

This first photo has the flash zoomed out to 24mm. It is giving it’s largest spread of light against the wall. If you need to cover more area with the flash, this is will cover a wider area. This also corresponds to a wider area seen by a camera lens set at 24mm.

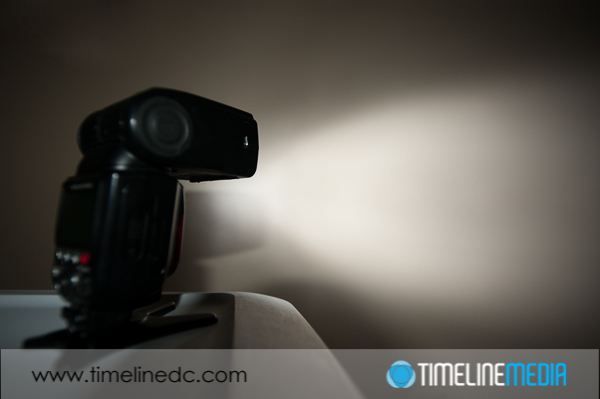
©TimeLine Media - Nikon Speedlight set at 70mm
©TimeLine Media – Nikon Speedlight set at 70mm

At 70mm, the light beam becomes more focused. There is not as much spread of light up and down from the flash. The more you zoom in with your lens, the less that you need the light to be spread out across the frame, so this only flashes what you need without worrying about the areas that are not going to be seen in camera.

©TimeLine Media - Nikon Speedlight set at 200mm
©TimeLine Media – Nikon Speedlight set at 200mm

Zooming Flash

The tight beam of light that comes from the flash at 200mm is the most extreme setting. If you are zoom out this far with your lens, there will be a corresponding small area that you need to iluminate that far from the camera. Having these options for you gives you creative possibilities to focus light. You can manually set the zoom on the flash apart from the focal length of the lens. This works well to create more dramatic portraits just by zooming the light you are already carrying! Try it next time and let me know how it goes.

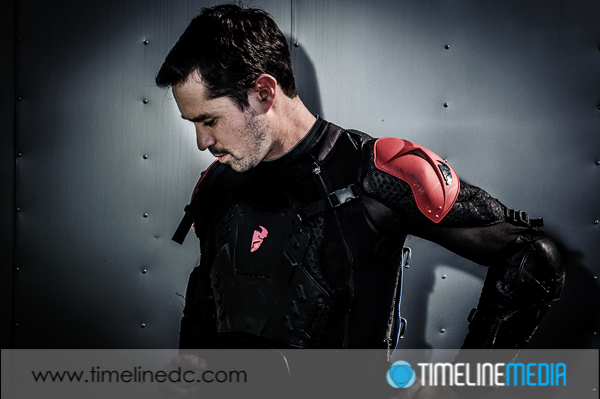
©TimeLine Media - Racer suiting up
©TimeLine Media – Racer suiting up
©TimeLine Media - motorcycle action photo with zoomed flash head
©TimeLine Media – motorcycle action photo with zoomed flash head

TimeLine Media – www.timelinedc.com
703-864-8208

Square Photo Sunday

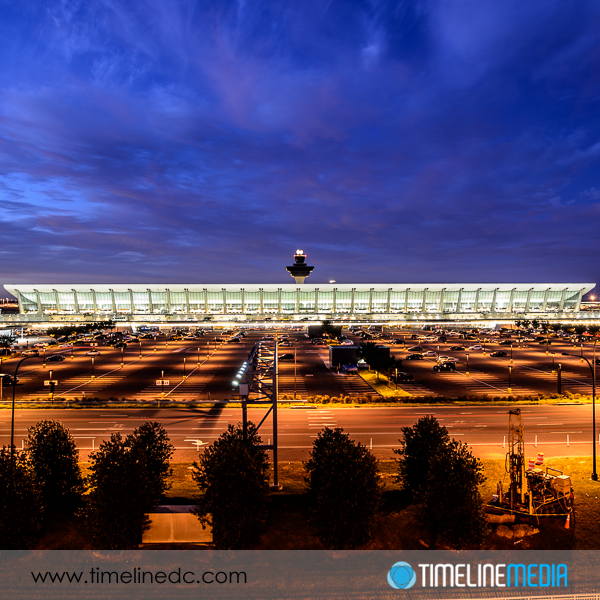
©TimeLine Media - Duller Airport from Garage 1

Instagram has resurrected a trend in photography that has not been as popular since the medium format hey day. Medium format refers to the size of the film that was used in the camera. Comparatively, the 35mm film, the most popular in consumer cameras, was a small format compared in size to 120/220 film of medium format cameras. The film is 6cm in width – considerably larger than the 24 x 36mm size of 35mm film. Popular medium format cameras at the time used the 6×6 format when making images. Hasseblad, Bronica, Rolleiflex, produced a 6×6 image when using the 120 film.

©TimeLine Media - Duller Airport from Garage 1
©TimeLine Media – Duller Airport from Garage 1

There are some advantages to a square image in using these cameras. Due to the symmetrical format of the frame, there is no need to change the orientation of the camera. The photographer does not have to decide if the frame needs to be wider to show an expansive landscape, or taller to get more of a person’s body in the frame. With smartphones, this can be very helpful.

The Instagram app uses the bottom part of the screen for making options and editing decisions. The top part is cropped to a square to fit the image. With this setup, you do not have to move the smartphone screen to take your image – it is always correct with your finger over the button to take your image. Just like with the camera, you no longer have to switch orientations. Follow me on Instagram here if you would like to see my attempts at the square format. There is a mix of images taken with my DSLR, and some taken with my smartphone, but I try to keep them all square!

©TimeLine Media - Ms. Maryland 2013
©TimeLine Media – Ms. Maryland 2013

TimeLine Media – www.timelinedc.com
703-864-8208
White Balance for Skin Tones – Tech Thursday

©TimeLIne Media - people photo with a warmed white balance

Cool. Warm. These descriptive words for temperature is used widely in photography. From looking at other amateur photographers wanting to improve their photos, this is one of the first places I look at this time. Back in the film days, the color temperature of your images would have been built into the film and processing that was used in development of the negatives of slides. Today, however, the temperature of your photos can be set right in the camera, and changed as needed. In your camera settings, you look to the White Balance settings to set the color temp.

Post Processing

There are presets that manufacturers use to separate different light temperature. From cooler to warmer, the presets are usually Incandescent, Tungsten, Daylight, Flash, Cloudy, Shade, but the settings on yours may differ. In some cameras, there is also a “K” setting which stands for Kelvin temperature. With this setting you can finely tune the temperature by selecting the Kelvin setting of the light you are shooting. The scale will go from something in the 2500K range on the cool side, to 10000K on the warm side. Take some example photos, and you can see the changes as the temperature goes up in the frame. Skin tones are where you can see the changes the most:

White Balance Example

©TimeLIne Media - White balance for skin tones
©TimeLine Media – White balance for skin tones

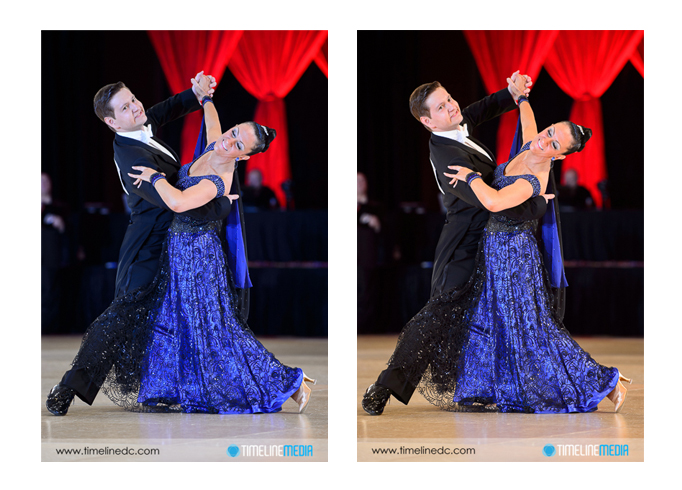
The photo on the left is set to “Auto” in the White Balance setting. For me, the skin tones are too “cool” for my taste. Moreover for anyone that has ever been to a ballroom dance event knows that tanner is better for skin tones! The same is true when editing any portraits or group shots. Skin tones always look better warmer. This is an almost universal rule that I have learned in my photography. People look healthier, and more natural even if the skin tone does not exactly match the tone in real life.

The automatic settings in cameras or software may not give skin tones their best look. Comparatively, observe the variety of photos you come across on social media, or in your own collection, and see how they can magically be improved with adjusting one setting! Let me know how this works for you! Especially let me know if you have any other questions on how to set this on your own cameras or software. Although it is a quick fix in post, it can make a large difference!

©TimeLIne Media - people photo with a warmed white balance
©TimeLine Media – people photo with a warmed white balance

TimeLine Media – www.timelinedc.com
703-864-8208
1 13 14 15 16 17 19