August 2013 archive

Clarity – Tech Thursday

©TimeLine Media - enhancing details in hair with the Clarity slider

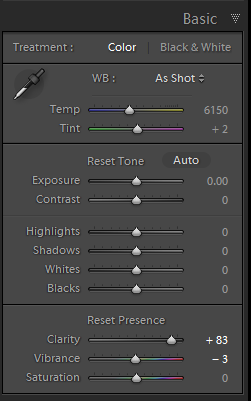
My photographic style is constantly evolving when it comes to my portrait and personal work. Since I have started shooting professionally, my style changed quite a few times. Whether this is normal for a photographer, I do not know! It seems like my style changes as software updates brings functionality to RAW processors. With each new feature,  I try what new changes I can make to photos, and implement them to more shoots. Also, my editing eye gets fatigued in putting the same effects to photos which is probably why I do not have many Lightroom Development presets any longer. My favorite slider that I am using more and more is the Clarity slider under “Presence” in the Develop module.

Adobe Lightroom - Develop Module Basic panel
Adobe Lightroom – Develop Module Basic panel

Adobe Lightroom

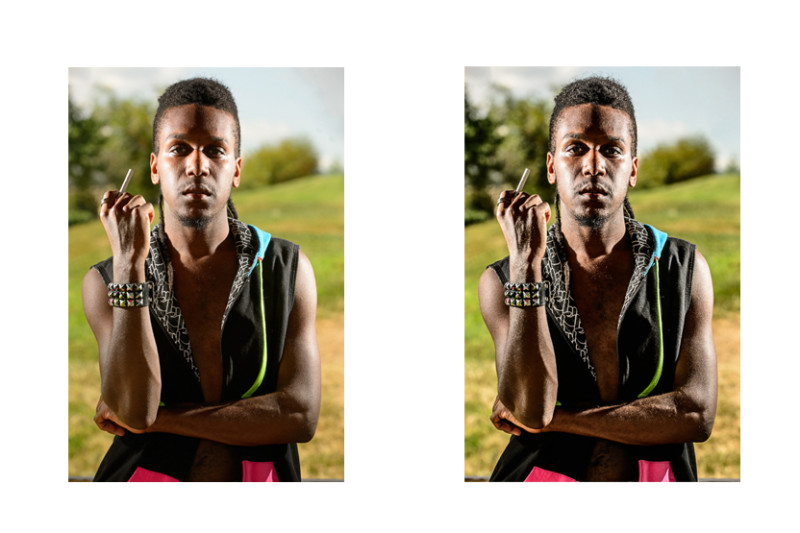
Clarity is a tool that has long been a part of Lightroom, but I have not used it much until version 4. It is a mid-tone adjustment which when applied to portraits, can give images a crisp edge that makes it look sharper overall when the value of the slider is increased. There is a contrast adjustment component to this slider that really focuses on edges as opposed to the entire frame making it less harsh than the Contrast slider when pushed to the limit. This works especially well with male portrait subjects or landscapes. On the other end of the scale, pushing the Clarity slider down will decrease edge sharpness and will soften edges. This was can easily be overdone resulting in a vaseline-on-the-lens look from vintage television programs.

©TimeLine Media - Clarity slider example
©TimeLine Media – Clarity slider example

For the image above, the image on the left is with the default settings out of the camera. The image on the left is the same image with the Clarity slider adjusted to +83. It gives a grittier more edgy contrast that brings out more details in the portrait subject.

Pet Portraits

©TimeLine Media - enhancing details in hair with the Clarity slider
©TimeLine Media – enhancing details in hair with the Clarity slider

Just like every other slider that you can use on an image, it can be overdone. Just move the slider until you can see the Clarity effect start to show in hair, or around the eyes, then stop moving. For the most part, you can push it all the way to 100 without it having it destroy the photo, but it may become a muddy mess with dark areas that are crushed to nothing, and having it creep to areas that you do not necessarily want too dark. If printing the images, I use the default output print sharpening settings after adjusting sharpness with the Clarity slider. I have been pleased with the results so far!

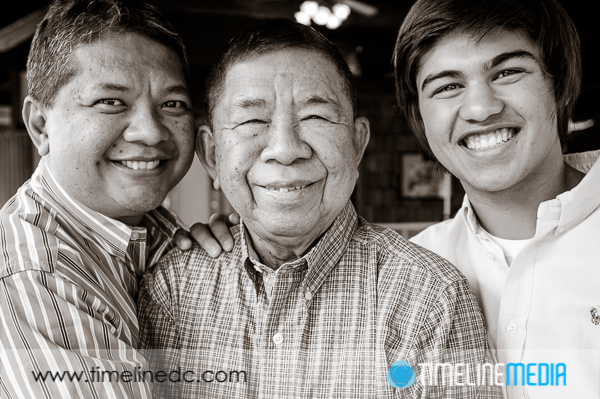
©TimeLine Media - Portrait
©TimeLine Media – Portrait

TimeLine Media – www.timelinedc.com
703-864-8208

Selfie

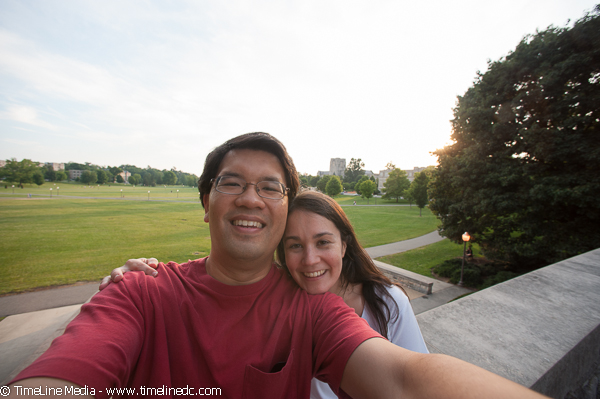
©TimeLine Media - self portrait

This photography term has become popular with the explosion of social media in the last few years. Back when film was the more popular medium for photos, I only saw a handful of instances where people made self-portraits with their cameras. Most of these would not be in focus. Or the subjects would not be in the frame, which would mean a wasted frame from your roll of film. Each frame was thought out more back then. With this in mind it would not be wise to use these for “throw-away” images that you attempt without looking through the viewfinder at the back of the camera.

Turning the Camera Around

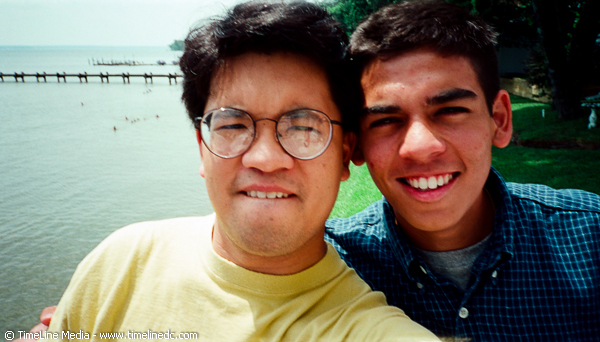
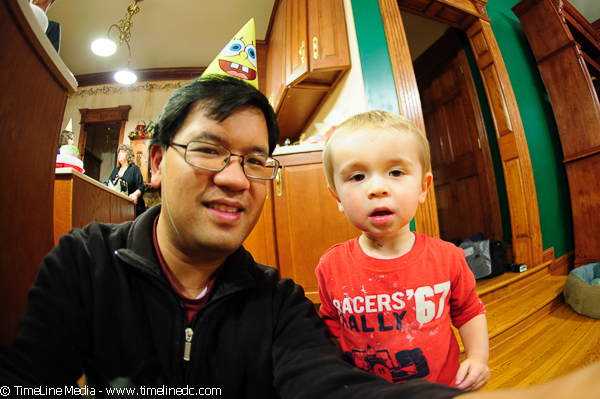
I clearly remember the very first time I ever tried a “selfie”. It was at a big transition time in my life – just after college, and during the time when family was in town to pay final respects to my father. He had recently passed away, and we were surrounded by so many family and friends. It was a time where many photos were taken, and many trips were made to the drug store to get enlargements and copies. While taking photos with family outside, I turned an Advantix film camera (a graduation gift from my girlfriend’s mom) to me and my cousin, Vic. It is hard to take a bad photo of Vic – a talented singer that is used to working in front of an audience. For my first time, it actually worked!

©TimeLine Media - first "selfie"
©TimeLine Media – first “selfie”

I’m glad it turned out – so I kept trying.

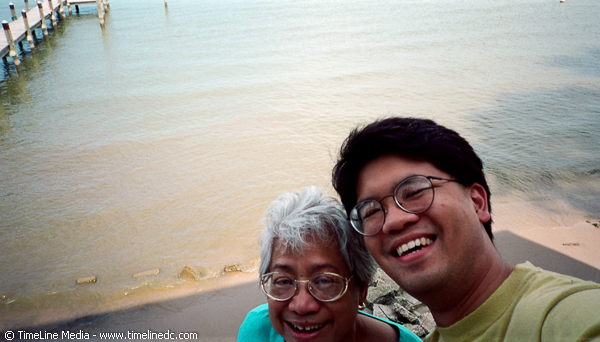
©TimeLine Media - self portrait
©TimeLine Media – self portrait

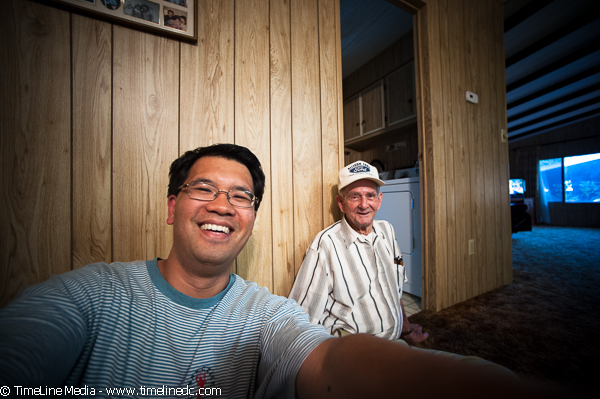
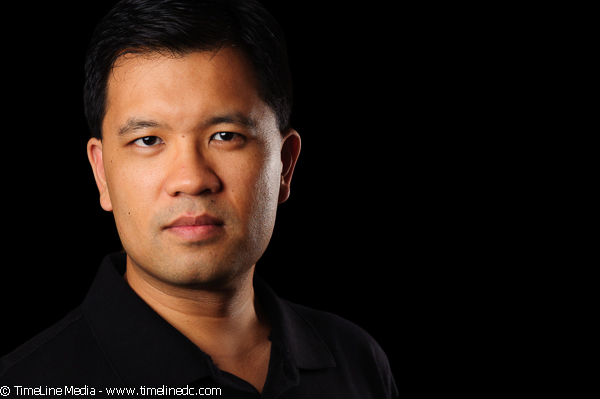
With digital, I still take selfies. I do not own a mannequin head that photographers use test lighting, so I just put myself in the scene. I laugh like a madman at myself sometimes especially considering no one else is around. Thankfully it has helped to make shoots go smoother once the subjects arrive, and has helped me to be a better photographer by experimenting with a model that won’t stop posing until the shot is perfect.

©TimeLine Media - self portrait
©TimeLine Media – self portrait

Large Camera Selfies

©TimeLine Media - self portrait
©TimeLine Media – self portrait
©TimeLine Media - self portrait
©TimeLine Media – self portrait
©TimeLine Media - self portrait
Author self-portrait ©TimeLine Media

TimeLine Media – www.timelinedc.com
703-864-8208
Dancer Portrait Session

©TimeLine Media - photography portrait session

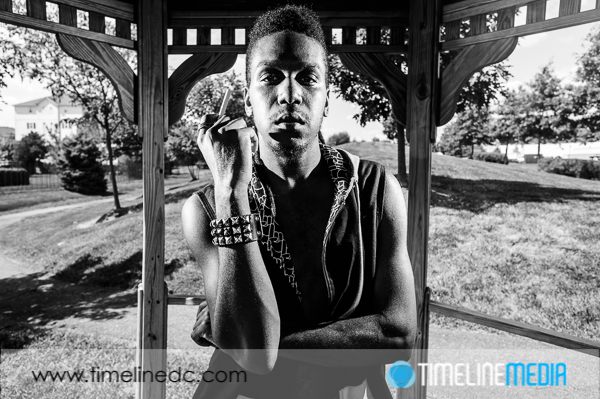
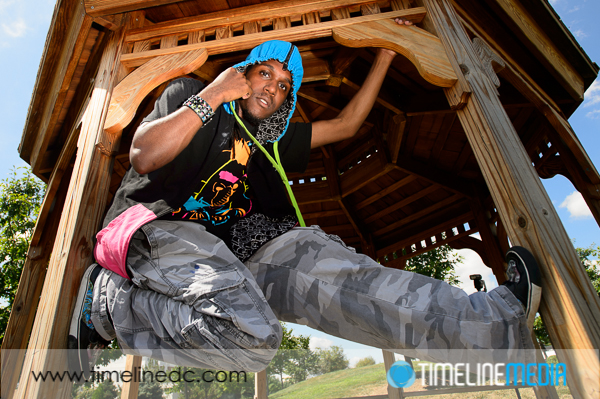
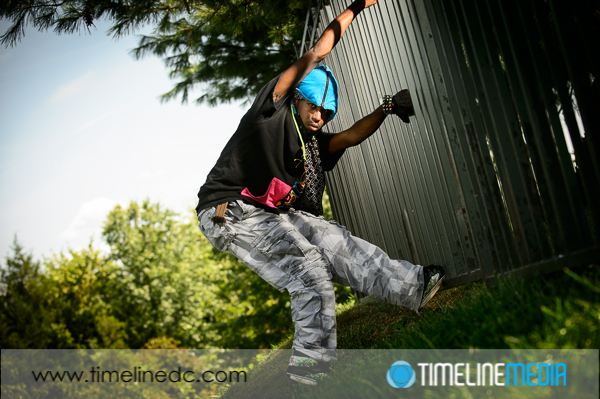
Recently, I have the opportunity to photograph a ballroom dancer, Tyrone, in a portrait session. He is not only an instructor in ballroom, but he also does hip-hop and contemporary dance which makes for some great photos. In this nice neighborhood, it was a challenge to find a background that was appropriate for the usual grungy backgrounds that accompany this type of dance. Tyrone was a great subject climbing into a tree to make it look like a setting much different than the suburban park that we were shooting. Being in a tree, and his clothing really made for a changing the setting with limited resources.

Outside Portraits

©TimeLine Media - photography portrait session
©TimeLine Media – photography portrait session

Then we found a nearby gazebo that he used to display his dance moves. I used the gazebo to try to get some nice even shade for photos, then added the flash to fill him in the frame of the structure. I also experimented with the flashes as hard side lights. Punching these up in post processing made for some interesting portraits that work better with male subjects. With the photos where he was hanging at one side of the gazebo, I used a super wide angle lens to emphasize his stretched frame making him look longer. I was trying to work the setting that we had to get a variety of photos.

©TimeLine Media - photography portrait session
©TimeLine Media – photography portrait session
©TimeLine Media - photography portrait session
©TimeLine Media – photography portrait session

The last section we went to was against a fence lining a walking trail. Fences always provide leading lines to point to your portrait subject, but I was looking for something different. Using the flash, I happened upon a happy accident. I was hoping that placing the flash on the other side of the fence would make for some sharp repeating shadows that would fall on Tyrone. This did happen a little, but the reflective paint on the slats of the fence created hard reflections against each other which focused the light. This made a nice vignette to light that I could use in the portraits. This is definitely a new trick that I will have to remember for future shoots!

©TimeLine Media - photography portrait session
©TimeLine Media – photography portrait session

TimeLine Media – www.timelinedc.com
703-864-8208
1 2 3 4 5 6 11