Archive of ‘Personal’ category

Milwaukee Art Museum

Santiaga Calatrava

My father was an artist. He was trained and worked as an architect, but first and foremost, I remember him as a visually creative person. He had a talent for translating his vision to paper. Overall, I came to appreciate as I saw his drawings be transformed into built structures! He would start with small sketches in the first place. Most would be small details, or sections that he was working out in his mind. For example there would be a staircase, two converging walls, or placement of doors. The changes would be made on translucent tracing paper where he would make edits on different layers, and flip back and forth to see differences.

When things became more formal, the paper would be filled with more numbers – measurements, and math that would make sense to engineers and construction managers. I always thought of this as the transition between just doodles on a page, to a space that will eventually be built. This came out of a blank piece of paper! I always come back to this space when seeing an amazing building like the Calatrava addition to the Milwaukee Art Museum.

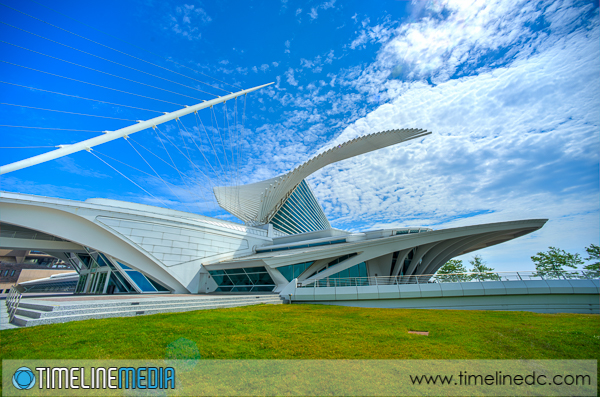
Calatrava addition to Milwaukee Art Museum - ©TimeLine Media
Calatrava addition to Milwaukee Art Museum – ©TimeLine Media

Museum Interior

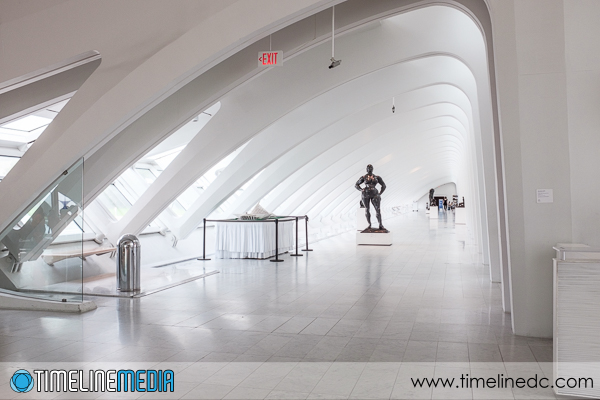
When we walked through the building, my mind could see my dad looking from the floor to the ceiling, explaining to me some engineering or design detail. His design aesthetic was definitively contemporary, clean lined, and his favorite structures all looked like they were from the future.

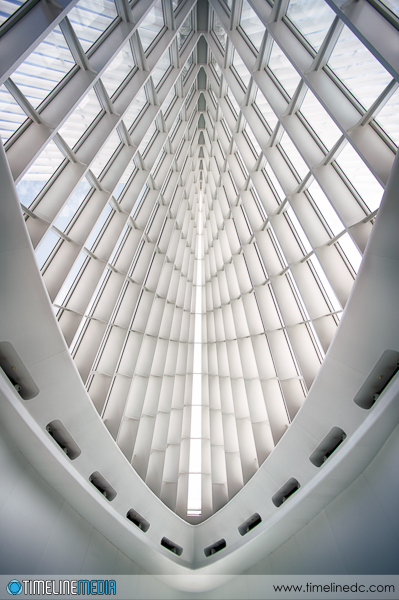
Interior of Caltrava addition - ©TimeLine Media
Interior of Caltrava addition – ©TimeLine Media

This would have been his style! Inside there were poured concrete structures that did not see to have a straight edge on them. The repeating patterns of the columns inside looked like perfectly formed bones. This form continued both inside and out.

Interior of Caltrava addition - ©TimeLine Media
Interior of Caltrava addition – ©TimeLine Media

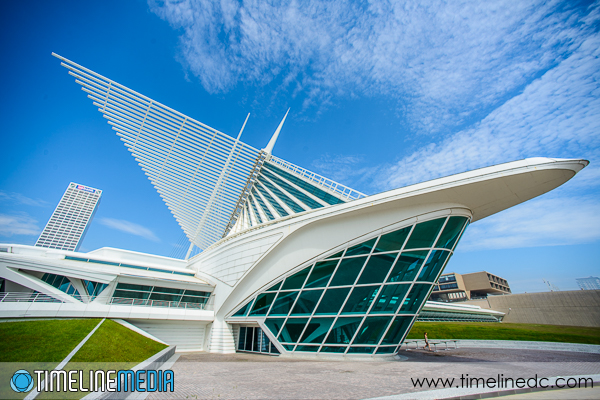
Outside was a roof made of steel fins that opened out like a sail for a ship going into Lake Michigan. The sail will open when the museum is open, and close overnight. This is a place my father would have taken us on a family vacation. I don’t know if he would have taken as many photos as I did, but I suppose that is my outlet!

Exterior of Caltrava addition - ©TimeLine Media
Exterior of Caltrava addition – ©TimeLine Media

TimeLine Media – www.timelinedc.com
703-864-8208

Milwaukee Buildings

City Park

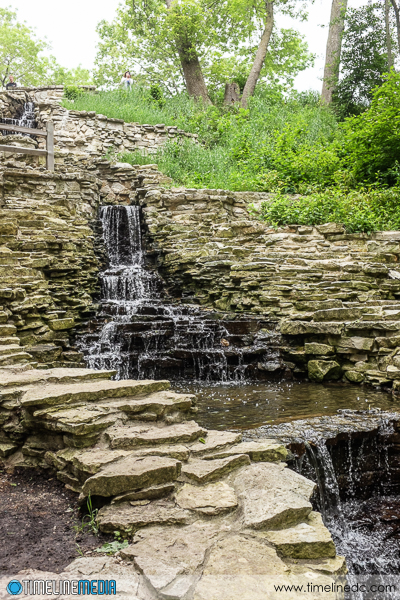
The last few posts have been describing some of my travels through the city of Milwaukee. It has a lot of photogenic landscapes with the tall buildings, historic monuments, and natural environments that the parks, lake, and river provides to visitors. A few years ago, the park planners even put in a very beautiful man-made waterfall that beautifies a water drainage way from the park to the lake below:

Lake Park waterfall - ©TimeLine Media
Lake Park waterfall – ©TimeLine Media

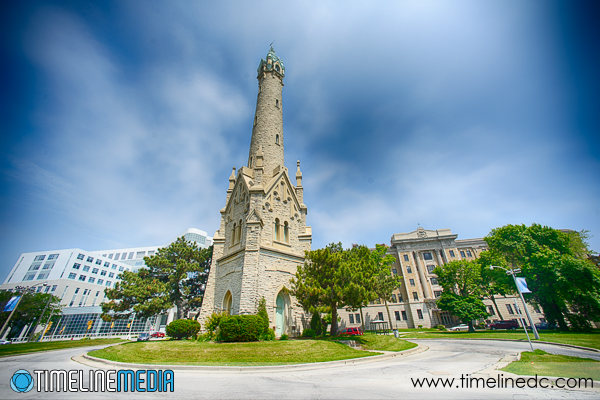
Nearby, we spent some time by the North Point Water Tower. Situated high above Lake Michigan, it is a beautiful Victorian tower that contains a 135-foot-tall standpipe that helped to being clean water to the city from 1874 until the 1960s. A traffic circle now surrounds the tower which makes clean photos easy to make from many sides.

North Point Water Tower - ©TimeLine Media
North Point Water Tower – ©TimeLine Media

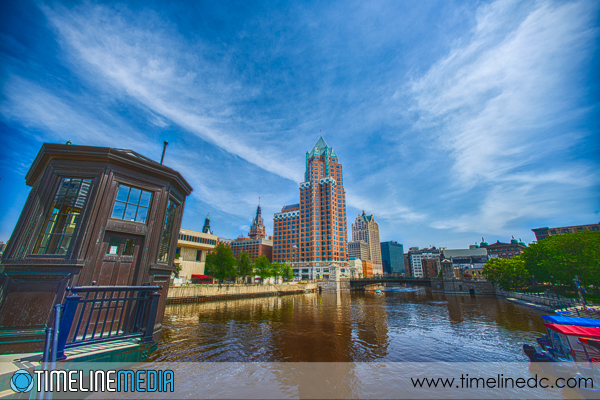
Downtown was also a really cool place to take photos. We ran into other photographers that were walking along the 3-mile River Walk that follows the Milwaukee River behind many restaurants, bars, and residences. We had a great time seeing all the people starting their weekend fun by meeting friends after work. There was lots of boating activity from small catamarans, to larger dinner-board cruise ships.

River Walk

River Walk, Milwaukee, WI - ©TimeLine Media
River Walk, Milwaukee, WI – ©TimeLine Media

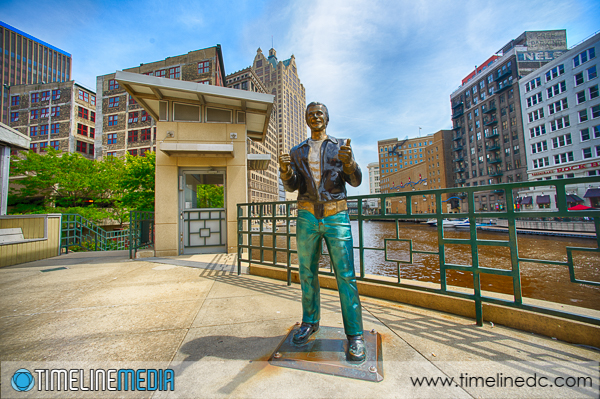
We walked through the Historic Third Ward with their boutiques, bars, and the Public Market. On the way back up the River Walk, we also stopped by to see the Fonz! He has a photogenic spot by the river – he could probably jump over shark in the river right behind him… ahem. I should probably quit while I’m ahead. Have a great weekend!

Bronze Fonz - ©TimeLine Media
Bronze Fonz – ©TimeLine Media

TimeLine Media – www.timelinedc.com
703-864-8208
Panoramic photos – Tech Thursday

Milwaukee, Wisconsin

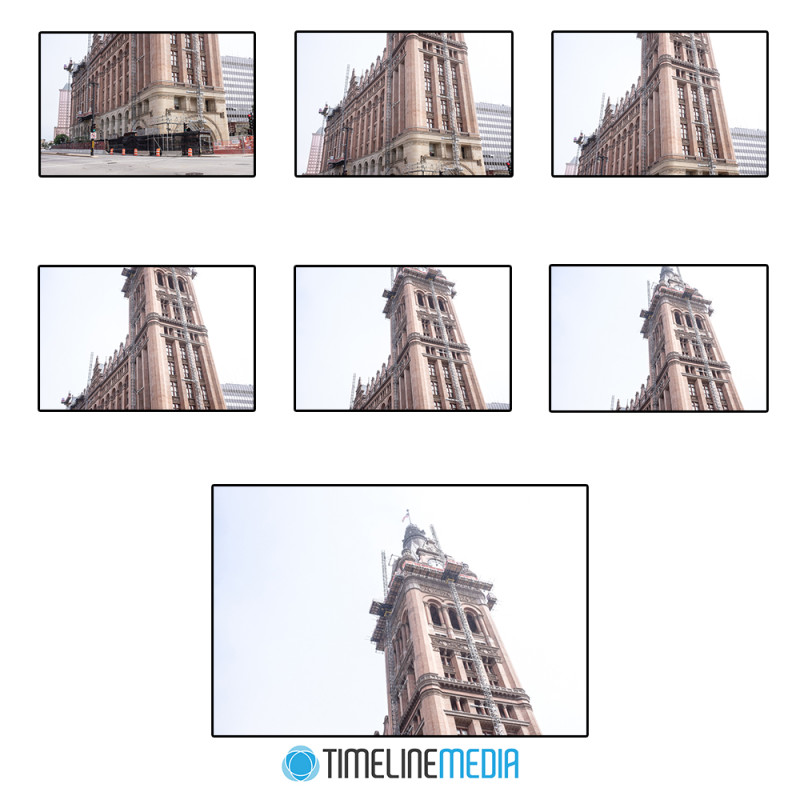
Trying to get in a large scene in one photo can be difficult if you do not have the right tools with you. While traveling, you may see panoramic scenes that you come across that are a challenge to get in one frame. This is especially true if you have a fixed lens camera. Moreover, a limited amount of time to get your photos adds to the problem. All the photos on this post were made with the Fuji X100s which as a fixed 35mm equivalent lens. It is not particularly wide, and I had no chance to get the entire tower of Milwaukee’s City Hall with this camera. Especially with the tour group moving on to the next point of interest, I had to go quickly. If you come across something similar, remember Photoshop for later. It is very good at creating panoramas from multiple images taken in series. For this attempt, I took this series of photos:

Source images for panorama - ©TimeLine Media
Source images for panorama – ©TimeLine Media

Post Processing

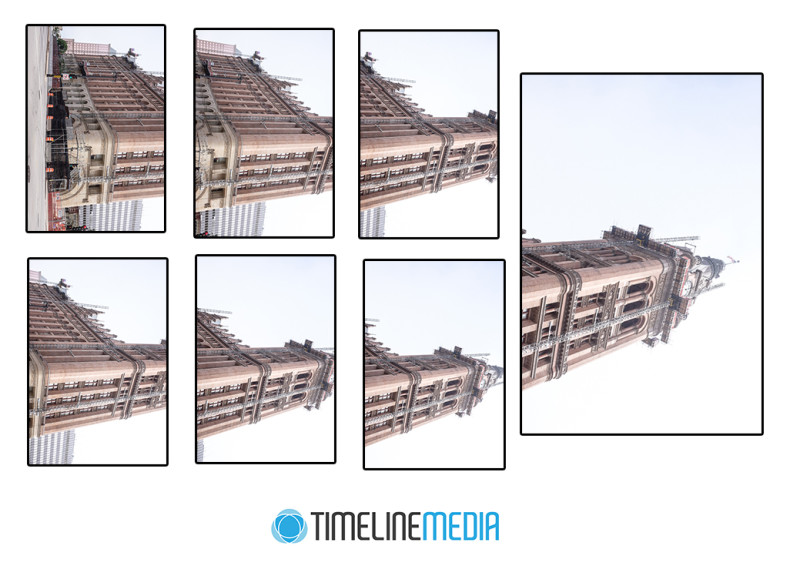
Starting at the bottom of the building, I took seven photos from the street to the top. I made sure that there was overlapping areas in each photo. Having this overlap will help the software find common points that will make for a more seamless panorama. One tip that I would give when you attempt this with landscape formatted photos going in a vertical direction for large tower structures such as this would be to turn change the orientation of the photos to portrait orientation prior to merging. Here is what the source images looked like after turning them 90 degrees clockwise:

Source images for panorama turned clockwise - ©TimeLine Media
Source images for panorama turned clockwise – ©TimeLine Media

After this, let Photoshop do the rest of the work! Open all the source images, then select File > Automate > Photomerge. Next, select the “Add Open Files” in the dialog box, and click OK. Photoshop will now work on the images, and will pop out a merge file:

Merged photos from Photoshop photo merge - ©TimeLine Media
Merged photos from Photoshop photo merge – ©TimeLine Media

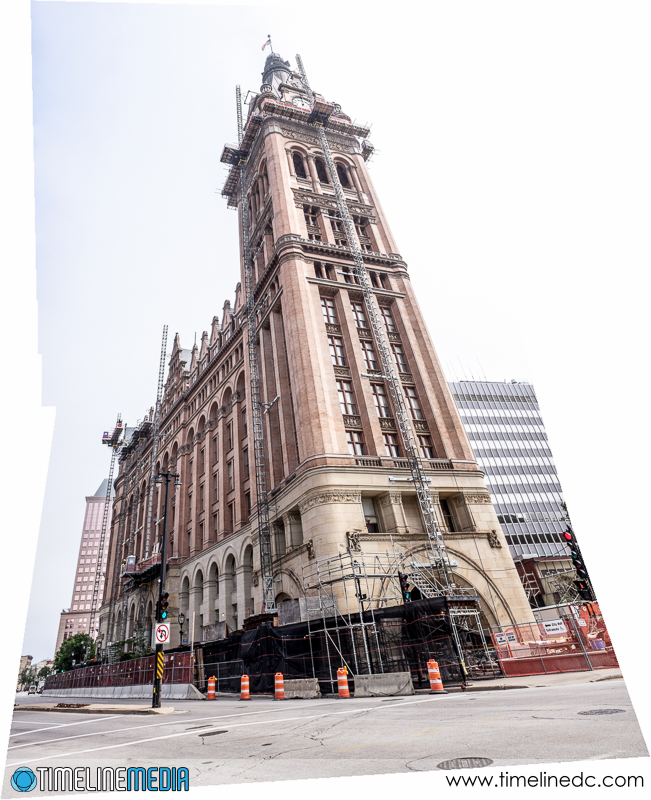
Because of the perspective differences with each photo in the panorama, this is the result. There are some areas where there is no data resulting in the blank spaces on either side of the photo. I just use the crop tool to remove these areas to get the final, large panoramic image!

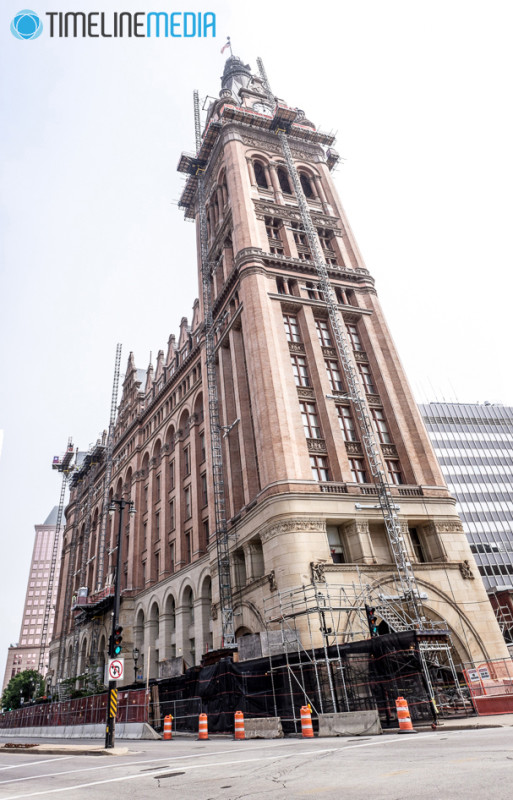
Milwaukee City Hall - ©TimeLine Media
Milwaukee City Hall – ©TimeLine Media

TimeLine Media – www.timelinedc.com
703-864-8208
1 16 17 18 19 20 68