Archive of ‘Photography’ category

Concert Lighting White Balance | Tech Tuesday

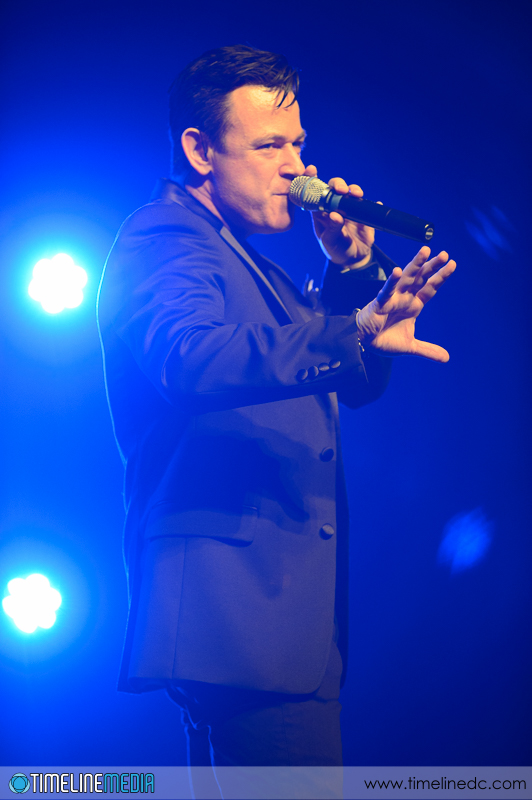
Theatrical lighting for stage performances adds to the spectacle of musical performances. In the times I have covered musical groups as they performed, I have enjoyed using the additional lights around the stage as cool props that can add to the images. The lights at SingStrong were especially timed with the performance which enhanced the mood of the performances. They can be challenge to get good focus as the darkened arena against the strong point light sources is not ideal for auto focus systems in cameras. There are a lot of missed shots in the collection!
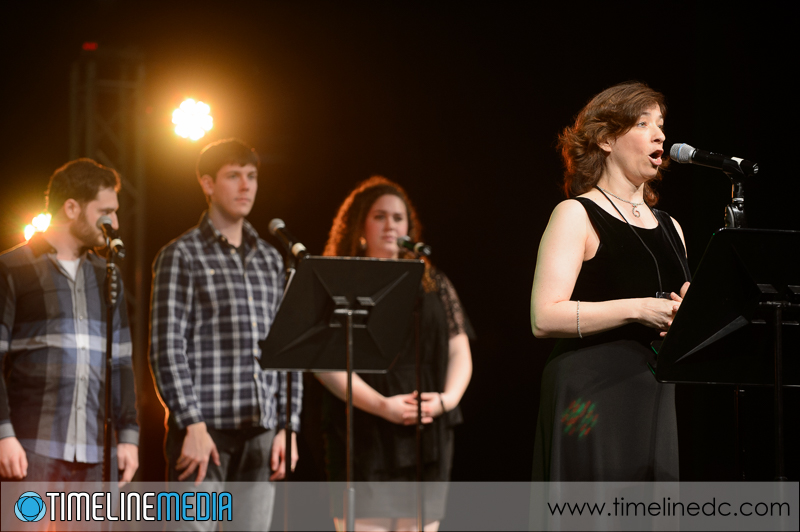
SingStrong-2014-©TimeLine-Media


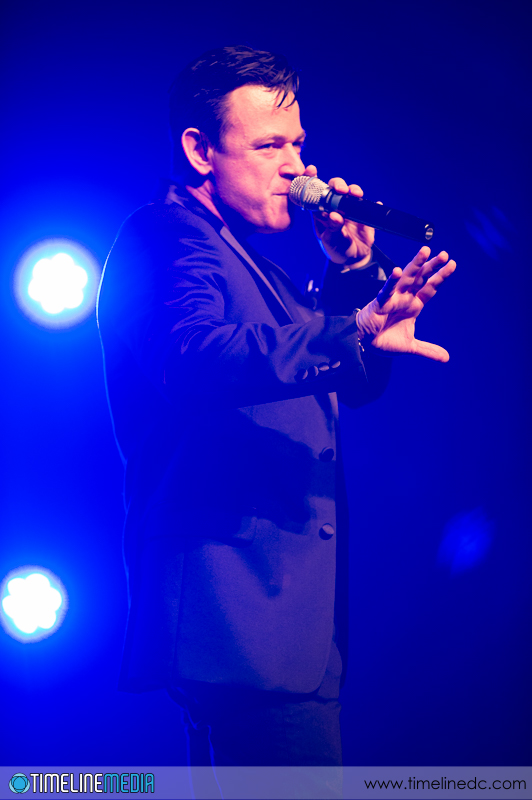
The other challenge comes in post processing the images after the concert. The lighting can be very strong in color casts. Whether that comes from gels over lights, or LEDs that can be any color, they will cast strong color. Of course, this color will be over their faces and skin tones which is always a challenge to balance afterwards. For this shoot, I had the white balance set to auto. Because I was shooting raw files, I planned to adjust the settings later in post.

Original-balance-out-of-camera-©TimeLine-Media


The lighting in the photo was a strong blue backlight that you can see on the left of the frame. From the front house lights, there was a red light on the front of the performers which is a common combination in stage lighting. To balance the color in Lightroom, I went into the Develop module, selected the White Balance tool, and then placed a point on the gray head of the microphone. I always look for gray colors for balancing as a starting point, and it worked well in this case toning down the pink skin tones.

Color-corrected-©TimeLine-Media


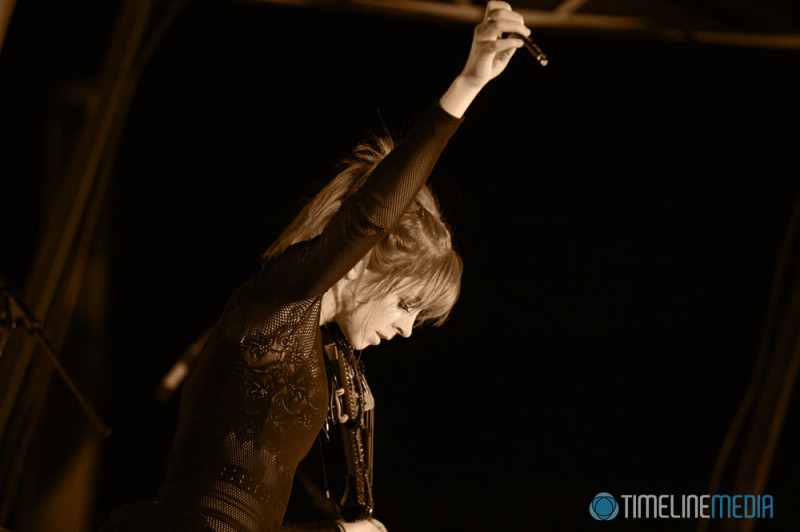
I have much better luck going for gray tones in the frame. Sometimes there is not enough data in white or black areas to get an accurate white balance setting. The software may tell you, however, it will not change anything in your photo depending on the image. Of course, it is always important to have a calibrated monitor to ensure consistency in printing images. If the color cast is too strong, removing all color from the photo is also an option, and one I go to frequently!

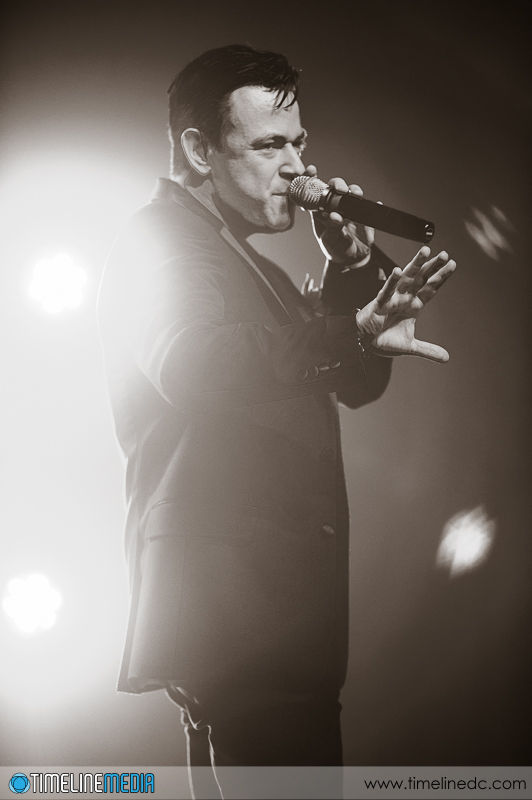
Monochrome-conversion-©TimeLine-Media

TimeLine Media – www.timelinedc.com
703-864-8208

Lindsey Stirling at Tysons Corner Center | Virginia Music Photographer

Like most of her fans, I was introduced to musician / performer Lindsey Stirling from her amazing videos on her YouTube channel. In fact, please go there to play one while viewing this post. To play a violin well is an amazing skill on its own. To do it as effortlessly and technically well as she can while moving her body as much as she does is amazing! She did not miss a note while throwing her whole body into her performance.

The Plaza

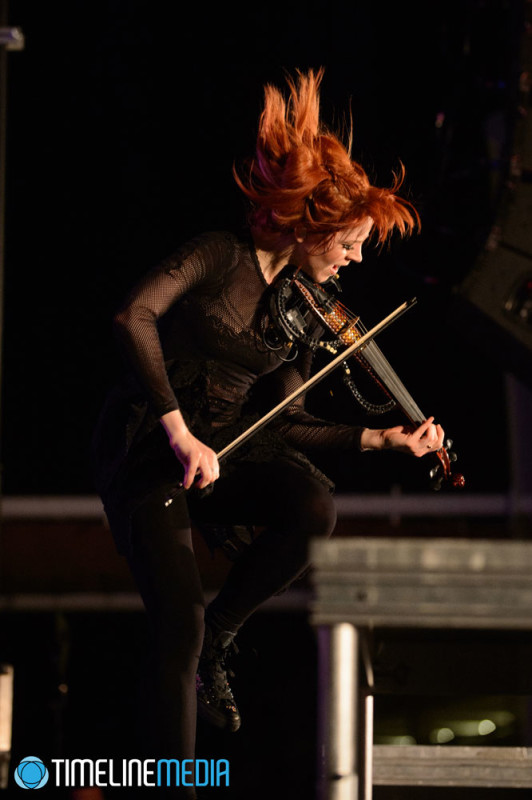
All of this as a visual performance was not just for show. She used movement as a way to convey the feeling of the song to the audience. The intensity with which she played the instruments was infections. Additionally, she used her facial expressions to connect with the crowd. Amazingly, she kept the energy up for the entire performance! Even a more mellow song like John Legend’s “All of Me” carried the attention of the Plaza. Concurrently, People were watching and singing with all the focus that they had for her upbeat and louder songs.

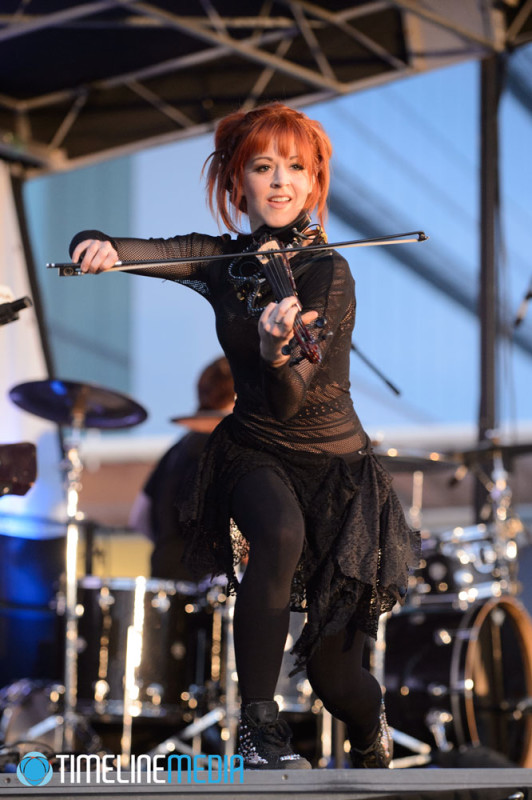
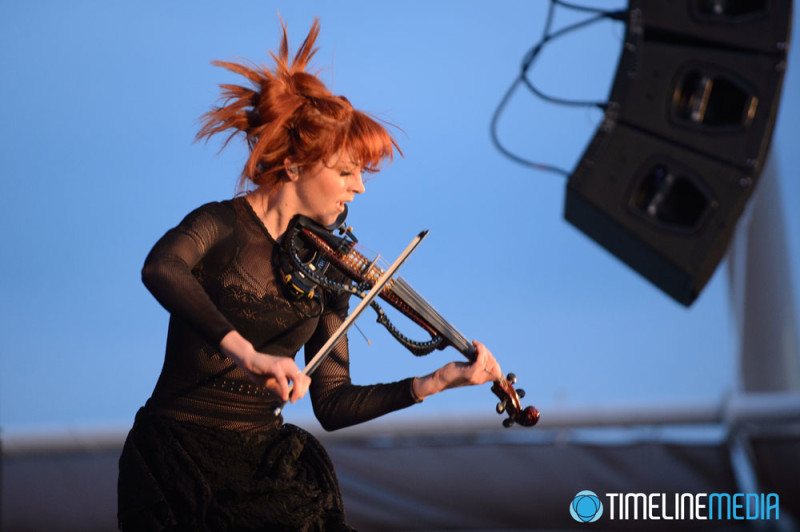
Lindsey-Stirling-at-Tysons-Corner-Center-©TimeLine-MediaLindsey-Stirling-at-Tysons-Corner-Center-©TimeLine-Media Lindsey-Stirling-at-Tysons-Corner-Center-©TimeLine-Media

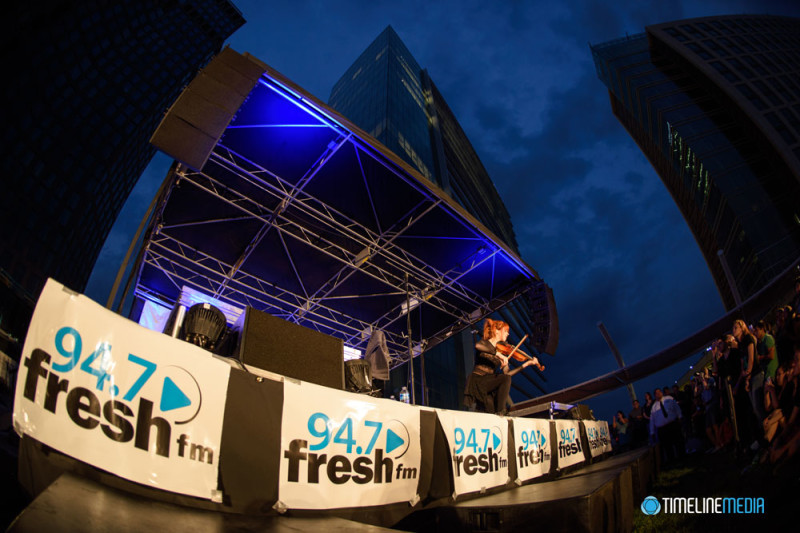
94.7-Fresh-Artists-Concert-Seriesr-©TimeLine-Media

It was a great challenge to get good photos of her while performing. She is so fast in her movements, I pushed up my ISO to higher levels so that I could keep the shutter speed from blurring her movements. The organizers of the concert made a nice pit area that I could use to get closer to the performers without disrupting anyone’s view from the audience. The sound setup really blasted out the volume in the bass which really brought the intensity to a new level especially if you only listened to her songs on a computer or smartphone. This made an impact, and makes me want to see her perform again soon!

Lindsey-Stirling-at-Tysons-Corner-Center-©TimeLine-Media
Performance-by-Lindsey-Stirling-at-Tysons-Corner-Center-©TimeLine-Media
Lindsey-Stirling-at-Tysons-Corner-Center-©TimeLine-Media

TimeLine Media – www.timelinedc.com
703-864-8208
HDR – Deghosting | Tech Thursday

Tysons, Virginia

I received some questions about this photo from a few post ago:

HDR-SilverLine-in-Tysons-Corner-©TimeLine-Media

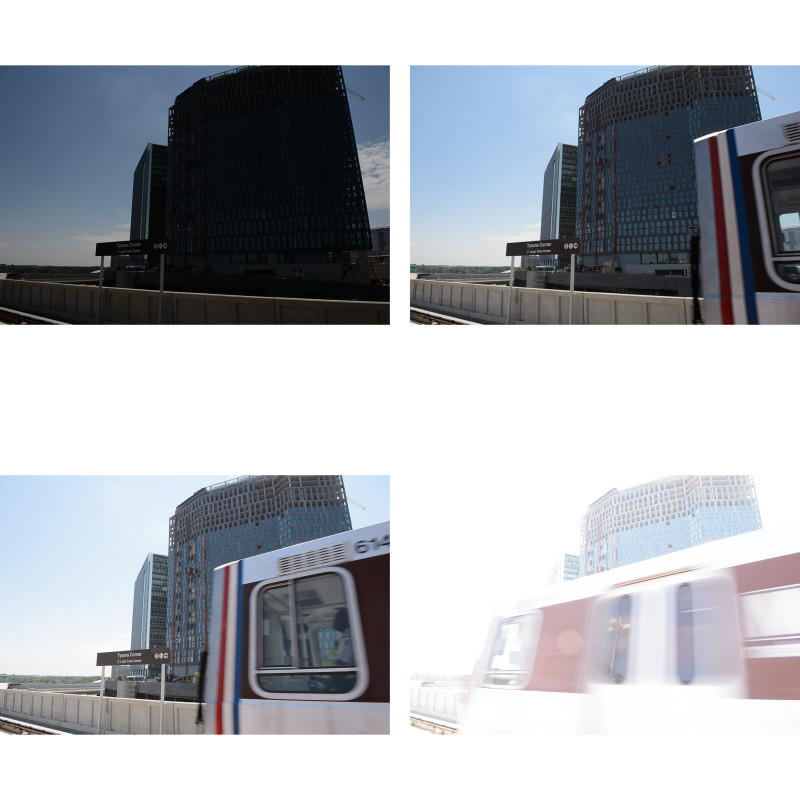
This was a high-dynamic range (HDR) photo from the Metro platform with an incoming train going through the frame. I really did not know if this would work at the time I took the images. For HDR, you need to make a series of exposures that differ in shutter speed. This will create a range of images that vary from underexposed to overexposed. Using the bracketing functions built into the camera, you can set this up in camera.

Using the very fast motor drive of the Nikon D4, there is very little difference in the composition of each frame. For the most part, you would not seen much differences except for the moving train cutting across the middle. This is what you need – the composition should be as similar as it can in each of the bracketed frames. With this in mind, the software can align each individual image for processing.

Post Processing

HDR-Source-images-©TimeLine-Media


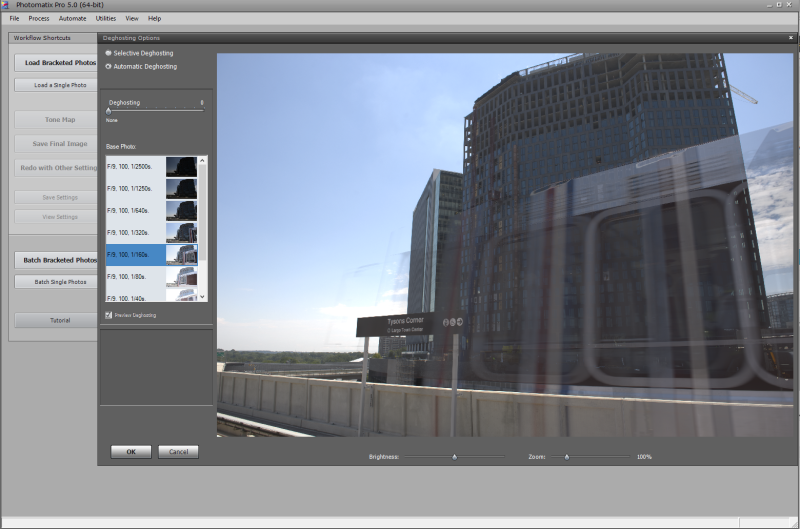
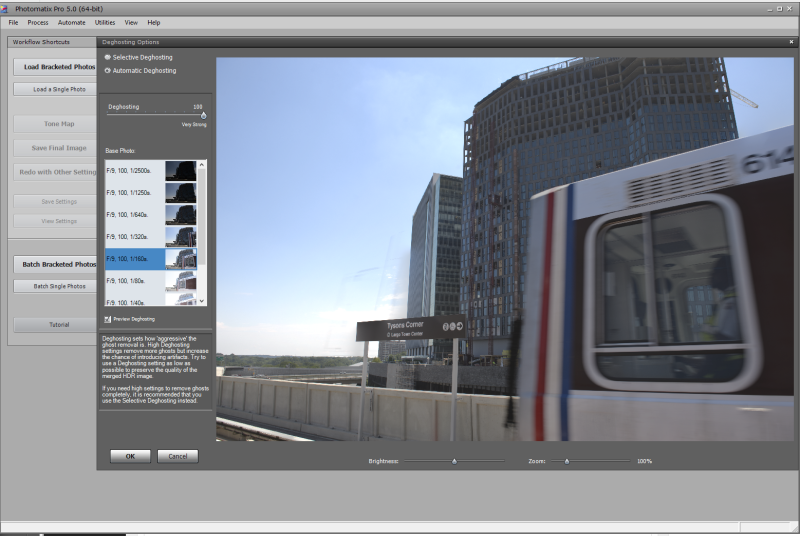
For this particular set, I brought the bracketed images into Photomatix Pro 5.0. After you export the images from Lightroom to Photomatix, you are presented with a Deghosting dialog box:

Photomatix-before-Deghosting-selected


From the initial preview, you can see that the train is a mess. There are many different versions you are trying to stay, and the software is trying to put all of them into the combined image. To clean things up, you need to drag the “Deghosting” slides on the top left all the way to the right. This is the “Very Strong” setting. Then from the set of images below, select which of the bracketed photos you want to select as the master or source file that will take precedence over all the others. I chose the 1/160s one because the train was just starting to come into the frame. and you could still make out many of the numbers at the top of the train.

Photomatix-Very-Strong-Deghosting-selected


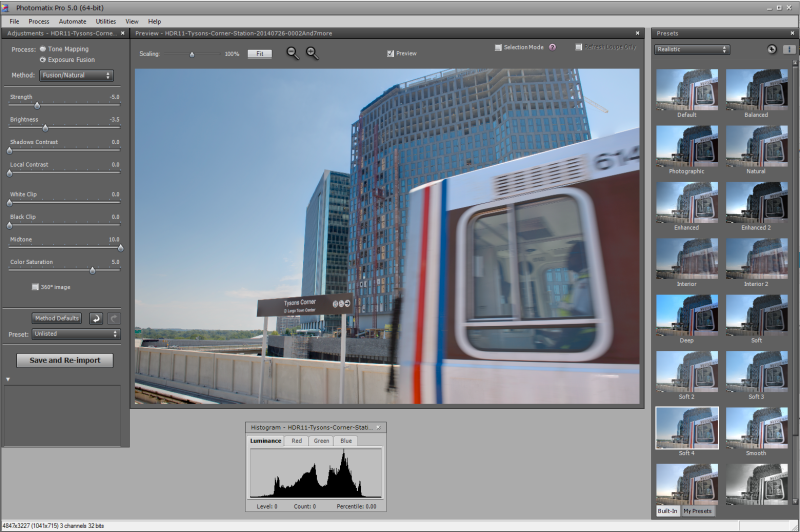
After selecting ‘OK’ you have a much cleaner file to tone map to your final HDR image in Photoshop. This is an extreme example, but it will work if you want to clean up moving people in an image, or anywhere that the preview HDR looks too muddy or blurry. Give it a try!

Photomatix-Pro-5.0
Photomatix-Pro-5.0

TimeLine Media – www.timelinedc.com
703-864-8208
1 136 137 138 139 140 331