Archive of ‘Technology’ category

Cropping – Tech Thursday

©TimeLine Media - 4x6 crop

There are some constants that survive no matter how much photography evolves. Because of standards organizations, we had film speeds in ASA or ISO that now go by light sensitivity on digital cameras and F-stops for describing aperture openings. The softer “standards” that have survived include cropping dimensions of photos for presentation.

Photo Dimensions

8×10, 5×7 – these dimensions are some of the popular frame sizes that are sold here in the US. When my customers start looking at purchasing photos, these are the sizes that they purchase the most – why? These are the frames that are available in the decorator and craft stores. The problem? Look at the files that are coming out of your camera at this time. If you have a DSLR, the dimensions of the files that it makes are 4×6! This goes back to the days of film. 35mm film was the most popular consumer and small-format professional size of film that was available. For this reason, manufacturers keep the form of the cameras and the lenses the same as film cameras. With this in mind, most sensors have retained this ratio.

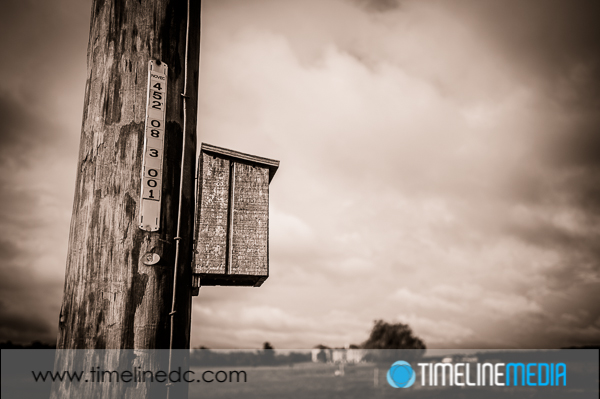
What this means is that if you want to have an 8×10 photo that is printed edge to edge, you need to crop your image files. Cropping is much easier in software than after the photos has been printed. It is non destructive, and it can also be used to improve composition of your image. To make an 8×10 image, the original file needs to be cropped down from 4×6 to 4×5 to fit on the page without borders. Here is an example:

©TimeLine Media - 4x6 crop
©TimeLine Media – 4×6 crop

8 X 10 Frames

The 4×6 crop is more “panoramic” with a long dimension left to right in the frame. This is popular for landscapes and can give a better sense of scale. To fit this image into an 8×10 frame, however, a crop is needed. In trying to keep it close to the original composition, I didn’t move the frame in the software and came up with this:

©TimeLine Media - 8x10 landscape crop
©TimeLine Media – 8×10 landscape crop

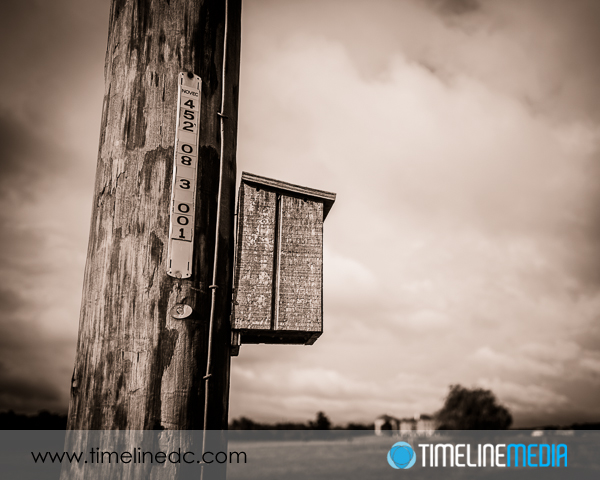
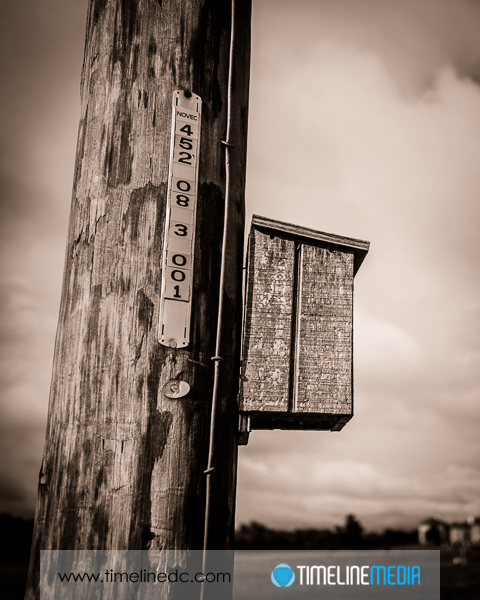
The frame looks much different to me! Even though printed it would be a “larger” photo, I think it feels more cramped. It doesn’t convey the open space that the photo was taken, it seems like many of the elements are much closer together in the frame – the house in the background with the box in the foreground. Now changing the 8×10 crop to a portrait mode (where the longest size run up and down) the background house is a much smaller part of the images, an the emphasis goes back to the foreground. The best part is that you can change these easily in software until you really find the photo that suits you best.

©TimeLine Media - 8x10 portrait crop
©TimeLine Media – 8×10 portrait crop

TimeLine Media – www.timelinedc.com
703-864-8208

Evolution of Post Processing – Tech Thursday

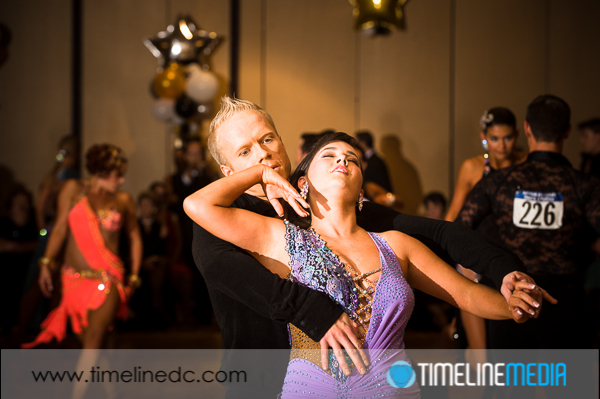
©TimeLine Media - ballroom dance photo

With the internet, it is quite easy to be exposed to many good photographers. For me, post processing of photos can really separate competent photographers from outstanding ones. As with every other aspect of photography, concentrating on only one part of the craft can eventually hurt the quality of your work. You can concentrate on things like – buying gear, social media, marketing your business, making new photos, or post processing. If you only concern yourself with one of these aspects of photography, the others will suffer.

Dance Photography

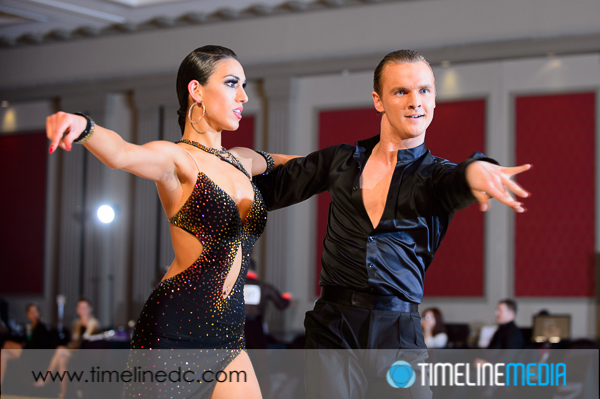
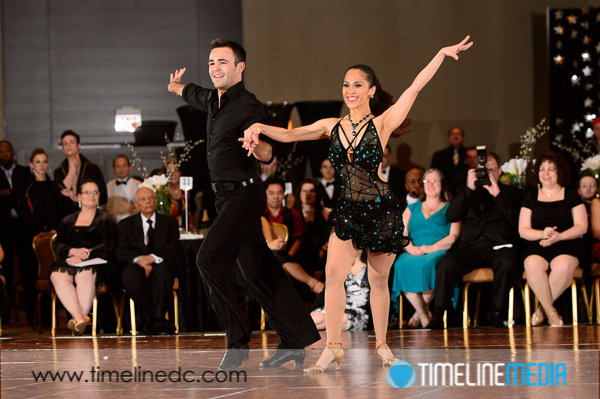
In being a ballroom dance event photographer, I get the opportunity to make thousands of photos at an event. Post processing takes a lot of my time after events. Looking back at some of my first photos, I can see that I really went overboard using effects and sliders in Lightroom. The effects were good at attracting attention to my images on social networks, and I really had a lot of fun making them.

©TimeLine Media - ballroom dance photo
©TimeLine Media – ballroom dance photo
©TimeLine Media - ballroom dance photo
©TimeLine Media – ballroom dance photo

These “cross processing” presets in Lightroom used color shifts to emulate purposely incorrect film processing in the darkroom to create the effects. Some also used heavy darkening of corners to highlights subjects. This was a cutting-edge way to create photos. Since then, the explosion of Instagram, and other photo editing apps on iPhones and Android has made these looks more prevalent online. (For the record, I have recently joined Instagram, and actually enjoy it!)

So with the change in styles that I am seeing, I have gone back to doing less to photos, and leaving them as close to in-camera capture as I can. This is just another phase until the next thing comes out. For photographers, the message is making your images as best you can in camera, then post process them as you like it at the time. It will make you happy with the creative process and will mark eras in your photography life. We are digital photographers now. We don’t have different film stocks, or film chemistry that will change with the times. The best part is we have RAW files that make the transition with us, metadata, and all. So, you can always revisit photos as they were and update them, or not!

Here is where I am today, and I hope you come back to see what comes next –

©TimeLine Media - ballroom dance photo
©TimeLine Media – ballroom dance photo
©TimeLine Media - ballroom dance photo
©TimeLine Media – ballroom dance photo

TimeLine Media – www.timelinedc.com
703-864-8208
Apertures and Macro Photography – Tech Thursday

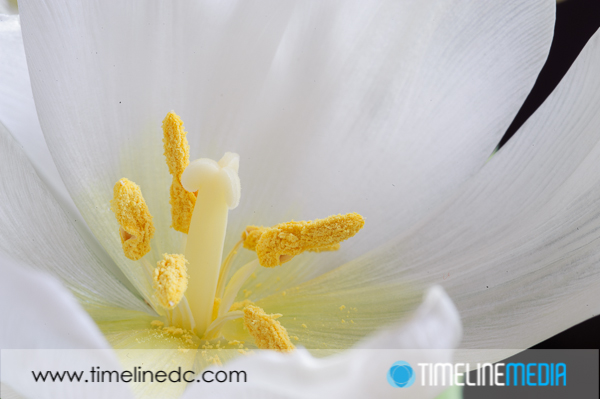
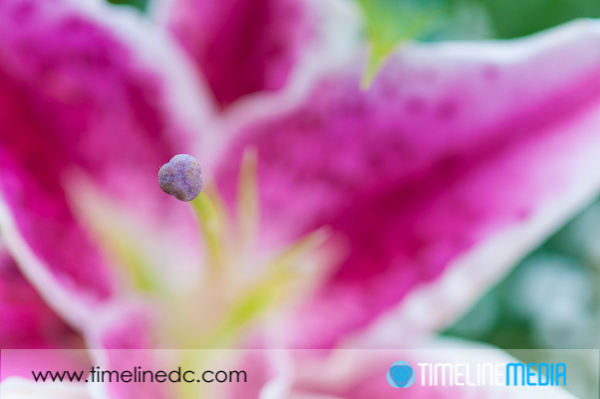
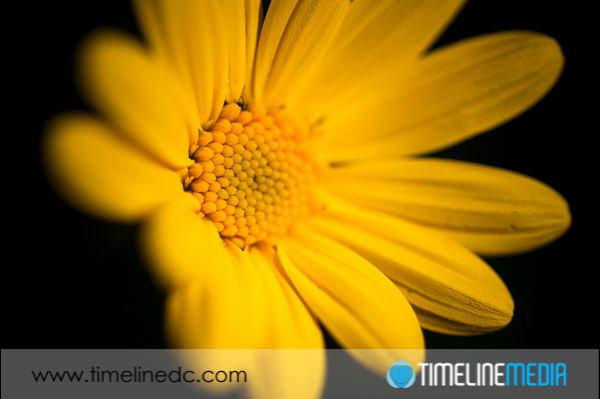
©TimeLine Media - macro photography of flowers

If you are looking to make extreme close-up photos of a subject, macro lenses allow you to make photos of a subject in a very different way than other lenses. What makes macro lenses different from other lenses, is that it is possible to shoot very close to your subject. The minimum focus distance on these lenses are much lower meaning you can get closer. Subsequently you fill the frame with a detail of your subject and still focus clearly. Most regular lenses require more distance from your subject. Only then will the lens be able to focus on a subject clearly.

Macro Photography

On point and shoot cameras, this is usually represented by a flower symbol, so I’ll use them here. The lens that I used for these is the Nikon 105mm f/2.8 Micro-Nikkor which produces tack sharp images of really tiny subjects. The details can be so large in the frame using this lens! At the minimum focus distance of this lens, the subject can be rendered 1:1. This means that when the lens is set to 1:1, the size of the detail you are photographing will be exposed on the sensor at EXACTLY the same size – making things like pollen on a flower easily visible.

©TimeLine Media - macro photography of flowers
©TimeLine Media – macro photography of flowers
©TimeLine Media - macro photography of flowers
©TimeLine Media – macro photography of flowers

In these next two photos, I changed my settings a bit from the first two. This relates to the aperture or depth of field in the photos. The first two were exposed at an aperture of f/4  which is very wide open for this lens at this close to the subject. In order to get much more in focus with macro subjects, a smaller aperture is needed to make the entire flower and its details in focus. For these next two, the aperture was set at f/32! Additional flash was needed, but the entire flower is in focus – perfect for documenting them for textbooks or other collections.

©TimeLine Media - macro photography of flowers
©TimeLine Media – macro photography of flowers
©TimeLine Media - macro photography of flowers
©TimeLine Media – macro photography of flowers

TimeLine Media – www.timelinedc.com
703-864-8208
1 32 33 34 35 36 41