Archive of ‘Travel’ category

Tech Thursday – Snow Melting!

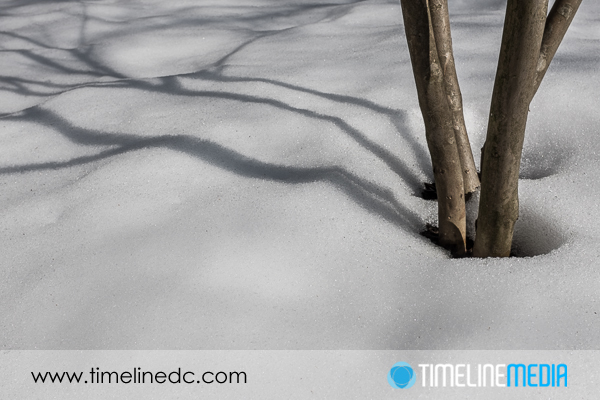
Melting snow with +1 stop exposure - ©TimeLine Media

We are starting a thaw out from last week’s wintry weather! It has taken a week, but finally we are starting to see some grass peeking out from under the snow. While it was falling heavily, I did not have the urge to take many photos. I am sure that there were some spectacular opportunities to do so. However, it just did not happen for me this time. Perhaps it was the preparation for the big ballroom dance event that stopped me from getting out. I have all the cameras and lenses to make something out there but I missed an opportunity.

Adjusting Exposure

Melting Snow - ©TimeLine Media
Melting Snow – ©TimeLine Media

With the shooting of the event now completed, and the warmer air outside, I wanted to get some photos before ALL the snow had melted. Going out there with the Fuji X100s made it easy to illustrate the first lesson that everyone learns when photographing in the snow. You need to “overexpose” or add more light to the scene than you normally would when taking photos.

The meter built into your camera is designed to measure the light coming in through the lens. It will tell you what settings will make for a balanced exposure. Technical photographers will call this calculating the exposure for “middle gray”. In other words, the brightest areas will not be too bright that they lose detail. Concurrently the darkest areas will not be too dark to lose detail. Unfortunately, these settings will make your snow look like “middle gray” as in the example here:

Melting snow with metered exposure - ©TimeLine Media
Melting snow with metered exposure – ©TimeLine Media

Adjusting Defaults

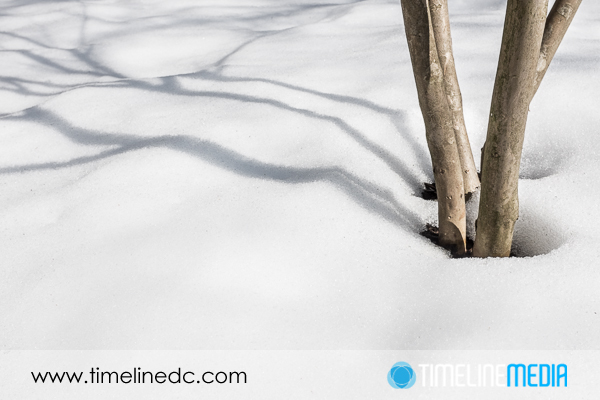
To restore the snow to its pretty white brightness, I had to add 1 stop of exposure, or overexpose the meter reading by one stop to get a nice white from the snow. Either the shutter speed is slowed down by one stop, or your can close down the aperture by one stop. Because I do not care to see any detail in the snow as it does not add to the photo, go ahead and let it be too bright. It is only a base or background for the frame, and does not need to be as detailed as the branches of the tree.

This technique not only works for snow, but works for window light, backlighting, or any other elements that are in your frame, but are not the main subject. They can be blown out, or overexposed without affecting the portrayal of your subject – the one thing you do want to see.

Melting snow with +1 stop exposure - ©TimeLine Media
Melting snow with +1 stop exposure – ©TimeLine Media

TimeLine Media www.timelinedc.com
703-846-8208
Comparing HDR to Non-HDR images

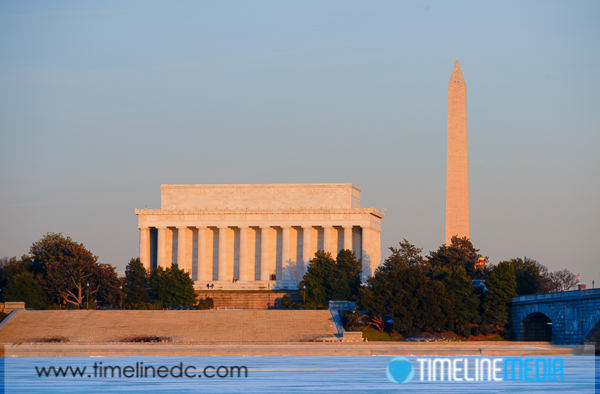
Lincoln Memorial and Washington Monument from Virginia - ©TimeLine Media

With all my landscape images, I have been bracketing exposures with the intent to do some post processing on the photos and create a high dynamic range (HDR) final image. One evening, I walked out on the Virginia side of the Potomac River from Washington, DC to the Memorial Bridge. This is a beautiful spot to make images of the Lincoln and Washington Monuments especially in the early evening. With the sun lowering, the white buildings again take on that pink/orange hue of the fading light.

Lincoln Memorial and Washington Monument from Virginia - ©TimeLine Media
Lincoln Memorial and Washington Monument from Virginia – ©TimeLine Media

HDR testing

In looking through the set of images that I made after the shoot, I did notice that this night had a smoggy haze. With rush hour traffic starting to build, it did not make for as nice a scene as the crisp winter mornings. The haze came in the middle of the frames underneath the blue, and stayed over the pink part of the sky overlaying this ugly gray layer.

This was just bad luck for the time I happened to be out there shooting. Obviously, it makes me want to try this on a different day. Perhaps I can get a better result next time. In any case, I saw the result from the post processing the bracketed photos with Photomatix. I wanted to compare it to the RAW file images. With this in mind, I had a feeling that being able to shoot at a low ISO. Additionally, with all the detail and information that the Nikon D4 gathers, I could make one of the RAW files that was in the middle of the bracket look just as good as the HDR image.

Washington, DC

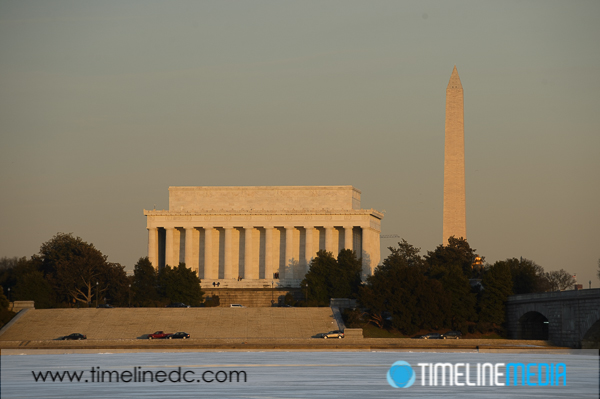
Lincoln Memorial and Washington Monument from Virginia - ©TimeLine Media
Lincoln Memorial and Washington Monument HDR from Virginia – ©TimeLine Media
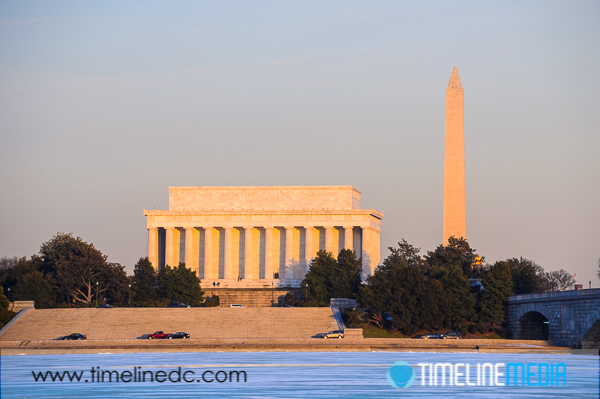
Lincoln Memorial and Washington Monument from Virginia - ©TimeLine Media
Lincoln Memorial and Washington Monument non-HDR from Virginia – ©TimeLine Media

What I learned in looking at these photos, is that there is not a huge difference between the dark and light sections of the photo. Moreover it is very possible to make one exposure similar to a realistic HDR image from 7 bracketed photos. The Raw file was adjusted in Adobe Lightroom with just some contrast, clarity, and vibrance added to the original file.

I then adjusted the white balance of the scene to mimic the HDR, and these photos looked very similar. Although it is not something that I am comfortable yet pre-visualizing. So it is nice to have the bracketed photos as a backup. I will probably continue to shoot both ways, and processes them in 2 ways, until I can more easily predict when it will save me a lot of time and memory card space to shoot just one photo instead of the whole series.

TimeLine Media – www.timelinedc.com
703-864-8208

Creating Vignettes with Flash

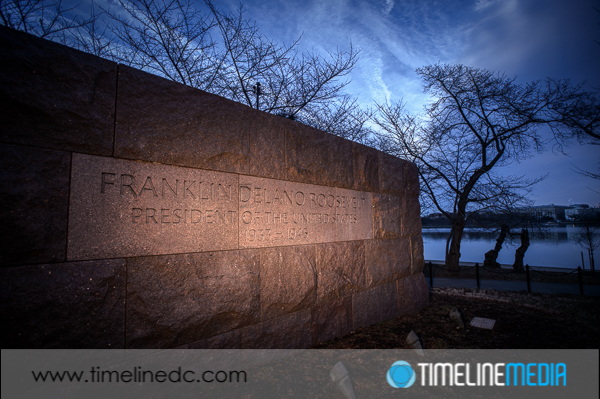
Lighting the Roosevelt Memorial with small flash - ©TimeLine Media

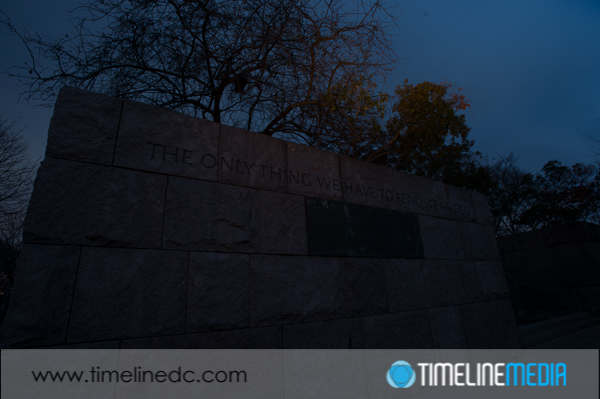
On yesterday’s post, I wrote about creating vignettes, in Photoshop. Today, I want to post some photos of another cool way to create vignettes, but this time, doing it in camera. I made these at the Franklin Delano Roosevelt Memorial in Washington, DC. In this walk-through park dedicated to the longest-serving US President, there are many of his quotes engraved into the large pink-colored blocks that make up the monument. You can use the color of the blocks to your advantage as pink and blue are next to each other on the color wheel, so they will work together well in a frame. Here is a frame of the manual exposure setup in the camera without the flash:

Roosevelt Memorial without flash - ©TimeLine Media
Roosevelt Memorial without flash – ©TimeLine Media

Washington, DC

I am just looking to keep a dark, saturated blue in the sky. The flash will be used to illuminate the foreground and pop the subject out of the frame. To setup the flash, I put a warming gel over the front of the flash. Additionally I zoomed the head in to 180mm. This focuses the flash into a tight circle as opposed to just spilling light all over the scene. This is what creates the vignette effect which will draw your viewer’s eye to where you want it to go. I hand held the flash with my left hand, and made this photo:

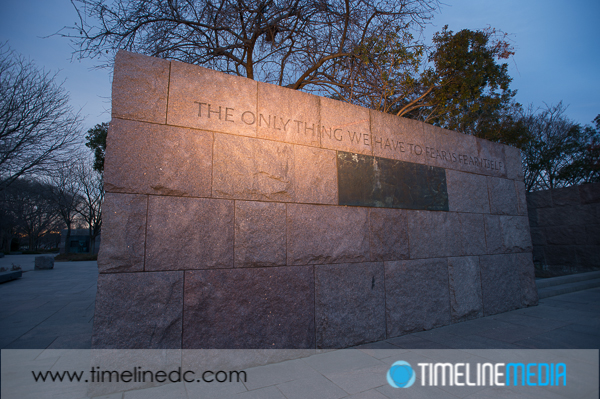
Lighting the Roosevelt Memorial with small flash - ©TimeLine Media
Lighting the Roosevelt Memorial with small flash – ©TimeLine Media

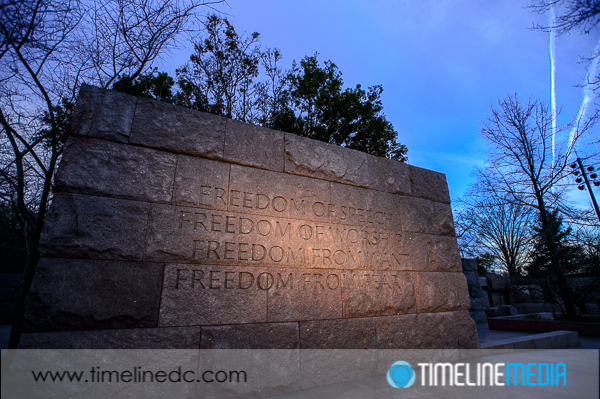
How far you zoom the head, can make the circle of light larger. Especially if you have more of an area you want to cover in light. This next photo, I zoomed the head out farther since I was standing farther away, and had more words that I wanted to light:

Lighting the Roosevelt Memorial with small flash - ©TimeLine Media
Lighting the Roosevelt Memorial with small flash – ©TimeLine Media

It was a challenge to get the light exactly right. Sometimes, I would flash the ground, sometimes, I would only light the trees above the blocks. It would be much easier to do this with the flash on a stand that you can control with more consistency, but I did not want to risk any entanglements with the park rangers. I simply used a hot shoe cable cord to get the flash off the camera, and fired away. Give it a try next time to get a different look at places that are photographed all the time!

Lighting the Roosevelt Memorial with small flash - ©TimeLine Media
Lighting the Roosevelt Memorial with small flash – ©TimeLine Media

TimeLine Mediawww.timelinedc.com
703-864-8208

1 17 18 19 20 21 43