Posts Tagged ‘Adobe’

Carahsoft 2019 Gov Con

Headshots at the Carahsoft 2019 Gov Con event in Washington, DC ©TimeLine Media
Headshots at the 2019 Carahsoft Gov Con event in Washington, DC ©TimeLine Media

Washington, DC

Stemming from a referral from another photographer, I covered the Carahsoft 2019 Gov Con in Washington, DC. On this occasion, their event was held at the Grand Hyatt, a hotel fitting of the name. Attendees would be in the conference center, attending lectures and breakout sessions during the day. For the most part, I would be outside of these sessions creating headshots at a step and repeat.

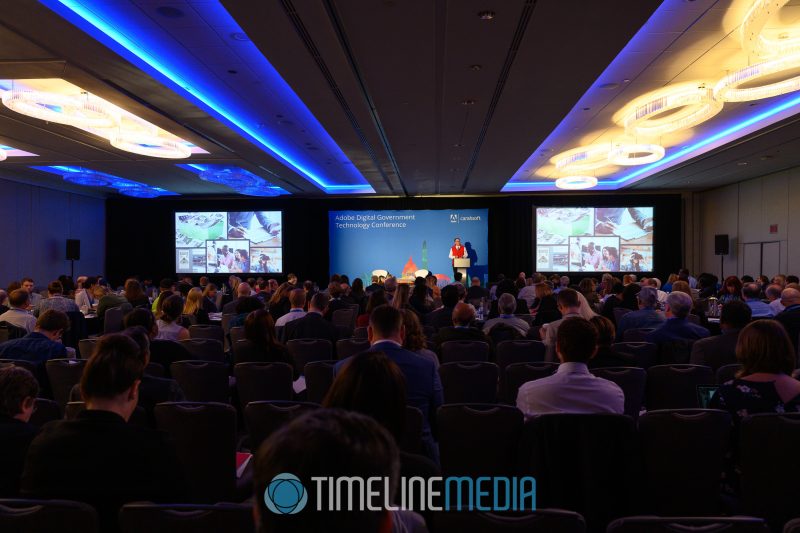
Since the booth was a little slow on traffic at the beginning of the day, I went into the conference center to see the opening remarks. Of course, I am familiar with so many of the Adobe products, and these attendees would be discussing their newest tools for government agencies.

Carahsoft 2019 Gov Con headshots

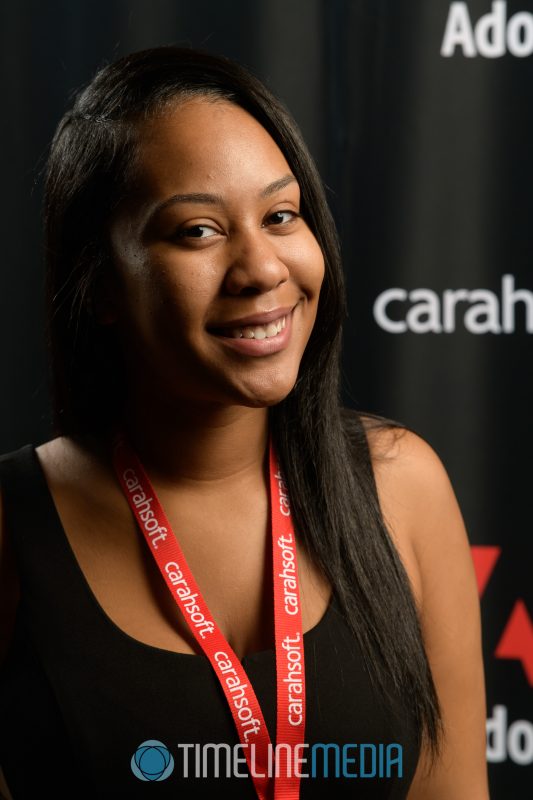
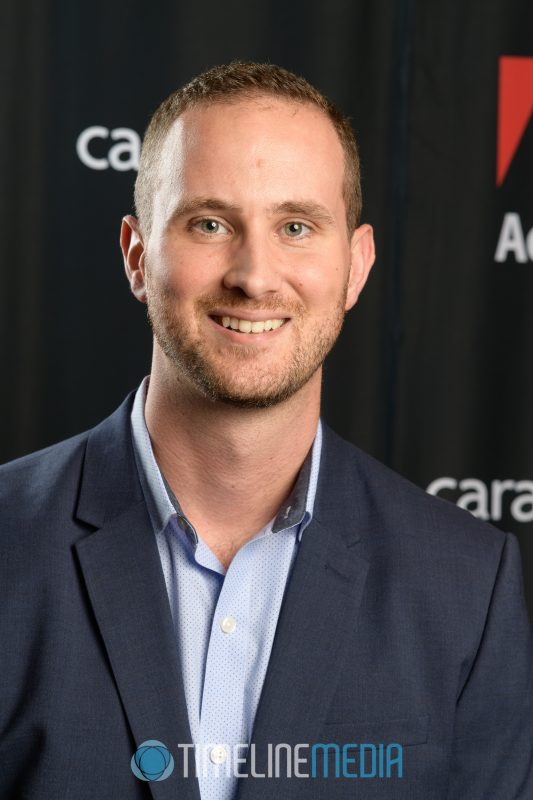
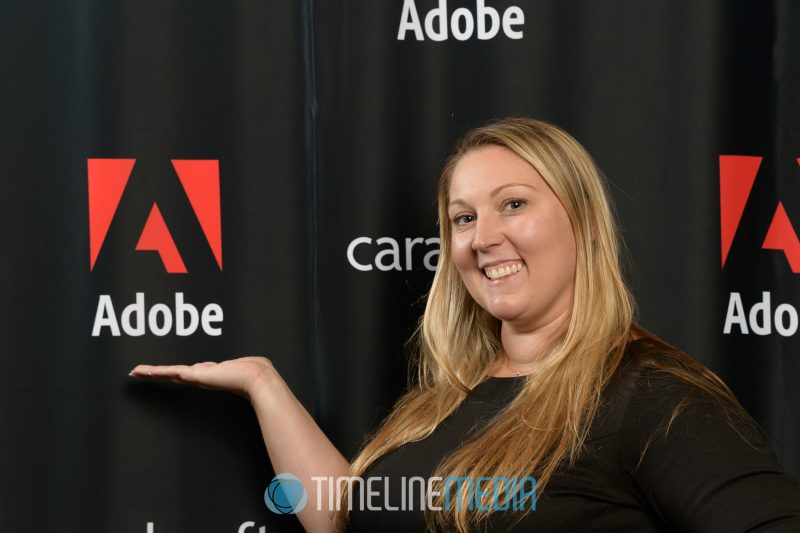
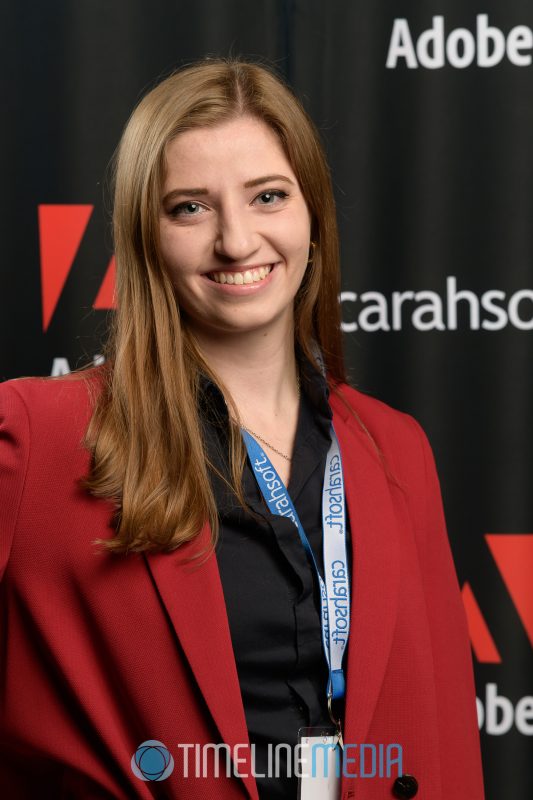
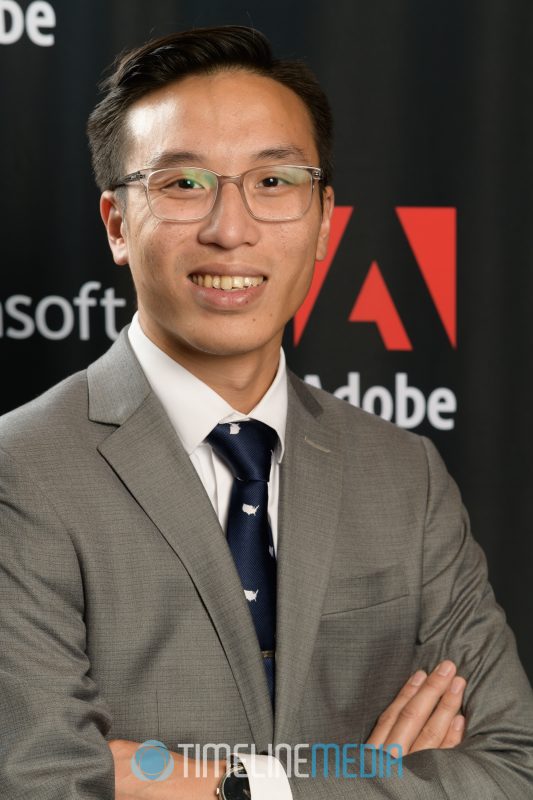
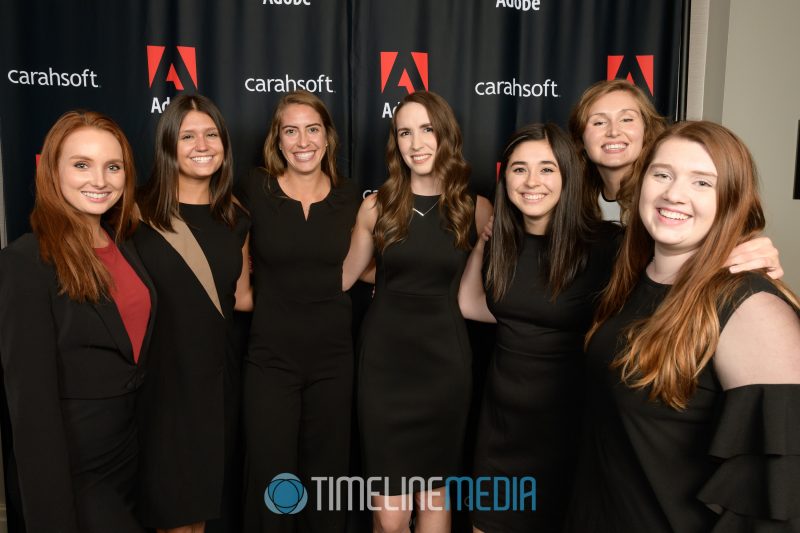
For the most part, I was outside at the step and repeat. The background was branded for carahsoft, and Adobe the two sponsors for the event. When people would come by, I offered them an updated headshot. Not only was this a little out of my comfort zone, but it is immediately broke the ice. The subsequent quick headshot session was much less awkward to go through comparatively! As I warmed up to the situation, I had a nice long line of people that wanted to get new portraits made. I ended up having a great time, and I hope I made a good impression for carahsoft and their guests!

Carahsoft 2019 Gov Con headshots

TimeLine Media – www.timelinedc.com
703-864-8208

Photo Proofing – Tech Thursday

Standard Ballroom Dance - ©TimeLine Media

Still have thousands of photos waiting to go on the website! I am still working late in to the night and getting up early to get as much time to go through the photos. My email is mostly on hold, and I only check in to social networks sparingly to link to new blog posts from here. This is all because I want to get these photos onto the proofing site as soon as possible. Why does it take so long? The reason is I want the images to look as good as they can before they are released for viewing.

Baltimore Dancesport Challenge

Showcase Dance - ©TimeLine Media
Showcase Dance – ©TimeLine Media

Images that are out of focus and immediately deleted. For ballroom dance and other events, any photos where the hands or other objects are obscuring the main subject are also removed. All of our cameras are set to shoot RAW files. This is a less-refined version of the JPG files that are more common. Shooting in RAW allows us to recover more detail from photos where the flashes did not pop, or to adjust the exposure in post.

Standard Ballroom Dance - ©TimeLine Media
Standard Ballroom Dance – ©TimeLine Media

In setting up the lights for competitive heats, we keep the flashes behind the photographers so they will light the faces of dancers as they pass in front. With ballroom dance floors being very large, there is a gradation of how far the flash will go. If dancers are closer to the photographers, they will be brighter than dancers that are farther away. Shooting in RAW means that there is a lot more data in each file that can be recovered. So to compensate for these differences, I can adjust the Exposure, Highlights or Shadow sliders in Adobe Lightroom to make the photos look similar to each other.

USA Dance Mid-Atlantic Championships

Latin Dance - ©TimeLine Media
Latin Dance – ©TimeLine Media

With the change in the amount of flash, there can also be changes in the color temperature of the photos. We set the cameras to be balanced to the color of the flashes. However if they do not fire, the photos take a very warm, yellow/orange color. This can also be easily adjusted with the White Balance slider. You do not have as much leeway when using JPG files. So again, the RAW files are necessary for this kind of shoot. It does take lot of space on the hard drives, and it takes a lot of time to make the corrections, but I think it’s worth it!

Smooth Ballroom Dance - ©TimeLine Media
Smooth Ballroom Dance – ©TimeLine Media

TimeLine Media – www.timelinedc.com
703-864-8208

Clarity – Tech Thursday

©TimeLine Media - enhancing details in hair with the Clarity slider

My photographic style is constantly evolving when it comes to my portrait and personal work. Since I have started shooting professionally, my style changed quite a few times. Whether this is normal for a photographer, I do not know! It seems like my style changes as software updates brings functionality to RAW processors. With each new feature,  I try what new changes I can make to photos, and implement them to more shoots. Also, my editing eye gets fatigued in putting the same effects to photos which is probably why I do not have many Lightroom Development presets any longer. My favorite slider that I am using more and more is the Clarity slider under “Presence” in the Develop module.

Adobe Lightroom - Develop Module Basic panel
Adobe Lightroom – Develop Module Basic panel

Adobe Lightroom

Clarity is a tool that has long been a part of Lightroom, but I have not used it much until version 4. It is a mid-tone adjustment which when applied to portraits, can give images a crisp edge that makes it look sharper overall when the value of the slider is increased. There is a contrast adjustment component to this slider that really focuses on edges as opposed to the entire frame making it less harsh than the Contrast slider when pushed to the limit. This works especially well with male portrait subjects or landscapes. On the other end of the scale, pushing the Clarity slider down will decrease edge sharpness and will soften edges. This was can easily be overdone resulting in a vaseline-on-the-lens look from vintage television programs.

©TimeLine Media - Clarity slider example
©TimeLine Media – Clarity slider example

For the image above, the image on the left is with the default settings out of the camera. The image on the left is the same image with the Clarity slider adjusted to +83. It gives a grittier more edgy contrast that brings out more details in the portrait subject.

Pet Portraits

©TimeLine Media - enhancing details in hair with the Clarity slider
©TimeLine Media – enhancing details in hair with the Clarity slider

Just like every other slider that you can use on an image, it can be overdone. Just move the slider until you can see the Clarity effect start to show in hair, or around the eyes, then stop moving. For the most part, you can push it all the way to 100 without it having it destroy the photo, but it may become a muddy mess with dark areas that are crushed to nothing, and having it creep to areas that you do not necessarily want too dark. If printing the images, I use the default output print sharpening settings after adjusting sharpness with the Clarity slider. I have been pleased with the results so far!

©TimeLine Media - Portrait
©TimeLine Media – Portrait

TimeLine Media – www.timelinedc.com
703-864-8208

1 2