Posts Tagged ‘Memorial’

Washington Monument

Updating Wall Art

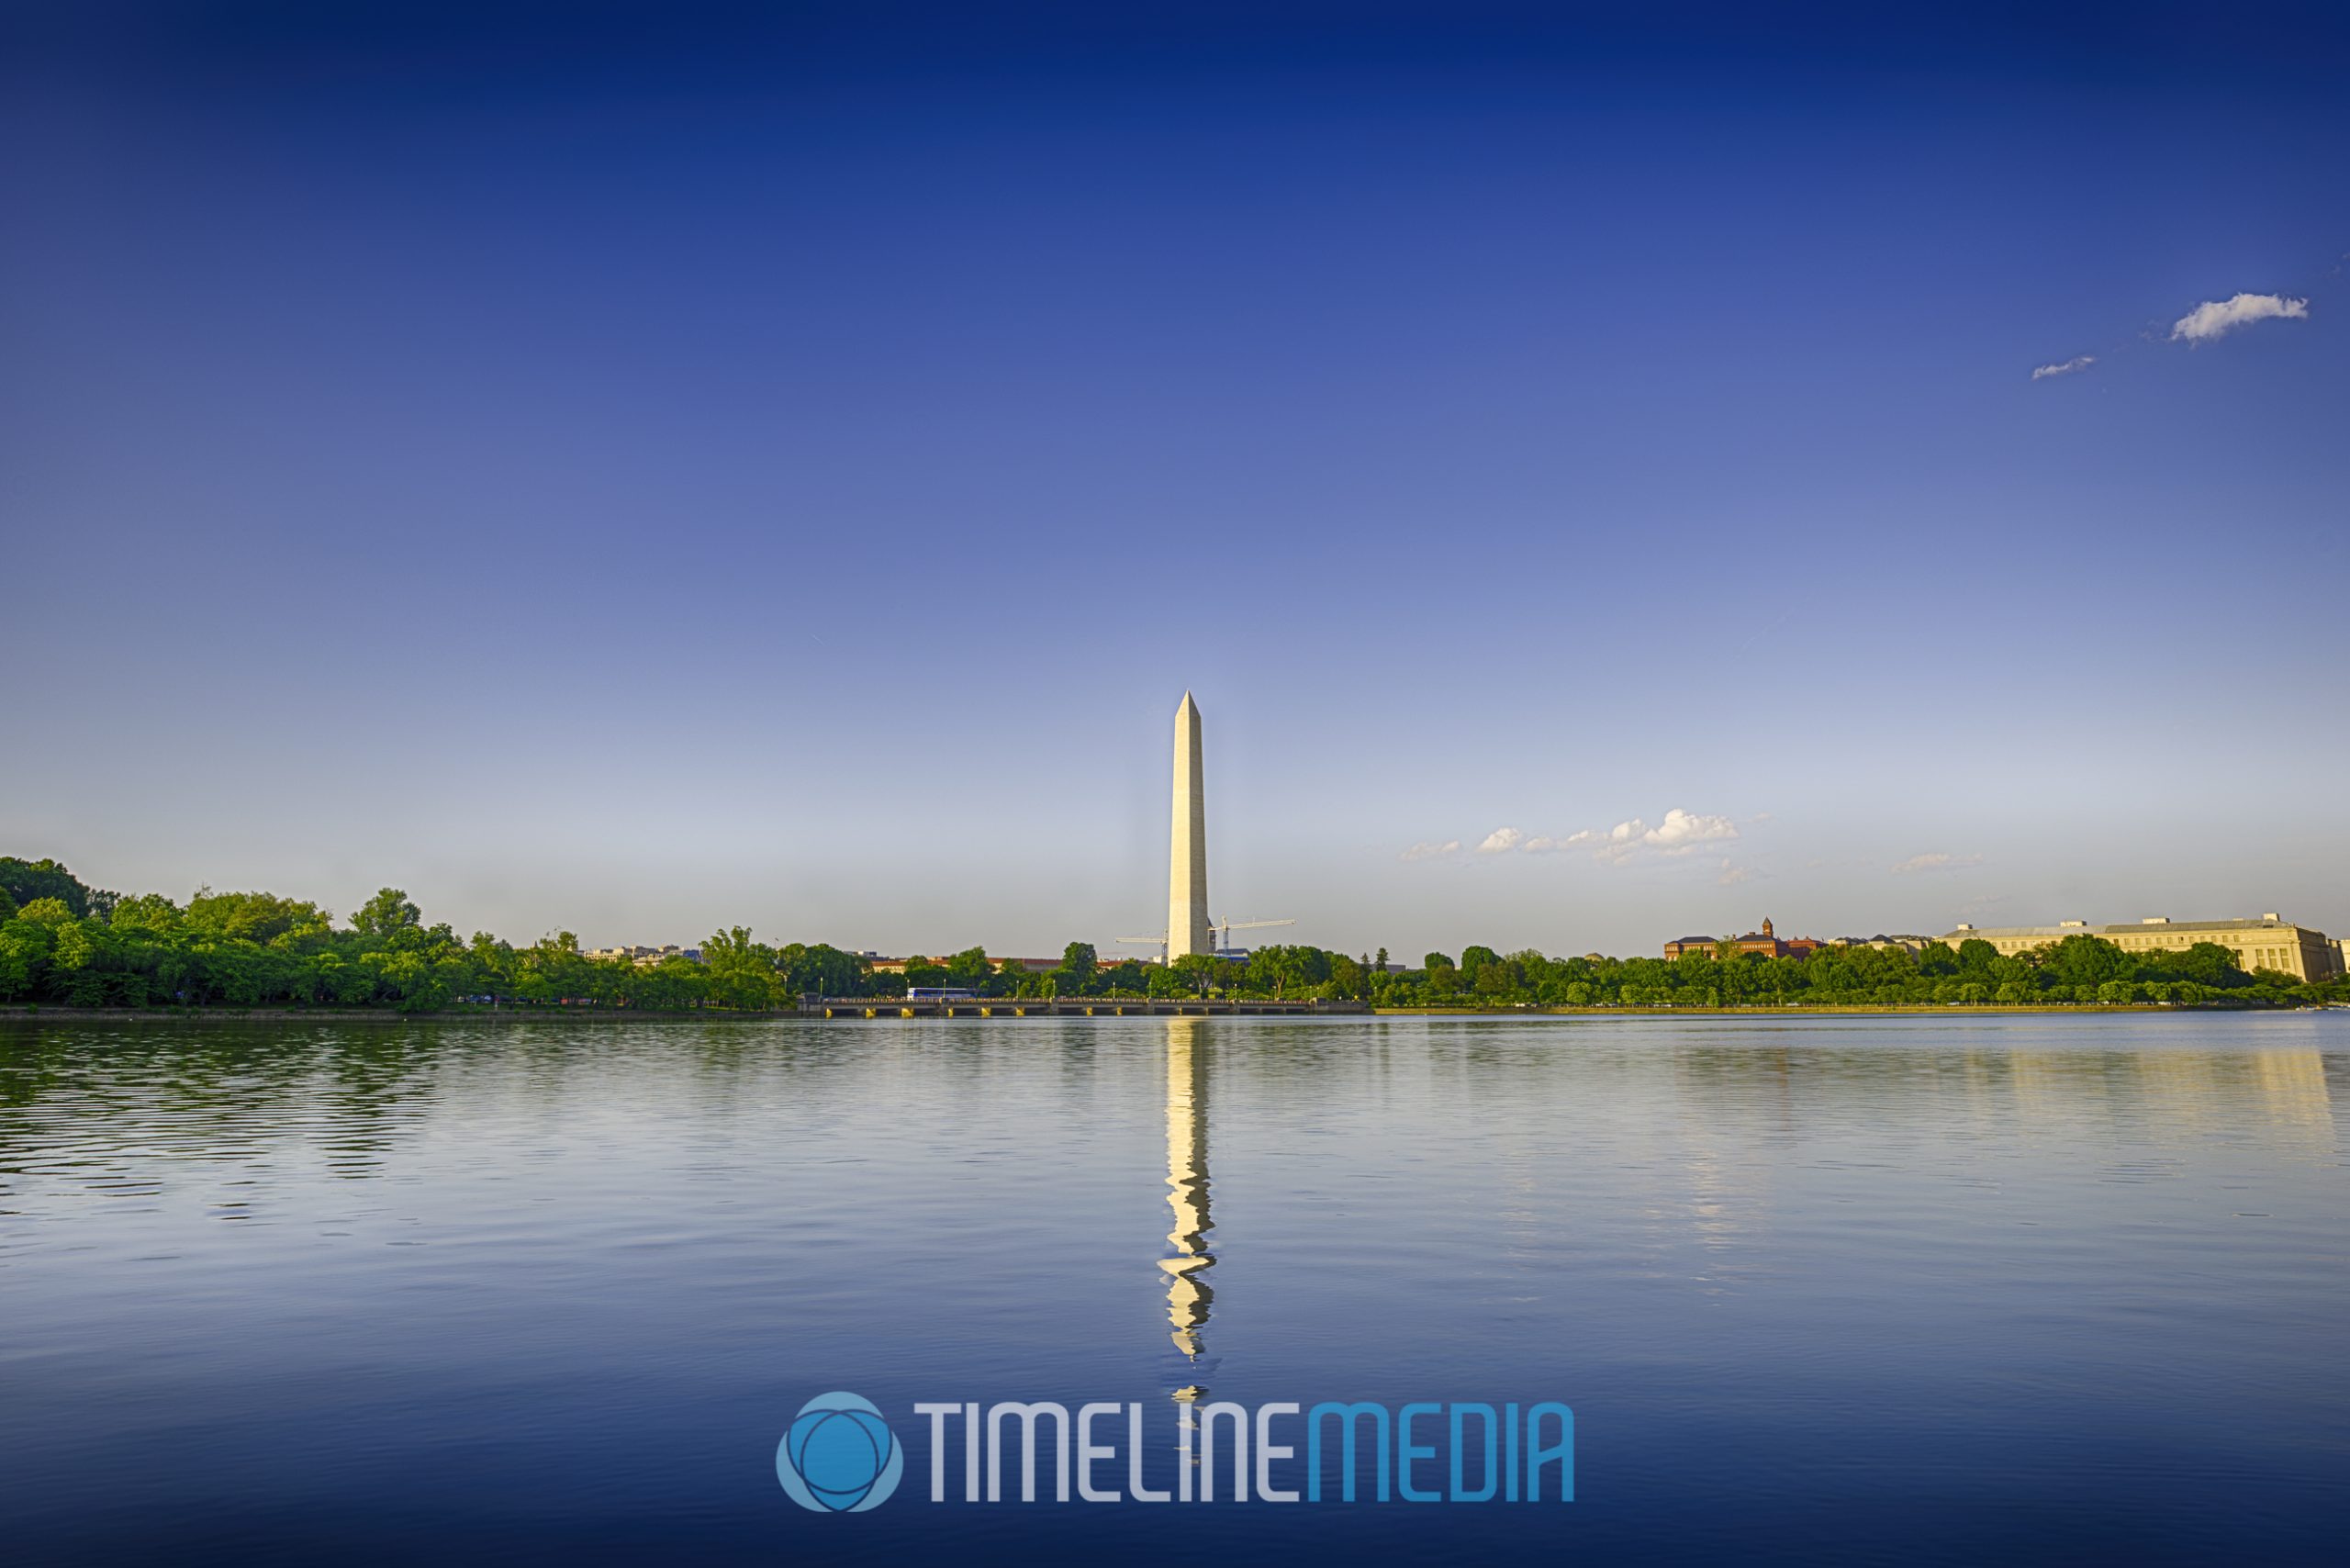
Washington Monument from Tidal Basin ©TimeLine Media

Last May, I went to downtown Washington, DC to get photos of the Washington Monument. We are updating a wall art collection in one room. For that reason, I thought about grouping photos of DC monuments would fit nicely.
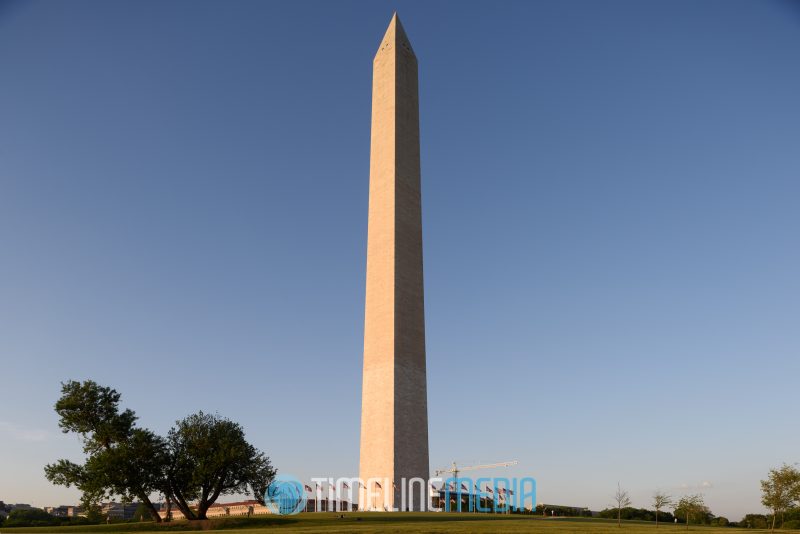
Now that I had an idea of what I wanted to create, I set out to make the photos on a clear evening. This time of day is ideal for what I was looking for. I did not want a late evening, or nighttime shot, but the middle of the day would not have the dimension I was looking to have on the monument. When the sun gets lower in the horizon, the shadows will be a little less harsh overall.
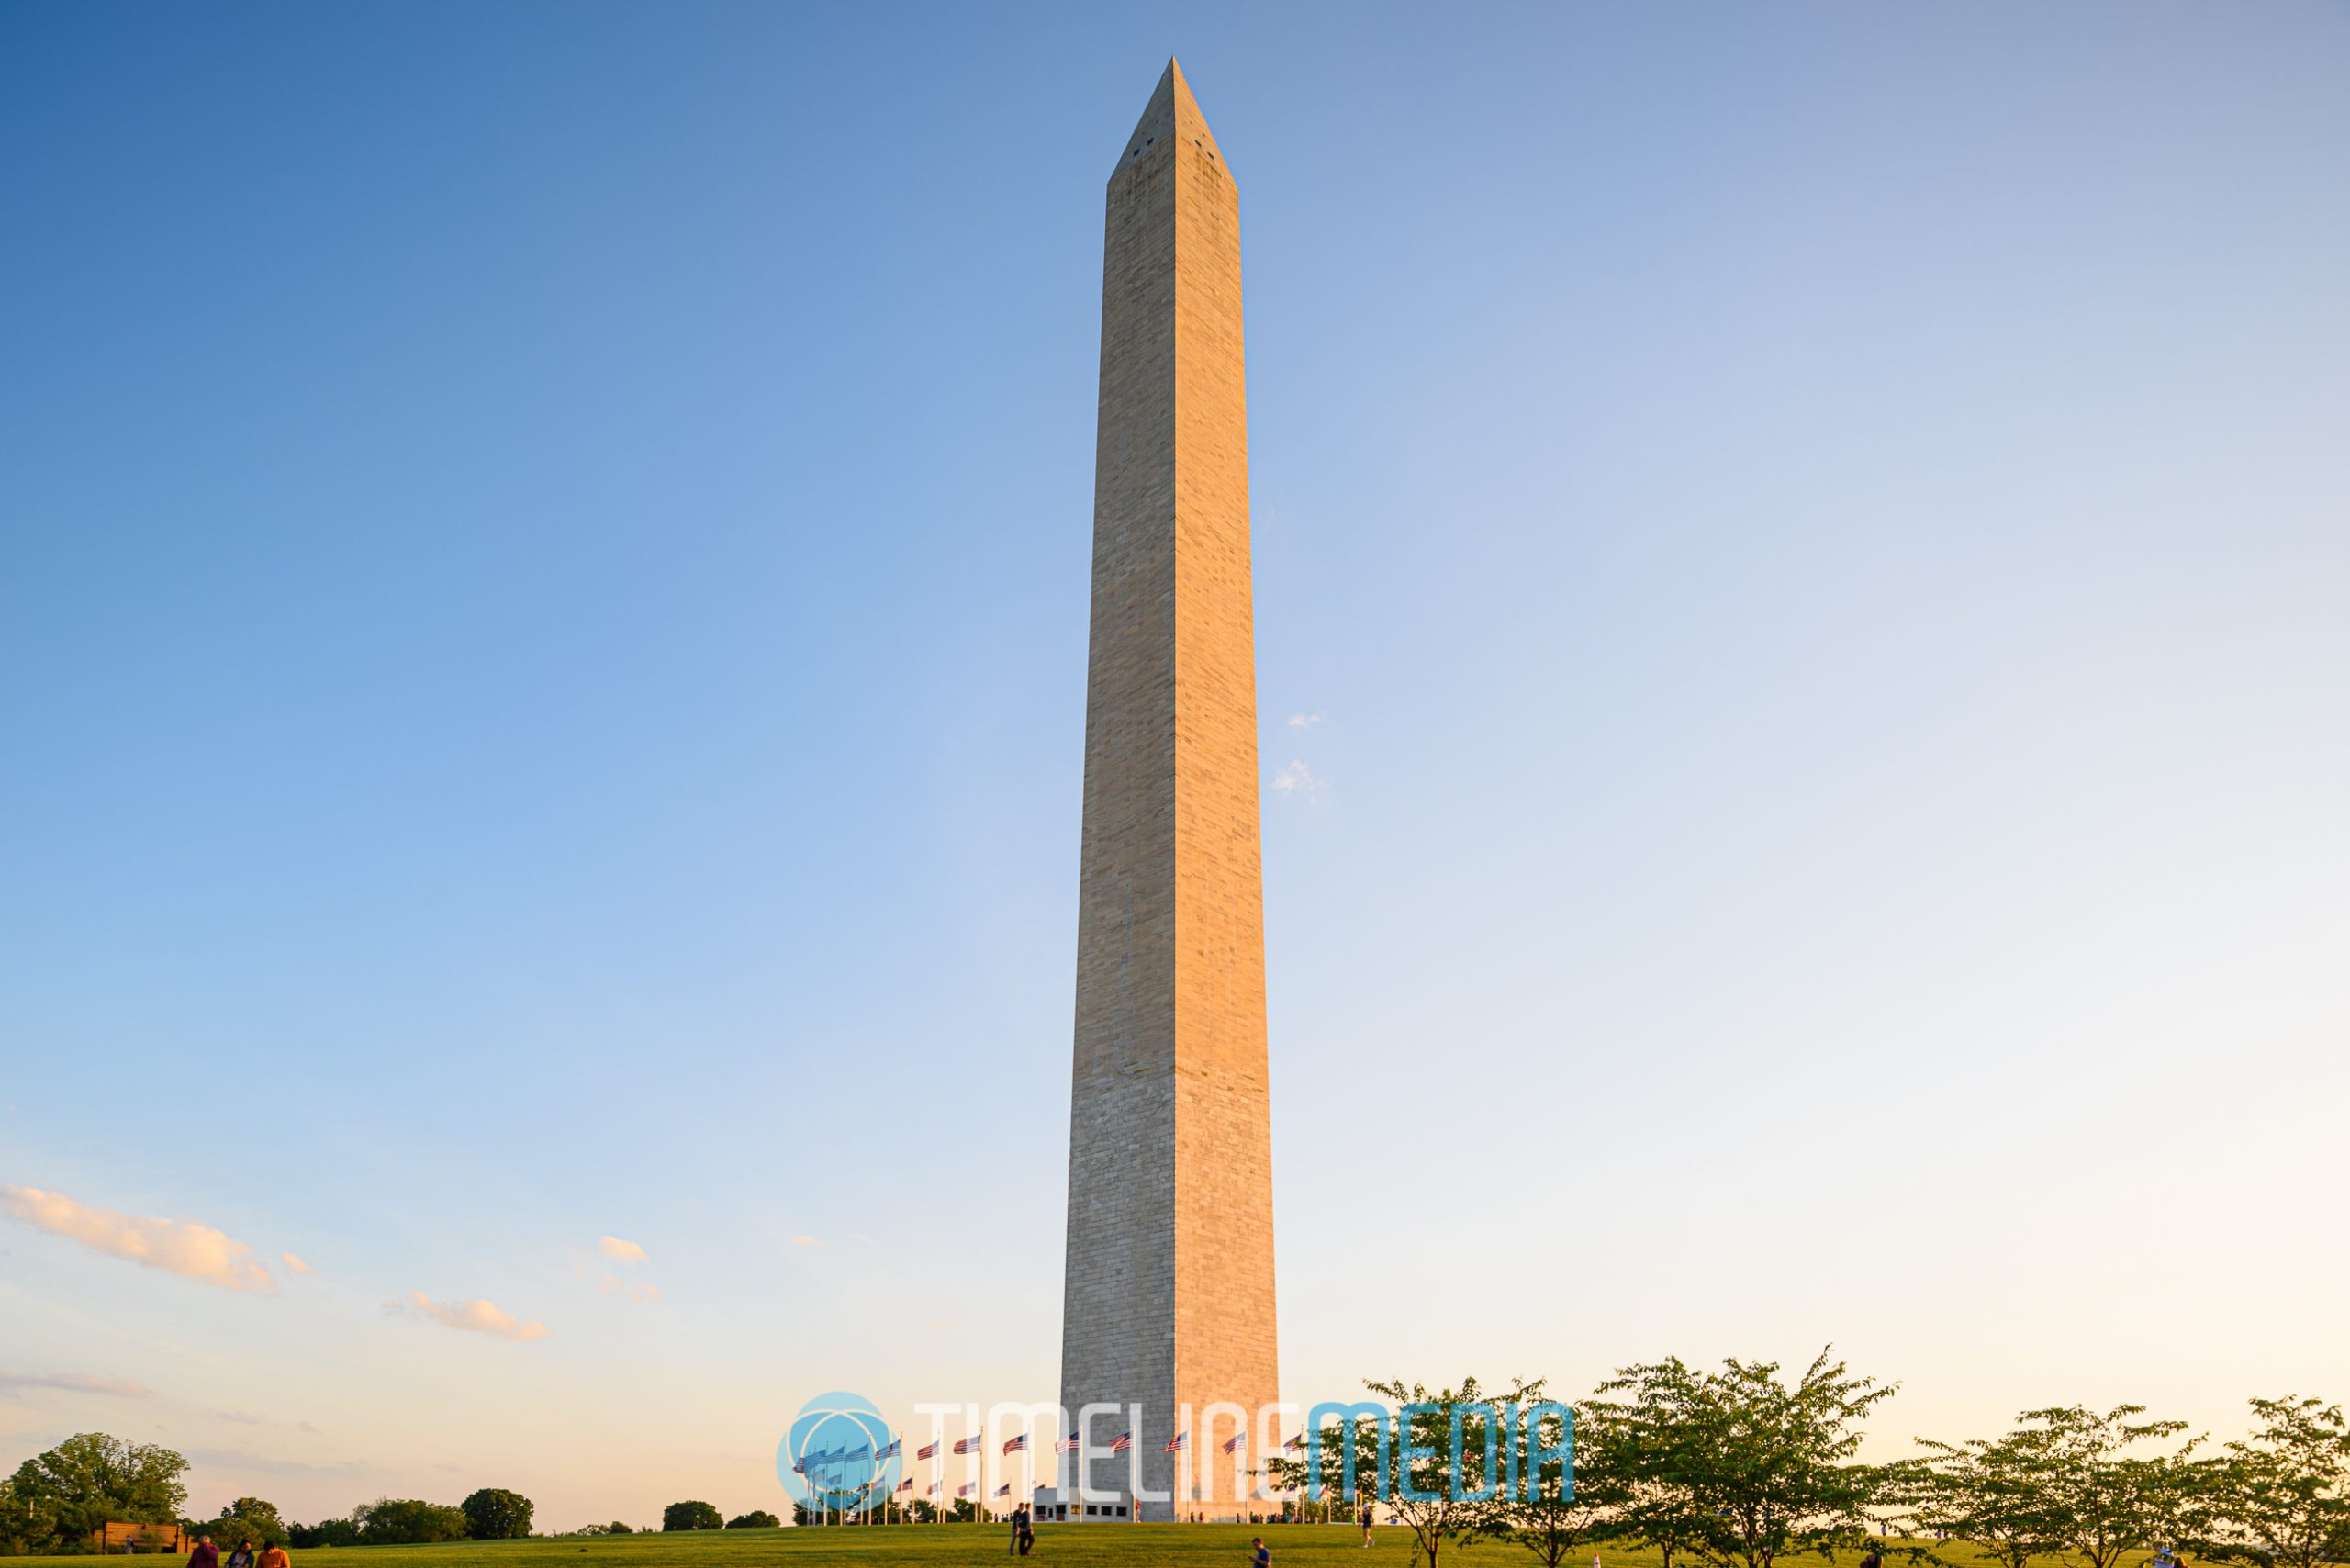
Sunset photo of Washington Monument ©TimeLine Media

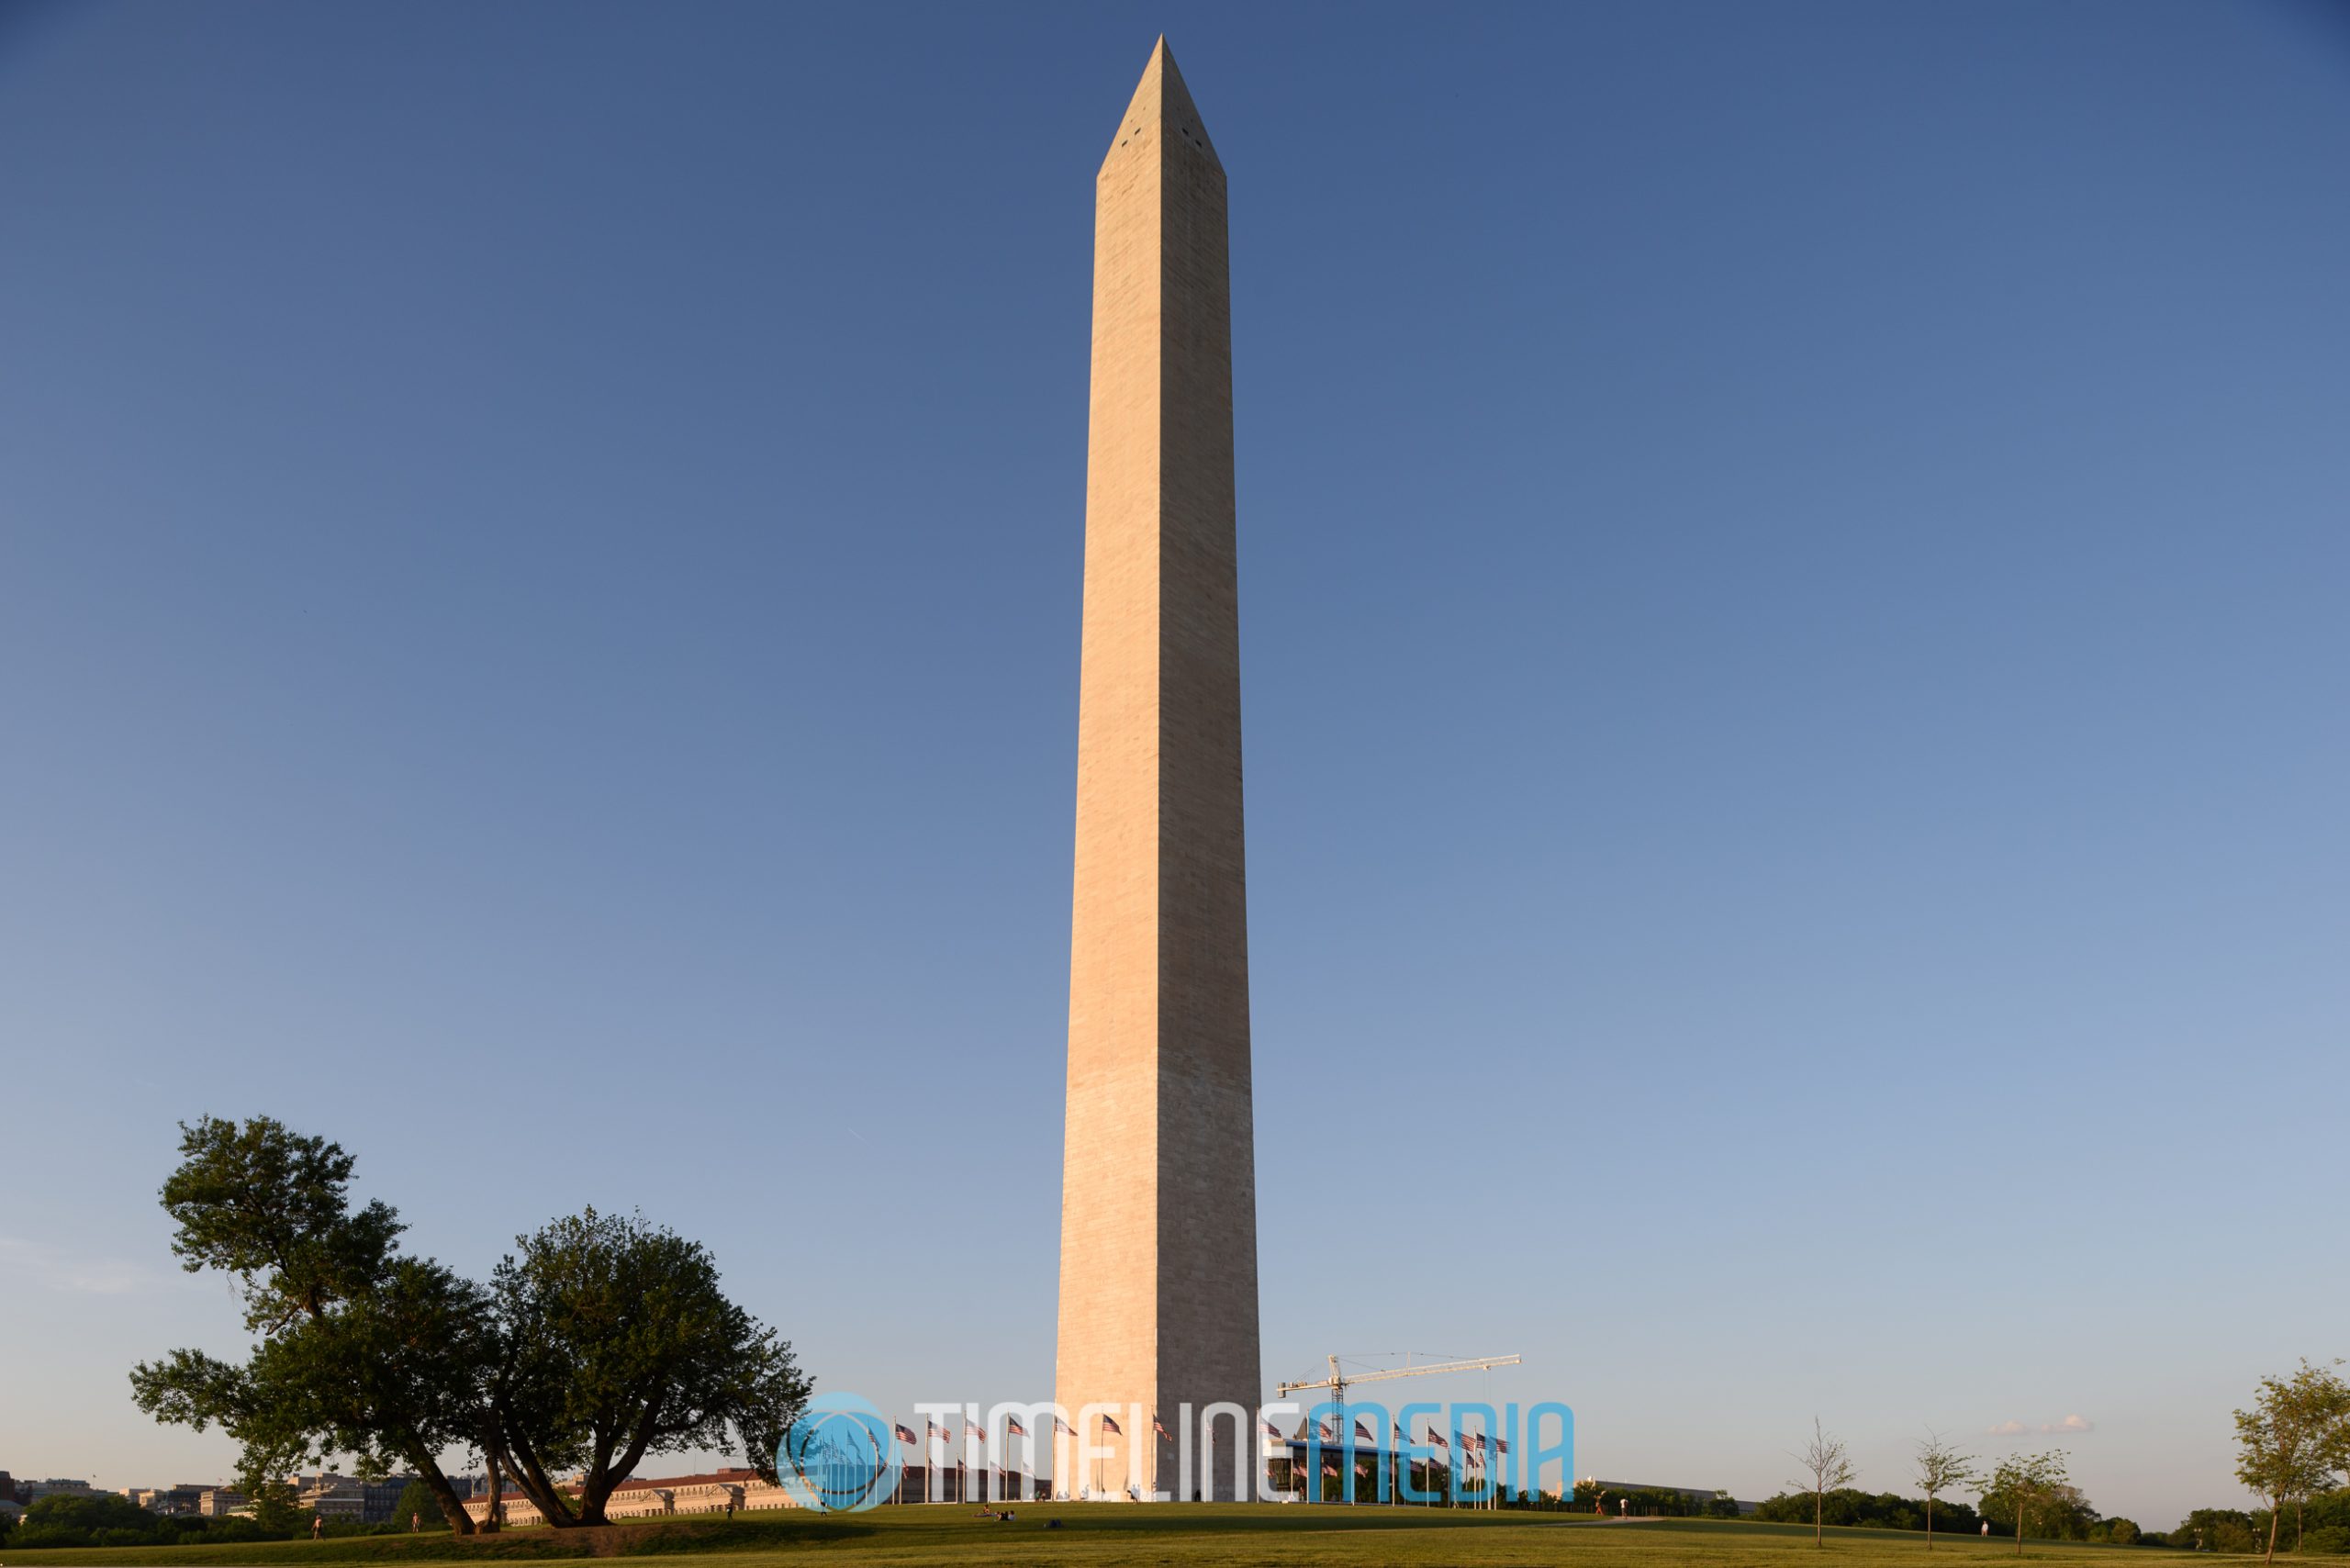
For these photos, I used the 24mm PC-E F/3.5D tilt shift lens. This is one of the sharpest lenses I have in my bag. Secondly, the shift function of the lens helped to correct the ‘falling away’ look of the very tall Washington Monument. As can be seen in the comparison photos, the straightened version is more accurate, and a different perspective than from the ground vantage point that you see.
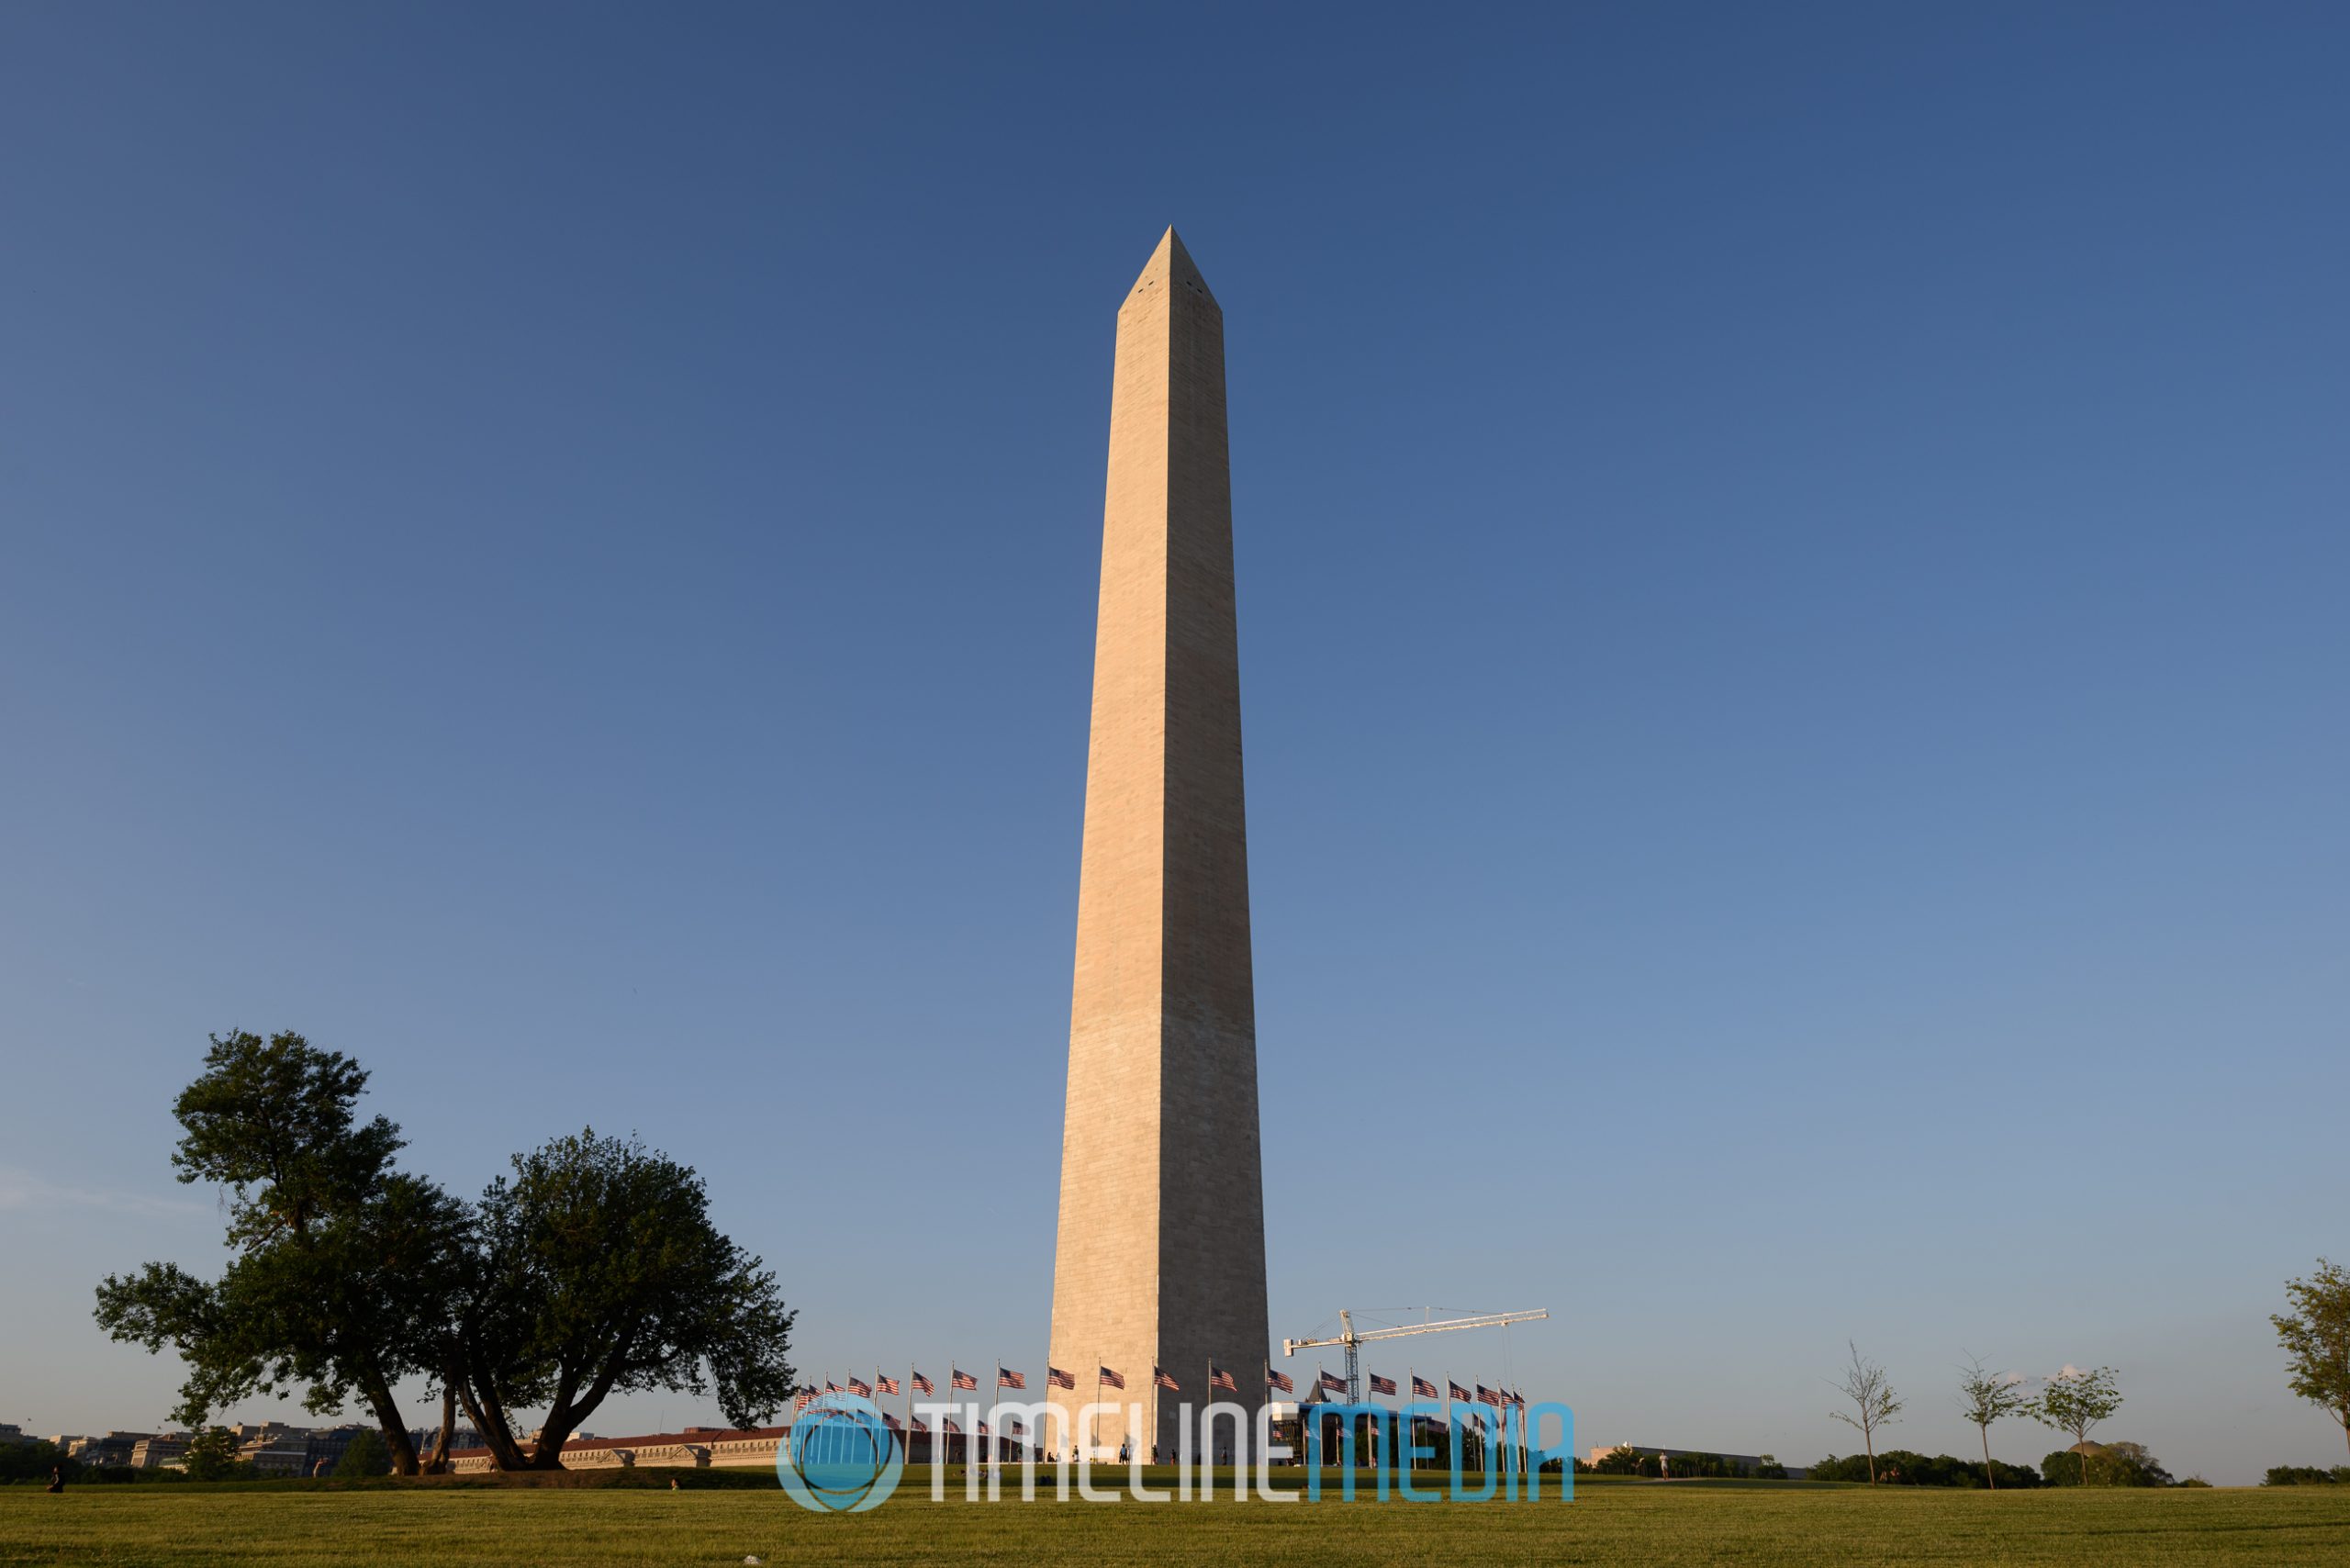
uncorrected monument 24mm lens ©TimeLine Media
shift corrected monument 24mm lens ©TimeLine Media

Washington Monument Print

Once I had the settings of the camera dialed in, I moved around the base of the monument. Sometimes the placement of the trees at the bottom surrounding park was distracting. In another case, the construction cranes from a museum going up near the monument was distracting. Finally, I just decided to shoot, and remove the crane out of the print in software for my final selection. It was a successful exercise to gain experience with a lens, and to shoot for a specific purpose.
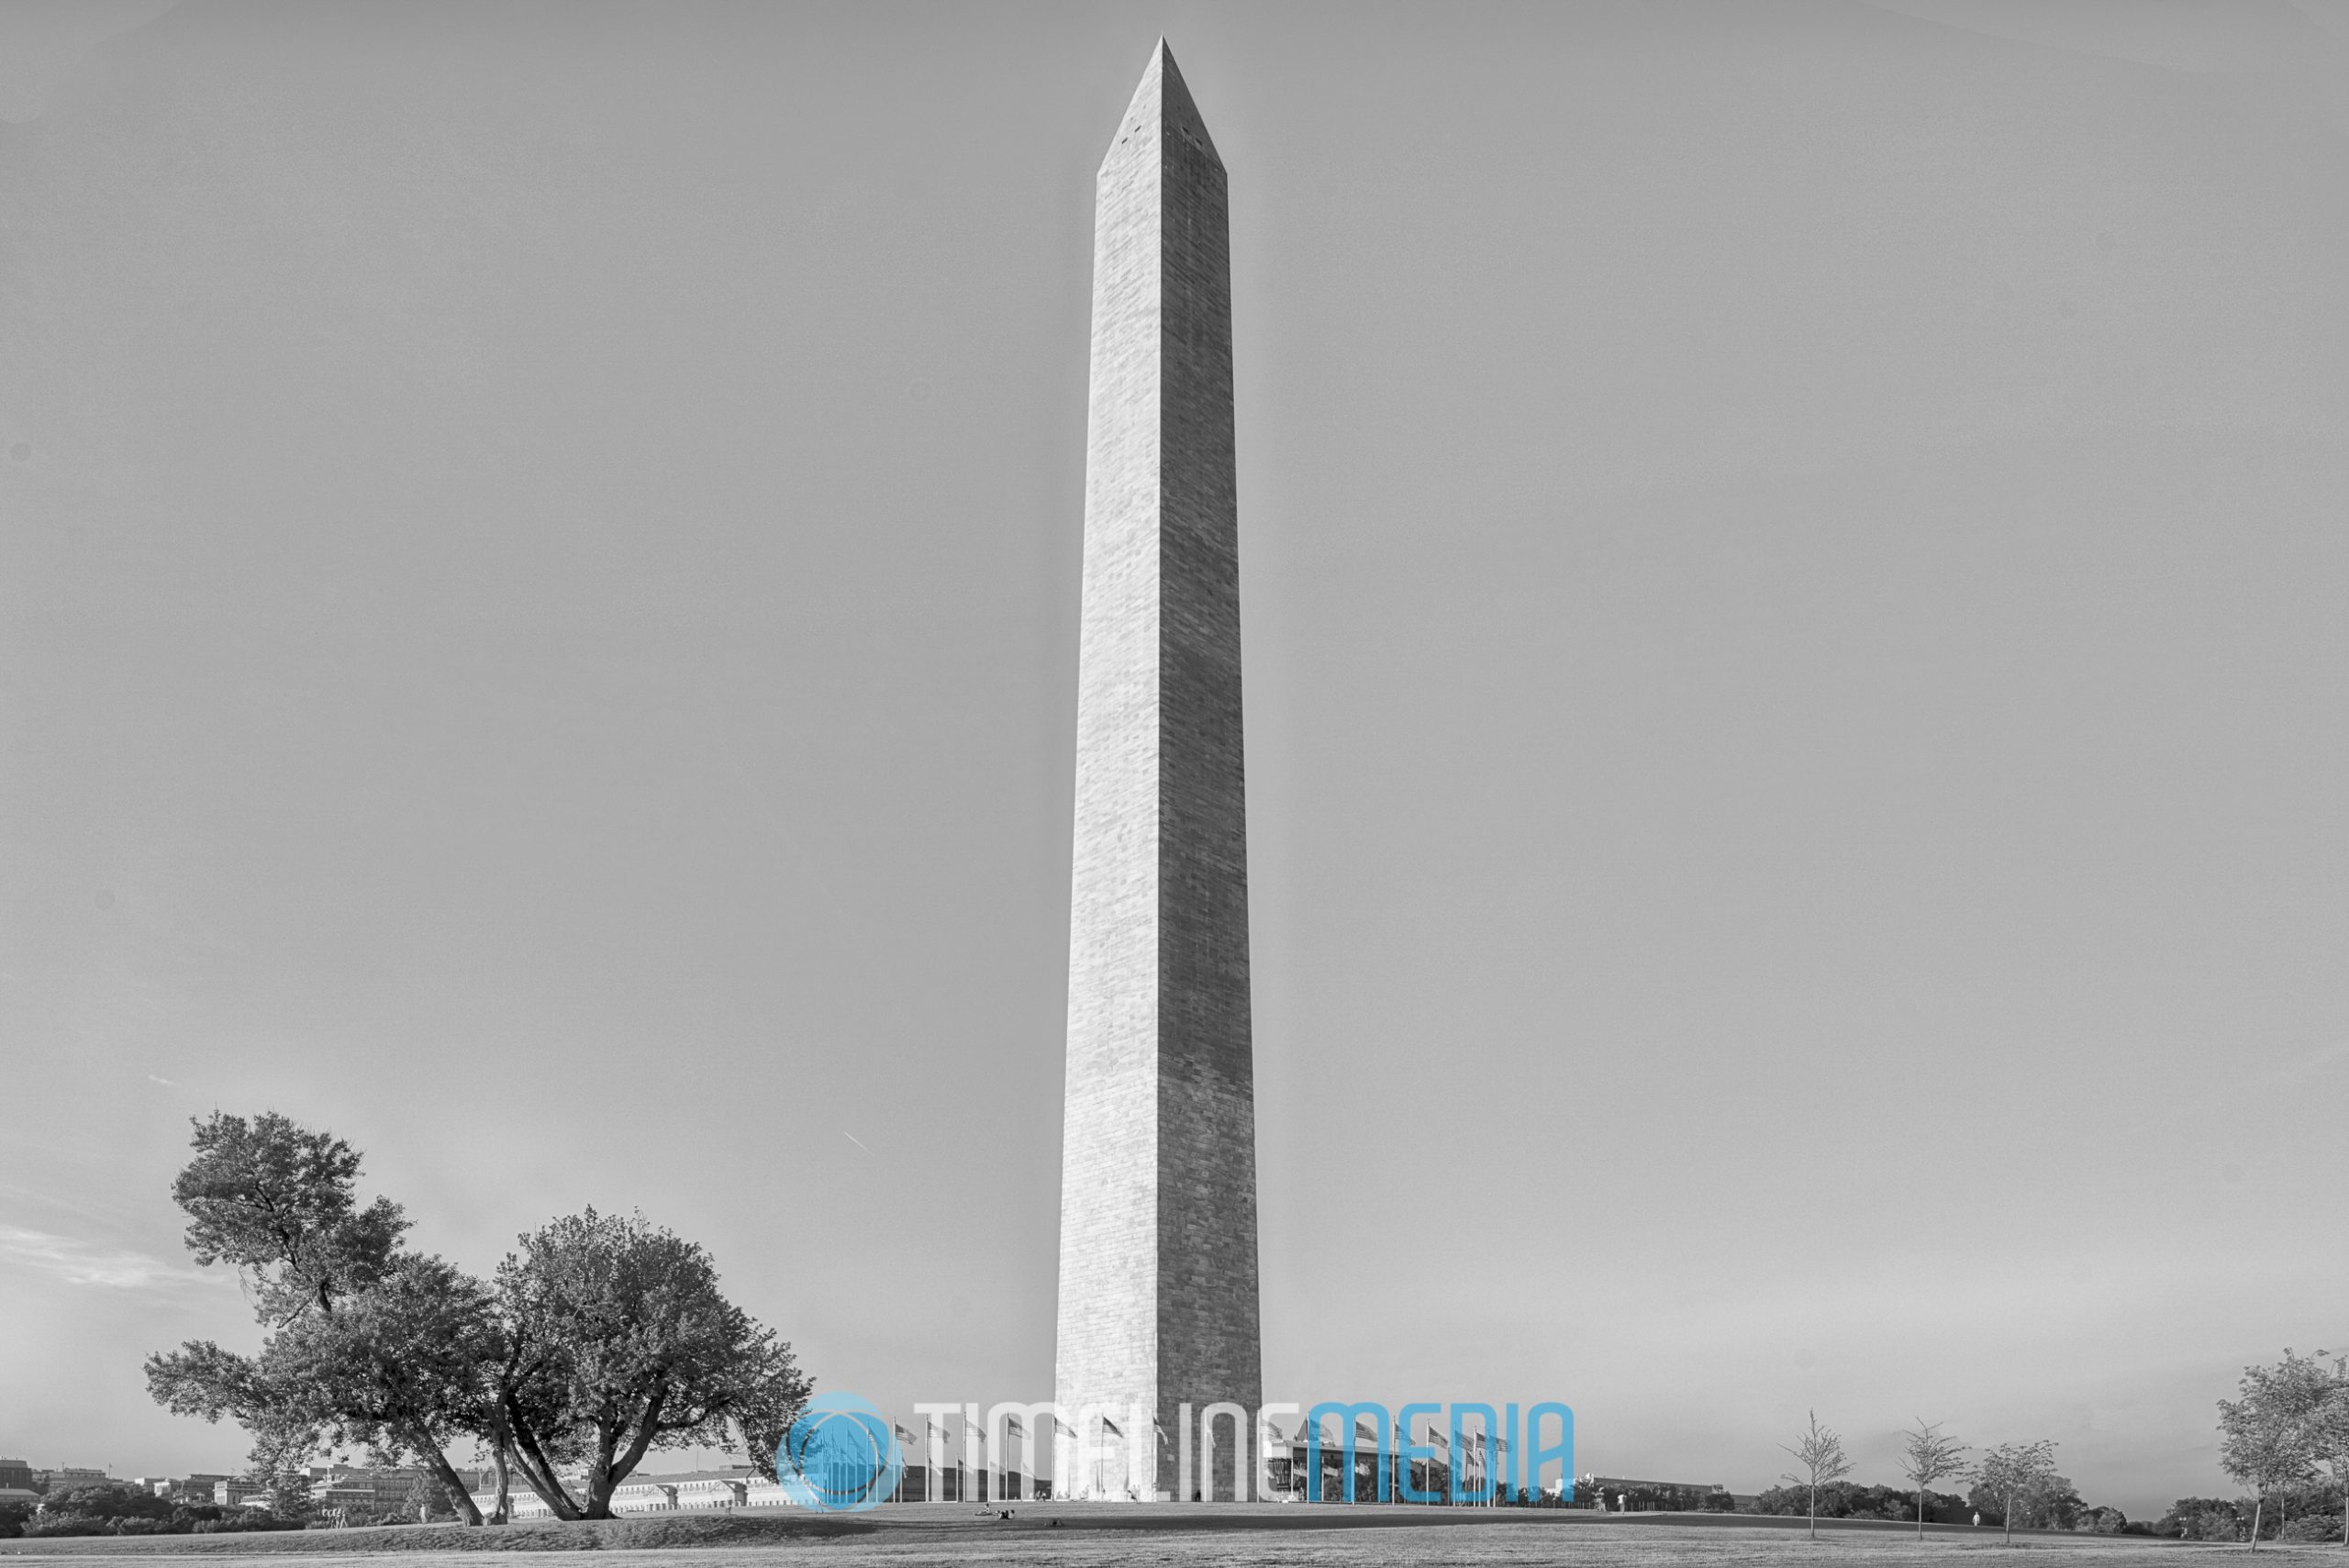
final black and white wall print ©TimeLine Media

TimeLine Media – www.timelinedc.com
703-864-8208

Creating Vignettes with Flash

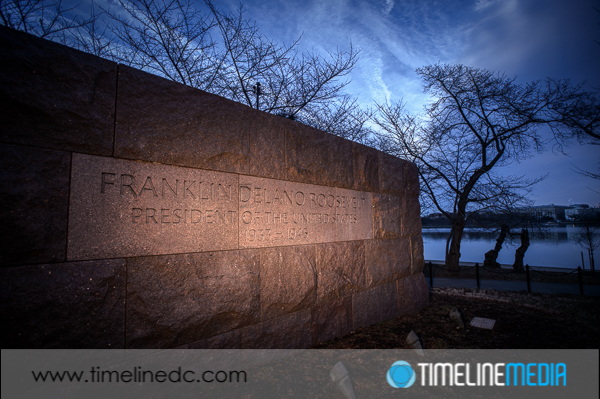
Lighting the Roosevelt Memorial with small flash - ©TimeLine Media

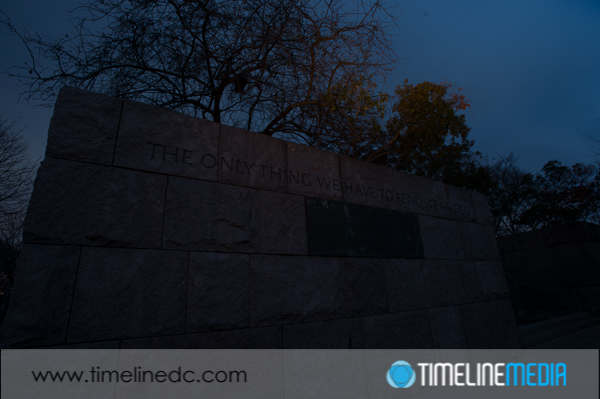
On yesterday’s post, I wrote about creating vignettes, in Photoshop. Today, I want to post some photos of another cool way to create vignettes, but this time, doing it in camera. I made these at the Franklin Delano Roosevelt Memorial in Washington, DC. In this walk-through park dedicated to the longest-serving US President, there are many of his quotes engraved into the large pink-colored blocks that make up the monument. You can use the color of the blocks to your advantage as pink and blue are next to each other on the color wheel, so they will work together well in a frame. Here is a frame of the manual exposure setup in the camera without the flash:

Roosevelt Memorial without flash - ©TimeLine Media
Roosevelt Memorial without flash – ©TimeLine Media

Washington, DC

I am just looking to keep a dark, saturated blue in the sky. The flash will be used to illuminate the foreground and pop the subject out of the frame. To setup the flash, I put a warming gel over the front of the flash. Additionally I zoomed the head in to 180mm. This focuses the flash into a tight circle as opposed to just spilling light all over the scene. This is what creates the vignette effect which will draw your viewer’s eye to where you want it to go. I hand held the flash with my left hand, and made this photo:

Lighting the Roosevelt Memorial with small flash - ©TimeLine Media
Lighting the Roosevelt Memorial with small flash – ©TimeLine Media

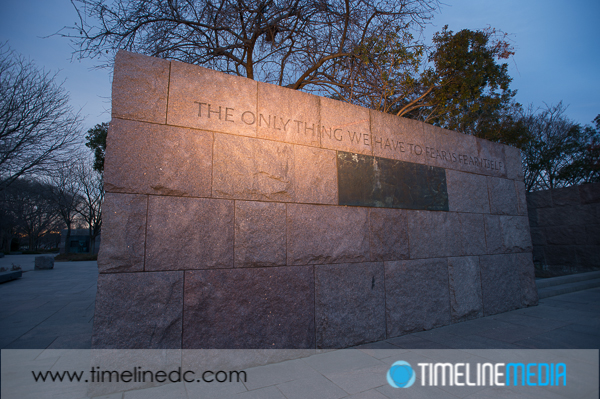
How far you zoom the head, can make the circle of light larger. Especially if you have more of an area you want to cover in light. This next photo, I zoomed the head out farther since I was standing farther away, and had more words that I wanted to light:

Lighting the Roosevelt Memorial with small flash - ©TimeLine Media
Lighting the Roosevelt Memorial with small flash – ©TimeLine Media

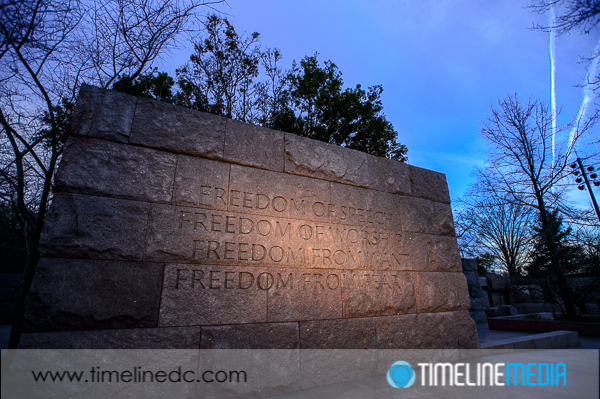
It was a challenge to get the light exactly right. Sometimes, I would flash the ground, sometimes, I would only light the trees above the blocks. It would be much easier to do this with the flash on a stand that you can control with more consistency, but I did not want to risk any entanglements with the park rangers. I simply used a hot shoe cable cord to get the flash off the camera, and fired away. Give it a try next time to get a different look at places that are photographed all the time!

Lighting the Roosevelt Memorial with small flash - ©TimeLine Media
Lighting the Roosevelt Memorial with small flash – ©TimeLine Media

TimeLine Mediawww.timelinedc.com
703-864-8208
Tools for Bracketing Exposures – Tech Thursday

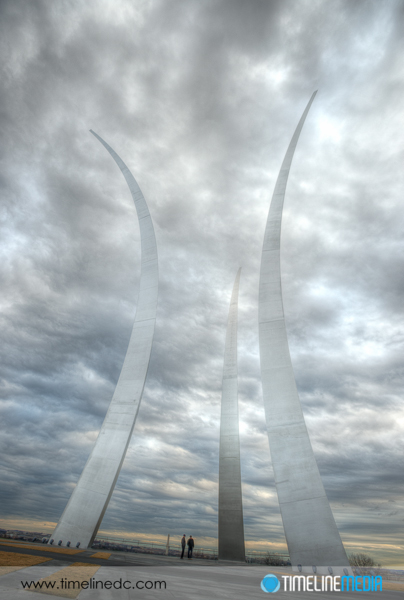
Air Force Memorial morning HDR - ©TimeLine Media

When creating high dynamic range or HDR photos, you need to make multiple exposures of the same scene. However, the images need to be made at difference exposure values. Between each time you fire the shutter, you only change the shutter speed. Afterwards you have a set of photos that have the same composition, but differ in the amount of exposure. In this case half will be under exposed, half will be over exposed. One will have the exposure set by the meter.

Bracketing Exposures

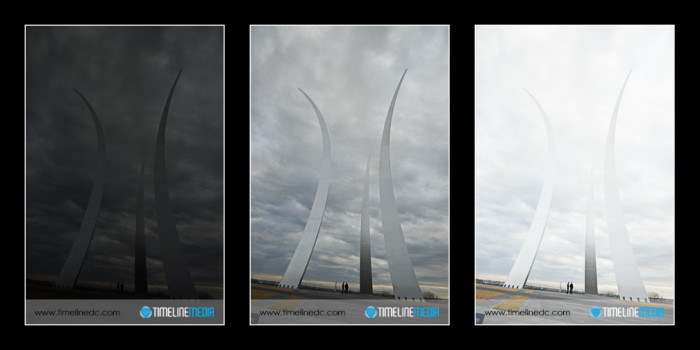
Air Force Memorial multiple exposures - ©TimeLine Media
Air Force Memorial multiple exposures – ©TimeLine Media

These three images were exposed (from left to right) for 1/3200th second, 1/400th second, 1/100th second, at an aperture of f/5.6 for all. For the final image, I had a total of 9 exposures that were combined to make the HDR file. To ensure you have good images to work with, it helps to make these exposures as fast as you can. If your position moves, or elementes in the frame move between each exposure, it will be more post work. In software you need to correct these, It adds to the long post processing of these files. Many modern DSLRs have functions and tools that will help.

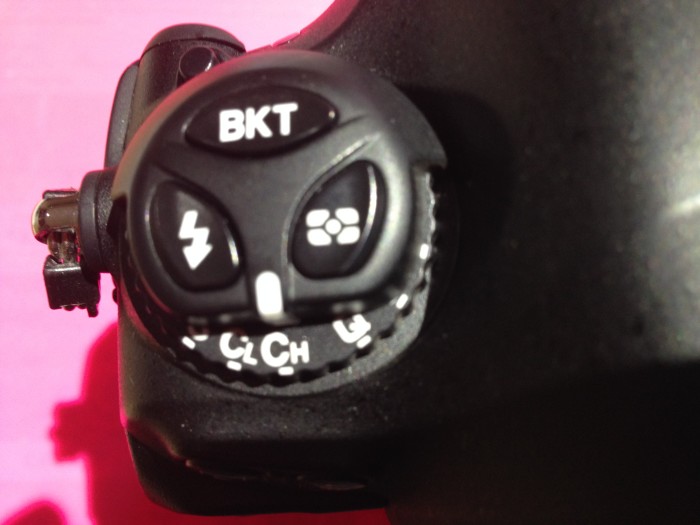
Bracketing and motor drive settings on Nikon DSLR - ©TimeLine Media
Bracketing and motor drive settings on Nikon DSLR – ©TimeLine Media

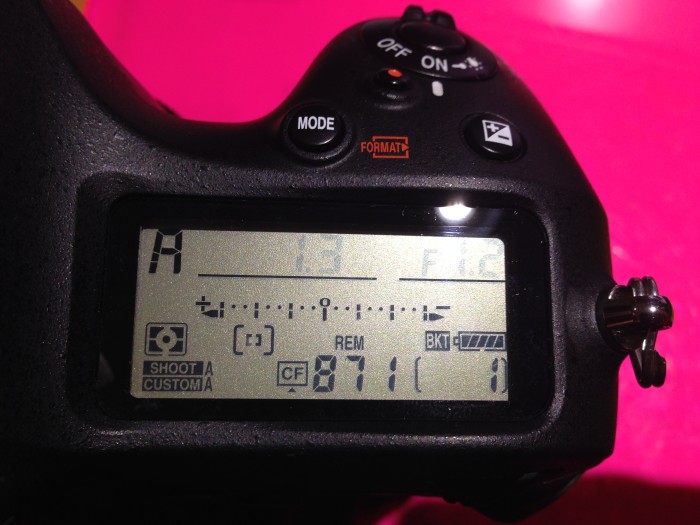
In my Nikon camera, I can use the “Bracketing” function to set the camera to take a series of exposures that vary in shutter speed. Holding this BKT button, and moving the main command dial will bring up this dialog box in the mail LCD screen:

Nikon LCD screen setup for bracketing - ©TimeLine Media
Nikon LCD screen setup for bracketing – ©TimeLine Media

What this screen is showing it that the camera will take 9 frames with 1.0 stops of light between each exposure. You can change this to be 7, 5, or 3 frames, and you can change the differences of stops between each to be 0.3, 0.7, 1.0, 2.0, or 3.0 (!) stops of light difference between each. From my experience, having 9 frames with a stop between each frame will cover more than an adequate amount for most situations. You may have to change depending on your particular subject, but this has worked for me very well in both indoor and outdoor photos.

Air Force Memorial morning HDR - ©TimeLine Media
Air Force Memorial morning HDR – ©TimeLine Media

TimeLine Mediawww.timelinedc.com
703-864-8208

1 2 3 6