Posts Tagged ‘panoramic’

Panoramic photos – Tech Thursday

Milwaukee, Wisconsin

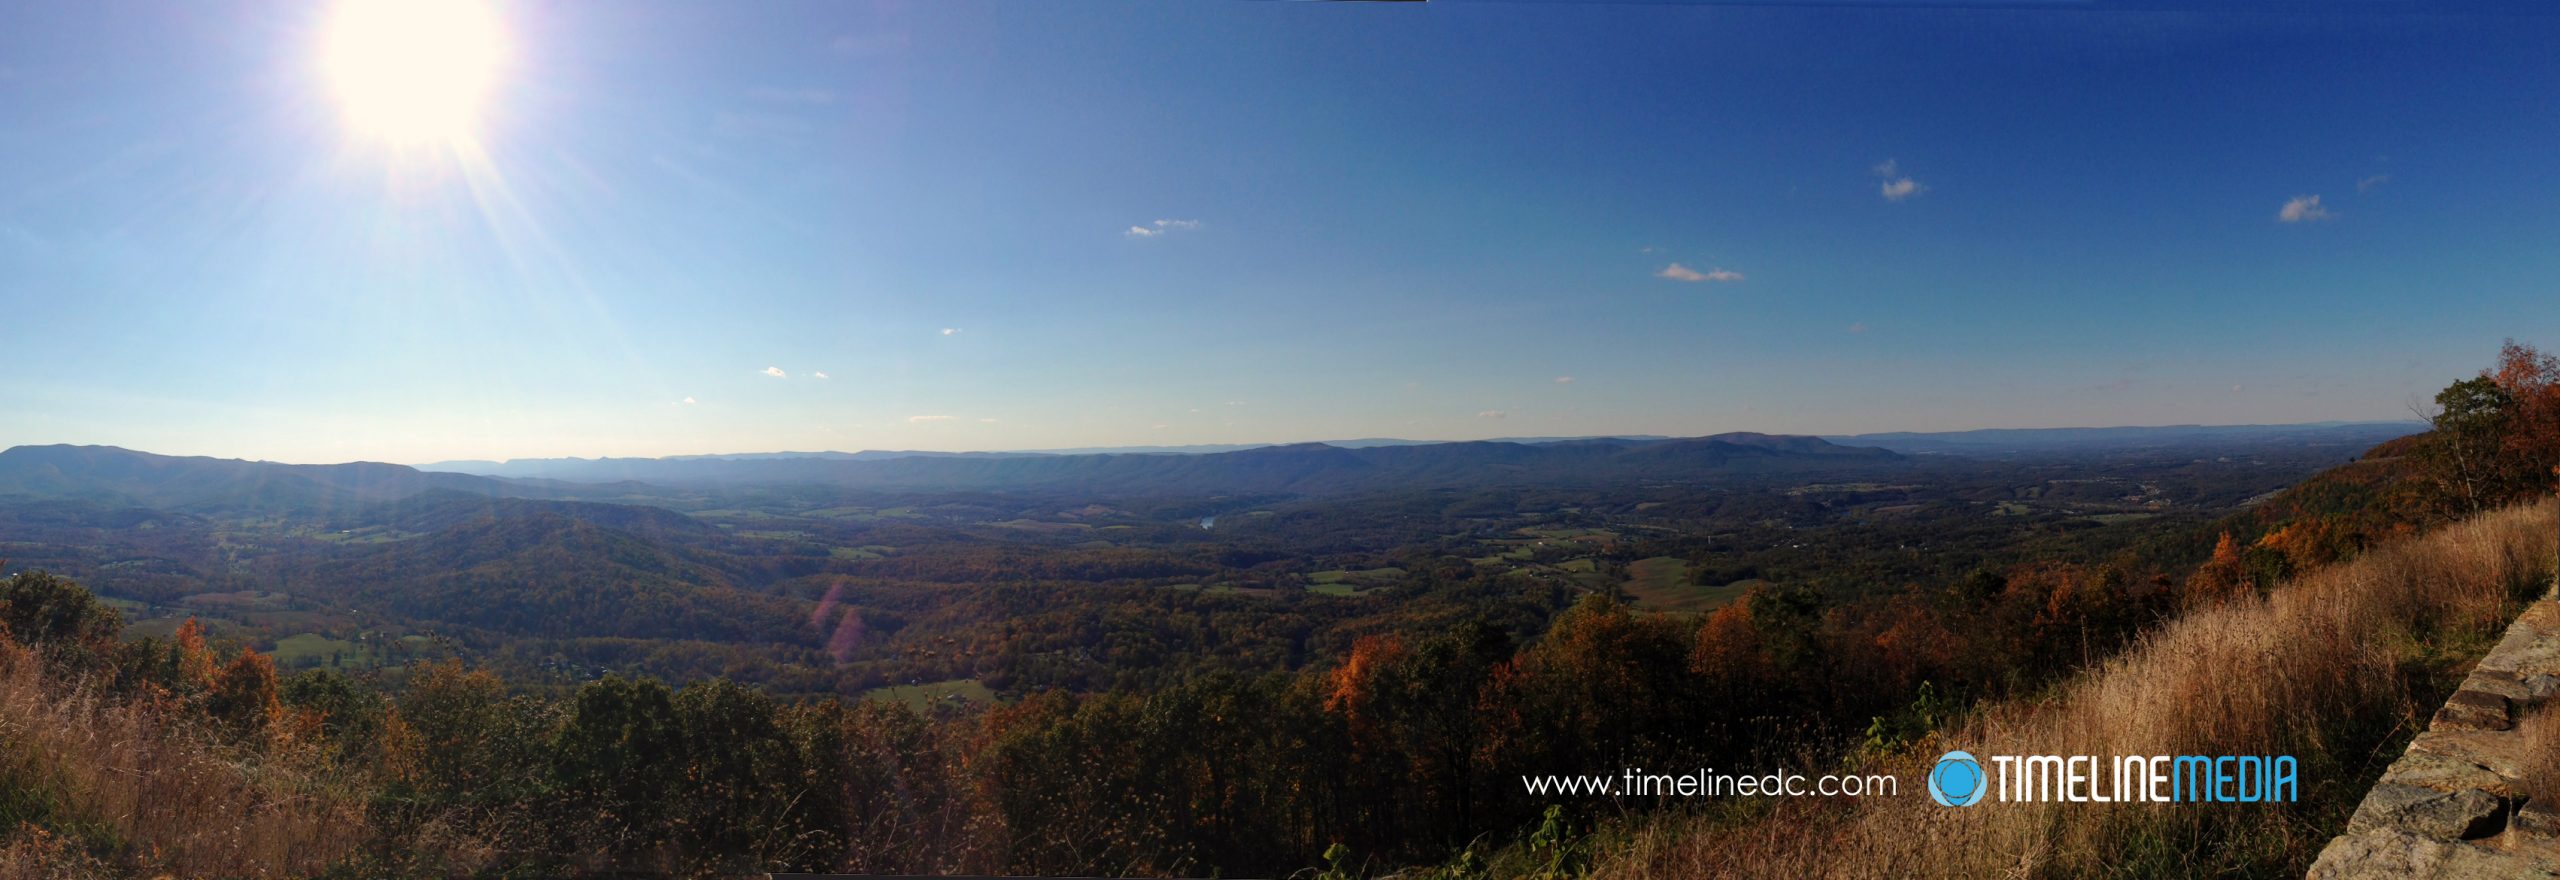
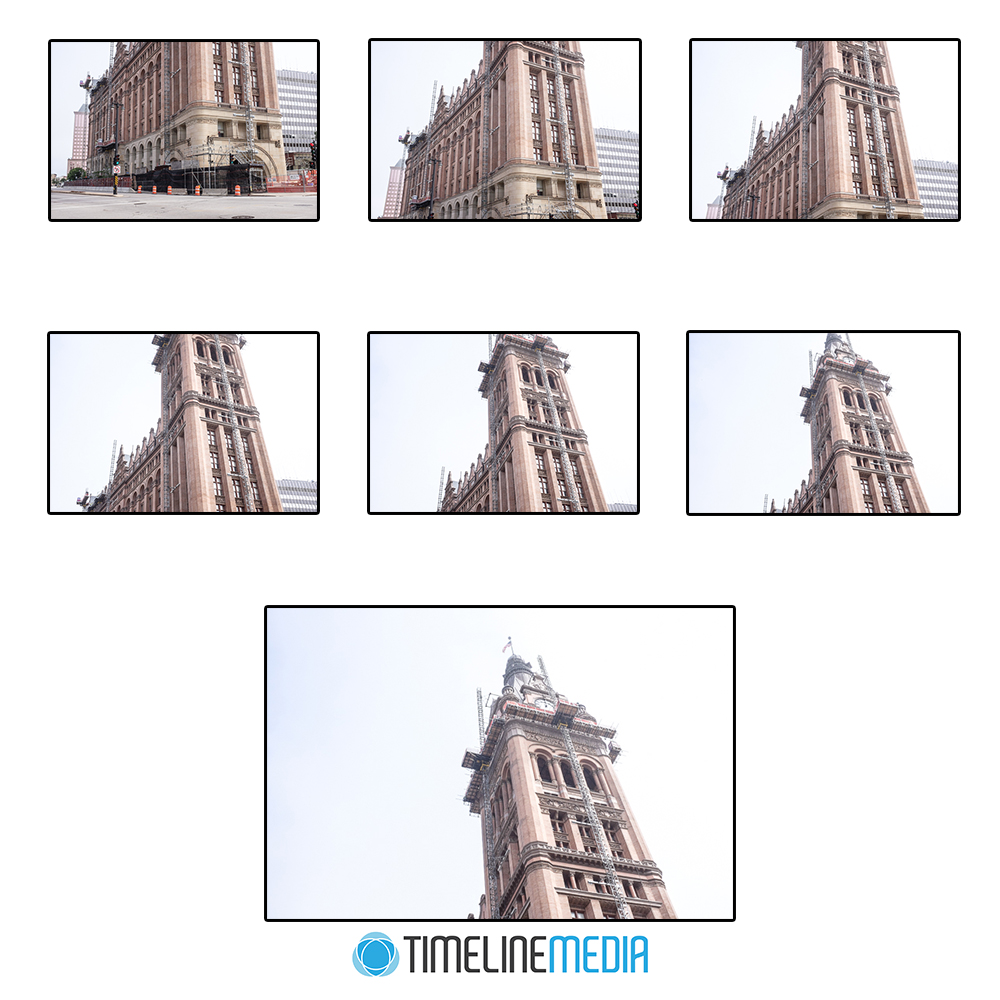
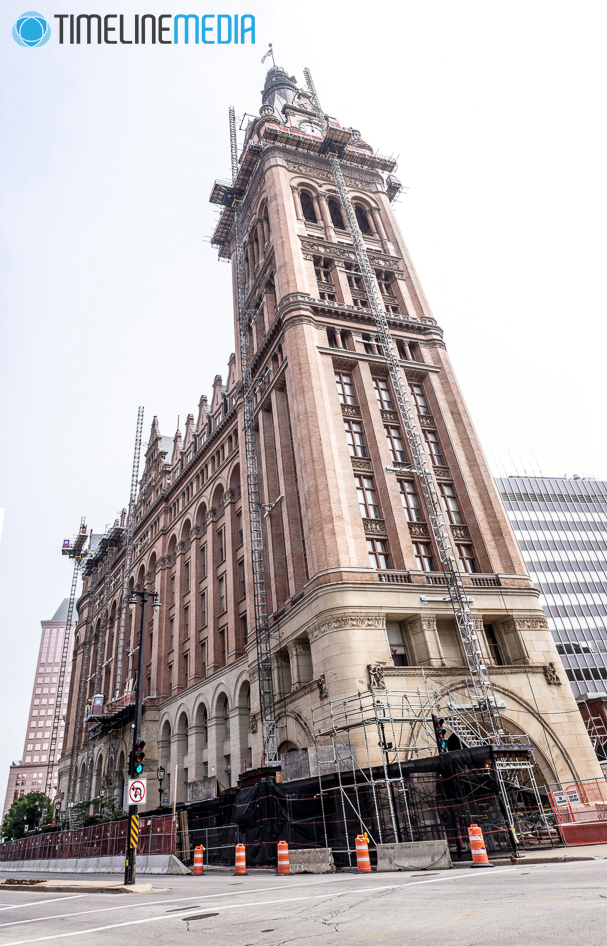
Trying to get in a large scene in one photo can be difficult if you do not have the right tools with you. While traveling, you may see panoramic scenes that you come across that are a challenge to get in one frame. This is especially true if you have a fixed lens camera. Moreover, a limited amount of time to get your photos adds to the problem. All the photos on this post were made with the Fuji X100s which as a fixed 35mm equivalent lens. It is not particularly wide, and I had no chance to get the entire tower of Milwaukee’s City Hall with this camera. Especially with the tour group moving on to the next point of interest, I had to go quickly. If you come across something similar, remember Photoshop for later. It is very good at creating panoramas from multiple images taken in series. For this attempt, I took this series of photos:

Source images for panorama - ©TimeLine Media
Source images for panorama – ©TimeLine Media

Post Processing

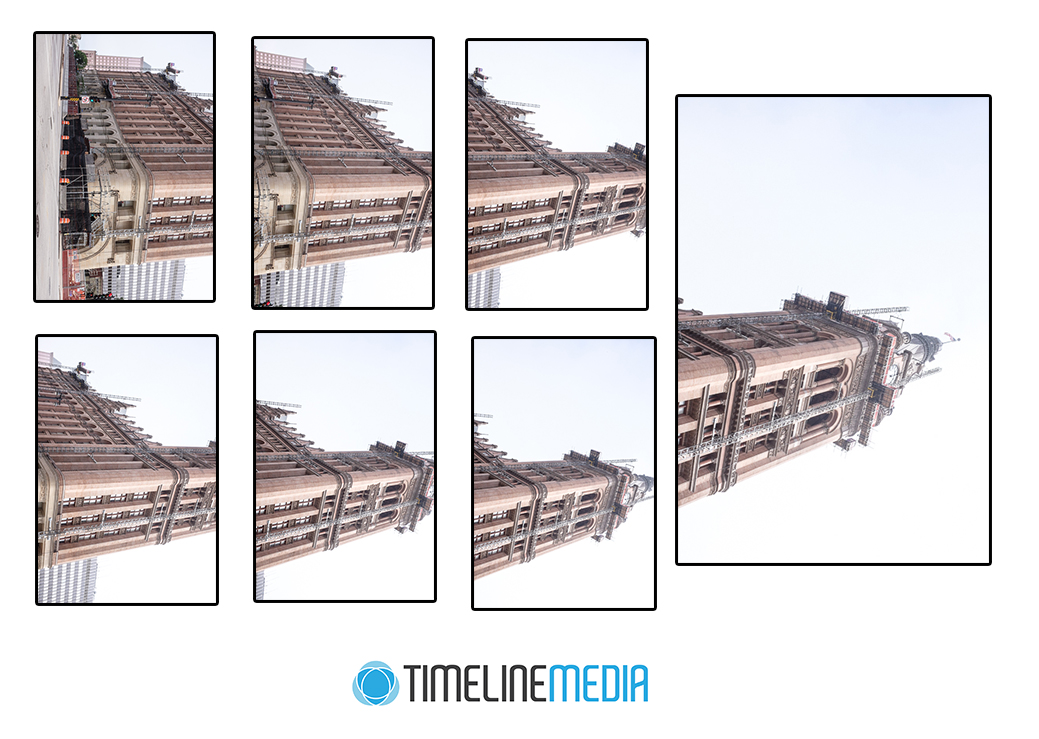
Starting at the bottom of the building, I took seven photos from the street to the top. I made sure that there was overlapping areas in each photo. Having this overlap will help the software find common points that will make for a more seamless panorama. One tip that I would give when you attempt this with landscape formatted photos going in a vertical direction for large tower structures such as this would be to turn change the orientation of the photos to portrait orientation prior to merging. Here is what the source images looked like after turning them 90 degrees clockwise:

Source images for panorama turned clockwise - ©TimeLine Media
Source images for panorama turned clockwise – ©TimeLine Media

After this, let Photoshop do the rest of the work! Open all the source images, then select File > Automate > Photomerge. Next, select the “Add Open Files” in the dialog box, and click OK. Photoshop will now work on the images, and will pop out a merge file:

Merged photos from Photoshop photo merge - ©TimeLine Media
Merged photos from Photoshop photo merge – ©TimeLine Media

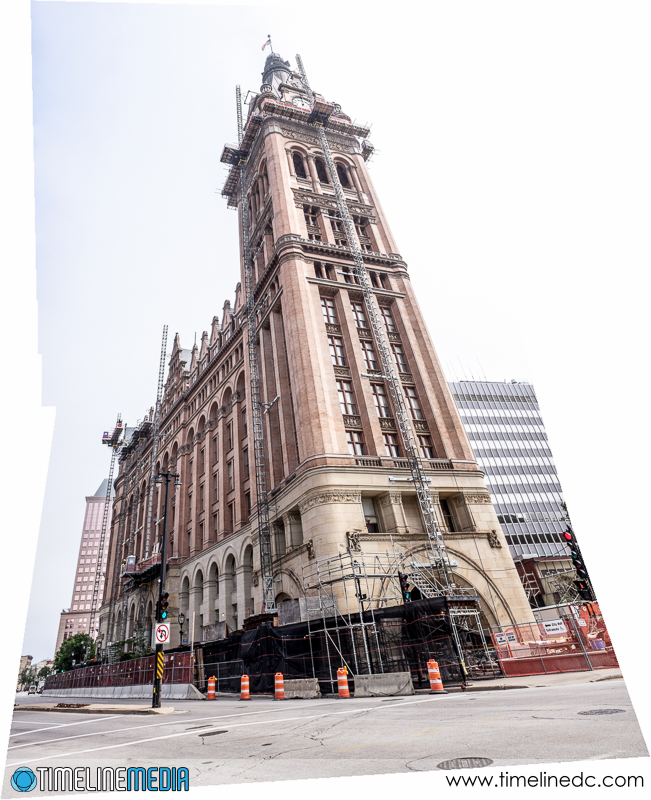
Because of the perspective differences with each photo in the panorama, this is the result. There are some areas where there is no data resulting in the blank spaces on either side of the photo. I just use the crop tool to remove these areas to get the final, large panoramic image!

Milwaukee City Hall - ©TimeLine Media
Milwaukee City Hall – ©TimeLine Media

TimeLine Media – www.timelinedc.com
703-864-8208

Panoramic Images – FujiFilm X100s

©TimeLine Media - Christmas decorations at Union Station

Extended Photos

In going through more of the features of the FujiFilm X100s, I have found another feature that adds value and usefulness from a digital SLR camera. In the menu system where you select the drive of the shutter, you can choose the panoramic function. This works exactly the same as the panoramic feature of the iOS camera app from the Apple iPhone. When this is selected, the back of the camera will give you an arrow to show you the direction to pan the camera to make the image. After clicking the shutter, you can hear the camera making multiple images. Afterwards you move the camera from left to right.

Panoramic Images

The X100s has some advantages over the smartphone app. If you leave the camera in completely manual mode, you can set the aperture and shutter speed. In this case each component image is consistent with the one right next to it. The camera does process the panorama very quickly, so you can quickly preview to see any problems that may require you to retry. I wish that it would be possible work with RAW files with this mode, but that is not an option. Only 1 JPG is made from each panorama. The X100s also has a really good grid overlay on the screen as you make the panorama which helps to keep the horizon straight! This is implemented much better on the x100s than the phone – my horizons were much straighter throughout with less cropping needed from the top or bottom.

©TimeLine Media - Panoramic image of Occoquan River
©TimeLine Media – Panoramic image of Occoquan River

This is a welcome feature that I will definitely be using more. Couple the ease and speed with which you can create panoramic images with the image quality from the sensor, and you have another tool to make unique images. Let me know if you do this by stitching with software, or using a smartphone. I am sure there are lots of techniques and tips that would make this even better!

©TimeLine Media - Christmas decorations at Union Station
©TimeLine Media – Christmas decorations at Union Station

TimeLine Media – www.timelinedc.com
703-864-8208

Panoramas – Tech Thursday

©TimeLine Media - panoramas from a dSLR

Event Update

Just a quick update on the Paragon Open photos. The editing is completed, and the upload has started at the website. It should not be much longer before they are viewable. The website needs to process the photos – create all the thumbnails for color, black and white previews, and setup all the ordering pages. By this afternoon, all the photos will be available here:

http://proofs.timelinedc.com/

Fall Photography

Around this part of the Mid-Atlantic, the autumn colors are in full swing. It is a beautiful time to drive and walk in wooded areas with the yellows, reds, and oranges on all the trees just before they fall. It is always difficult to determine when would be the best time to go out to take photos. Unfortunately, our busy schedule did not let us go at the optimal time.

©TimeLine Media - panoramas from the iPhone
©TimeLine Media – panoramas from the iPhone

In the photo above, there were still more green than bright fall colors in the leaves. From the overlooks on Skyline Drive, the panorama feature on your smartphone is one of the best ways to capture the grand views on top of the mountains. The biggest challenge for me is to keep the horizon level straight! I had to crop this photo after capture to straighten the view, but my shaky panning also did not keep the mountain level straight through the frame.

If you have a dSLR with you, the colors will be more saturated, and you can manipulate the RAW files much easier in post. Here is a photo from another overlook made from 3 separate frames. The images were then combined in Adobe Photoshop using the “File: Automate: Photomerge” function. I did not have to input any other information, and the program easily spit out a nice panorama! Having RAW files, you can make sure all the images in your panorama look the same prior to combining them, so it looks like it was snapped in one pull of the shutter.

©TimeLine Media - panoramas from a dSLR
©TimeLine Media – panoramas from a dSLR

TimeLine Media – www.timelinedc.com
703-864-8208