Posts Tagged ‘Tech Thursday’

Chasing Photos – Tech Thursday

©TimeLine Media

Tysons, Virginia

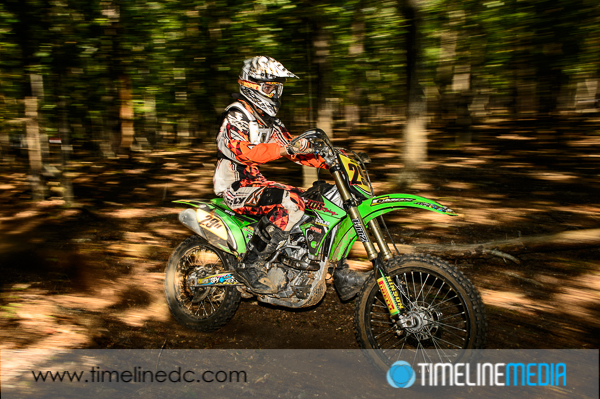
Sports and photographing action or events share similarities in the way you approach achieving the end objectives. The one I am writing about today is chasing photos. A quarterback in football that is known as a “gunslinger” takes more chances when he passes the ball. He will pass the ball in more situations where there is a lower percentage of success. Or he may overthink or outsmart himself. The overestimation of his abilities will enable him to complete a pass that has a low chance of getting to where he wants it to go.

©TimeLine Media
©TimeLine Media

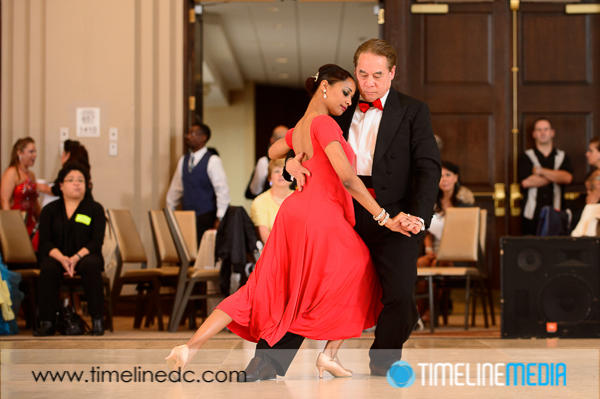
Being an action photographer, I have similar problems when doing a long event shoot. For ballroom dancing, there is no shortage of action to get in the frame. Sometimes, though, I “chase” photos. I think that I can get my long lens to frame up a composition that I know is coming up. I am not the most experienced ballroom dancer. However, I have seen more than my fair share of dancers. I think I can anticipate when a specific line is coming up, and when the dancers seem to be lining up perfectly with my perspective.

©TimeLine Media
©TimeLine Media

Chasing Photos

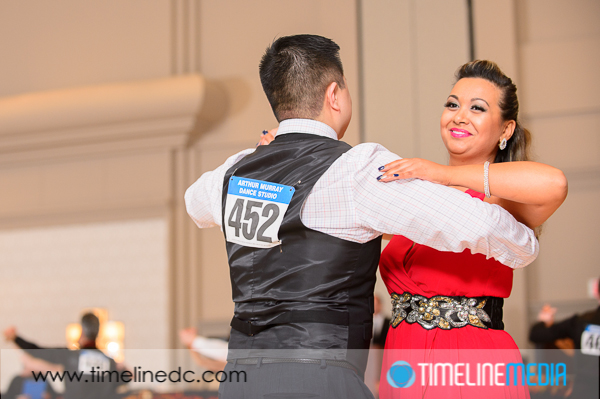
Much like a gunslinger, this approach to photography can yield spectacular results! Unfortunately, this can also lead to missing some easier shots that were right in front of me, but I missed because I was chasing another photo. What I do now is to mix my technique while shooting. Only after I am sure the guaranteed shots are in the camera do I start to go for more unconventional photos. It allows me more freedom to be creative after the documentary or standard shots are done. I feel like I have completed my job for my clients, now I can move to other photos that I will add to my portfolio for later. If only my favorite football teams could do this…

©TimeLine Media
©TimeLine Media

TimeLine Media – www.timelinedc.com
703-864-8208

Working with Lightroom Catalogs – Tech Thursday

©TimeLine Media - US Capitol Building, Washington, DC

Adobe Lightroom is the best photo editing software available today. At this time it has support of all the major camera manufacturers and is best suited to handle professional RAW files from digital cameras. Many of my Tech Thursday articles have talked about working in the program, but I want to post today about the backend of working with Lightroom, specifically Catalogs. These are files that have the “.lrcat” extension. There are different strategies for working with these files, but I wanted to show you how I work with them to keep things organized, and to keep your hard work safe from potential data loss.

Catalogs in Lightroom

With this in mind, I create a new catalog file for every big event that I photograph. If it is a wedding, I will create a new catalog “brides_name__grooms_name.lrcat”, if it is a ballroom dance event, I will make a catalog “year_eventname.lrcat”. Afterwards, I will import only the files from each event into the catalogs, and work with them from there. There are some that will add every image from every shoot into one large catalog. With the metadata searching power of the Library, I can see the advantage of doing this. According to Adobe, there is no limit to the amount of photos you can have in one catalog – some have reported using catalogs with 800,000 images and more!

I separate my shoots into separate catalogs for 2 reasons. The first is that I have experienced catalog corruption when working with some Lightroom catalogs. In these cases, there was some data errors in the lrcat file which prevented the file from being opened! All of the edits from that event  with ~1200 photos were lost, and had to be redone. What if that were to happen in a catalog with 800,000+ photos! From then on, I have clicked the “Automatically write changes into XMP” under Catalog Settings so that if a catalog was corrupted, the work would be saved in the XMP sidecar files along with the RAW files, and the catalog could easily be recreated. Let me know if you have any tips with working on your Lightroom catalogs.

Enough with the geeky talk, here’s a pretty photo. The Capitol building will need major renovations which are scheduled to begin later this year. Here is a late afternoon photo before all of the scaffolding goes up. Enjoy!

©TimeLine Media - US Capitol Building, Washington, DC
©TimeLine Media – US Capitol Building, Washington, DC

TimeLine Media – www.timelinedc.com
703-864-8208

Zoom Your Flash! – Tech Thursday

©TimeLine Media - motorcycle action photo with zoomed flash head

Of course you can zoom your lenses, but did you know you can zoom your speedlight flash? Depending on the model that you have, your flash head can be moved internally. On the Nikon SB-910, the flash head can be zoomed from 24mm to 200mm – a much larger range than their previous model, the SB-800 which had a range of 24mm to 105mm.

Speedlight Features

If you have this flash connected to modern Nikon cameras, the flash and the camera will talk to each other. They will automatically set the zoom of the flash to match the focal length of the lens that you are using by default. This is a great feature! As you use a longer focal length, the flash head will automatically zoom so that more flash power is given where you need it. Here are some example photos showing the difference in the light produced by the flash at different zoom lengths:

©TimeLine Media - Nikon Speedlight set at 24mm
©TimeLine Media – Nikon Speedlight set at 24mm

This first photo has the flash zoomed out to 24mm. It is giving it’s largest spread of light against the wall. If you need to cover more area with the flash, this is will cover a wider area. This also corresponds to a wider area seen by a camera lens set at 24mm.

©TimeLine Media - Nikon Speedlight set at 70mm
©TimeLine Media – Nikon Speedlight set at 70mm

At 70mm, the light beam becomes more focused. There is not as much spread of light up and down from the flash. The more you zoom in with your lens, the less that you need the light to be spread out across the frame, so this only flashes what you need without worrying about the areas that are not going to be seen in camera.

©TimeLine Media - Nikon Speedlight set at 200mm
©TimeLine Media – Nikon Speedlight set at 200mm

Zooming Flash

The tight beam of light that comes from the flash at 200mm is the most extreme setting. If you are zoom out this far with your lens, there will be a corresponding small area that you need to iluminate that far from the camera. Having these options for you gives you creative possibilities to focus light. You can manually set the zoom on the flash apart from the focal length of the lens. This works well to create more dramatic portraits just by zooming the light you are already carrying! Try it next time and let me know how it goes.

©TimeLine Media - Racer suiting up
©TimeLine Media – Racer suiting up
©TimeLine Media - motorcycle action photo with zoomed flash head
©TimeLine Media – motorcycle action photo with zoomed flash head

TimeLine Media – www.timelinedc.com
703-864-8208

1 2 3 4 5 7