Fairfax, Virginia
I feel like I have been so lazy with the blog! Sorry if you have just been anxiously hitting refresh to see if I get inspired today J Well, I am really getting caught up with all my assignments, and getting things back on track after going on a short vacation. Last week some excitement happened in the early morning skies that I almost missed! There was a lunar eclipse that would be viewable in our part of the world right at the time that I would be getting up to start my day – a perfect chance to make some photos without too much effort! And with the backlog of things I had to do, this was what I needed.
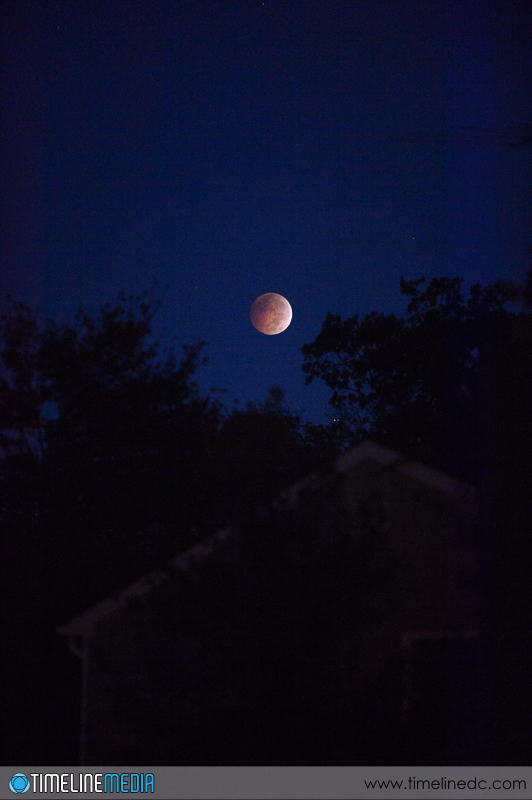
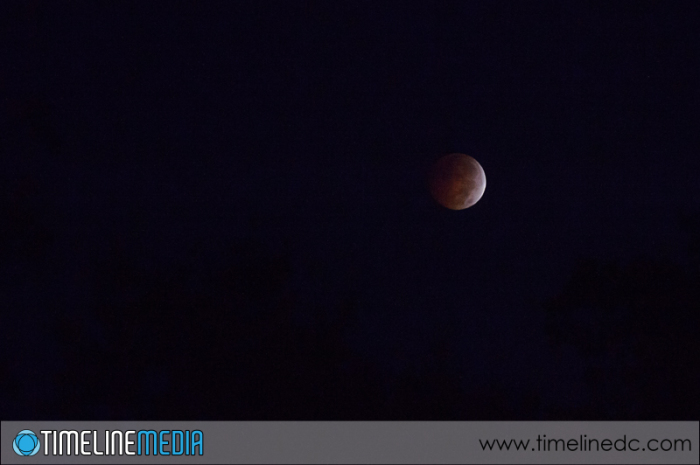 Early-morning-lunar-eclipse-©TimeLine-Media
Lunar Eclipse
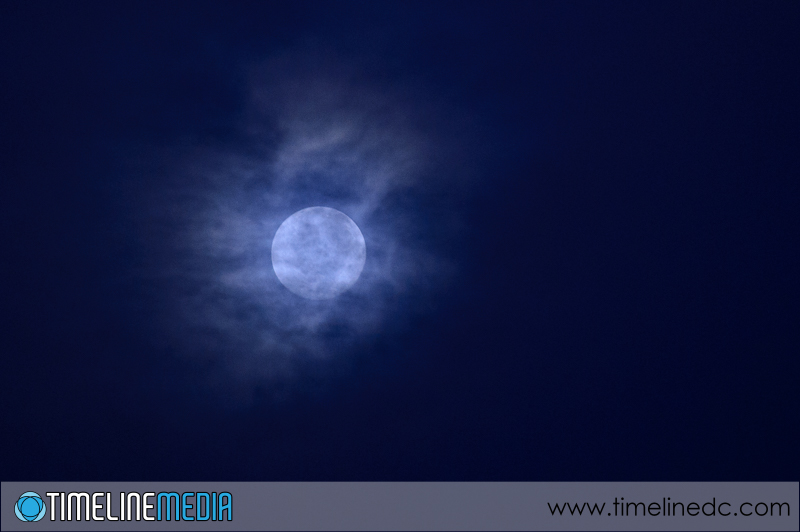
A lunar eclipse is an awesome practice for your camera. Trying to get good photos of a bright moon can teach you a lot about metering, or “how a camera views and image”. Left on automatic, a camera has a difficult time getting a good photo of the face of the moon. This is due to the construction of the light meter in every camera system. They do not see composition, nor can they read the photographer’s mind to know exactly the goals for the image.
A meter measures all the light coming into the sensor, and it calculates the aperture and shutter speed that will give a middle gray image. It does not know that you want the bright light of the moon to be lowered to see the details of the surface. Lowering the amount of light will also make the rest of the photo darker – which is the compromise when making these photos. You will lose detail around the bright moon. During an eclipse that is happening right outside my front door– that is fine by me! I do not care about any of the other surrounding details.
Once I figured an exposure that gave me the detail that I was looking for, I played with all kinds of settings. Sometimes I changed the aperture, sometimes the ISO. The exposure values were very similar, but I wanted to see how the camera responds when pushed in such a dark scene.
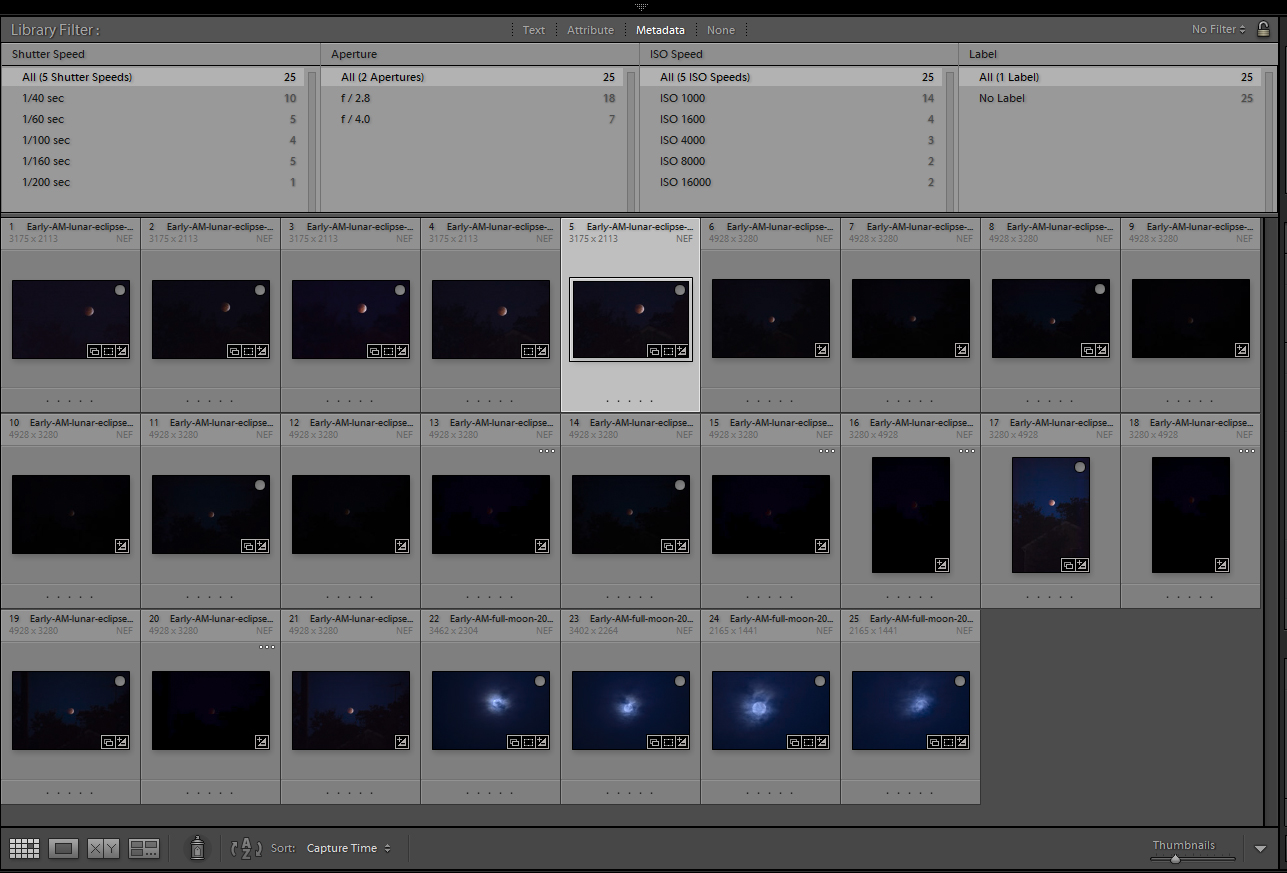
It only lasted a few minutes before the moon ducked too low in the horizon. I was very lucky! No need to go to extra lengths to get these photos, but so many that I’ll keep in the collection.
TimeLine Media – www.timelinedc.com
703-864-8208


