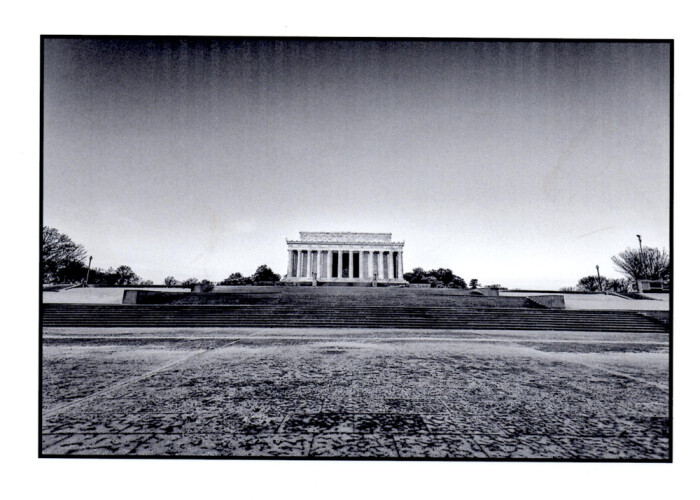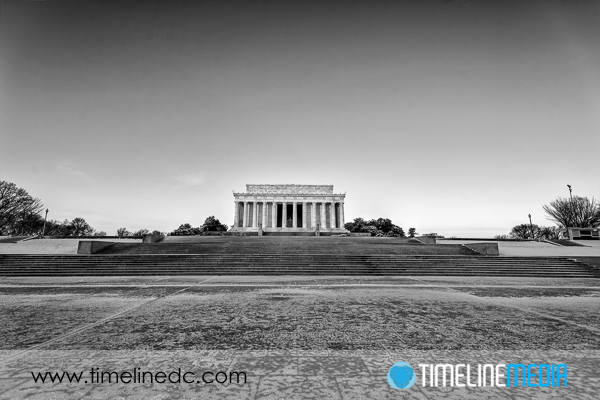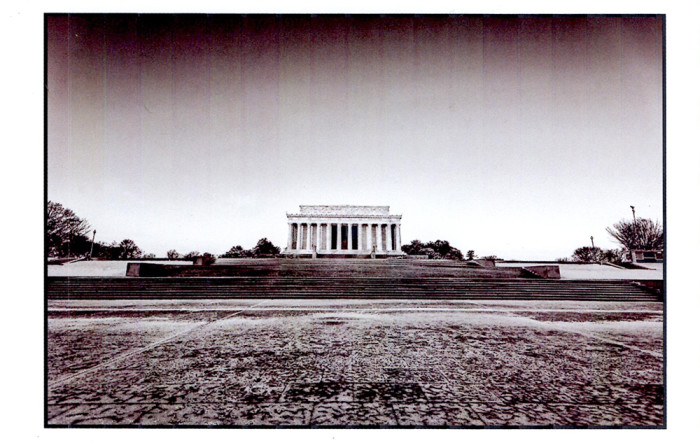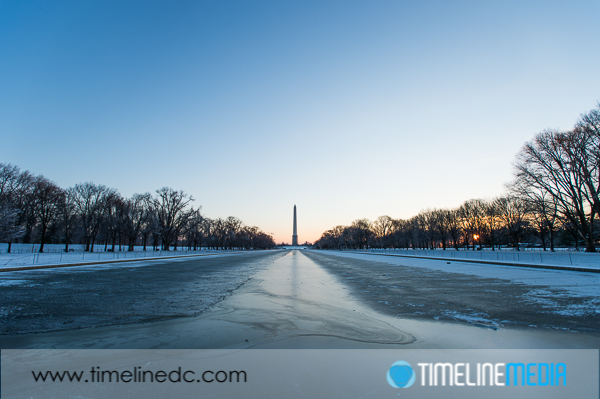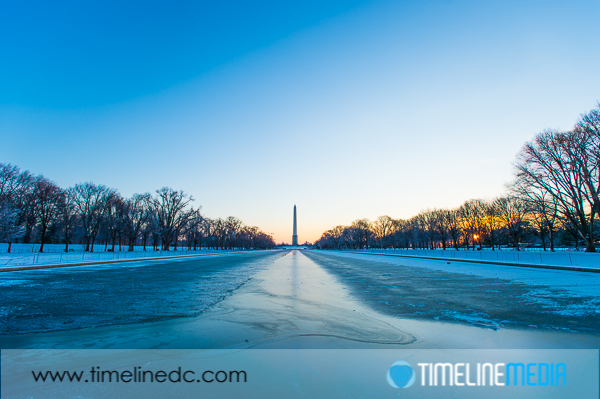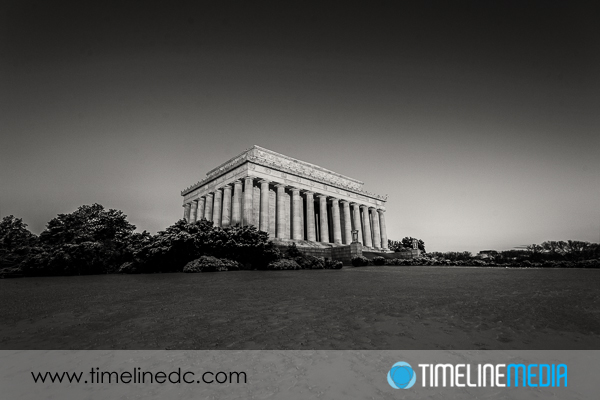
Continuing on with my first printing project from my own inkjet printer, I first wanted to ensure that only the black ink was used in the next print. I clicked all the boxes in the dialog box to only use the black ink, but this had an unintended consequence. In choosing to only use the black ink, the printer dialog does not let you specify the type of paper. My thought was that the printer can handle this change and make the appropriate changes to get a good print. That was not the case! Here is the print:
Printing Setup
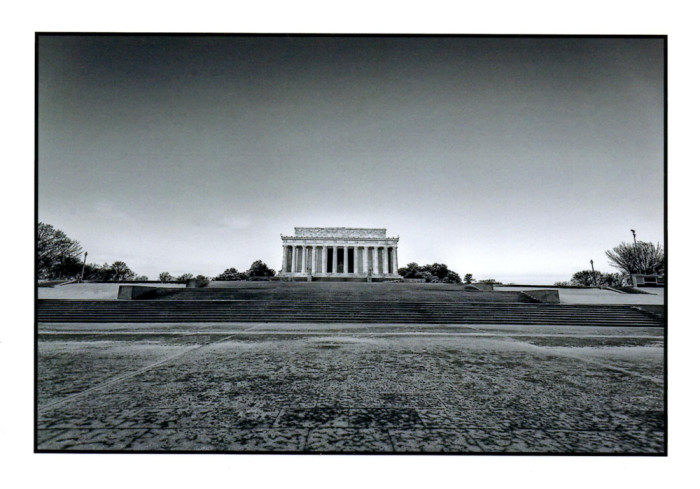
For the third attempt, I changed the paper type in the printing dialog box to match the type of paper I was using. In this case, I was using a “premium glossy” paper from Kodak. There was no specific settings or profiles for this particular paper, although I have seen instances where more professional papers and printers will let you set each. This made the biggest differences in the printing quality.
The banding is now gone, and the image takes on a picture-like quality. The first two attempts not only had banding, but you could see many of the components dots that make up the image much like duotone or newspaper printing. This third attempt, this is almost disappears completely, and gradients between the light and dark parts of the sky transition nicely between each. When you hold the photo at arm’s length, it looks almost like an optical print. I am happy with the results, but I think that I am limited with how far I can take this. If I do make any more prints, I will stick to small ones – probably 5″x7″ or smaller.
TimeLine Media – www.timelinedc.com
703-864-8208

