August 2013 archive

Sports Photographer Idols – Part 3

©TimeLine Media - USA Dance Mid-Atlantic Champsionships - ballroom dance

In two previous posts, here and here, I wrote about lessons learned from studying another sports photographer to improve my own photography. I will be going out to another sporting event today, and will be on the look out for more inspiration. Another lesson that Dave Black will emphasize with action sports photography is gear. Yes, this aspect of photography can be really overdone! In the competitive world of sports photography, it can be determining factor in whether you can survive shooting only sports.

Photography Kit

If the people around you are shooting at 200mm, you need to get a 300mm length lens. Comparatively if everyone is shooting at 400mm length, you need to get a 600mm length lens. If everyone has an 800mm lens, you need to stick a teleconverter on your lens to extend passed 800mm. Moreover if this sounds like an incredibly expensive “arms race”, it is. But it is hard to argue in an age where everyone has access to good camera bodies, and long lenses – where iPhone and tablet photos can pass as publishable images for newspapers and websites. Photographers also need to up their game in terms of equipment, and putting that equipment in places where everyone else does not have access.

©TimeLine Media - ballroom dancing at the 2013 American Star Ball
©TimeLine Media – ballroom dancing at the 2013 American Star Ball
©TimeLine Media - Baltimore Dancesport Challenge
©TimeLine Media – Baltimore Dancesport Challenge

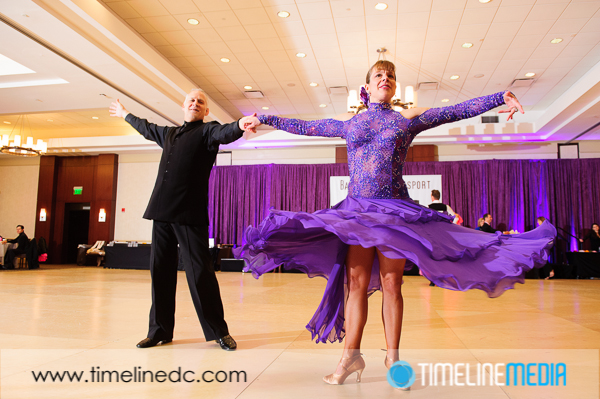
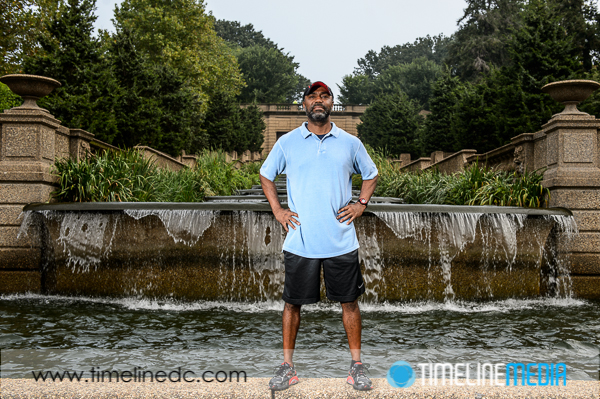
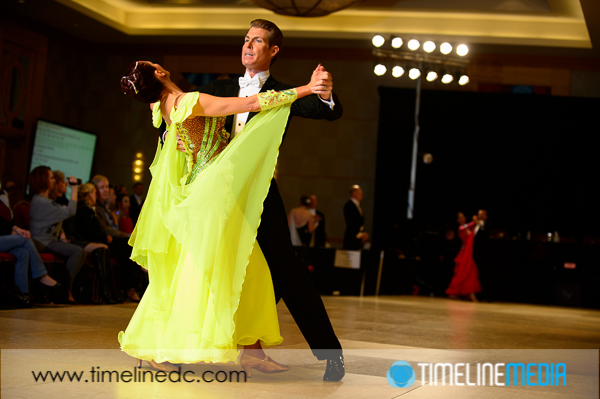
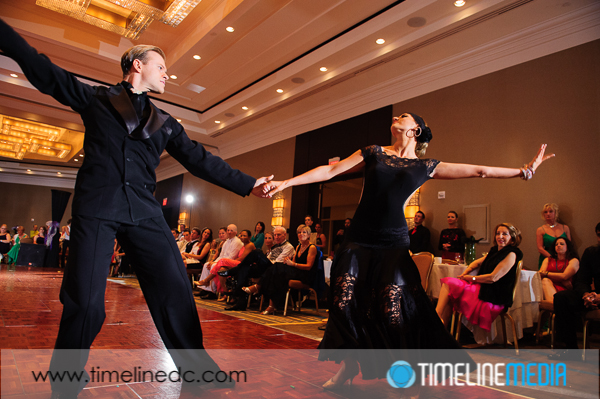
The last point that stuck with me from Dave, is positioning of the photographer with relationship to his subjects. When shooting sports, it is important to get down low to the ground. The subject you are aiming for, if they are down the field, will look like they are right in your plane of view. And when they start to move towards you, then will look larger and fill up the frame making for an “hero” shot composition. Viewers will be drawn to the main subject. They will look powerful and dominate the frame which is the goal in most action images – even from the dance floor!

Sports Photographer

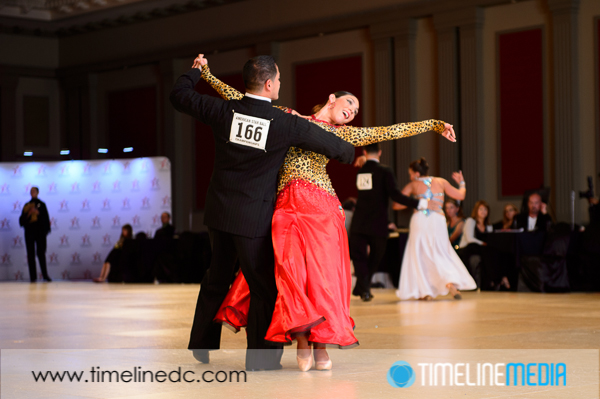
The sports photographer will be on the ground with knee pads or stretched out just off the edge of the dance floor trying to get the camera to places that people in the audience or in the stands would not be able to get their camera. This is their job, and why they are given the task and position in the venue. If they do not take advantage of their setting, then smartphone and tablet images will become more acceptable. And exceptional sports imagery will no longer be sought after by editors, and customers.

©TimeLine Media - Arthur Murray Summer Showcase
©TimeLine Media – Arthur Murray Summer Showcase
©TimeLine Media - USA Dance Mid-Atlantic Champsionships - ballroom dance
©TimeLine Media – USA Dance Mid-Atlantic Champsionships – ballroom dance

TimeLine Media – www.timelinedc.com
703-864-8208

Body Fit DC

©TimeLine Media - Orlando of Body Fit DC

Body Fit DC is the creation of Orlando, a certified personal fitness trainer. He is committed to encouraging others to make fitness a part of their life. Especially as we get older, it is important to make exercise a regular part of our routine. It helps to avoid health problems associated with lowered mobility and gained weight. If you have one conversation with Orlando, you can feel the drive he has to help people. He has an especially positive message to help the people he trains, and he will be supportive of your fitness goals.

Washington, DC

©TimeLine Media - Orlando of Body Fit DC
©TimeLine Media – Orlando of Body Fit DC

In my own push to expand my athletic portraiture portfolio, I took some photos of Orlando. At this time we met at the beautiful Meridian Hill Park in the heart of Washington, DC. Following our trip to Jones Point where the first boundary for DC was placed, Meridian Hill is on a line directly north of that point. The original marker on this hill was made directly from the White House which was made from Jones Point – clearly where the name “Meridian Hill” originated.

The park has a large flat field at the top and descends with cascading fountains in the center. On either side of the large fountain are steps and stairs of differing lengths which gives runners a changing elevation to challenge them on their runs. At this time, this is a great spot for getting outside to do some exercise – Orlando picked a perfect spot. At the bottom of the fountain, he stood on the last ledge which made for a nice background for him to show off his boot camp venue. Visit his web page and contact him to get more information on his on-going programs.

©TimeLine Media - Orlando of Body Fit DC
©TimeLine Media – Orlando of Body Fit DC

Just a reminder there is a contest going on from this post. The prize is a $50 coupon from the proofing website to the best guess as to how the below photo was made. If you have any other need for environmental portraits, or updated headshots, please contact me! My email address is: rassi @ timelinedc.com

©TimeLine Media - DC South Boundary Stone
©TimeLine Media – DC South Boundary Stone

TimeLine Media – www.timelinedc.com
703-864-8208

iPhone vs. DSLR in Early Morning – Tech Thursday

©TimeLine Media - Dulles Airport Main Terminal - Nikon D4

Earlier this week, I needed to bring my uncle to the airport for an early morning departure. With a 6:30 departure time, it was a VERY early morning for us. With the days being so long in the summer, I have not had the inspiration to get up before the sun. This is the best time to get landscape or architecture photos. Unfortunately this time was a little TOO early since the sky was still black as night, but I took advantage of the beautiful Main Terminal at Dulles International Airport to make photos of another landmark of the Washington, DC area. I tried making images with both the iPhone and my DSLR for comparison.

My father, an architect that had a great appreciation for clean, contemporary design, would always start to lecture as we approached this building. Designed by Finnish-American architect Eero Saarinen, the main terminal at Dulles is a panoramic structure of concrete and glass that echoes the air supporting the planes coming into and out of the airport. My dad would talk about the open concept interior, the rain management system that you do not even notice in the center of the airport, and the overall design that still looks modern even though it was designed in the 1950’s. The airport was just starting to wake up. There was minimal activity and traffic going into the terminal at 5AM in the morning. I found a nice spot in the Daily Garage closest to the main terminal. Walking to the top level to provides a nice clear view of the main terminal. Here is are the completely images from both uncropped, out of the camera:

Comparing iPhone Imaging

©TimeLine Media - Dulles Airport Main Terminal - iPhone
©TimeLine Media – Dulles Airport Main Terminal – iPhone
©TimeLine Media - Dulles Airport Main Terminal - Nikon D4
©TimeLine Media – Dulles Airport Main Terminal – Nikon D4


I was a little surprised at the results. The iPhone did remarkably well considering what I was asking it to do. I had put the exposure measurement cursor right in the middle of the terminal. The default image would have made the terminal overexposed without any detail. In this case the camera compensates for the large portion of the frame that was dark, or completely black. This image would be sufficient for using on Instagram or Facebook if you are just establishing where you were travelling.

Comparing DSLR Imaging

When I setup the DSLR, I put the camera right on the edge of the wall of the garage to stabilize the camera, and manually set the exposure. I wanted it to be similar – with the terminal not over exposed. With the controls that are available on the DSLR, I set the aperture down to f/11 so that the exposure time is increased to 5 seconds. This makes for some really cool light trails from the cars coming into the terminal! This is really the main difference between these two photos when zoomed out to their default views.

As expected, though, the iPhone image really loses when you zoom in to see any detail in the photo. These conditions are really pushing the limits of the tiny sensor in this camera which is best when used in bright conditions. When you zoom into the DSLR photo, you can also see some nice star-like flares in the lights on the tarmac behind the terminal. These are a result of the aperture of f/11 which is a much smaller opening than f/2.4 that the iPhone was using to try to get as much light into the camera. This example clearly shows a few of the features that a camera with full controls can get for you compared to point-and-shoot or smartphone cameras.

©TimeLine Media - Dulles Airport Main Terminal - iPhone
©TimeLine Media – Dulles Airport Main Terminal – iPhone
©TimeLine Media - Dulles Airport Main Terminal - Nikon D4
©TimeLine Media – Dulles Airport Main Terminal – Nikon D4

TimeLine Media – www.timelinedc.com
703-864-8208

1 2 3 11