Time really flies! Today is the Great Gatsby Gala at the Arthur Murray – Tysons Corner, VA studio. A few months ago, I asked the staff if they would like to create a poster to advertise the theme of the party. This was back in the summer when the new Great Gatsby movie was still in theaters. In a few posts, I showed some of the steps that went into making the poster. One aspect that I used in the poster but did not blog about was the use of layers to place the portraits into one image.
Movie Poster
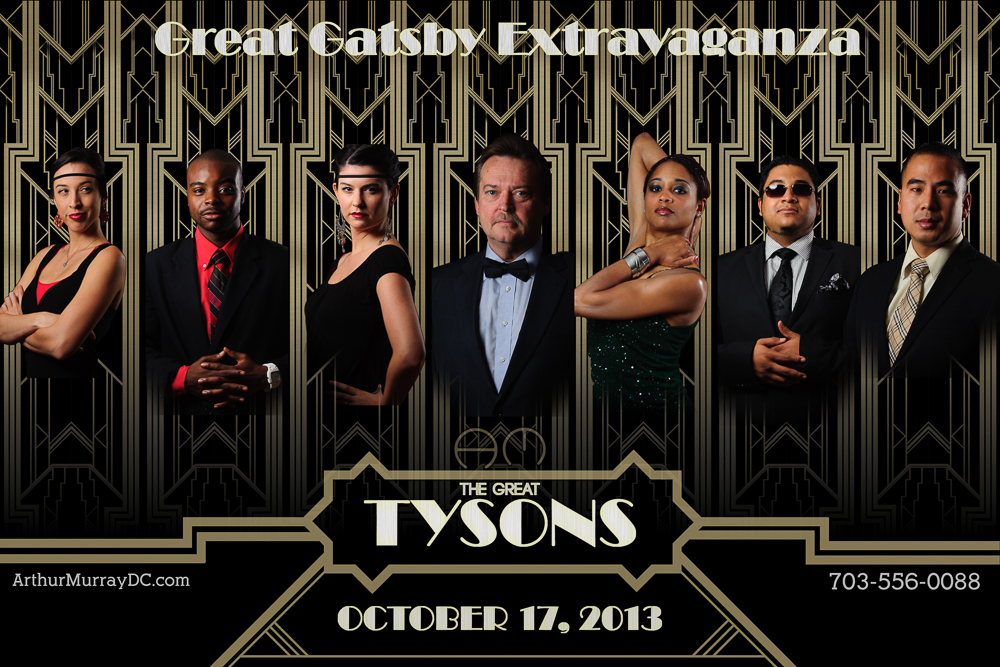
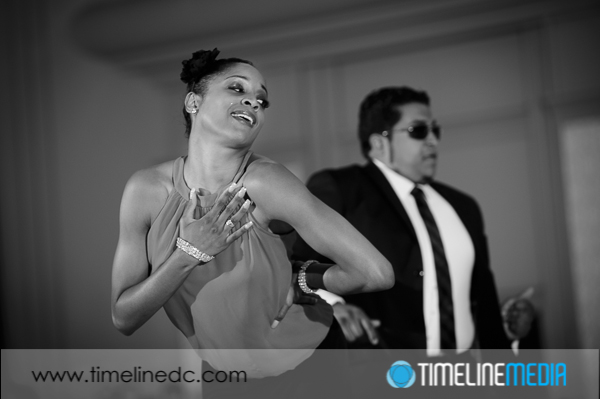
In the poster, the portraits were cut out very close to the edges of each person’s form. This will not work, though, for most action photos taken of dancers on the dance floor. If you have seen us at events, you probably have seen some posters that I have created with these shots, and I do them a little differently. In this example, I start with a large base image that I changed to black and white since it will be the background for the whole poster.
Next, I take another image, and overlay it right on top of this one. Automatically, Photoshop will put this on a new layer:
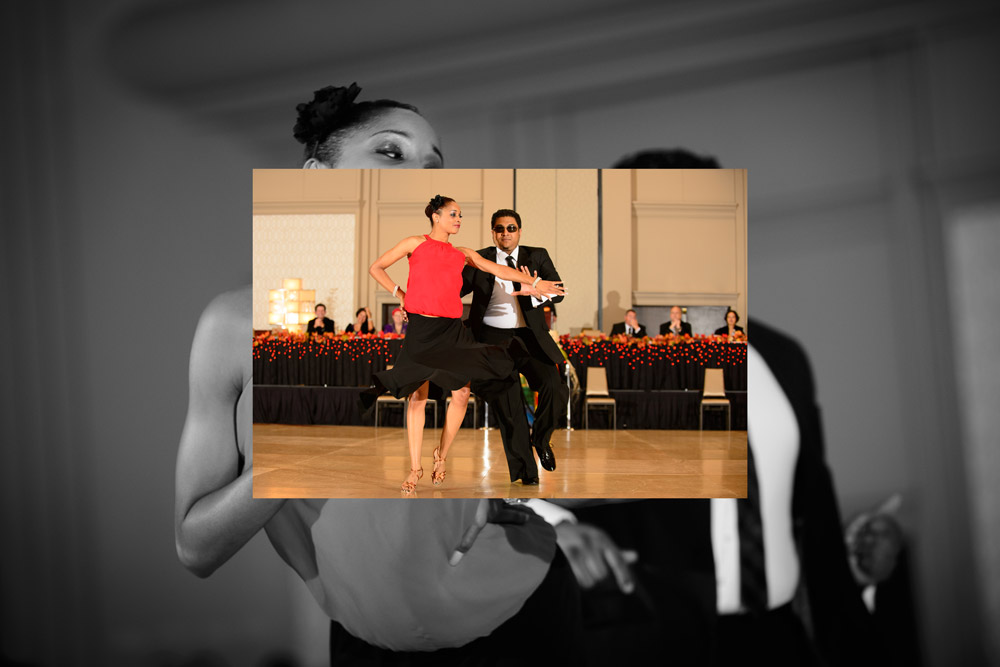
I then add a layer mask to this new layer. The default for the mask is to be completely white meaning the entire layer is in view. Then, I select the layer mask, and choose a black brush with hardness turned down to 0%, and brush black onto the layer mask which removes the edges from the color image:
Here is a look at the final layer toolbar when all the images, layer masks, and edits are added:

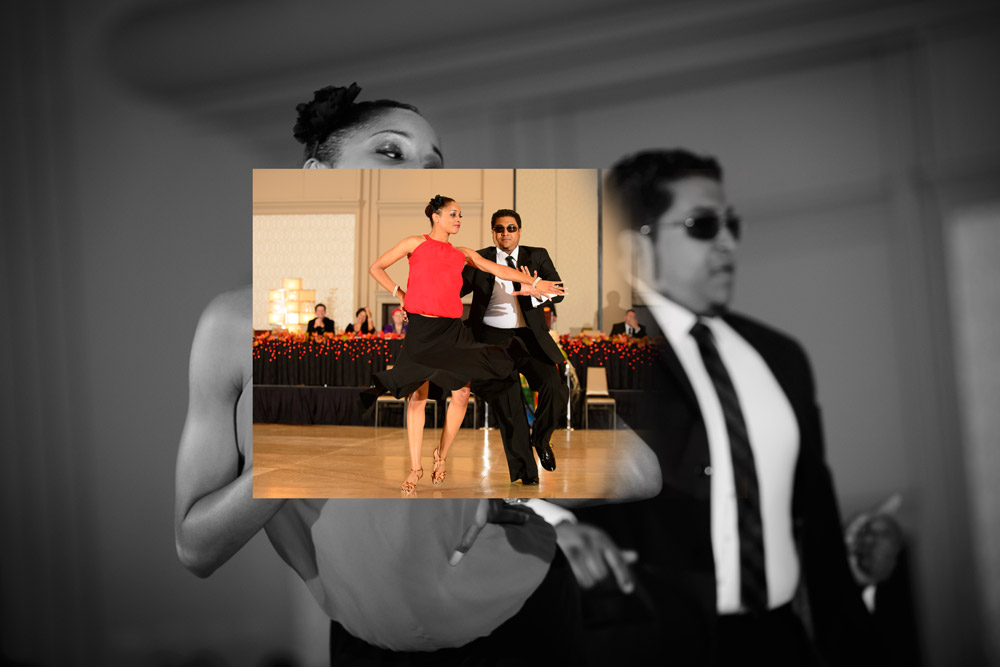
And finally, here is the example poster created with these edits. It contains 3 images from this show, 2 layer masks that blend the color images over the monochrome background image, and some text with the song name. It is a different way to combine multiple images into one setting. The result is a little more organic or free-flowing compared to hard edges. Both will work!

TimeLine Media – www.timelinedc.com
703-864-8208