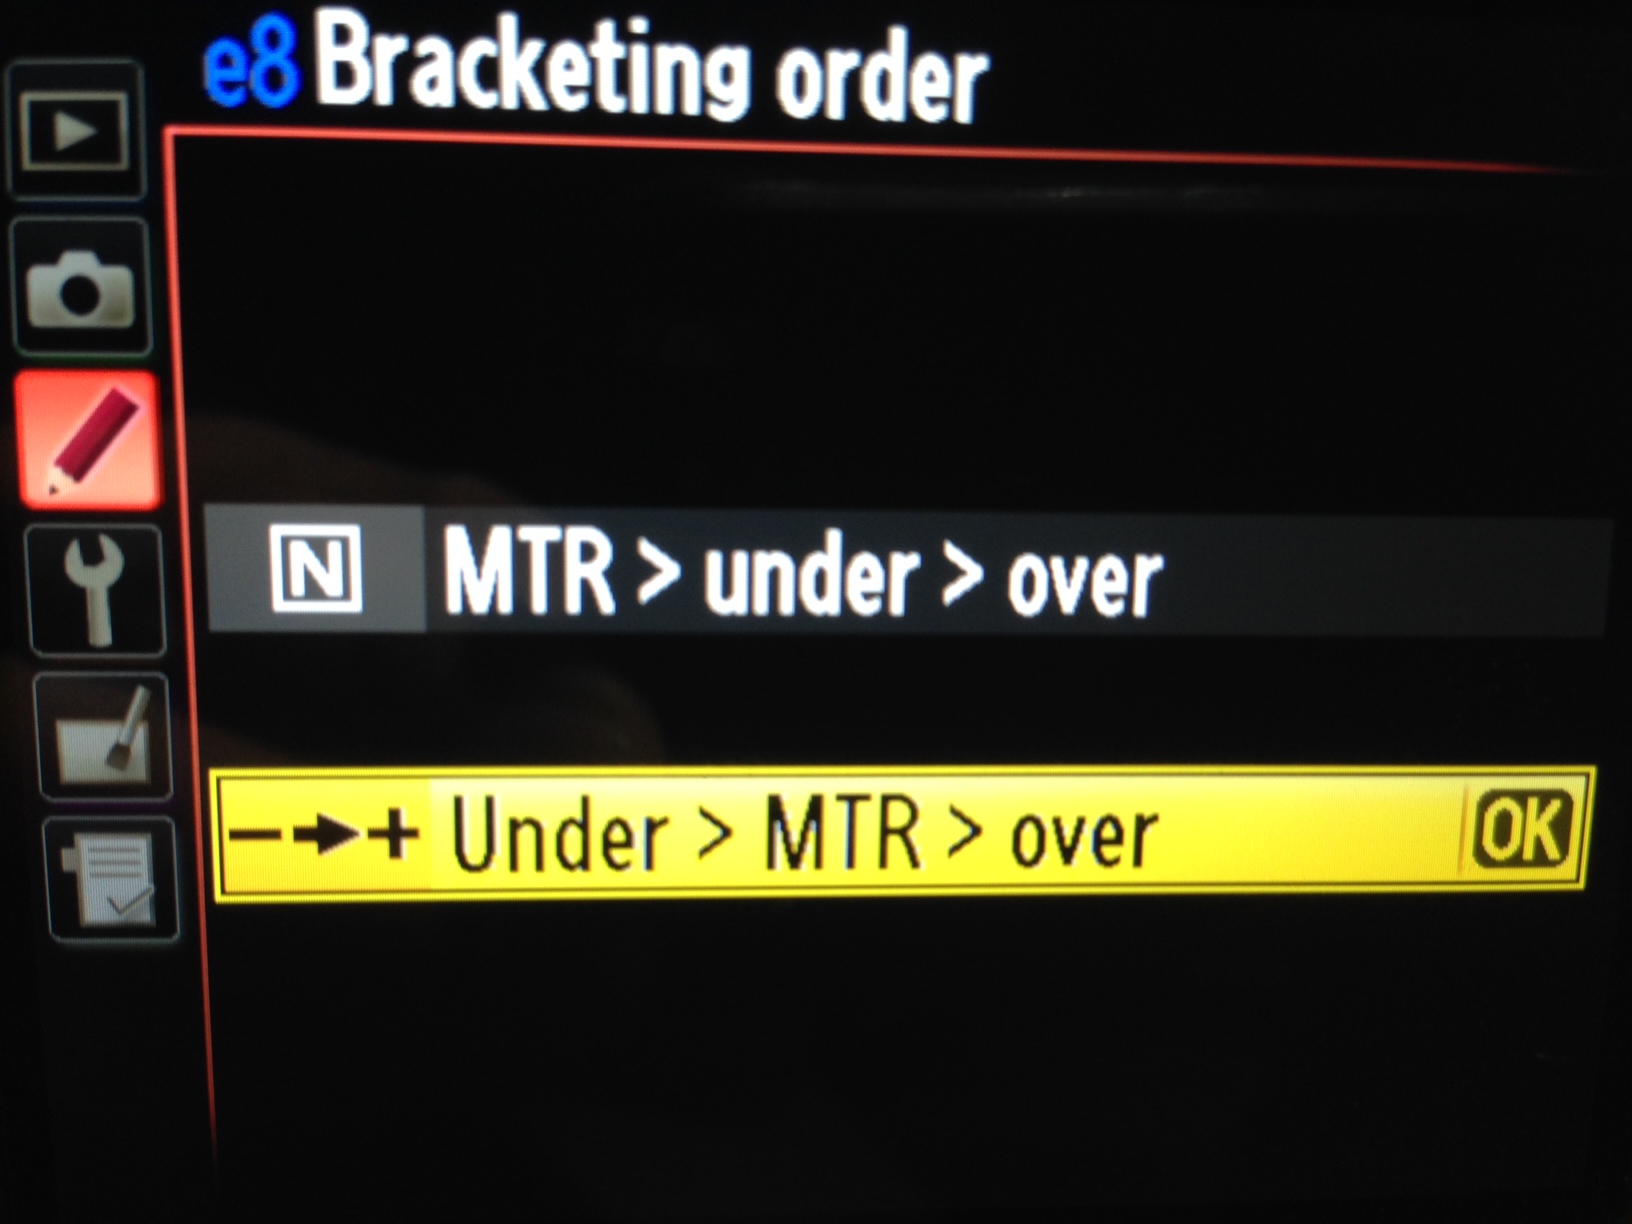
In the menus for Nikon cameras that have a bracketing feature. With this feature you can specify the order that the bracketed exposures are created. In this menu, it shows that the exposures start from underexposed frames first. Then the metered exposure (MTR), and finally the overexposed frames.
Bracketing Setup
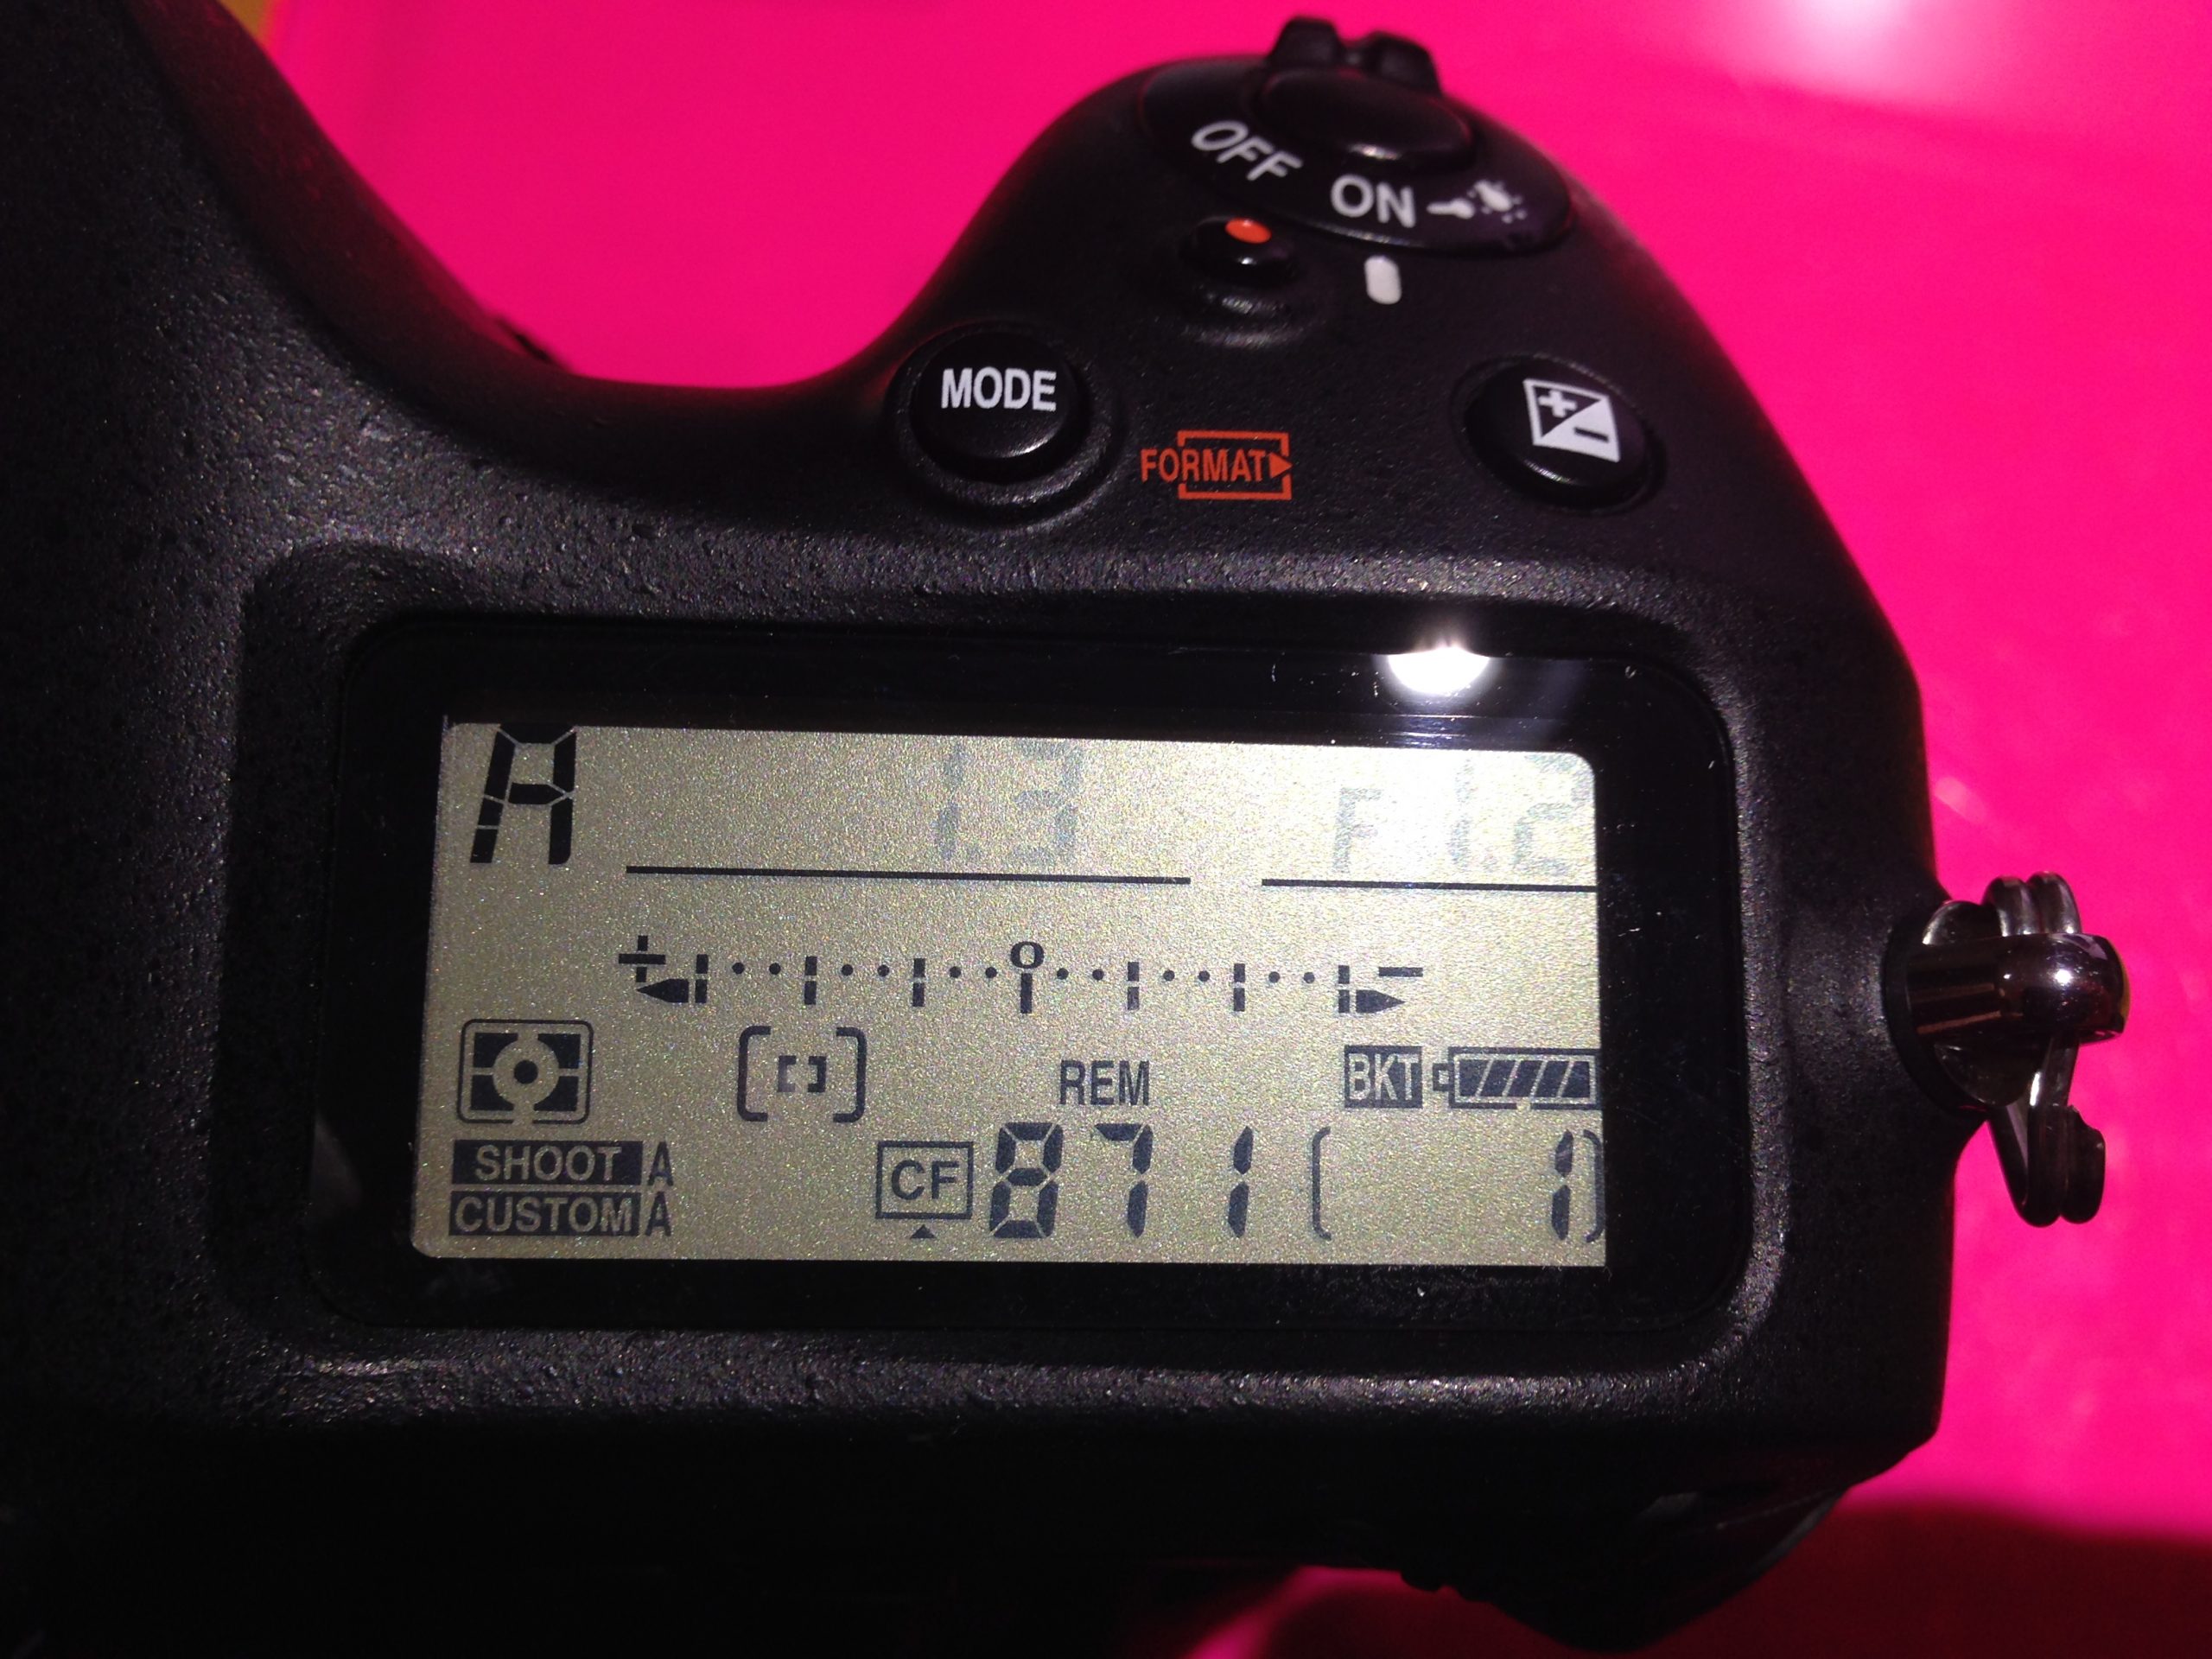
After that is all setup, go back and put your camera in Aperture priority. In this semi-automated mode, you can ensure that the aperture will not change as you make the bracketed exposures. The camera will then change the exposures from under to over. It does this changing the shutter speed after each time the shutter is fired. You can tell that your camera is set to make bracketed exposures by the tick marks along the exposure scale. This is an important indicator as you may setup your camera to make bracketed exposures, then forget, then wonder why your camera seems to have gone crazy with all these strange settings.
Camera Setup
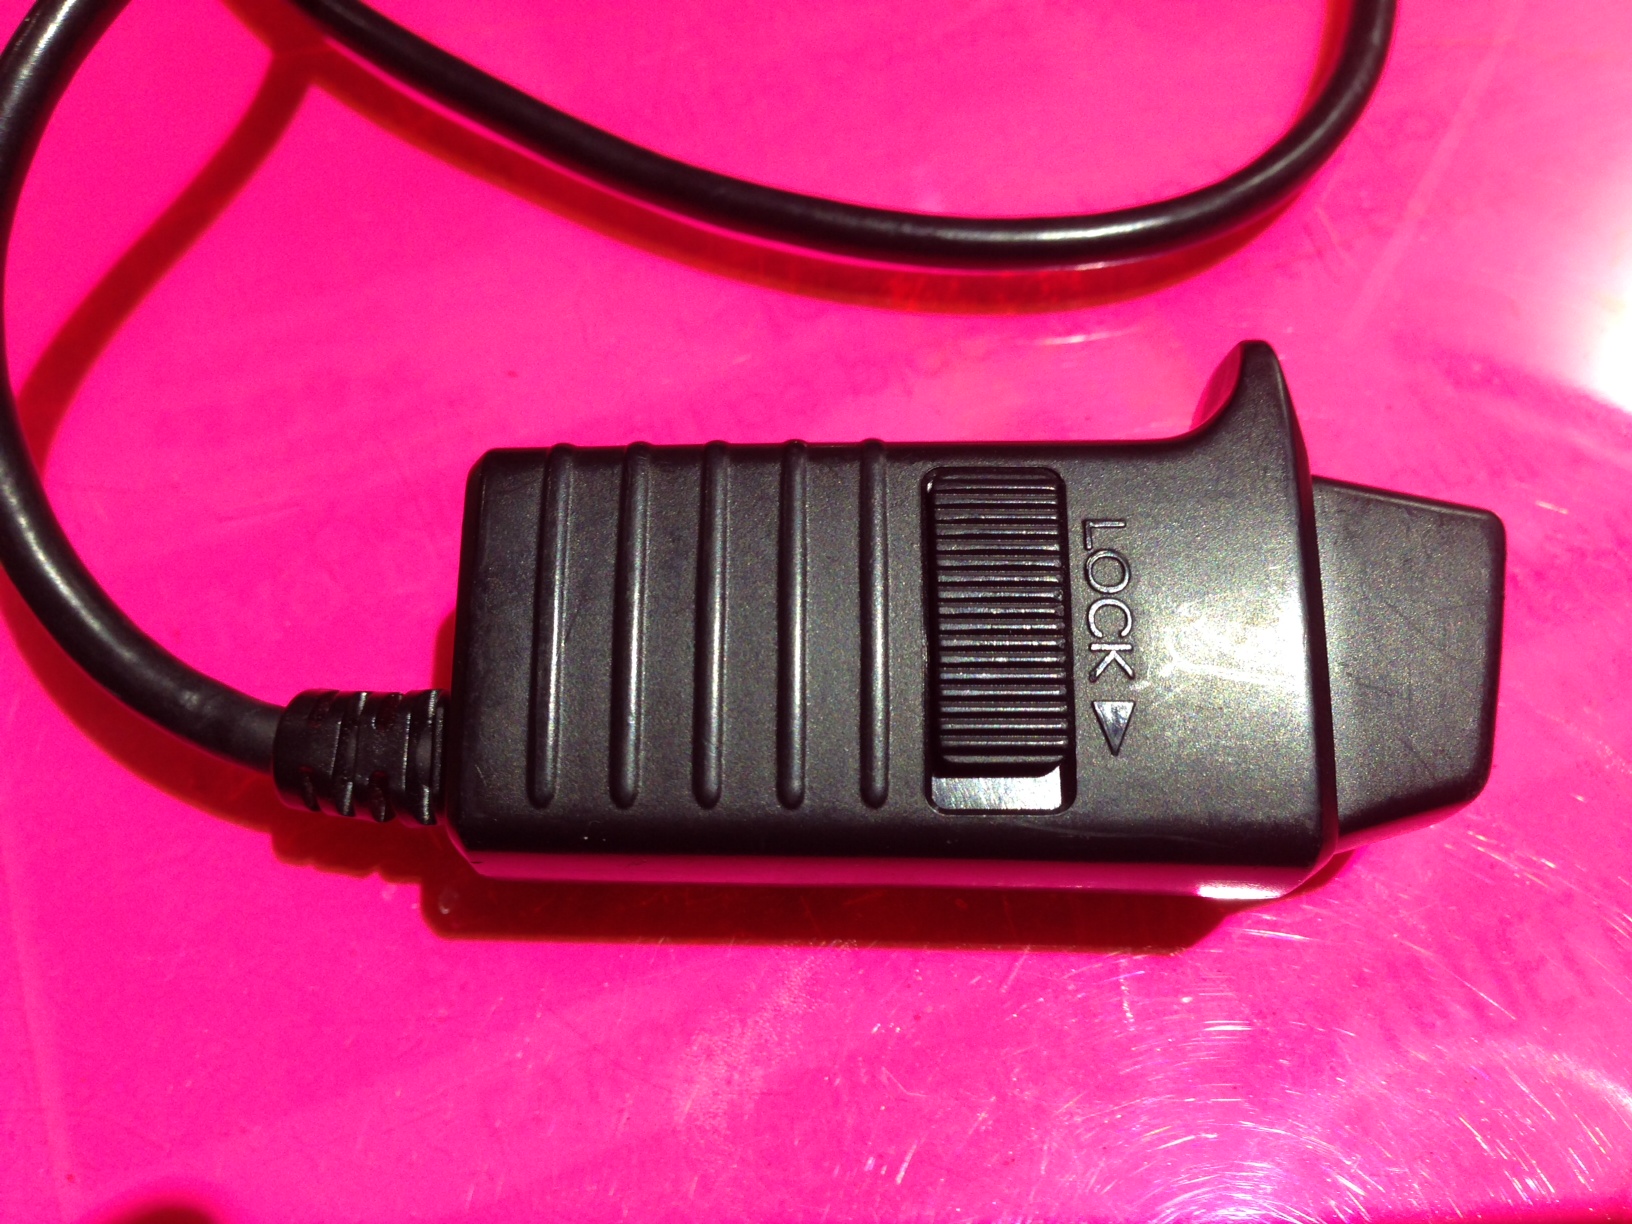
Once you have the camera setup for bracketing exposures, change the motor drive mode for the camera to the highest frame rate that is can shoot. On some cameras like this D4, you will be able to shoot a bracket of photos very quickly! In this case, if you have the bracket setup as above going from the underexposed to the overexposed frames, you will be able to hear the shutter slow as you go through the series. It is an especially nice audible check to know that the bracket was setup directly. Having a shutter release remote like the MC-30 for Nikon DSLRs will take your hands off of the camera body making the exposure even sharper by avoiding the camera shake from pressing the shutter button.
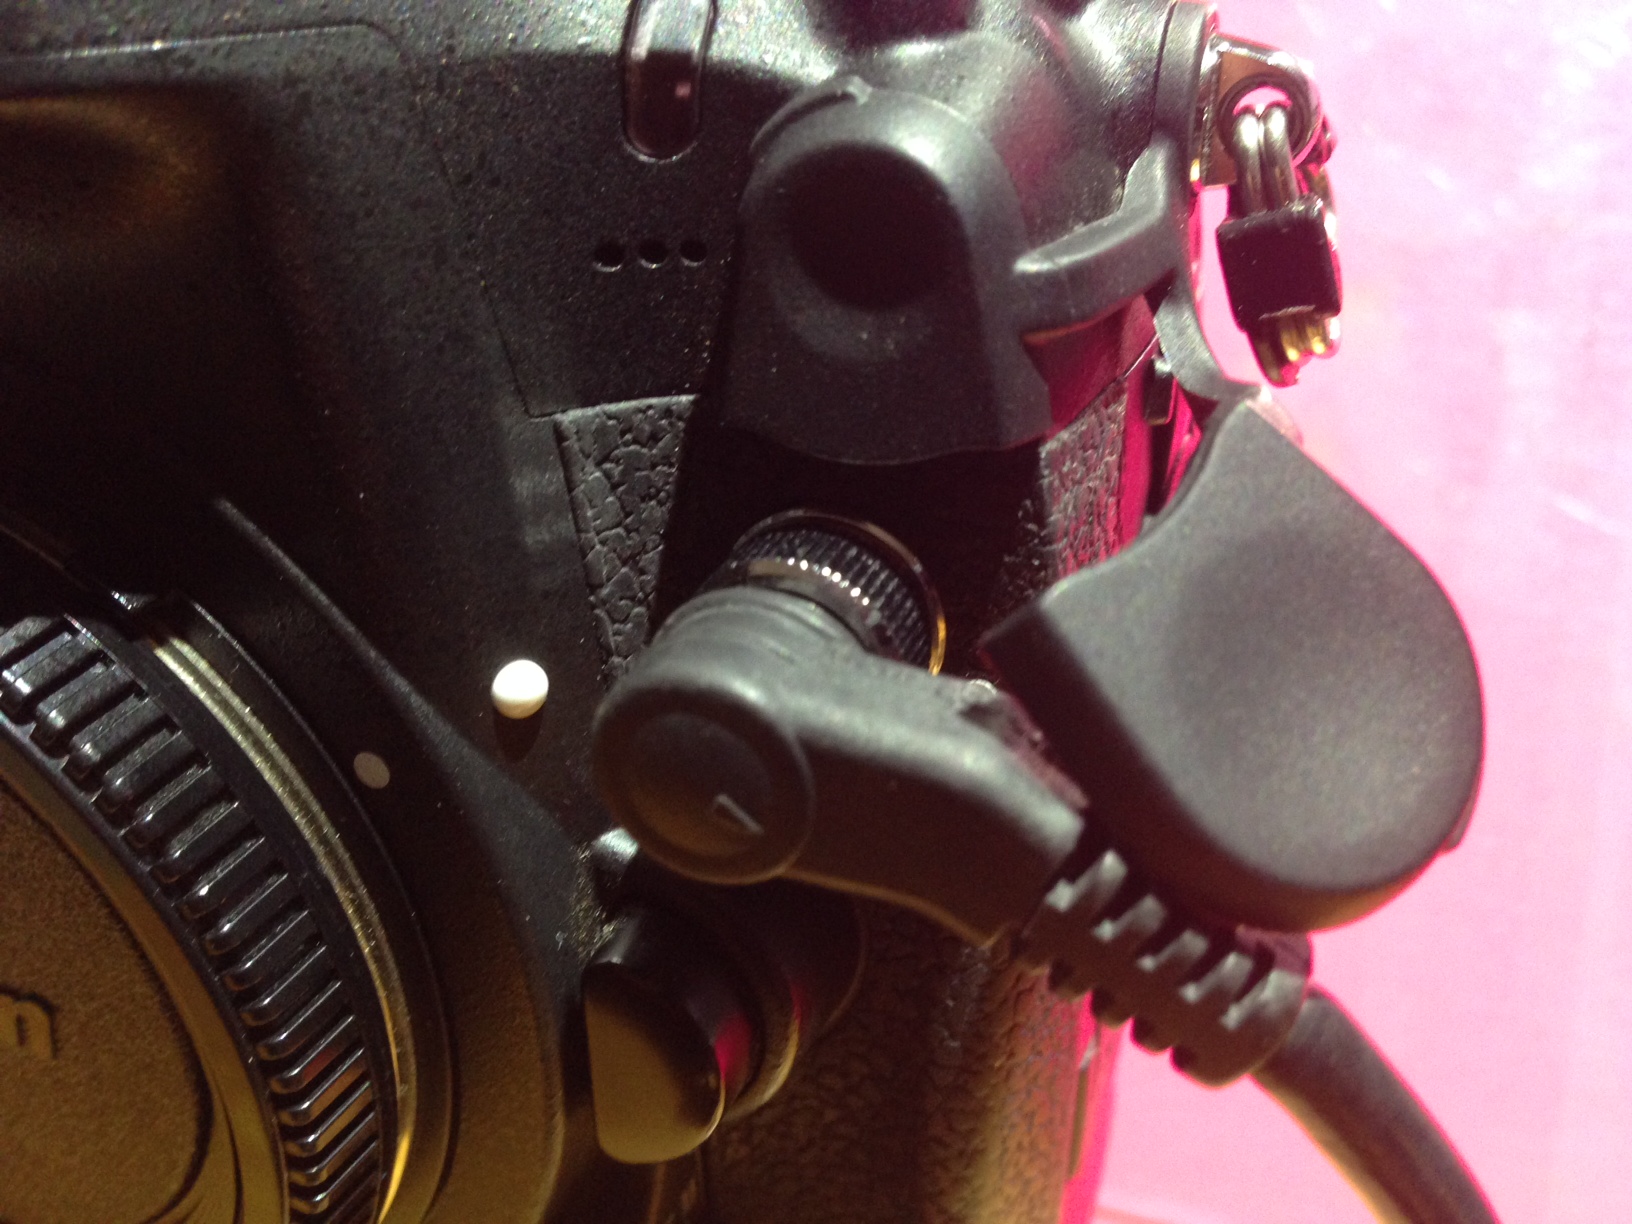
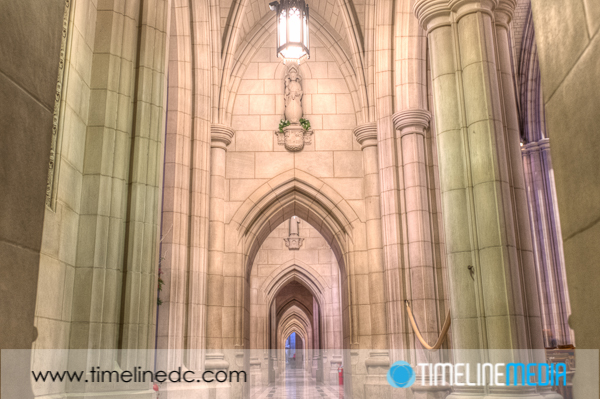
Just click and hold the big button on top until you hear the camera make all of the exposure that you had setup. In this case, it was setup to make 9 exposures, so I just held it down until it was done. Very easy! Now you will have all the exposures you need, that are easily brought into your favorite HDR program for processing.
TimeLine Media – www.timelinedc.com
703-864-8208