February 2014 archive

Photoshop – the Best Jig Saw Puzzle Solver

Source image for photo merge

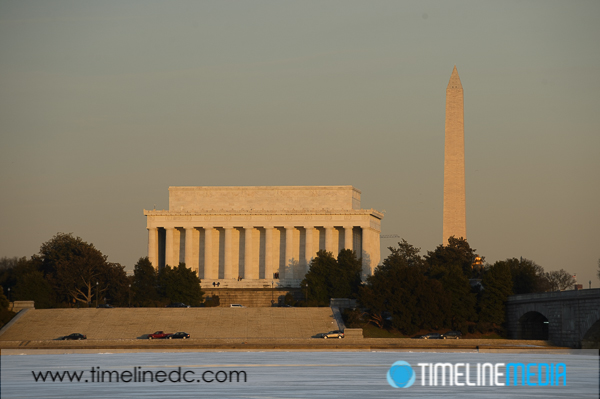
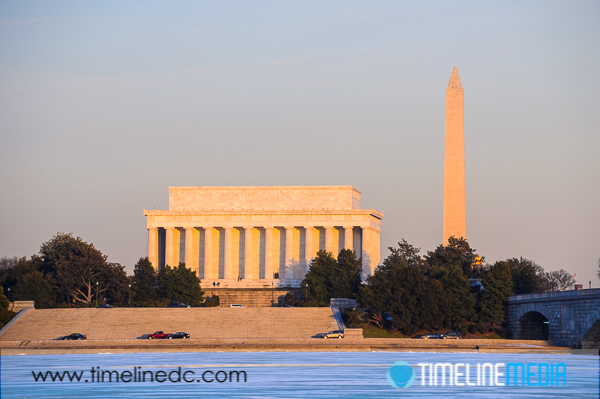
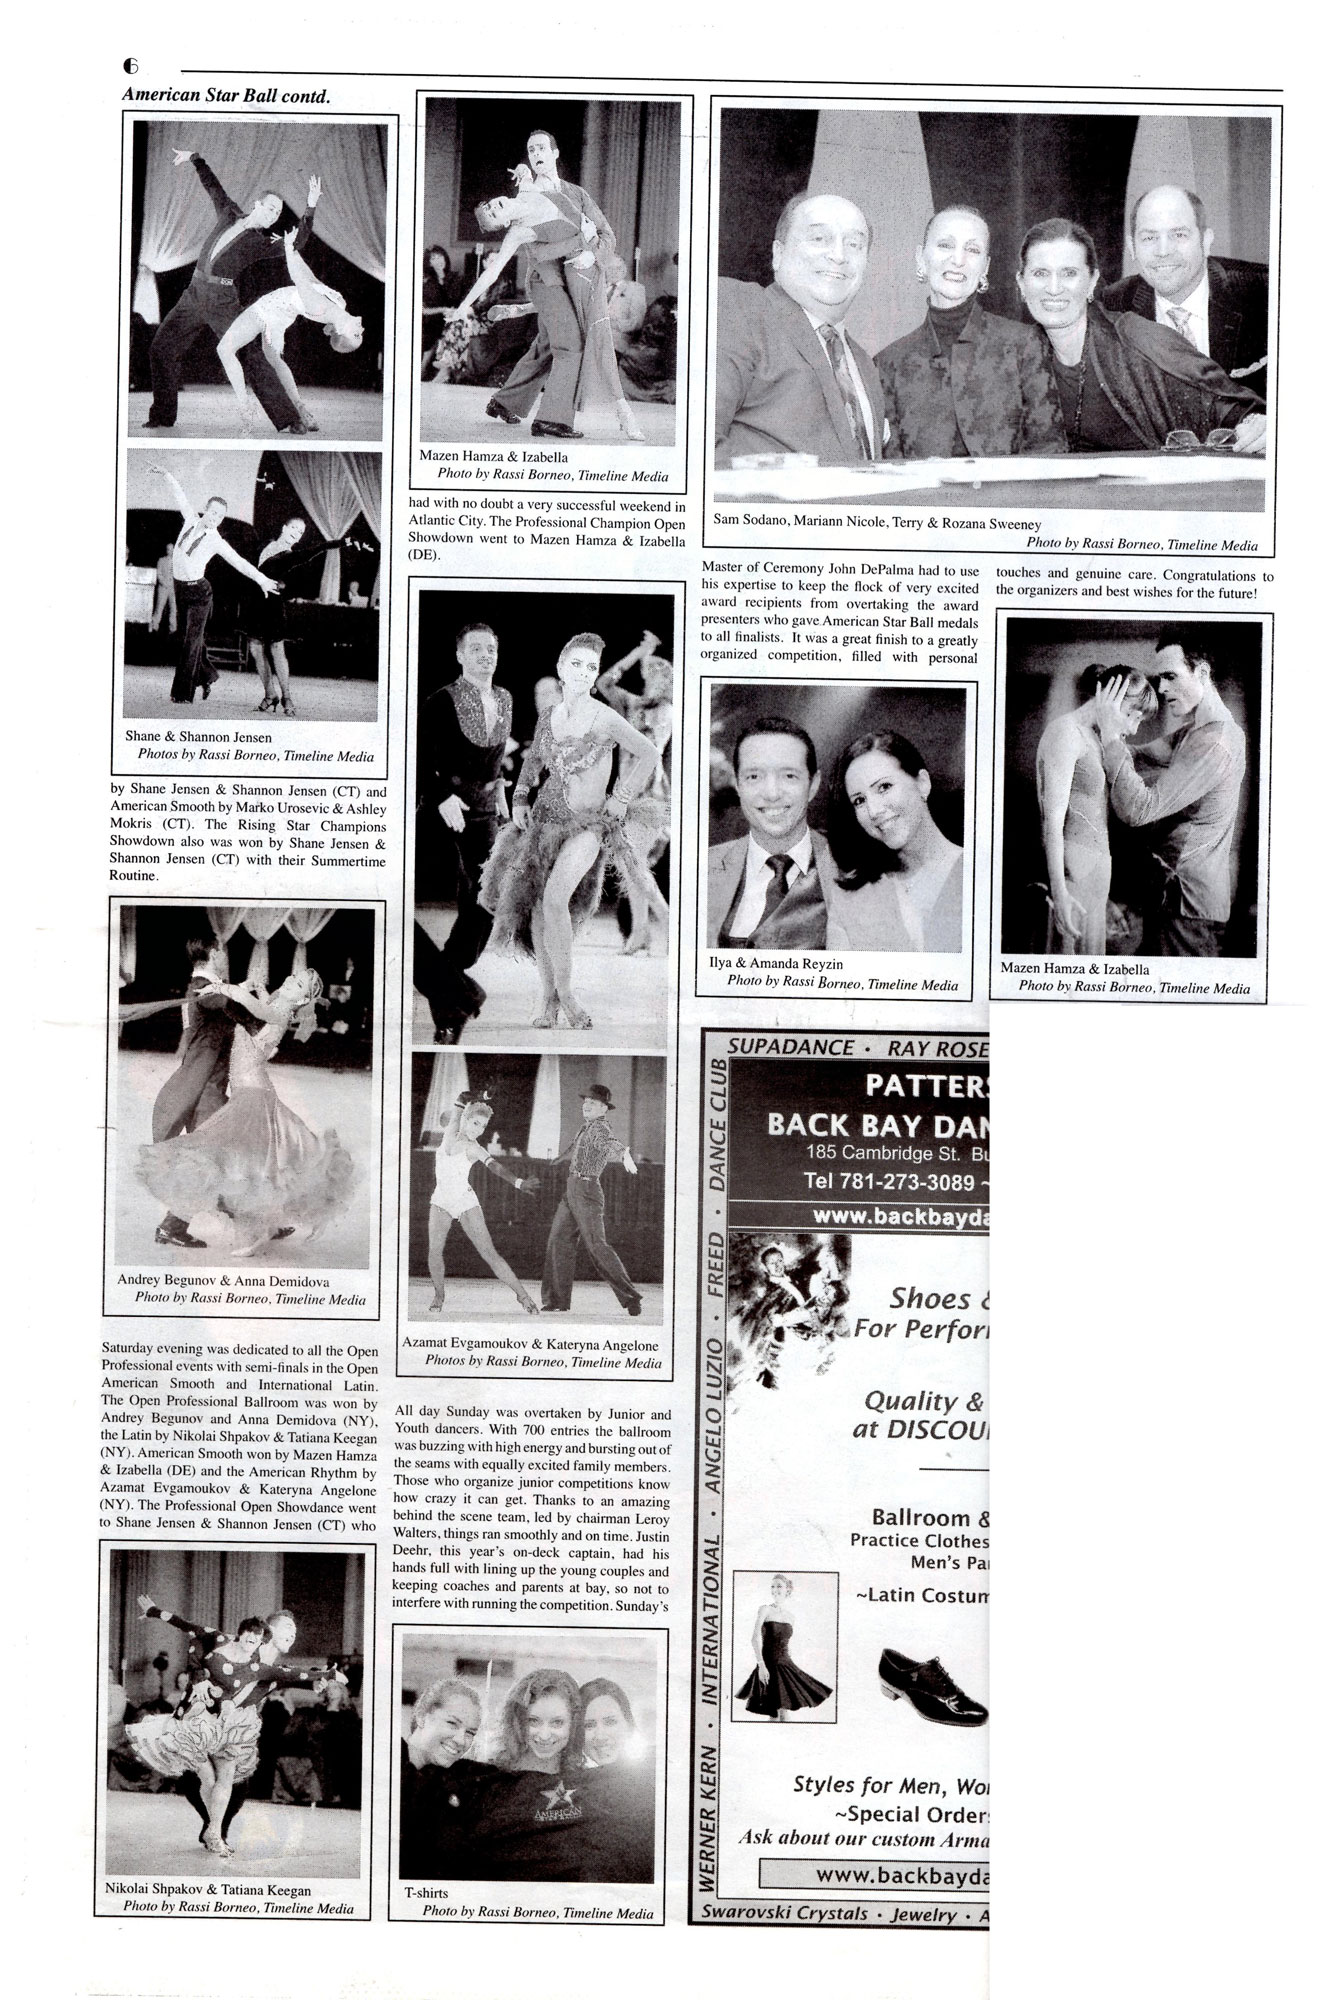
I am working on a personal project to preserve as much of my photo history before everything fades away. My memory will not hold for very long either, I suspect! In some cases, there are some publications where my photos are used, and these larger formats are difficult to preserve digitally. Due to the size of some of these publications, it is not possible to capture the entire spread with one pass of the scanner which is only letter sized. To do this before was a very complicated puzzle-building process. I would have to scan as much of the newspaper-sized pages on the scanner in sections making many different parts that overlapped each other in content. Sometimes, I would have up to 8 different images depending on the size of the print. In this example, I only have 2 separate images:

Source image for photo merge

Photo Merging

Source image for photo merge

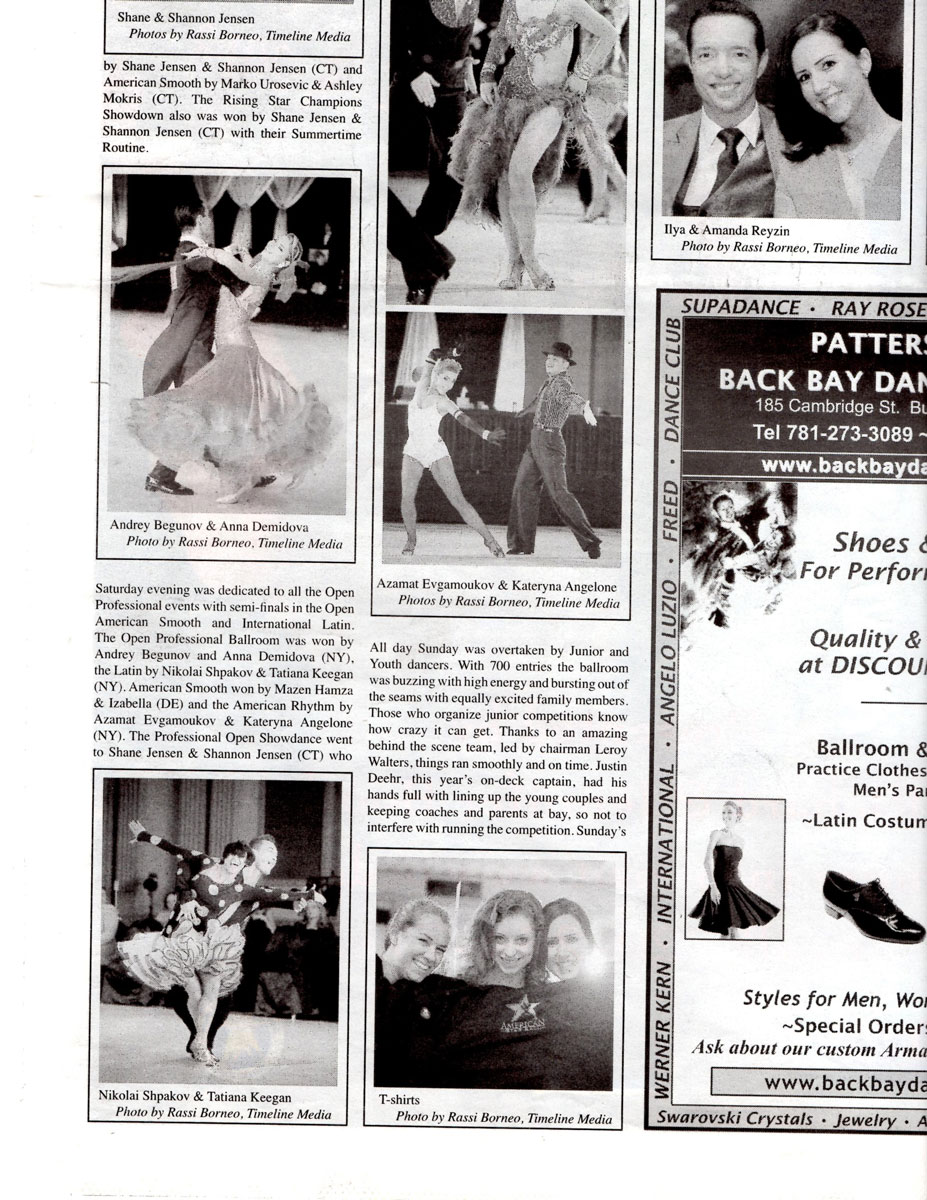
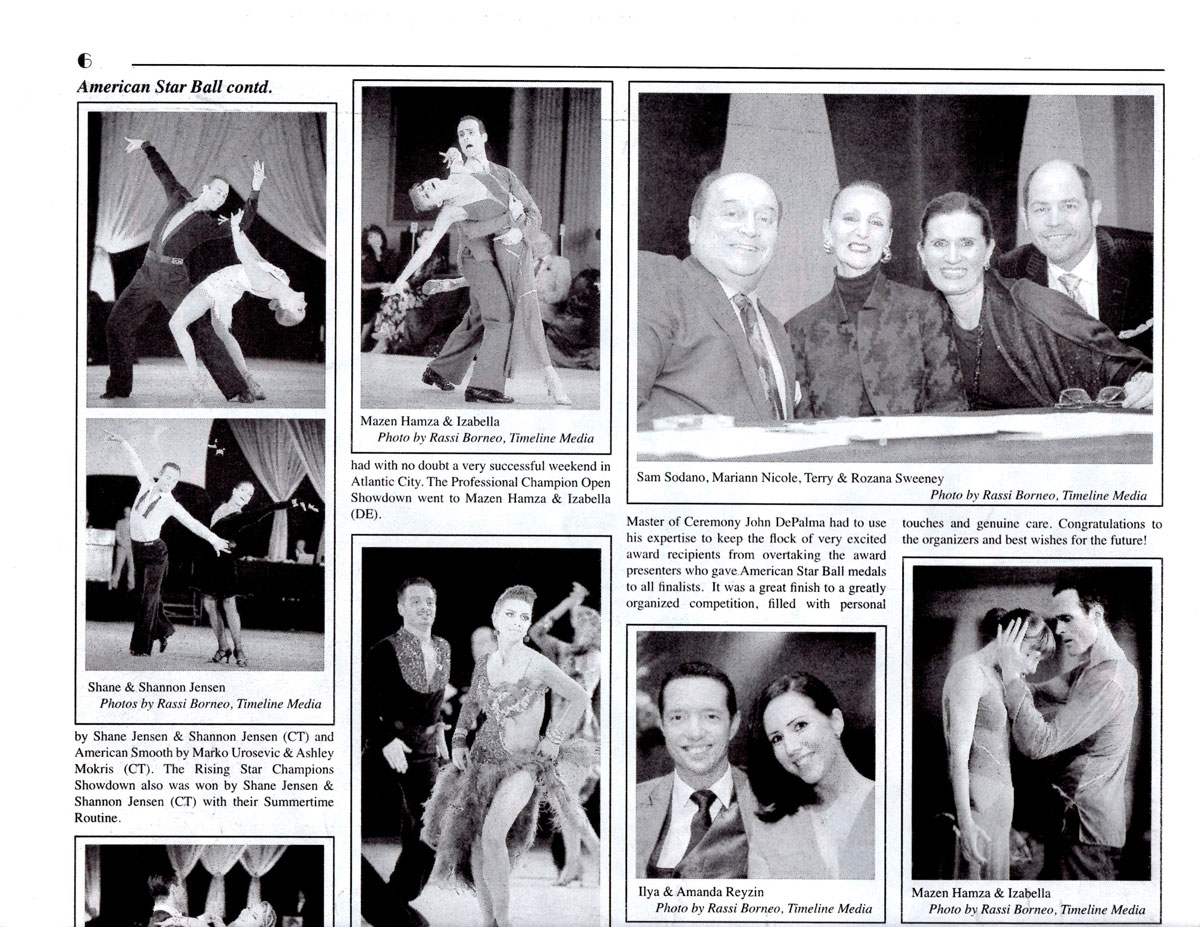
As can be seen in this example all the overlap between the text and the images on the page. In older versions of Photoshop, I would bring in both source images, and lay one on top of the other on a large empty background. Then I would reduce the opacity of the top layer, and maneuver it until the overlapping parts were right over each other on the layer below. It was time consuming, but it was possible. In the newer Photoshop versions, there is a nice automated way of doing this. First, open both images in Photoshop, then click on “File > Automate > Photomerge” which bring up this dialog box:

Photoshop CC Photomerge dialog box

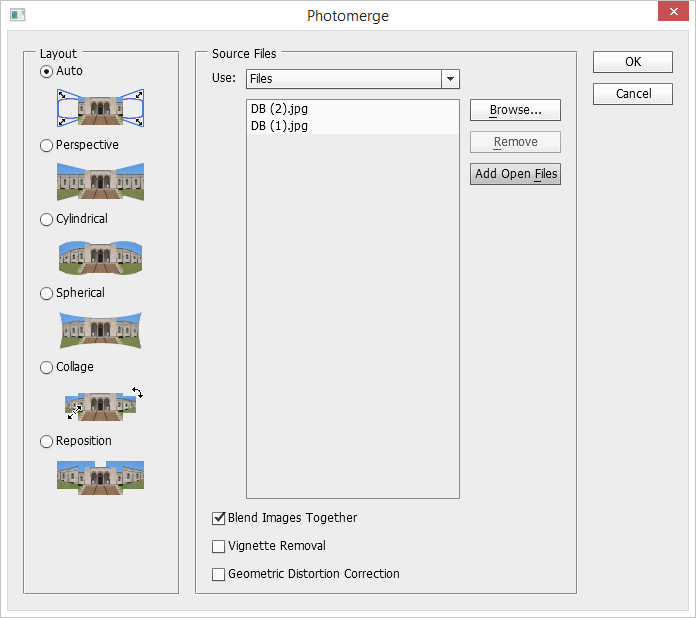
Click the Add Open Files button to add the open images to the process box. Make sure the box – Blend Images Together is selected, then click ‘OK’. Now Photoshop will quickly merge these two images using the overlapping information from each piece to create one large, merged document! This couldn’t be easier. I now only have to make sure that I have lots of overlapping areas from the large print. Knowing that the computer will do all of the aligning, you can scan in as many images as you would like. I have done this with up to 10 different images with no problem.

Large Merged Document

TimeLine Mediawww.timelinedc.com
703-864-8208

Nat Geo Kids Club – Petting Zoo at Tysons Corner Center

Hedgehog at petting zoo - ©TimeLine Media

Well this was one of the cutest photo shoots I have ever covered. The National Geographic Kids Club had a petting zoo visit Tysons Corner Center. To say it was a big hit is an understatement! The small animals from Squeals on Wheels were quite the attraction for everyone visiting the mall. There were kids of all ages that wanted to line up and pet the rabbits, chicks, and piglets.

Duck presentation at petting zoo - ©TimeLine Media
Duck presentation at petting zoo – ©TimeLine Media

John and Jill the co-owners of Squeals on Wheels gave an orientation to everyone visiting about how to get up close to the animals. They encouraged everyone to greet and touch the animals – “It’s not a looking zoo, it’s a petting zoo!”

Piglet from Squeals on Wheels - ©TimeLine Media
Piglet from Squeals on Wheels – ©TimeLine Media

The line to come into the zoo was full the entire time they were open. The amount of people that could see the animals at one time was nicely controlled so that everyone had plenty of time and space to visit. It kept the animals calm as well so they did not have to entertain too many at one time!

Face Painting at Nat Geo Kids Club - ©TimeLine Media
Face Painting at Nat Geo Kids Club – ©TimeLine Media

Not only were there animals, but there was also talented Face painters and balloon makers. Parents and kids had a great time at the club this afternoon, and I am sure they will be back for more events this year. Go to their website for more information, and I’ll see you at the next one!

Hedgehog at petting zoo - ©TimeLine Media
Hedgehog at petting zoo – ©TimeLine Media

TimeLine Media – www.timelinedc.com
703-864-8208

Comparing HDR to Non-HDR images

Lincoln Memorial and Washington Monument from Virginia - ©TimeLine Media

With all my landscape images, I have been bracketing exposures with the intent to do some post processing on the photos and create a high dynamic range (HDR) final image. One evening, I walked out on the Virginia side of the Potomac River from Washington, DC to the Memorial Bridge. This is a beautiful spot to make images of the Lincoln and Washington Monuments especially in the early evening. With the sun lowering, the white buildings again take on that pink/orange hue of the fading light.

Lincoln Memorial and Washington Monument from Virginia - ©TimeLine Media
Lincoln Memorial and Washington Monument from Virginia – ©TimeLine Media

HDR testing

In looking through the set of images that I made after the shoot, I did notice that this night had a smoggy haze. With rush hour traffic starting to build, it did not make for as nice a scene as the crisp winter mornings. The haze came in the middle of the frames underneath the blue, and stayed over the pink part of the sky overlaying this ugly gray layer.

This was just bad luck for the time I happened to be out there shooting. Obviously, it makes me want to try this on a different day. Perhaps I can get a better result next time. In any case, I saw the result from the post processing the bracketed photos with Photomatix. I wanted to compare it to the RAW file images. With this in mind, I had a feeling that being able to shoot at a low ISO. Additionally, with all the detail and information that the Nikon D4 gathers, I could make one of the RAW files that was in the middle of the bracket look just as good as the HDR image.

Washington, DC

Lincoln Memorial and Washington Monument from Virginia - ©TimeLine Media
Lincoln Memorial and Washington Monument HDR from Virginia – ©TimeLine Media
Lincoln Memorial and Washington Monument from Virginia - ©TimeLine Media
Lincoln Memorial and Washington Monument non-HDR from Virginia – ©TimeLine Media

What I learned in looking at these photos, is that there is not a huge difference between the dark and light sections of the photo. Moreover it is very possible to make one exposure similar to a realistic HDR image from 7 bracketed photos. The Raw file was adjusted in Adobe Lightroom with just some contrast, clarity, and vibrance added to the original file.

I then adjusted the white balance of the scene to mimic the HDR, and these photos looked very similar. Although it is not something that I am comfortable yet pre-visualizing. So it is nice to have the bracketed photos as a backup. I will probably continue to shoot both ways, and processes them in 2 ways, until I can more easily predict when it will save me a lot of time and memory card space to shoot just one photo instead of the whole series.

TimeLine Media – www.timelinedc.com
703-864-8208

1 3 4 5 6 7 8