The use of a good cover photo in Facebook is something I have underestimated in my social media marketing. I do not change my profile photo very much. However, I am thinking that the cover photo can be changed more frequently. Hopefully it will not change how visitors recognize and remember my photography site. Recently, I used some images from my cherry blossoms photo walks to create a new cover page for my personal Facebook page. Here are the steps I used to make it.Looking through the Facebook help files on cover photos, they give the exact dimensions that the application uses:
At this time, cover photos are 851 pixels wide and 315 pixels tall. If you upload an image that’s smaller than these dimensions, it will be stretched to this larger size. The image you upload must be at least 399 pixels wide and 150 pixels tall.
Looking at this ratio, I know that it will be a panoramic photo – one with very long dimensions left to right compared to the dimensions top to bottom. Consequently, there were two photos that immediately came to mind:
Social Media Templates
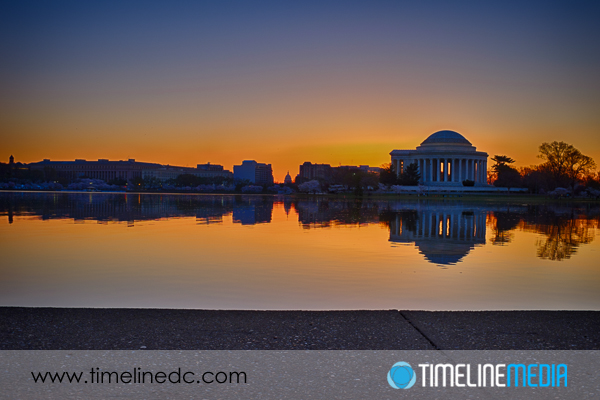
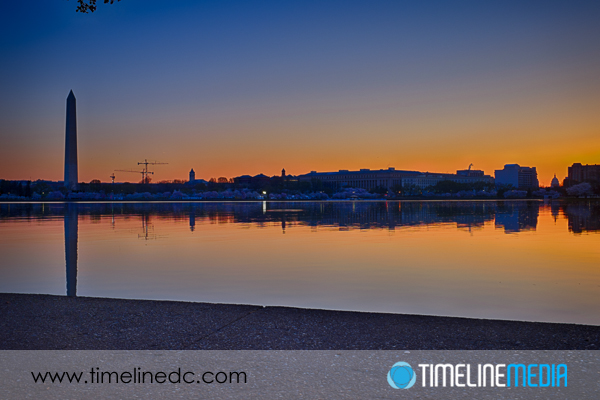
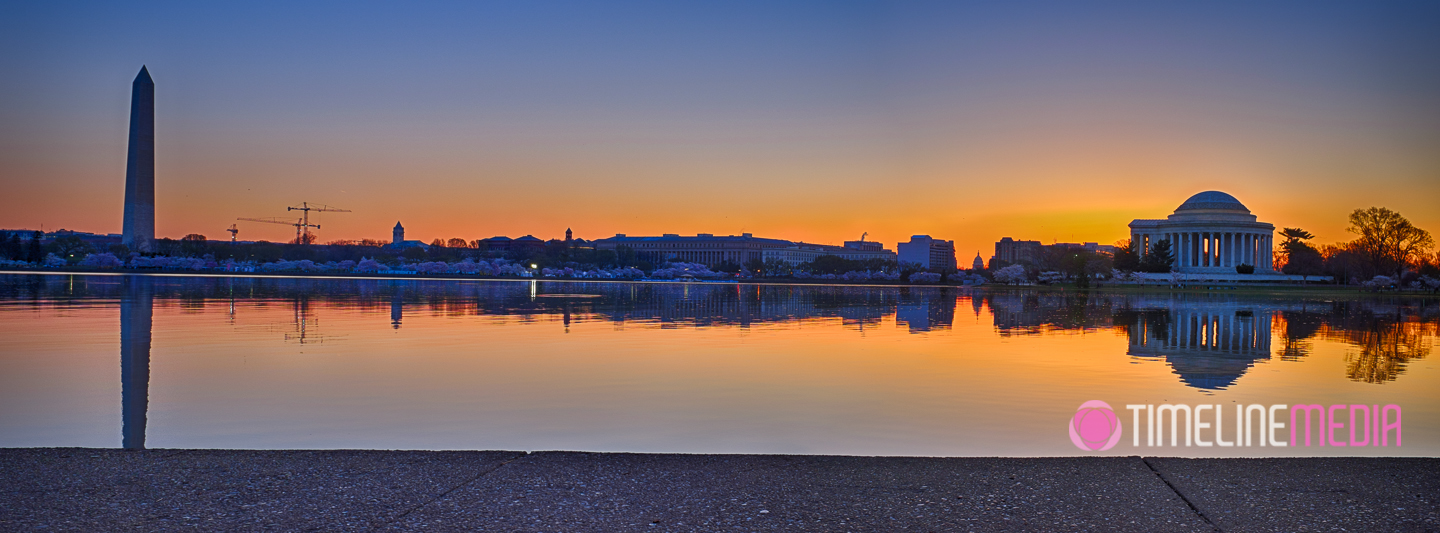
These two were taken with the X100s which has a fixed 35mm lens. It is not very wide, and I wanted to get the entire Tidal Basin from the Washington Monument to the Jefferson Memorial. However with all the other photographers setup there at the time, I needed to work quickly. So I just made some photos looking straight ahead to the Jefferson first, then panned my camera to the left to get Washington Monument. I checked the camera to make sure there was a lot of overlap between the two photos before moving out of the way. After processing the photos in Lightroom, I brought them both into Photoshop CC which has some nice automated tools for combining photos into a panorama. This is the result:
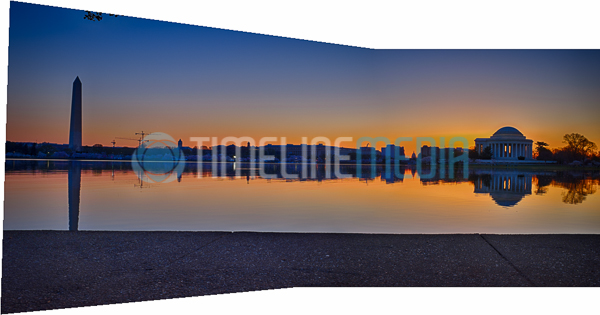
The crazy bend in the perspective comes from the movement of the camera focal plane with respect to the horizon. Photoshop combines all the important elements seamlessly in the middle of the frame. I then brought this combined PSD file back into Lightroom because I like how the crop tool works there.
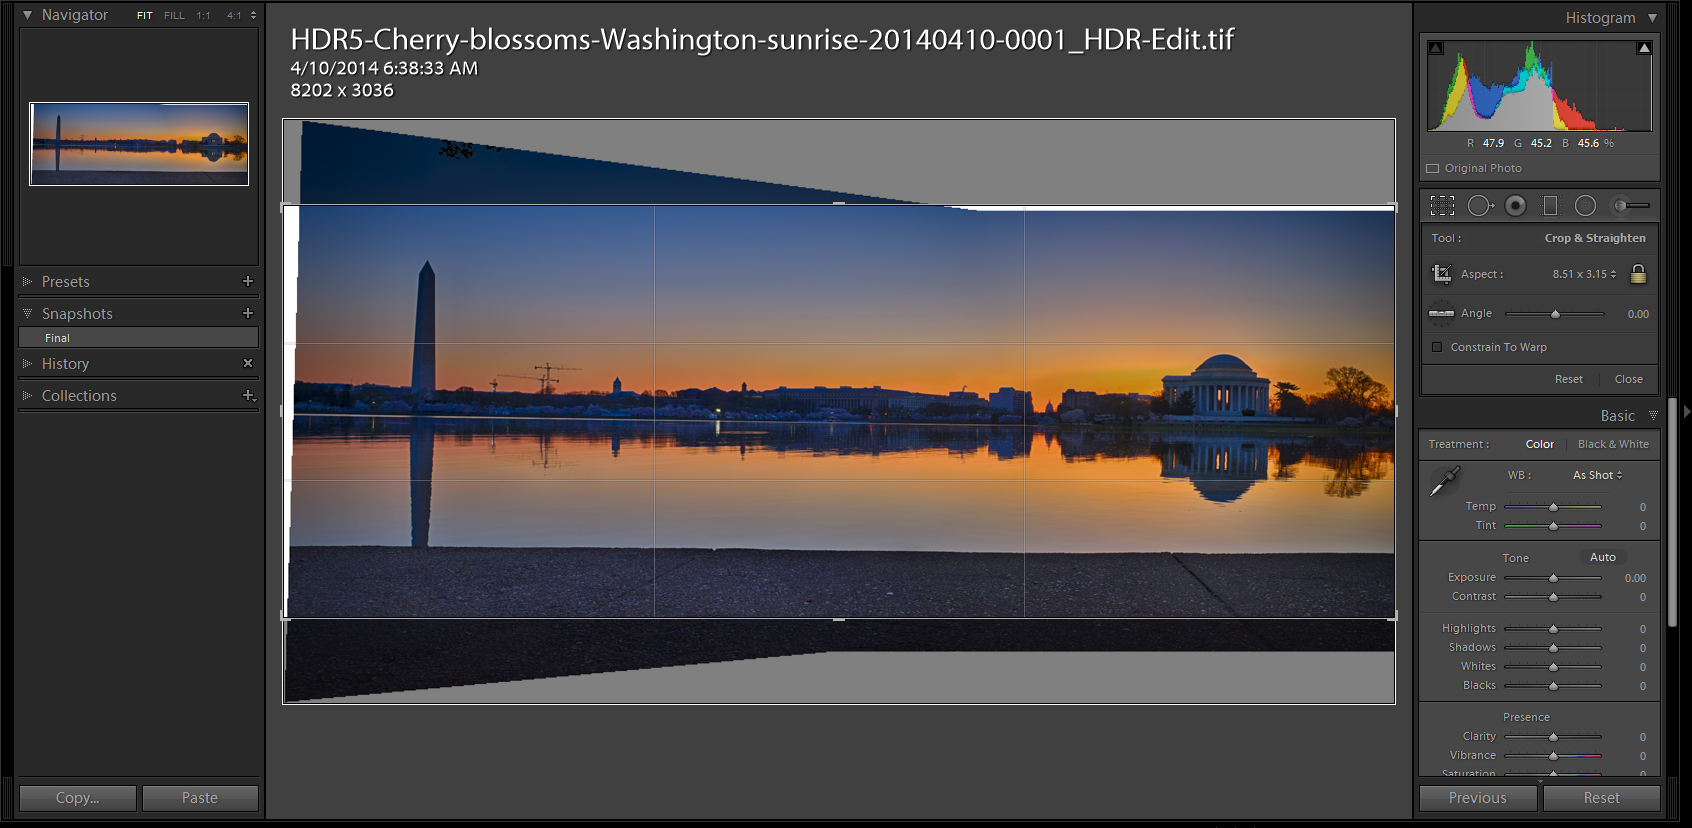
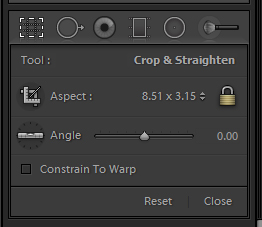
For cropping, I entered in a custom dimension of 8.51 x 3.15 to match the settings from Facebook. When you do this, your photo will look its best as a cover because there is no stretching or converting being done before it is displayed.
After uploading, it looks great on both the PC and mobile versions! Let me know if you have any other tips for making these.
TimeLine Media – www.timelinedc.com
703-864-8208