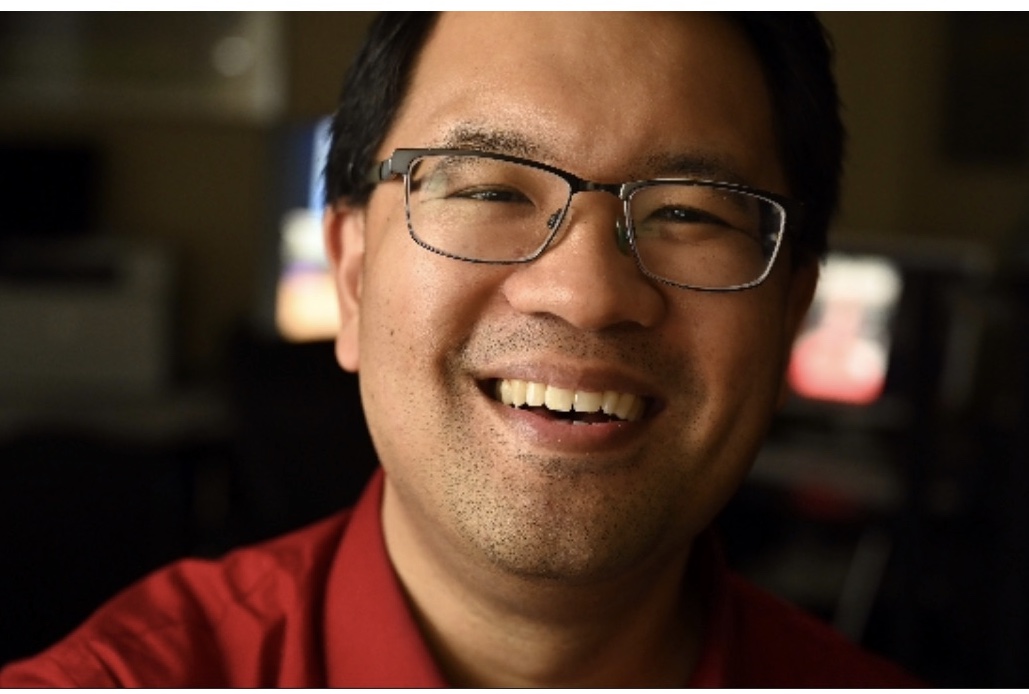
Home Office Setup
Since we are weeks into this quarantine – video conferences have replaced in person meetings. To be sure this is not my favorite way to network and meet business contacts. However, the current state of our world has forced this style of communication for everyone.
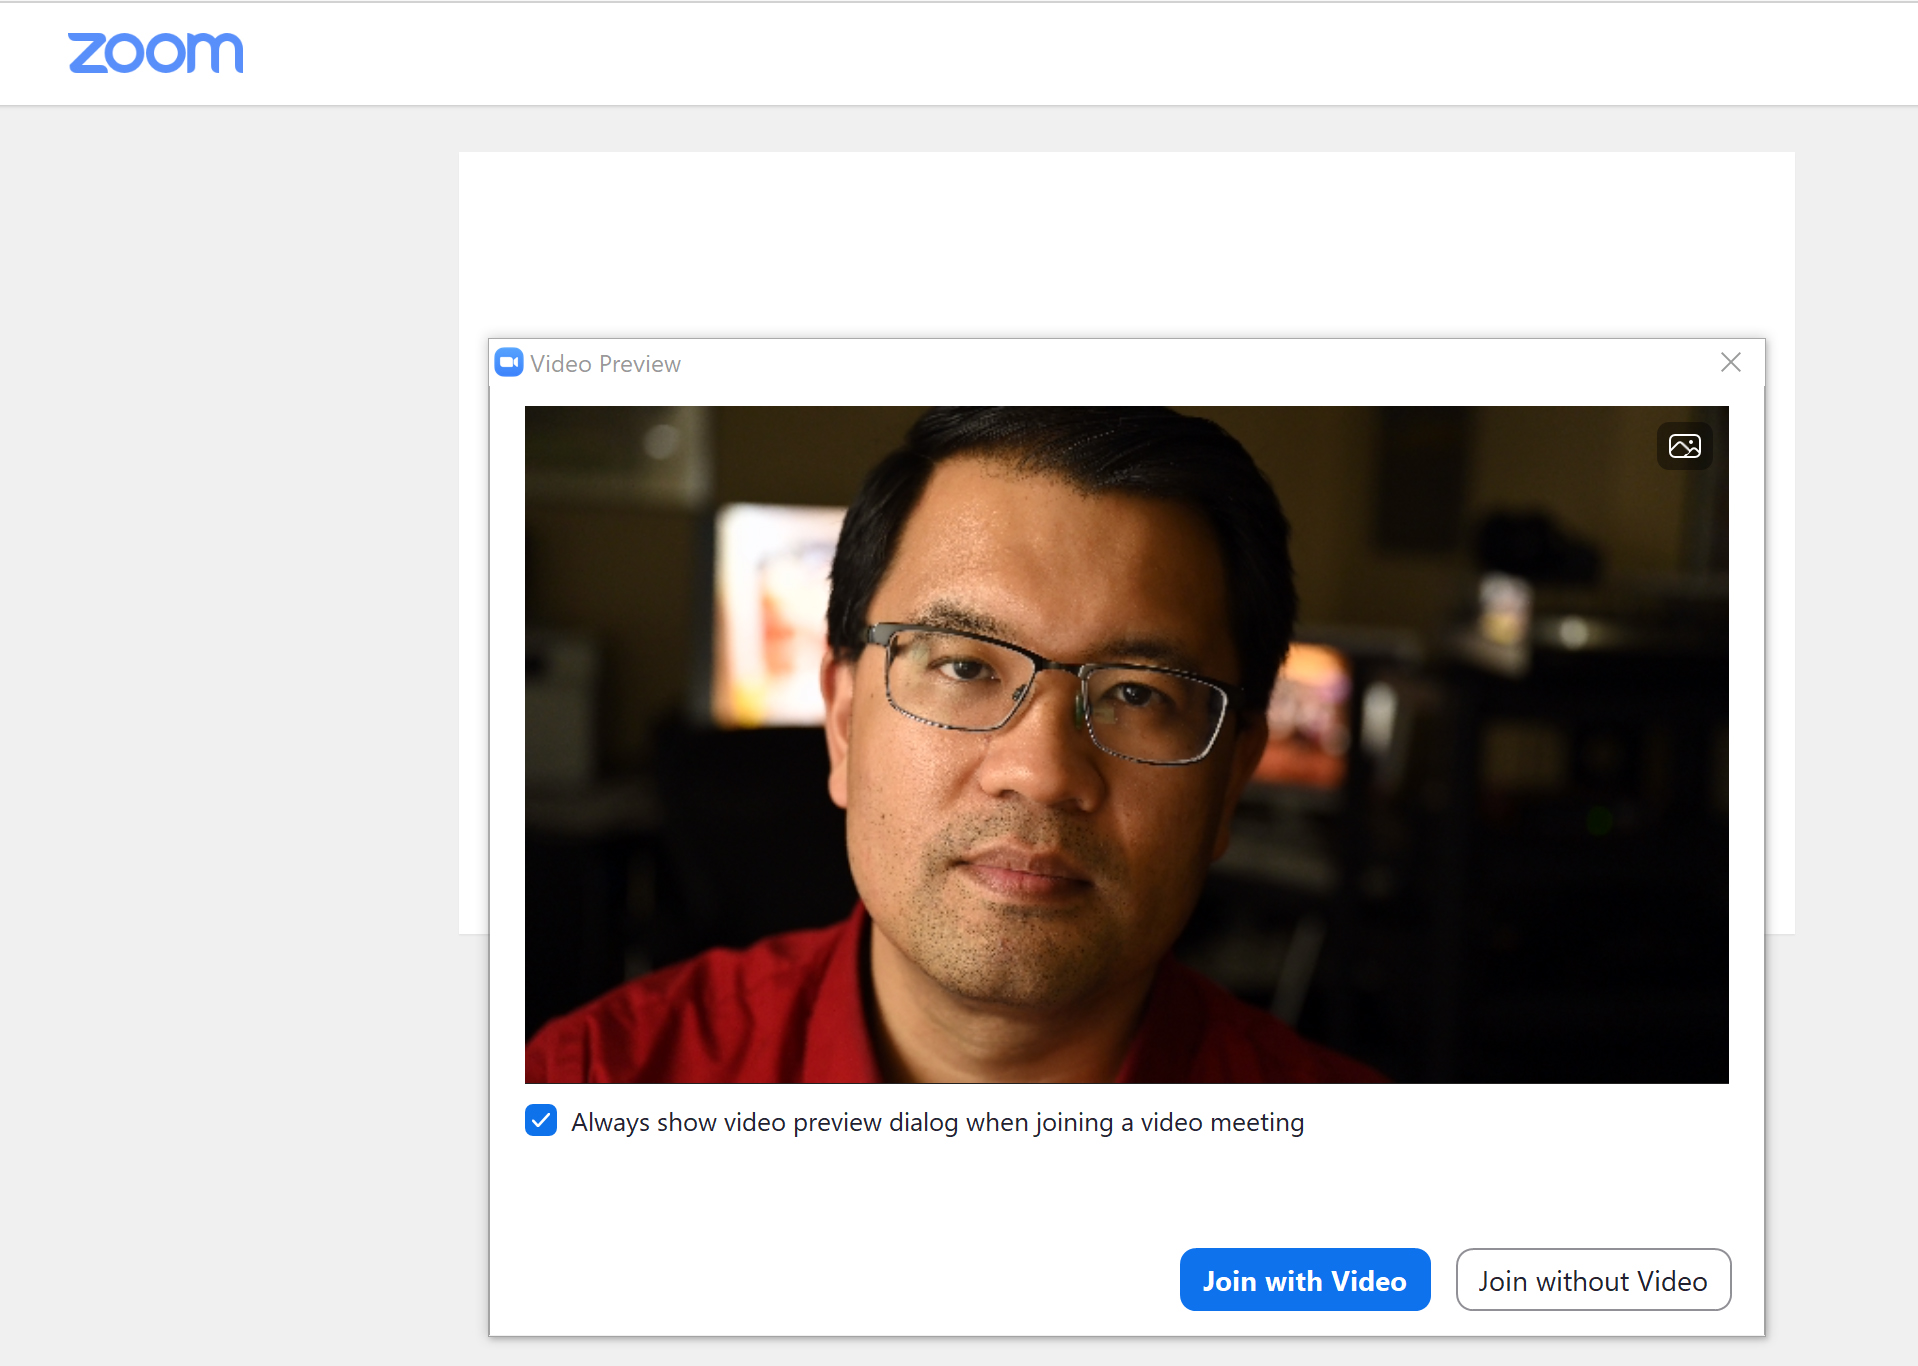
While the advances in technology have made the webcam an adequate conduit for this communication, I am a photographer. Thus, I want to have the best picture quality! Of course I would look better myself, but it would also help my business profile. If my little box looked the best out of all of the boxes in the meeting, it would stick with some people that I know how to make a good looking image online. Moreover, it would show how much I care about how I project myself online, and how professional I can make my clients look. To this end, I looked at how I could use my professional cameras to stream online. My lenses and lighting could then be used to elevate the look from my studio.
Quarantine 2 – Video Setup
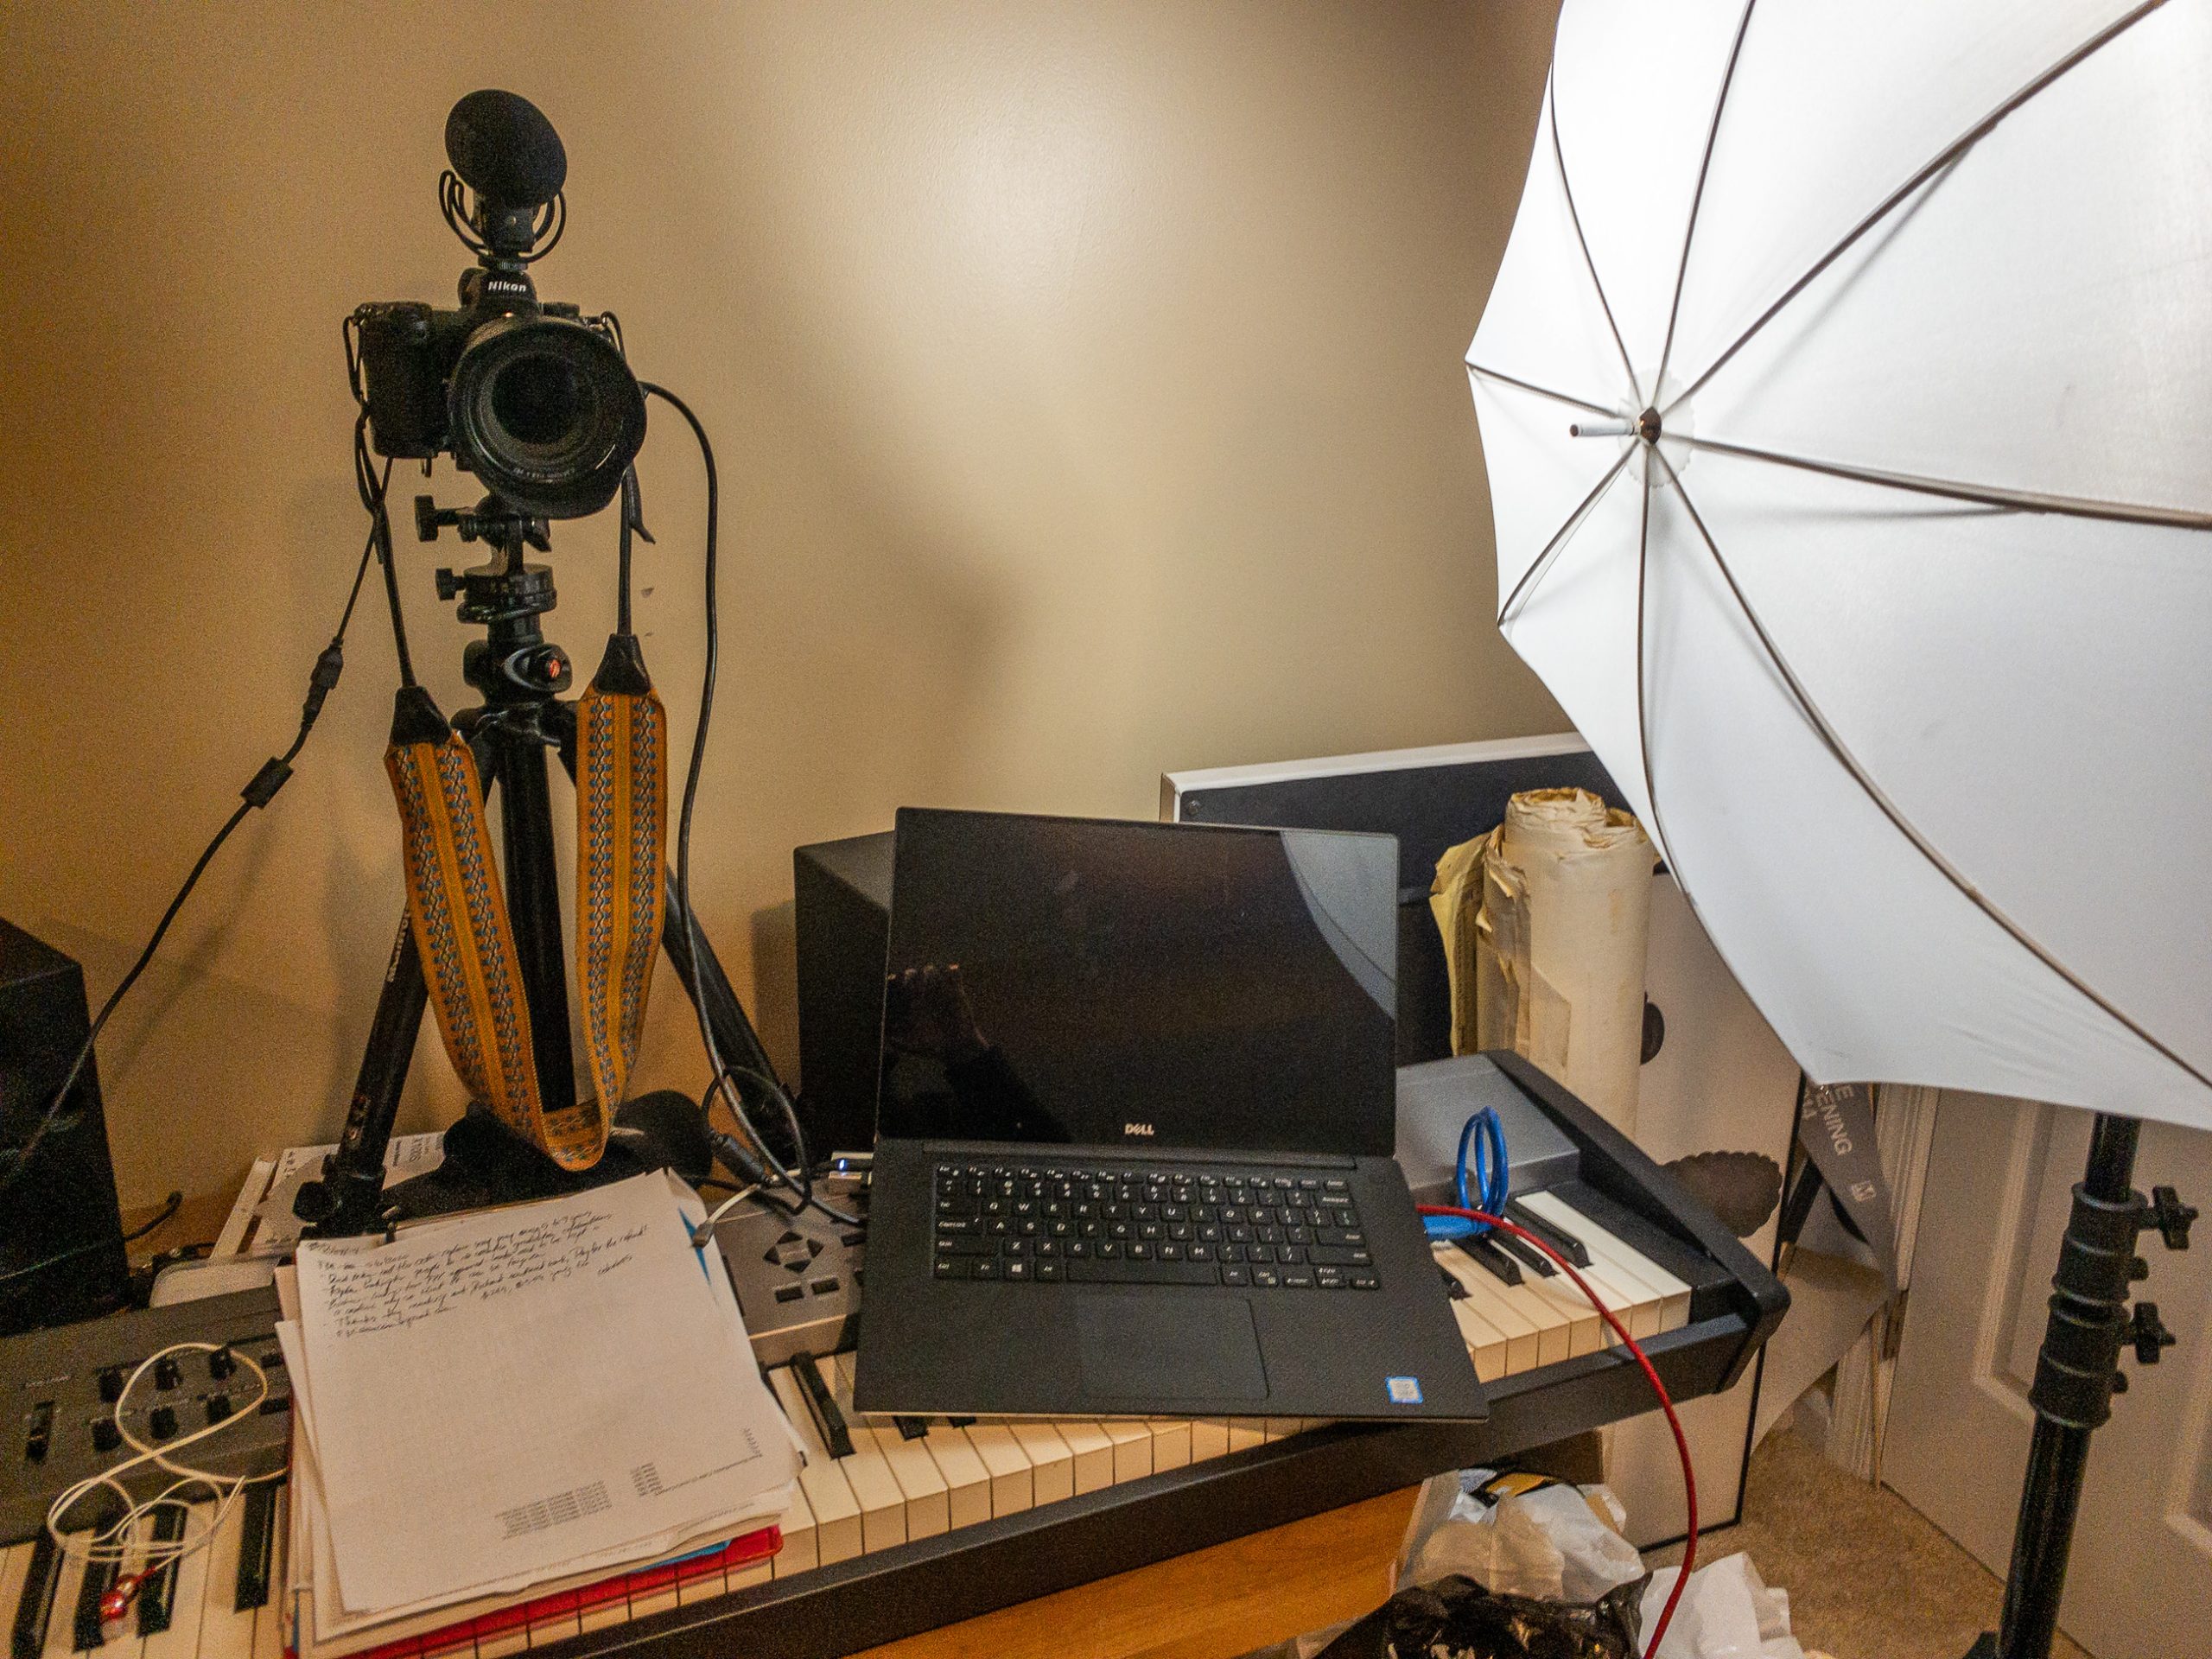
As an overview, my laptop is positioned next to my camera on a tripod. The lens is set to a 50mm focal length. If you are using a smart phone for your calls, I would select a portrait style mode to zoom in closer to your face. Seeing that this is the most important thing to see in the video, fill your frame up with your face! The microphone captures a nice clean audio from me sitting about a foot and a half away from the camera. The background of my shot is 10 feet away from where I am sitting. With the difference in distance, the background is blurred out nicely. As long as there is some difference between you and the background, you can have this same effect.
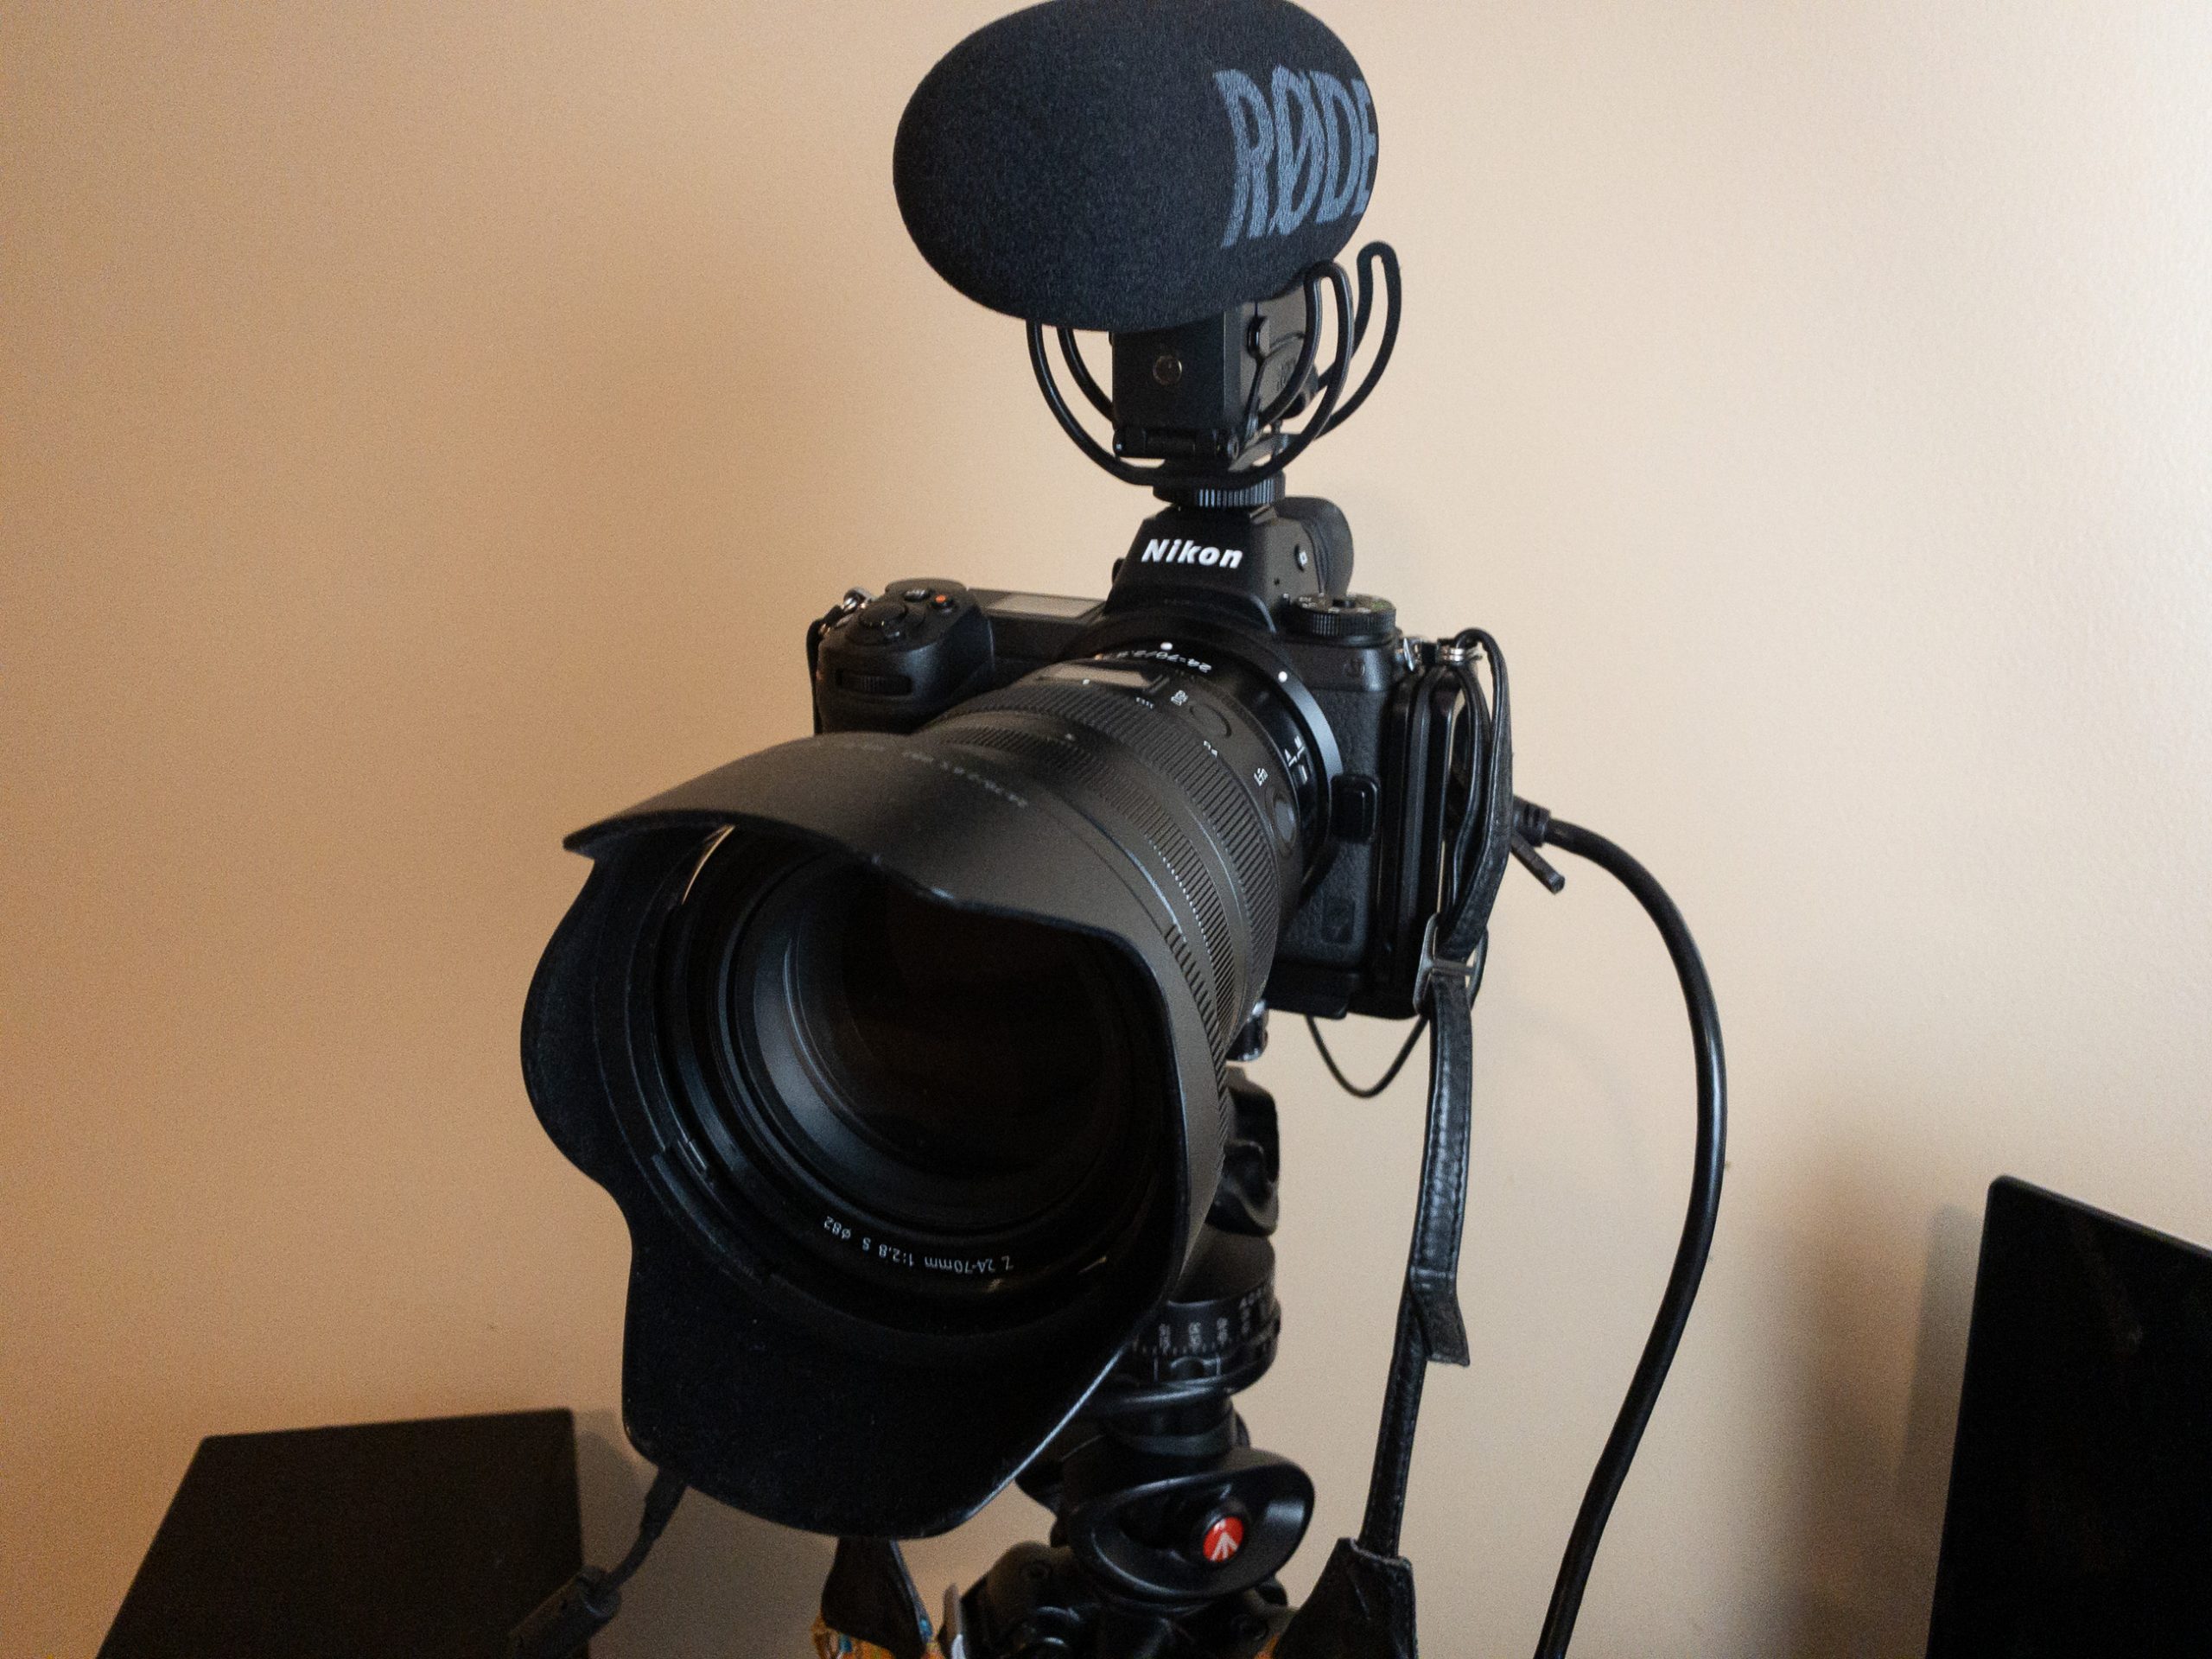
Once you have the camera set, the HDMI cable comes out of the camera and into a video capture card. For this setup, I used the Magewell USB Capture HDMI Gen 2. From here the audio and video is transferred by USB to my laptop. From here, you can choose your USB connection as your webcam in Zoom, Skype, Facebook Messenger, whatever program you would like to use. Both your audio and video will be sent through.
Lighting Setup
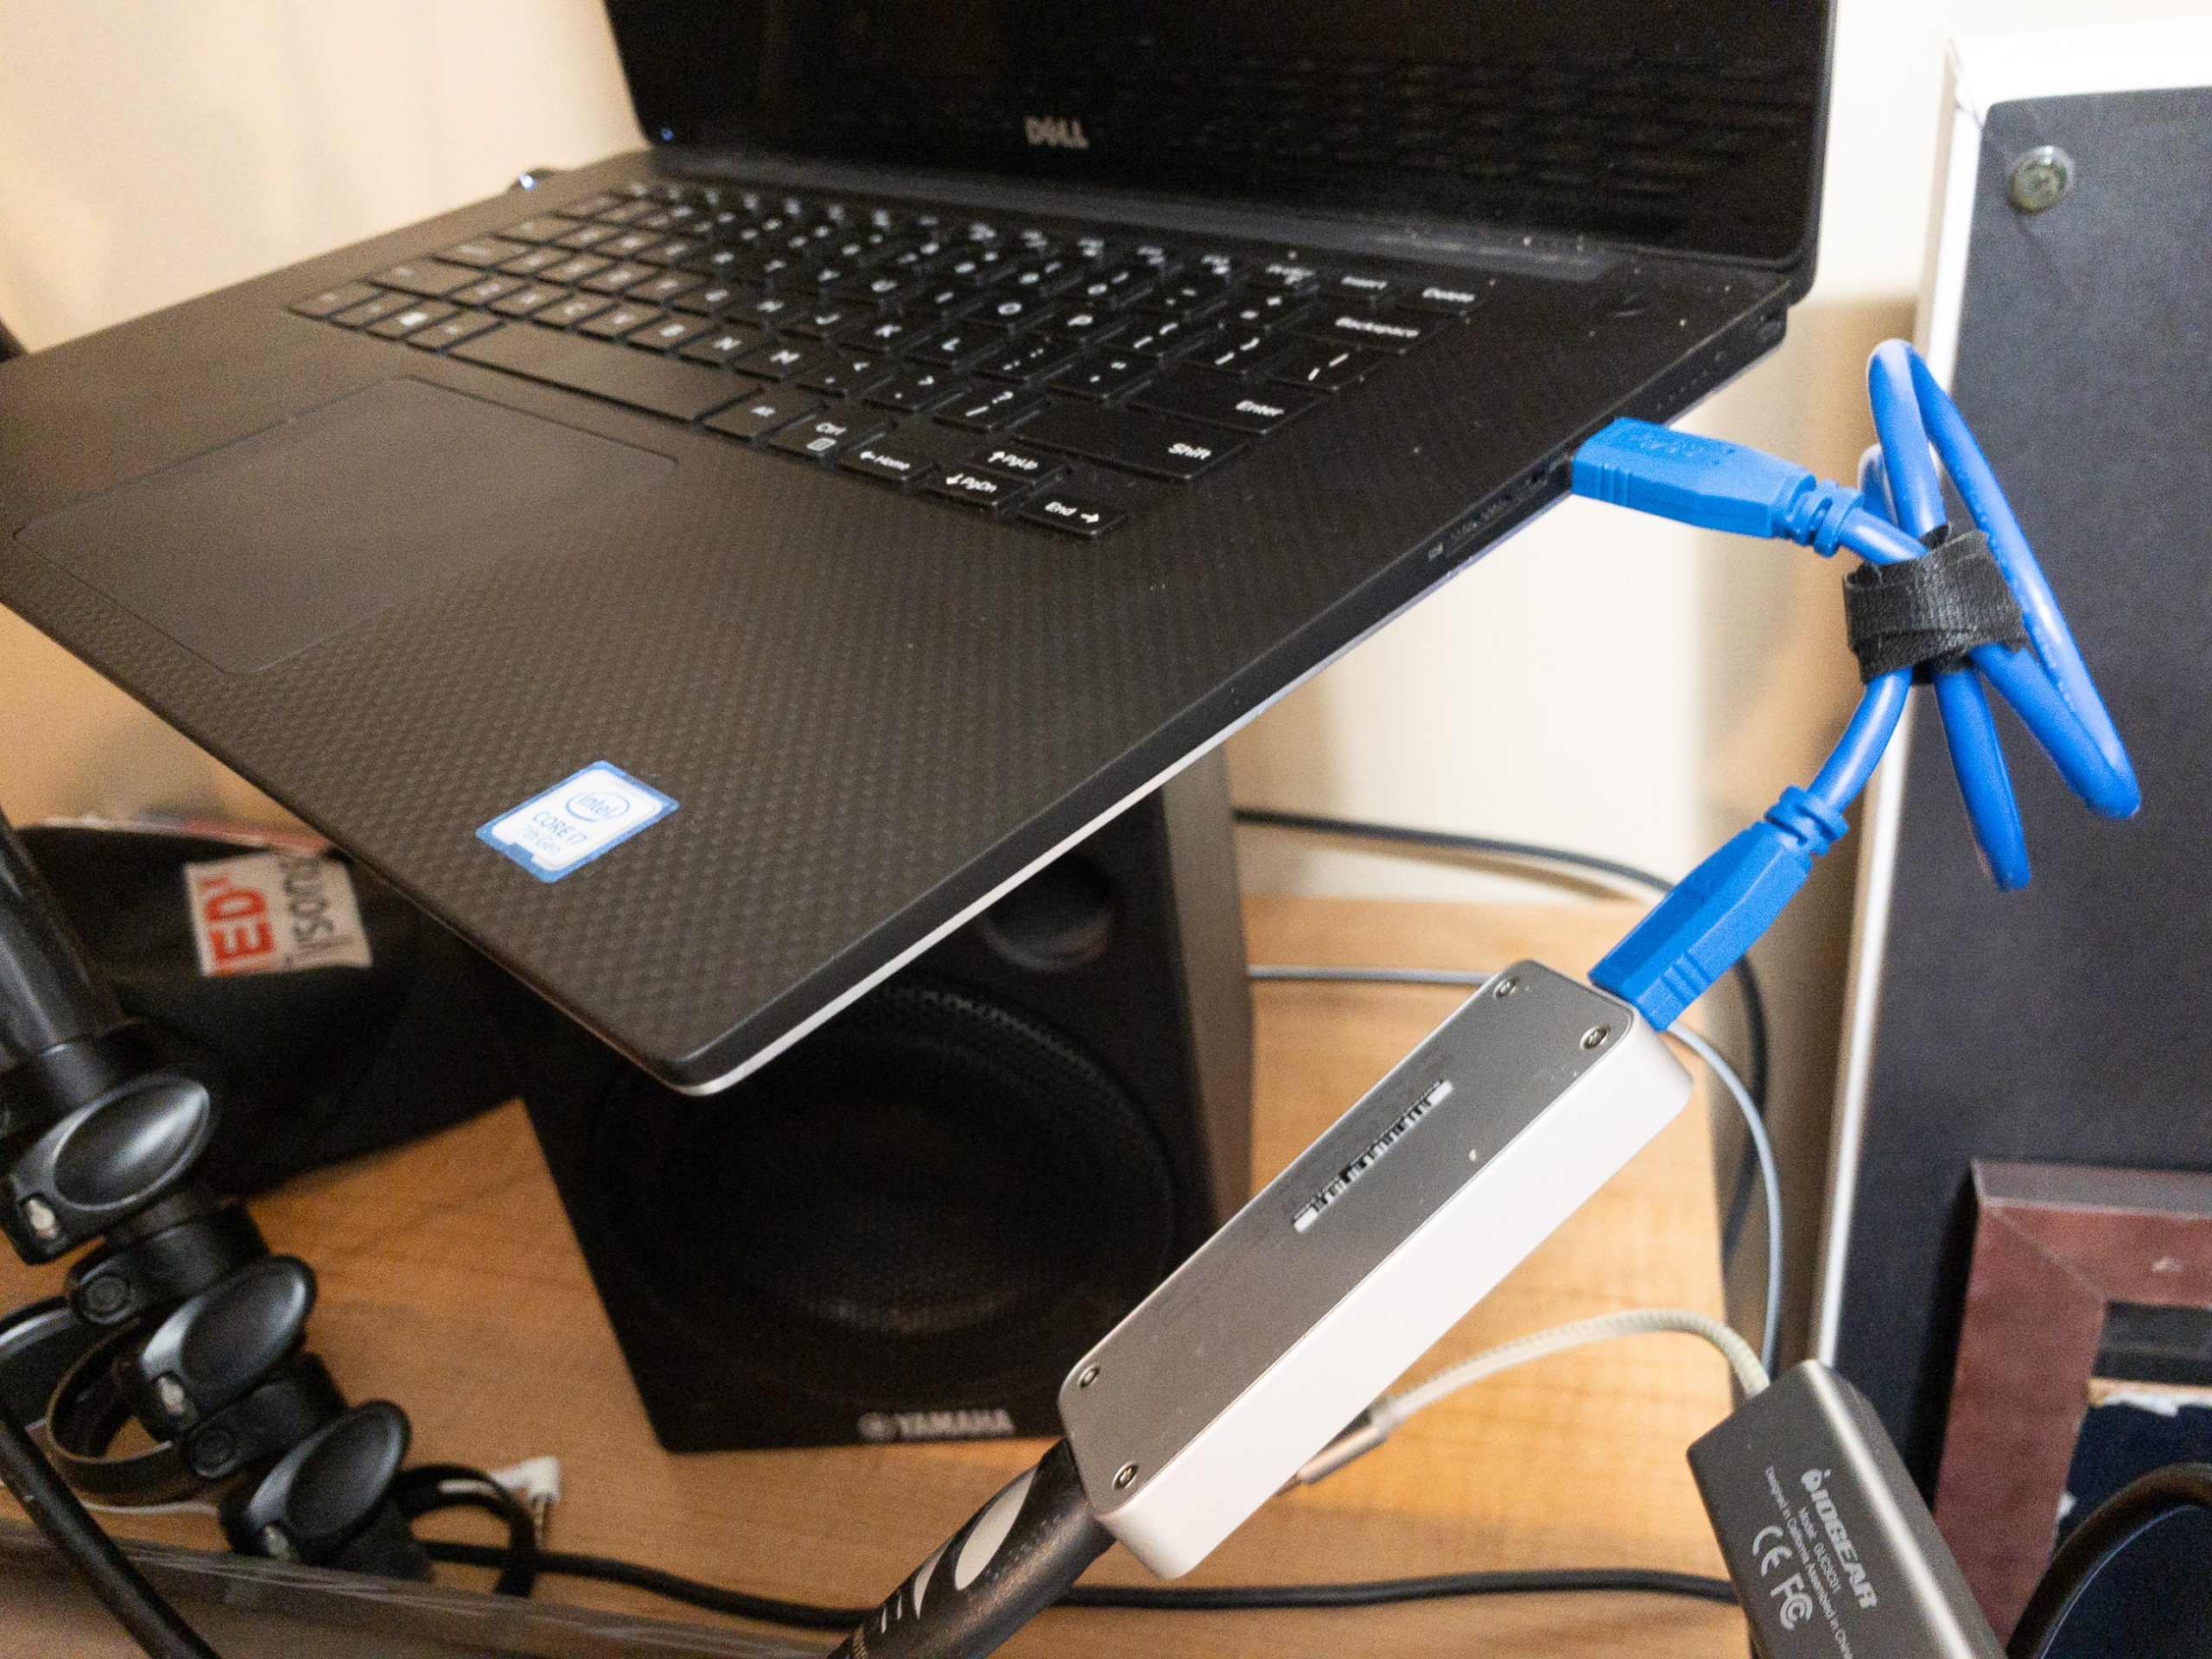
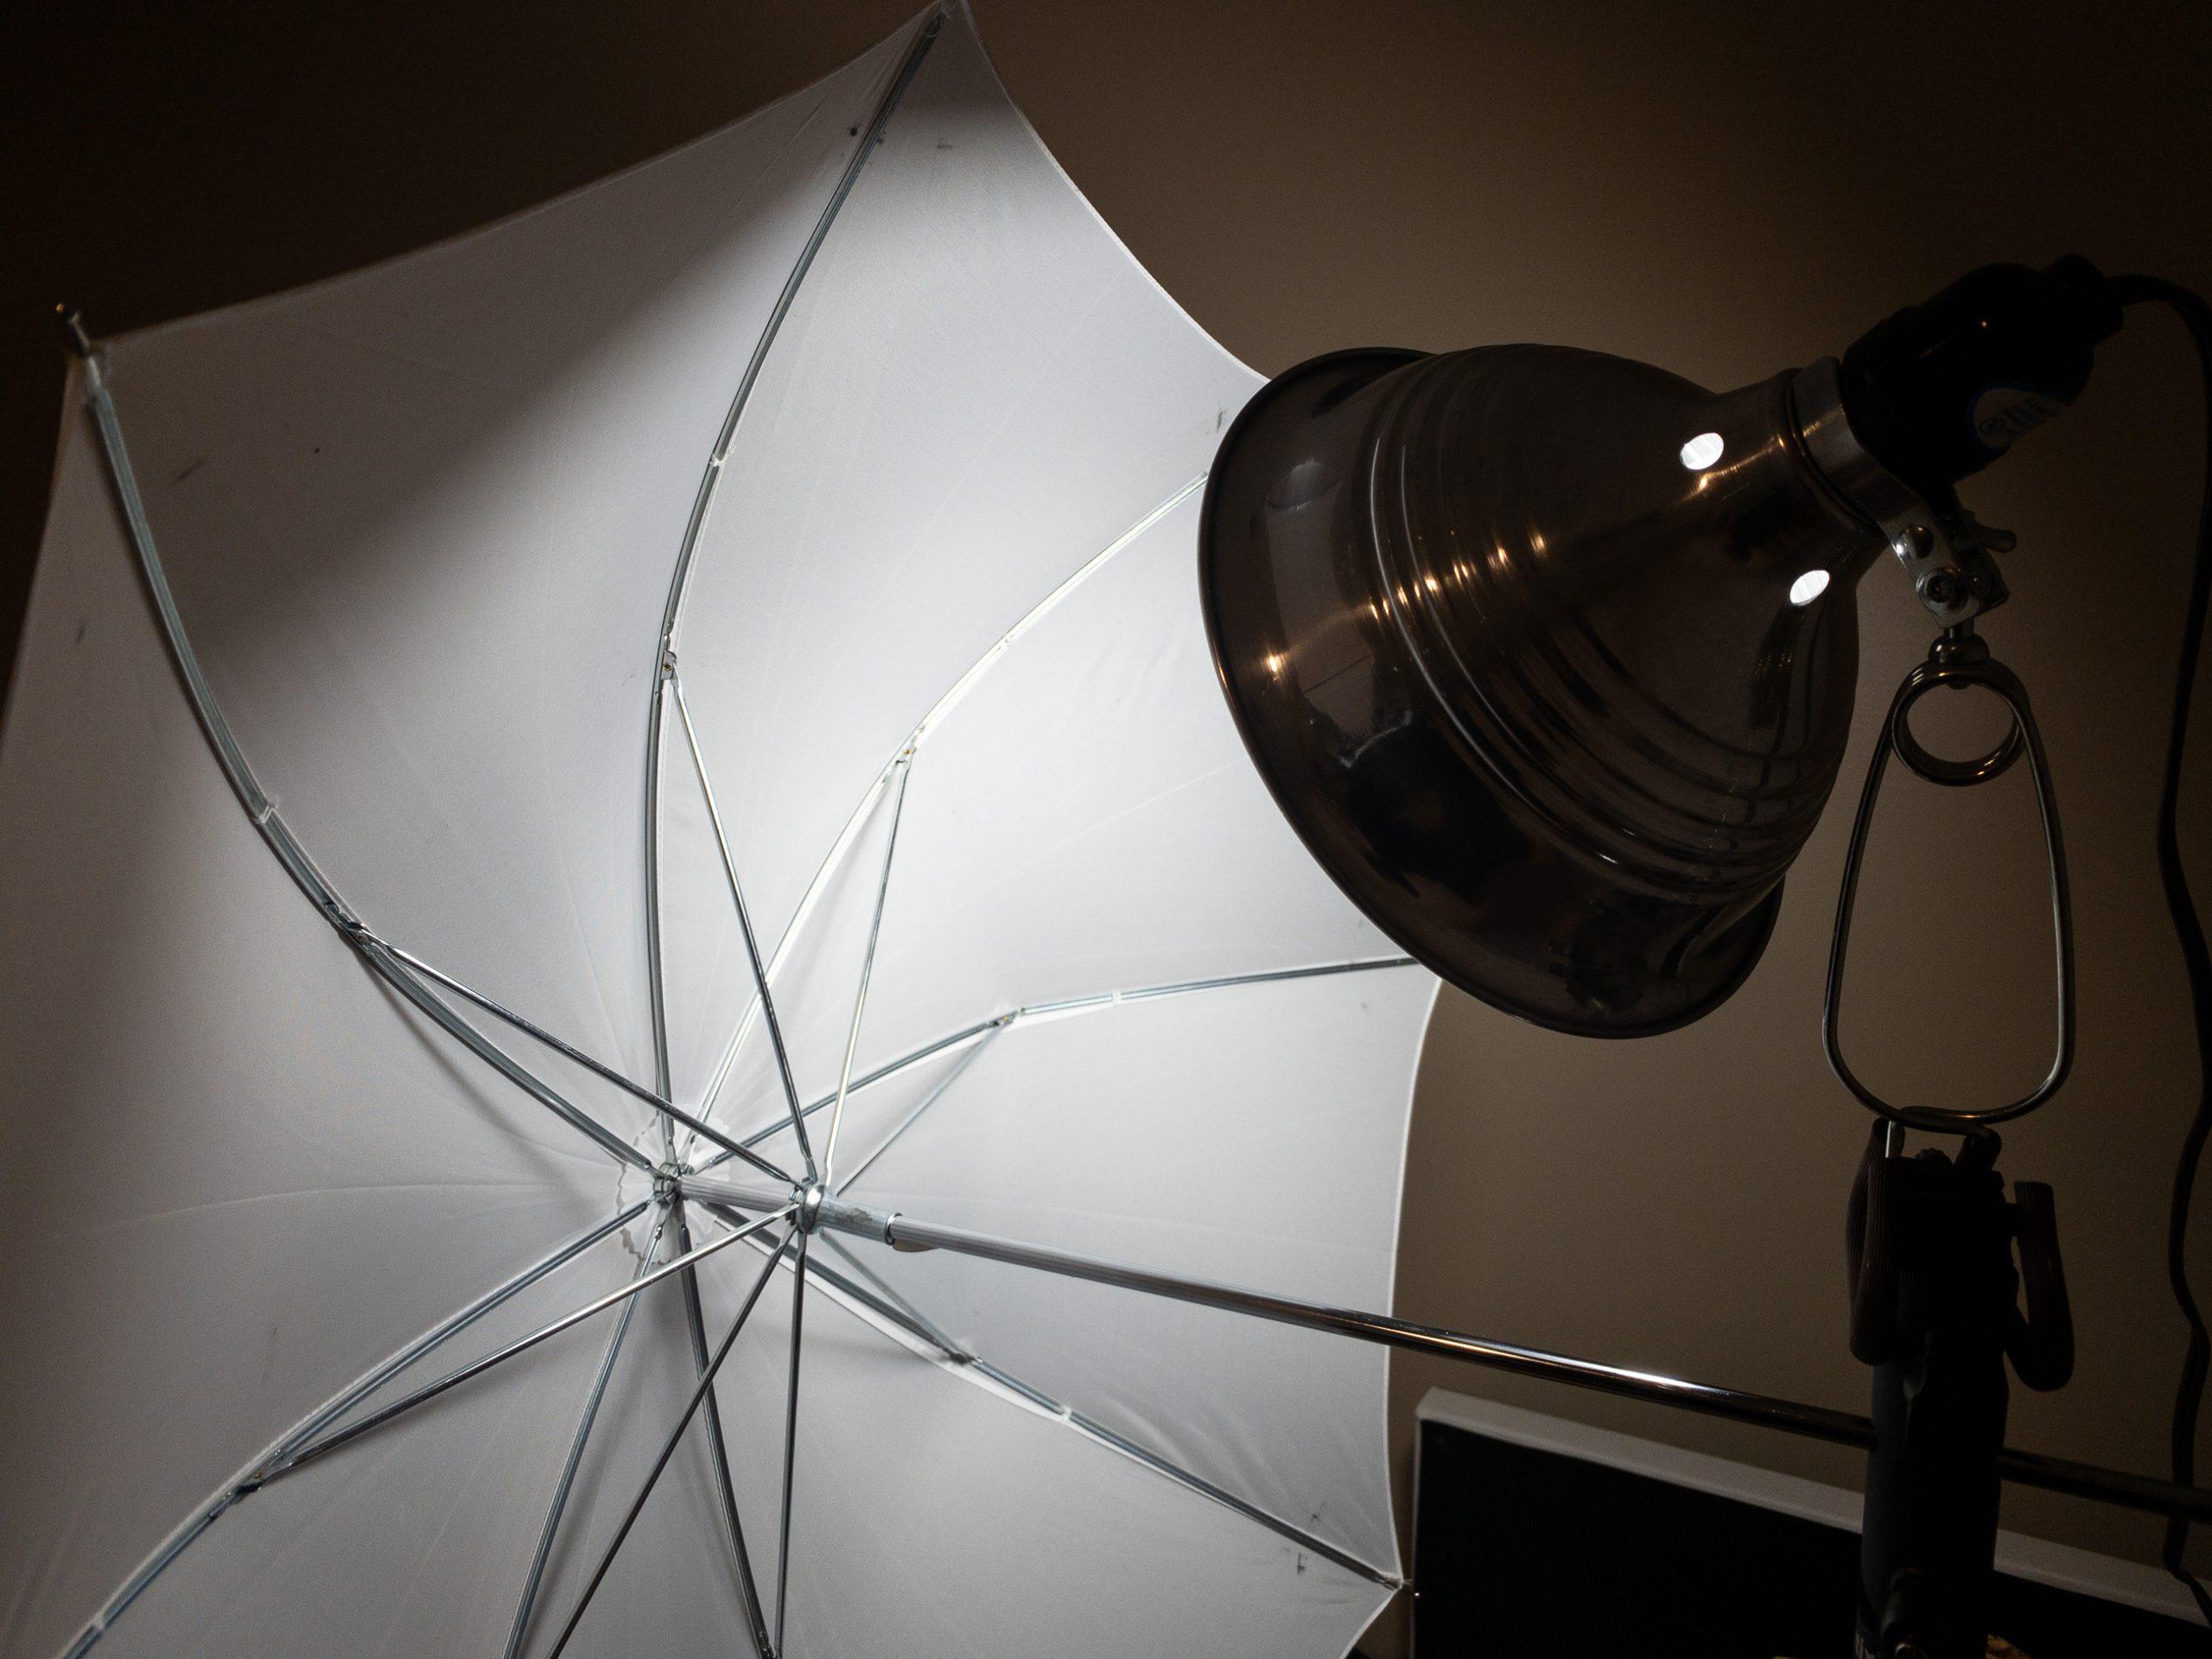
Similar to the separation of your face from the background, the lighting setup follows. I have a very cheap shop lamp with an LED bulb to my right. It is shining into an umbrella that softens the shadows but still gives dimension. With the bright light only about a foot from my face, the exposure is set for my face with the background becoming dark. This makes for a nice dark background. As a matter of fact, this is a good way to hide a messy work room 🙂
Again this may be overkill for most video conferences. However, I want to be remembered as a photographer. With this setup, it makes it easier to make an impression as someone that produces professional images! Please let me know if you have any suggestions, or questions. I am very knew to this, but am pleased with the results so far!
TimeLine Media – www.timelinedc.com
703-864-8208

Jae
May 11, 2020 at 1:44 pmThanks for sharing this …
Question .. so it is not possible to go from the camera HDMI directly to the connection to the PC?
I have a port that I have for a space/extra monitor that goes HDM to the laptop … so that’s why I’m asking .. if that port might be used ..
rassi
May 11, 2020 at 1:49 pmHi Jae! I have been trying to do that on my desktop PC, but have had no luck. They do sell some PCI express cards that can capture the signal, but none are built into video cards. The HDMI ports that are built into laptops are usually outputs only. I am experimenting with some USB solutions, and will report back soon. That would be nice if they could work since these capture cards are as hard to find as toilet paper 🙂