Archive of ‘Technology’ category

Analog Efex Pro 2 – Tech Thursday

Post Processing

There is a proliferation of images these days. Affordable digital cameras, and smartphones has made photography so accessible to so many. Looking on Flickr, one of the most used social networks for sharing photos shows that the 4 most popular cameras used in its community are iPhone models! With so many of these similar cameras in use, it is easy to see why Instagram, VSCO, and other filter apps are popular. They all have filters that allow users to easily change the default image coming out of the camera. There is enough in these apps that you can drastically change an image right on your phone prior to sharing. This adds to the popularity of taking and sharing images online.

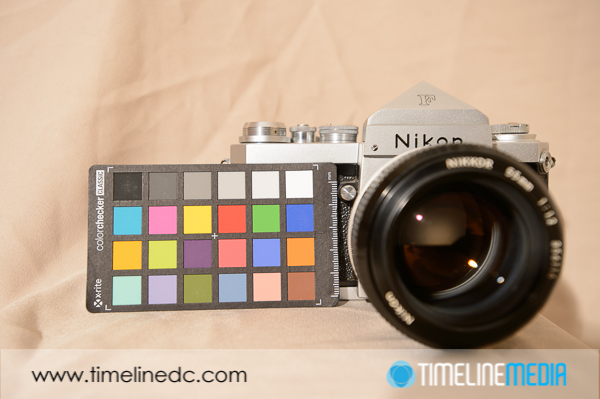
Original photo out of camera - ©TimeLine Media
Original photo out of camera – ©TimeLine Media

For professional photographers, these kinds of tools have been available in Photoshop and Lightroom for many versions. The difference to me is the ease of use. The complexity of these programs keeps photographers from taking advantage of these tools. Lightroom does come with presets that can give your images different looks by applying adjusted sliders to an image. Instantly you can get a different look by changing color, contrast, or any of the sliders in Lightroom.

Software Plugin

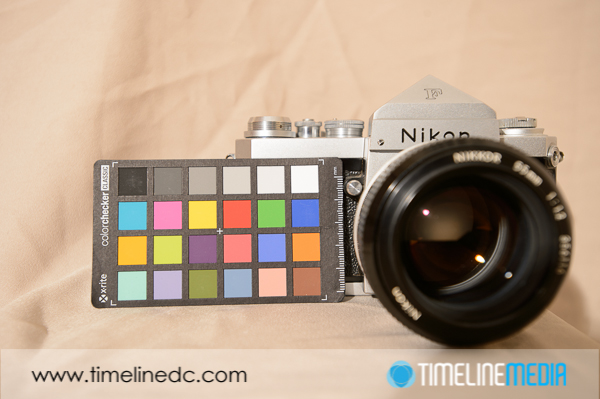
Lightroom edit of original photo - ©TimeLine Media
Lightroom edit of original photo – ©TimeLine Media

Some functionality you cannot get in Lightroom includes adding frames edges, creating double exposures, or adding grunge with layers. This is a function that is typically done in Photoshop which is not really my specialty. That is where Analog Efex Pro 2 from the Google Nik Collection. This is a plugin for Photoshop that allows you to make changes like adding dust, grain, and light leaks. You can also add a grunge, or sloppy frame that makes your photo look like it was taken out of a developer bath in the darkroom.

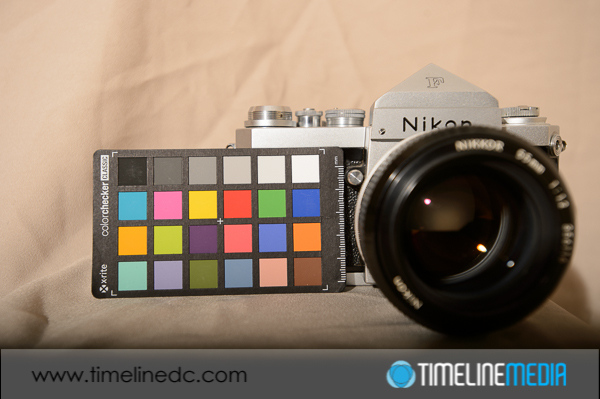
Analog Efex Pro 2 edit of photo - ©TimeLine Media
Analog Efex Pro 2 edit of photo – ©TimeLine Media

Analog Efex Pro makes it easy for you to made adjustments using sliders. There is no complicated switches or menus that you encounter in Photoshop, so it makes it easier to experiment and try different settings before finalizing your image. I’ll post more about this new program as it is really in depth as to what you can do. It is very powerful, and a great tool to add to your post processing.

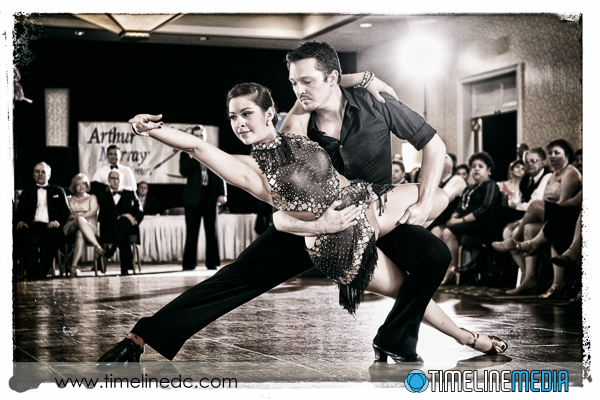
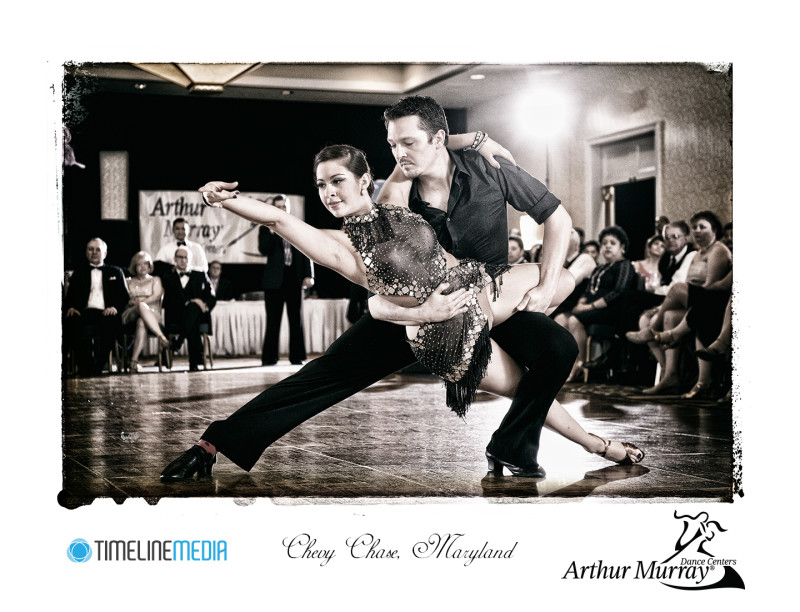
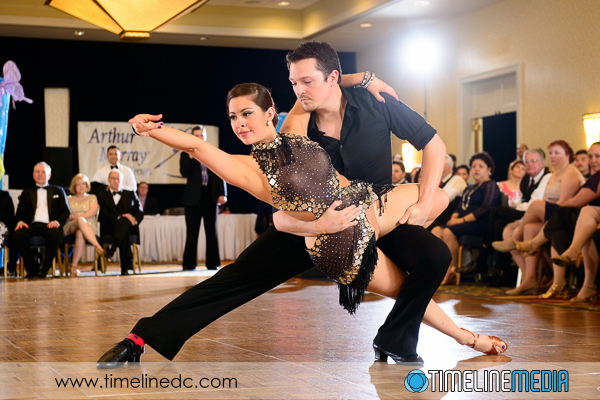
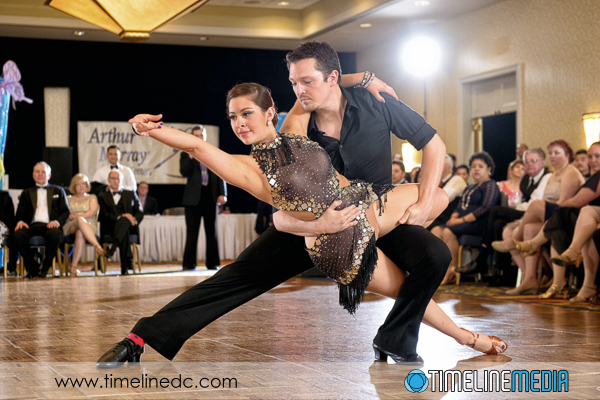
Arthur Murray Chevy Chase - ©TimeLine Media
Arthur Murray Chevy Chase – ©TimeLine Media

TimeLine Media – www.timelinedc.com
703-864-8208

Simplifying Backgrounds

Dachshund on driveway - ©TimeLine Media

The rules of composition for photography mirror the rules of composition for writing. If you think back to writing class, the best stories are ones where the subject is clear. All of the distracting elements of extraneous words, or descriptions that do not directly contribute to the narration. The same is true in photography. In an image, you have a subject, and the surrounding foreground and background. When composing images, simplifying your background will make your subject stand out, and will generally make for a stronger photograph.

Seagull at the end of the pier - ©TimeLine Media
Seagull at the end of the pier – ©TimeLine Media

When I am working a scene, I am always conscious of the background when placing the subject in the frame. If there is an easy way to position myself so that I can anticipate where the action will pass through an area with a non-distracting background that is where I will position the camera. In the seagull on the pier photos, the distant shoreline is far enough away that it is out of focus. It helps that the bird is tilting his head in a funny way!

Seagull at the end of the pier - ©TimeLine Media
Seagull at the end of the pier – ©TimeLine Media

To further simplify the image, I moved in closer to the bird, and zoomed in as far as it would go. This removed the dark green line of the shoreline, and makes the background only two colors – the water and the pier planks.

Seagull at the end of the pier - ©TimeLine Media
Seagull at the end of the pier – ©TimeLine Media

In another scene this dachshund was walking on a sunny driveway. With lots of cars, trash cans, toys, and other distracting things in the area, I waited until she moved to a clear area before making the exposure.

Dachshund on driveway - ©TimeLine Media
Dachshund on driveway – ©TimeLine Media

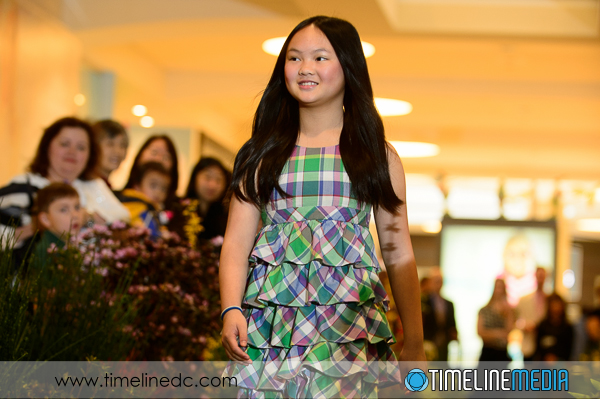
At the recent fashion show, having a nice clean “step and repeat” background covers up the storefronts, and other people in the area. You can help separate the subject by waiting until the model is at the end of the runway which is as far away from the back as possible, and opening the aperture as far as it will go before releasing the shutter. Now, the clothes will easily draw the viewer’s eye due to the brightness and sharpness of the subject.

Fashion Show - ©TimeLine Media
Fashion Show – ©TimeLine Media

TimeLine Media – www.timelinedc.com
703-864-8208
Outrunning the Curtain – Tech Thursday

Fashion Show with off camera flash - ©TimeLine Media

Testing

Flash photography is different, not difficult! Natural, or available is easier in the way that Microsoft Word is an easy as a text editor. With available light, what you see if what you get. There is no guessing as to the effect that the light will have on your subject in the photo, because you can see it even without looking through your camera. I am trying to step away, and attempting to use flash in every situation that I can. It is a challenge, but I think the results can be much better, and the files much easier to work with in post. This post is about the first lesson is using a flash off the camera. This can be a speedlight that you attach to your camera with a cord, or wirelessly – it does not matter which for this article.

Every camera has a set flash sync speed. This is a fastest shutter speed at which the flash can illuminate the full frame of the camera with light. Any shutter speed slower than that will also light the frame fully, but any speed faster will start to darken the frame. As an example, here are some photos where I attempted to keep the same exposure, only changing the shutter speed. The settings are in their captions:

1/60 sec, f/6.3 - ©TimeLine Media
1/60 sec, f/6.3 – ©TimeLine Media
1/125th sec, f/5 - ©TimeLine Media
1/125th sec, f/5 – ©TimeLine Media
1/200th sec, f/5 - ©TimeLine Media
1/200th sec, f/5 – ©TimeLine Media

Shutter Speed and Flash

All of the above photos have shutter speeds slower than the sync speed of 1/250th of a second. This sync speed will vary with your camera, so consult your manual to find it for your particular model. Now the next photo is at 1/320th of a second, and the frame starts to darken from the bottom.

1/320th sec, f/5 - ©TimeLine Media
1/320th sec, f/5 – ©TimeLine Media

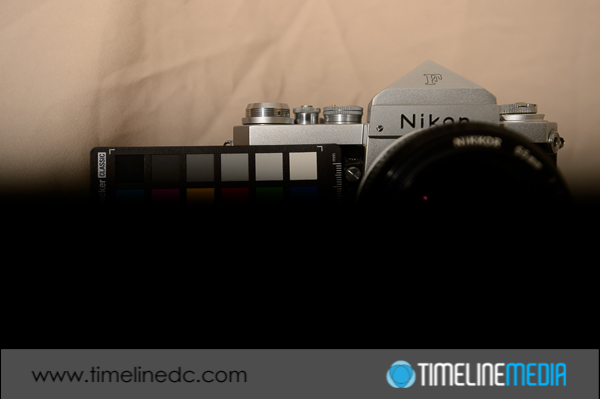
This darkening is from the curtain that covers sensor. Its movement determines the shutter speed settings on your camera. It moves faster across the sensor as you increase the shutter speed. When you make an exposure with a shutter speed that is too fast, you start to catch the curtain in the frame when the shutter speed is too fast.

1/500th sec, f/5 - ©TimeLine Media
1/500th sec, f/5 – ©TimeLine Media
1/800th sec, f/5 - ©TimeLine Media
1/800th sec, f/5 – ©TimeLine Media

So if you are just starting to experiment with off camera flash, make this your first options to set on your camera. Conversely, check this setting if you are on a shoot and seeing something strange on the image. I’ll bet it is the curtain. This will save you a lot of frustration especially in bright settings! Give it a try with your camera to find your flash shutter sync speed.

Fashion Show with off camera flash - ©TimeLine Media
Fashion Show with off camera flash – ©TimeLine Media 

TimeLine Media – www.timelinedc.com
703-864-8208
1 8 9 10 11 12 41