Archive of ‘Technology’ category

Color – Tech Thursday

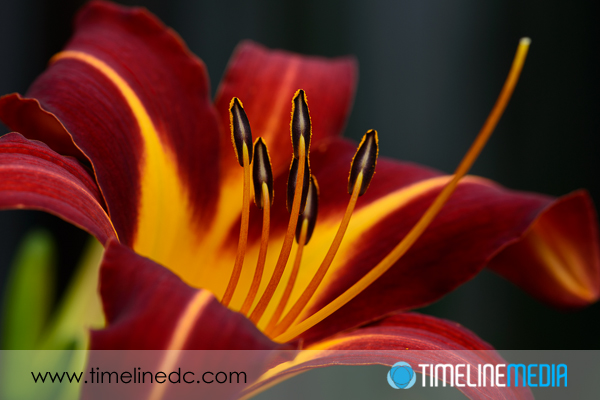
©TimeLine Media - Day Lilies

My photography has been primarily been in color. Ballroom dancers especially, love to show off their dresses and costumes in the vibrant hues with which they were made. In photography classes, I was first introduced to the color wheel and how the information it contains can help photography composition.

Color Wheel
Color Wheel

Color Theory

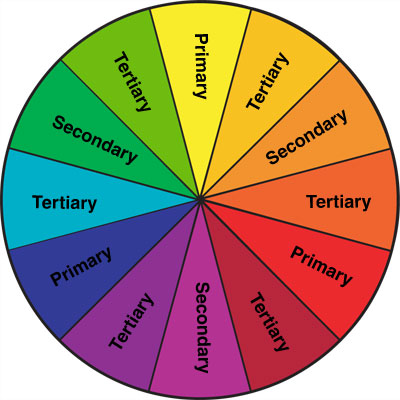
Examining the color wheel, you can see where lots of branding and logos get their colors. Complimentary colors lie across the color wheel from each other – red and green, or purple and yellow for example. Analogous colors are adjacent to each other on the wheel such as red and orange or blue and purple. This is another added element of creativity you can use in photography. As an example, here is another flower shoot that had some challenges.

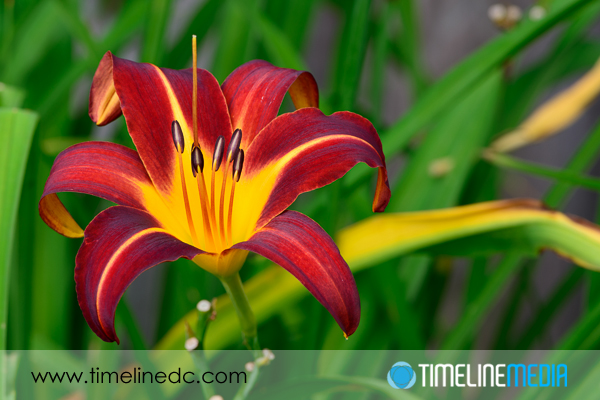
This day lily has some beautiful color – newly bloomed, and early in the morning when the sun is lower in the sky, and not too harsh. It helps to keep the photographer cool too! So here is the first photo showing the flower with all the background elements surrounding the plot where they are planted.

©TimeLine Media - Day Lilies
©TimeLine Media – Day Lilies

A nice snap, but I don’t like a few things in this frame. There is an older lily that does not open any longer in the right side background of the frame. Then in the far back of the frame is a brown/gray area of the fence that was immediately behind the flowers. The first change I made was how close I was to the subject. Using a macro lens, you can get very close which easily eliminates some of these problems.

©TimeLine Media - Day Lilies
©TimeLine Media – Day Lilies

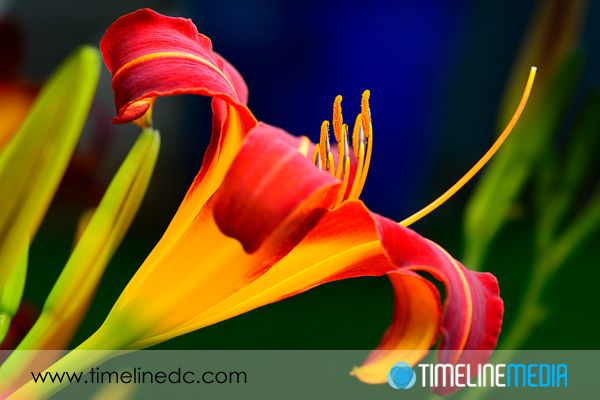
Adding flash to the photo also let me darken the background more than the first photo. This helps to take the fence out of the frame even more. The final change that I made was to use color to make a more pleasing background. Here is where card stock and a holder of some kind could help, but I did not have any of that available. So, I moved a large recycling bin into the background! It is a large, BLUE, plastic can that was easily maneuverable. On the color wheel, the reds/oranges are across from the blue range, so I thought it would be worth a shot.

I am happy with the results! It is subtle, but it added to the saturated look of the entire image. Try a color wheel experiment the next time you are shooting flowers, product shots, or fashion. The information from the color wheel can add to your creativity.

©TimeLine Media - Day Lilies
©TimeLine Media – Day Lilies

TimeLine Media – www.timelinedc.com
703-864-8208

DC – Washington Monument

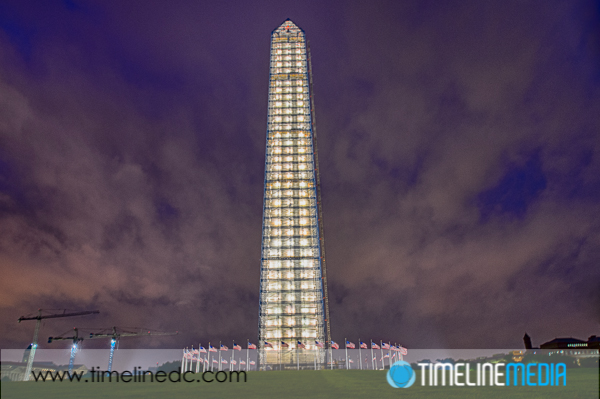
©TimeLine Media - Washington Monument HDR

The Washington Monument needs some work. Back in August 2011, there was an earthquake that was centered in central Virginia that shook the entire region. I am a native to northern Virginia, and we have emphatically never experienced anything like that! Thinking back to that day, I remember sitting in my living room editing photos. Then, the house started to shake! I could hear the plates and forks in the cabinets shaking, then running to the deck to see the divider between our neighbors really swaying like it was windy outside.

By the time I ran out the front door, I saw two of our neighbors out there already – we discussed the quake for a little while before returning inside. I could still feel edgy for a good hour afterwards. Following the quake, I can see why they have drills for them in areas that have them more often. I clearly had no idea where to go in those few seconds. Luckily, we didn’t have any damage unlike the large obelisk in downtown Washington, DC.

Repair Scaffolding

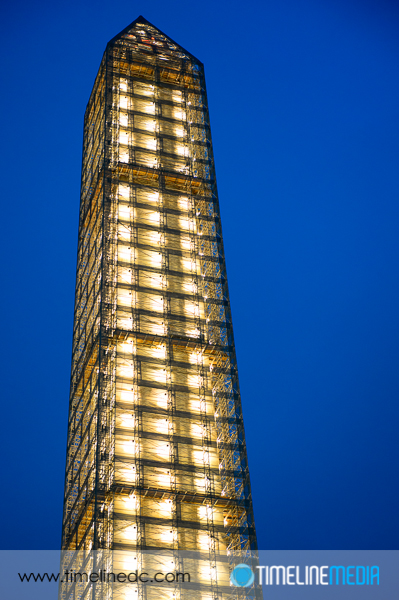
The Washington Monument sustained some damage from the shaking. There is dramatic video from inside where tourists where in the observation deck at the time of the earthquake. Following the quake there were inspections by engineers both inside and outside the structure which also made for some amazing photos as they rappelled up the exterior checking for weakness in the stonework.  Recently, and scaffolding was erected around all the sides of the monument to allow workers to easily repair the damage. Last week, lights were illuminated inside the scaffolding to restore a familiar yet altered scene to the landscape. We took some time to go down one evening to see how it looked. I was impressed!

©TimeLine Media - Washington Monument HDR
©TimeLine Media – Washington Monument HDR

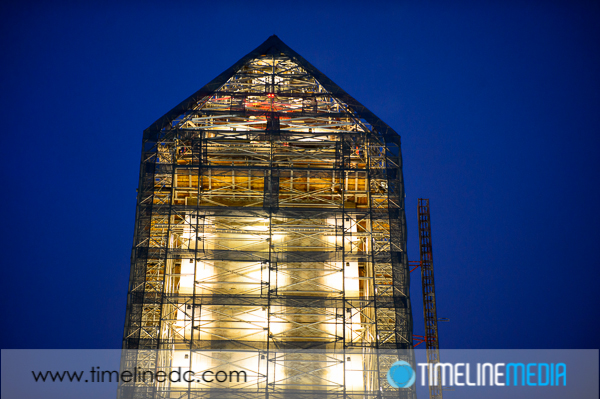
The design of the repair structure was definitely taken into consideration. It is very clean, and it mirrors the monument very well. This is as close to the monument as you can get right now – luckily, there was a little break in the fencing that was just enough for me to get my camera lens through to get a clean view!

©TimeLine Media - Washington Monument
©TimeLine Media – Washington Monument

They even added the red blinking lights at the top to warn the many aircraft that fly in the area to the outside of the scaffolding. Seeing as how I can barely get to the top of my roof, this is the closest I will come to seeing what it is like up there. It will only be about a year before the repairs are complete.

©TimeLine Media - Washington Monument
©TimeLine Media – Washington Monument

TimeLine Media – www.timelinedc.com
703-864-8208
Lightroom Print Template – Tech Thursday

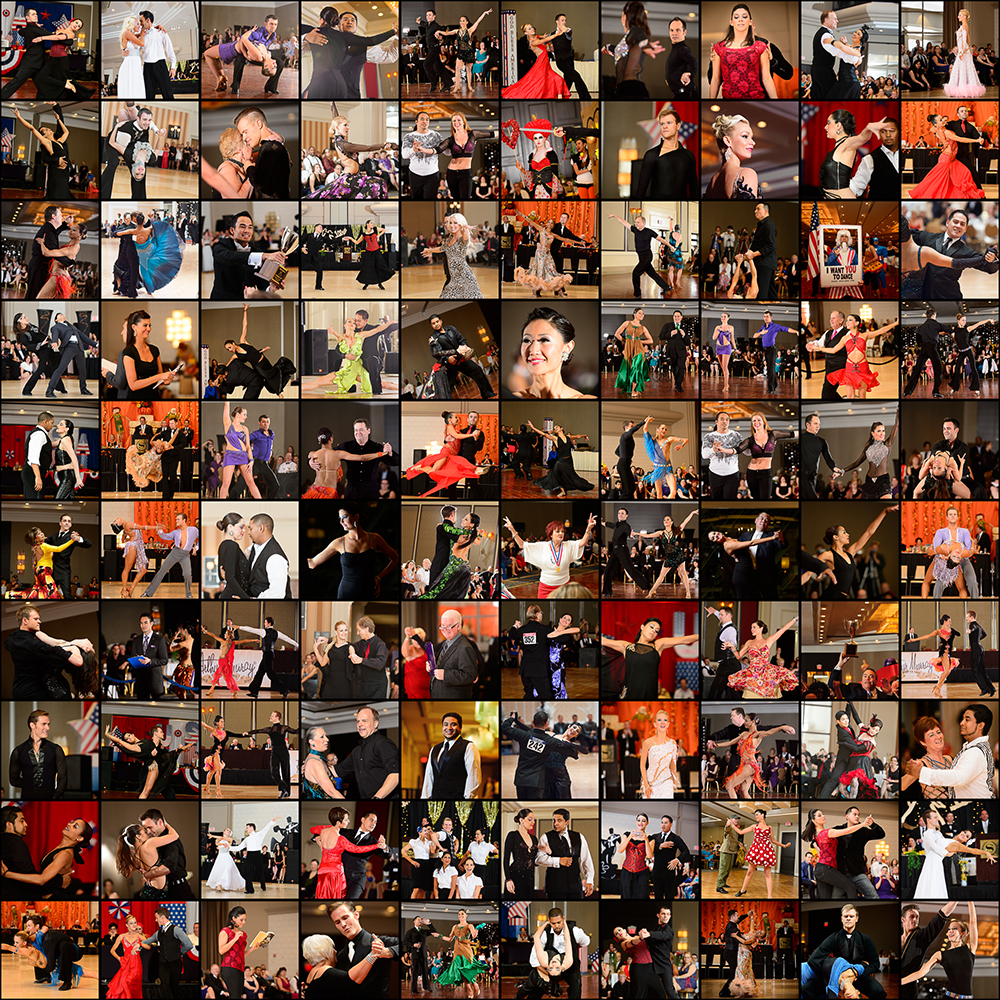
@TimeLine Media - Arthur Murray photo collage

Managing thousands of photos can be daunting task when returning from a shoot. The Library and Develop modules are where I live when using Adobe Lightroom. These have almost all the functions I need to manage and edit large sets of photos from events that I photograph.

Lightroom Module Selection Bar

Photography Software

I have talked about the Library and Develop modules in previous posts, but today, I want to focus on the Print Module. This is the next most used section for me. From here, you can prepare images for printing at the lab or at your home printer if you have one available. None of the photos from TimeLine Media are printed at home – all are sent to professional labs prior to sending  in the mail. Why? The labs are experts at making prints. They print these optically onto photographic paper, not inkjet printing. There is still lots of development being done with professional inkjet printers, but I still prefer the optical prints on Kodak or Fuji paper.

Printing Options

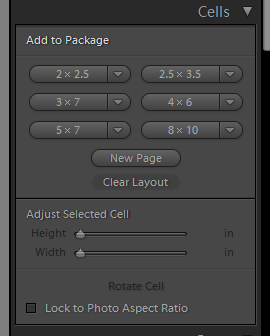
The Print Module, much like the Develop module, also has presets available to use in your work. Lightroom comes with some built in presets that define what size print you like to make, and on what size paper on which you are printing. This is very helpful if you have a specific frame size in mind for your photo. You simply select the size photo, and you can instantly see if the photo fits well, if you could go larger, or if you need to change the perspective of your photo. All of these changes are easily made within either the Print or Develop modules:

Photo size selector
Photo size selector

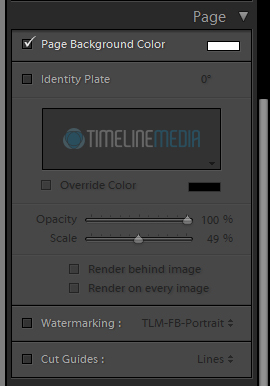
The next panel down allows you to change your page setup. Here you can change the background color of your page, or add a watermark. This helps to see if you final print will look better on a traditional white or black matte background, or if you would look better on a funky background that is uniquely fitted to your image:

Page setup
Page setup

Ballroom Brag Book

Once you have all of your settings completed, you can save your favorite setup as a preset. This will allow you to apply this template for printing to any photo. You only need to select the photo from the Library Module, and drop it into the preset template in the Print Module. This is where you can add your creativity to your photography by creating new templates. I recently used this to make a ballroom dance book for the Arthur Murray studios in the area.

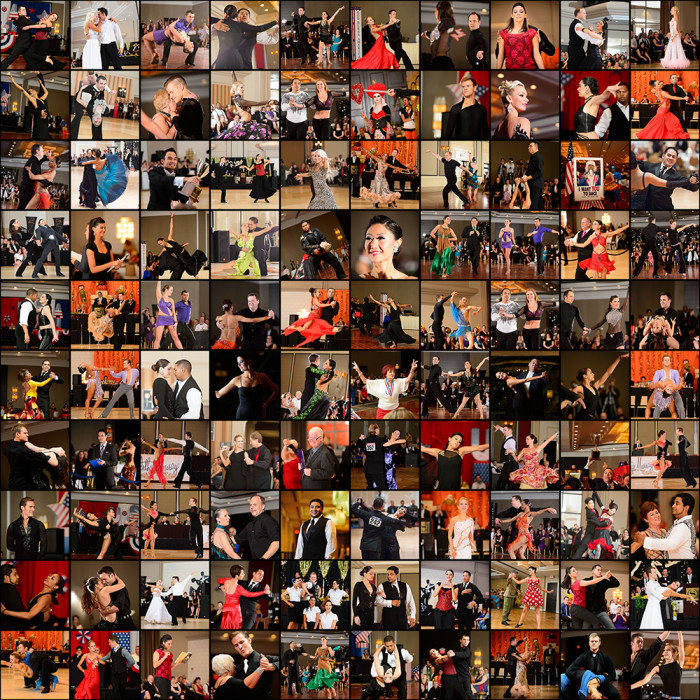
The book was 10″ x 10″, so I created a new template with these dimensions. My thought was to have a large collage with as many photos as I could fit on the cover to show how many great photos we have made over the passed year. Since the cover was square, I had the idea to make each image square. With this in mind I made a 1″x1″ square, then copied and stacked another 1″x1″ square on top of it. To complete a 10″x10″ cover, that made 100 photos! It took a long time to create the template, but I was really pleased with the results! It was a great way to get attention at the photo booth. If you want to use my template, I have attached it here-

TimeLine Media – 10×10 cover with 100 – 1×1 images

Give it a try and let me know how it works for you!

@TimeLine Media - Arthur Murray photo collage
@TimeLine Media – Arthur Murray photo collage

TimeLine Media – www.timelinedc.com
703-864-8208
1 29 30 31 32 33 41