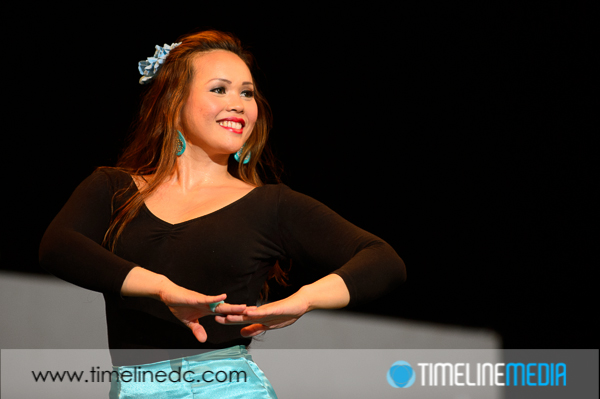
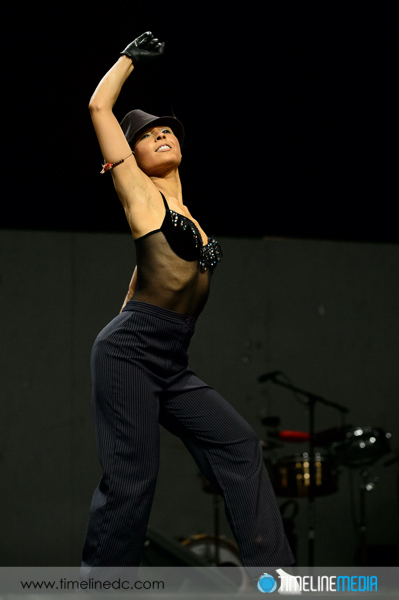
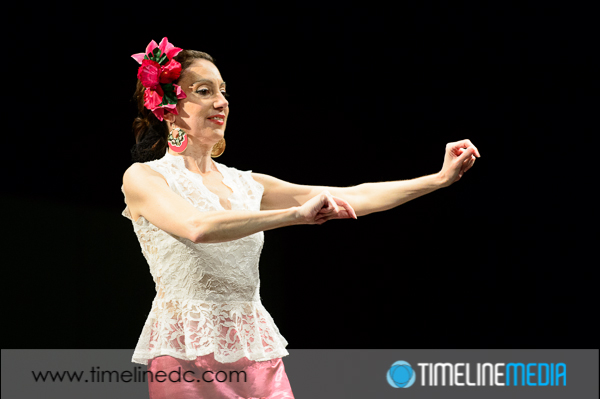
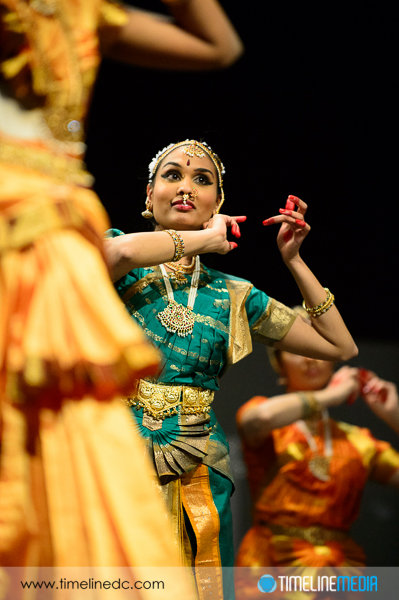
The photos from the Marsha Bonet 2013 Dance Showcase are expiring this upcoming Monday. Thanks to especially to everyone that visited the website to view the images! We had a lot of response from dancers and parents from this event, and we are so happy that you found some that your liked. Please visit the link below, and forward to anyone that may like to see the photos one last time before they are removed:
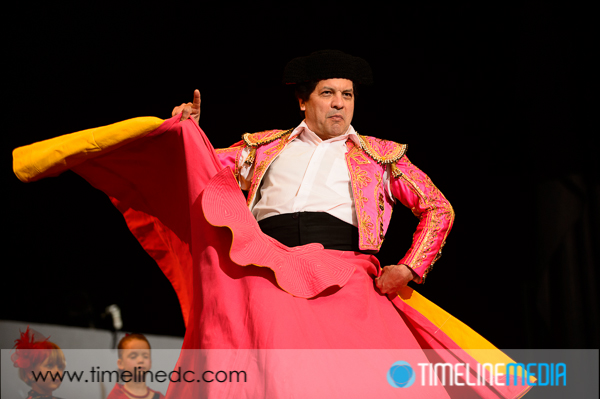
It is an especially humbling privilege to cover this event, and we hope to be invited back next time. Of course we hope there are plans for more great dances at the next showcase! On this occasion the diversity and professionalism of everyone involved is impressive. It is a great evening of entertainment that is educational and fun to watch.
My photographic style is constantly evolving when it comes to my portrait and personal work. Since I have started shooting professionally, my style changed quite a few times. Whether this is normal for a photographer, I do not know! It seems like my style changes as software updates brings functionality to RAW processors. With each new feature, I try what new changes I can make to photos, and implement them to more shoots. Also, my editing eye gets fatigued in putting the same effects to photos which is probably why I do not have many Lightroom Development presets any longer. My favorite slider that I am using more and more is the Clarity slider under “Presence” in the Develop module.
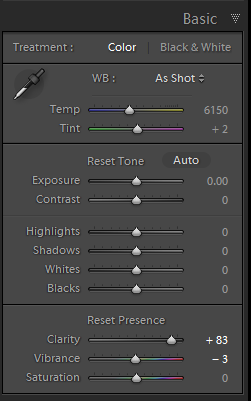
Adobe Lightroom – Develop Module Basic panel
Adobe Lightroom
Clarity is a tool that has long been a part of Lightroom, but I have not used it much until version 4. It is a mid-tone adjustment which when applied to portraits, can give images a crisp edge that makes it look sharper overall when the value of the slider is increased. There is a contrast adjustment component to this slider that really focuses on edges as opposed to the entire frame making it less harsh than the Contrast slider when pushed to the limit. This works especially well with male portrait subjects or landscapes. On the other end of the scale, pushing the Clarity slider down will decrease edge sharpness and will soften edges. This was can easily be overdone resulting in a vaseline-on-the-lens look from vintage television programs.
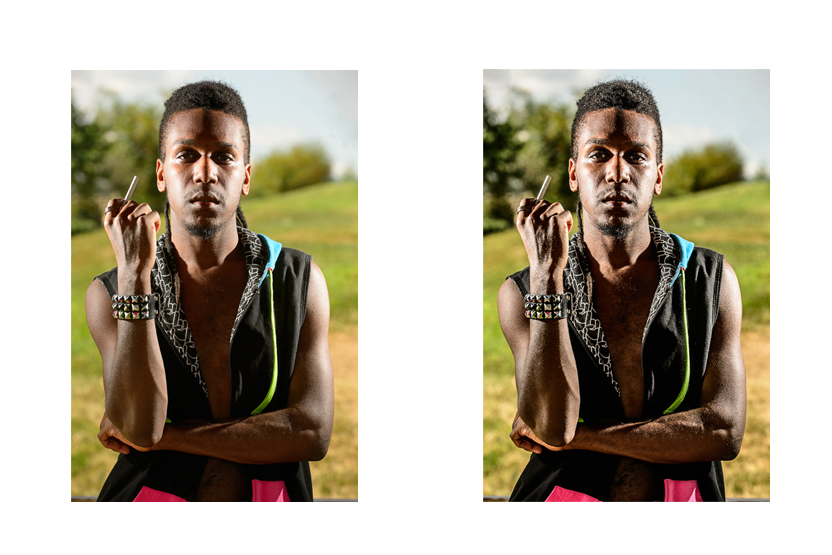
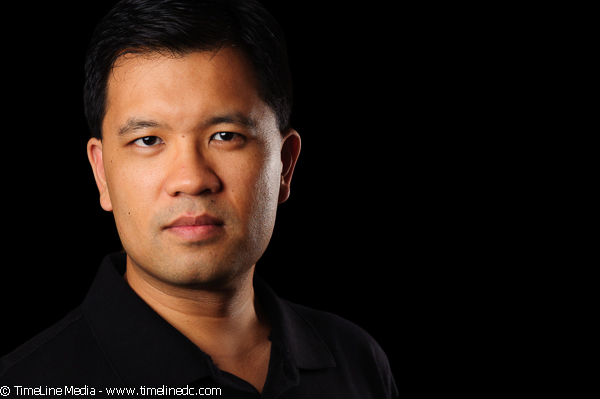
For the image above, the image on the left is with the default settings out of the camera. The image on the left is the same image with the Clarity slider adjusted to +83. It gives a grittier more edgy contrast that brings out more details in the portrait subject.
Just like every other slider that you can use on an image, it can be overdone. Just move the slider until you can see the Clarity effect start to show in hair, or around the eyes, then stop moving. For the most part, you can push it all the way to 100 without it having it destroy the photo, but it may become a muddy mess with dark areas that are crushed to nothing, and having it creep to areas that you do not necessarily want too dark. If printing the images, I use the default output print sharpening settings after adjusting sharpness with the Clarity slider. I have been pleased with the results so far!
This photography term has become popular with the explosion of social media in the last few years. Back when film was the more popular medium for photos, I only saw a handful of instances where people made self-portraits with their cameras. Most of these would not be in focus. Or the subjects would not be in the frame, which would mean a wasted frame from your roll of film. Each frame was thought out more back then. With this in mind it would not be wise to use these for “throw-away” images that you attempt without looking through the viewfinder at the back of the camera.
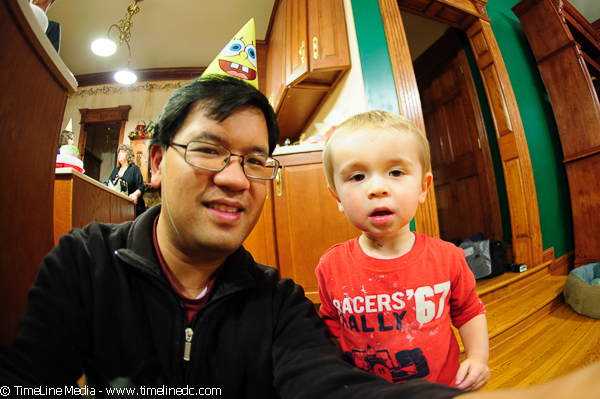
Turning the Camera Around
I clearly remember the very first time I ever tried a “selfie”. It was at a big transition time in my life – just after college, and during the time when family was in town to pay final respects to my father. He had recently passed away, and we were surrounded by so many family and friends. It was a time where many photos were taken, and many trips were made to the drug store to get enlargements and copies. While taking photos with family outside, I turned an Advantix film camera (a graduation gift from my girlfriend’s mom) to me and my cousin, Vic. It is hard to take a bad photo of Vic – a talented singer that is used to working in front of an audience. For my first time, it actually worked!
With digital, I still take selfies. I do not own a mannequin head that photographers use test lighting, so I just put myself in the scene. I laugh like a madman at myself sometimes especially considering no one else is around. Thankfully it has helped to make shoots go smoother once the subjects arrive, and has helped me to be a better photographer by experimenting with a model that won’t stop posing until the shot is perfect.