Posts Tagged ‘exposure’

iOS Camera Improvements | Tech Tuesday

There has been a lot of excitement lately with the new iPhone 6 and iOS camera improvements from Apple. Even though I am not upgrading from my iPhone 5, I am enjoying using the new features that come from the operating system update. Smartphones are really quite amazing in what the programmers can add and change without having a change to the hardware. As a photographer that is used to having more control over the exposure, I like the ability to have more controls. Previously, you hold your finger over a part of the image to set an area to meter the exposure. This really helps to get some control over the brightnes in the photo.

Monterey, California

Monterey Bay Aquarium - ©TimeLine Media
Monterey Bay Aquarium – ©TimeLine Media

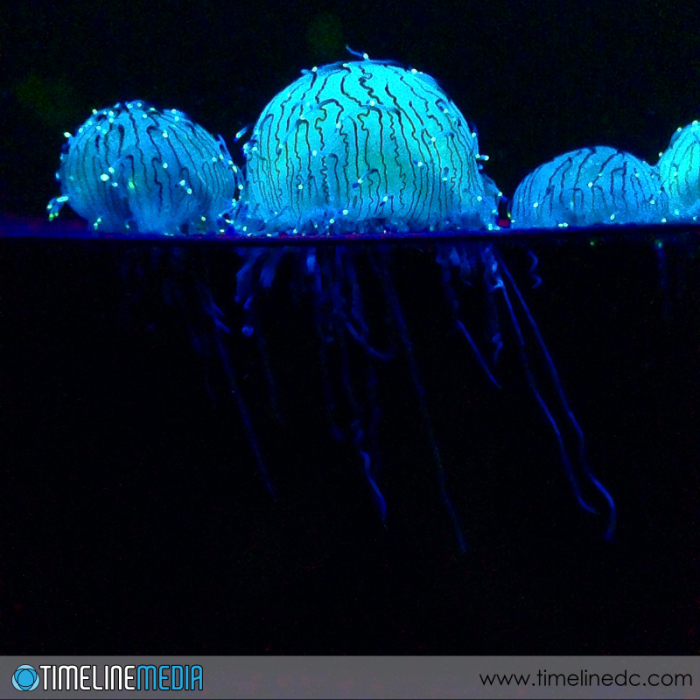
In the new iOS 8 version of the camera, you can still specify a point to get a meter reading. Now, an additional control has been added. To the side of the box that pops up after you select a metered area, there is a sun icon that appears. You can then move that sun up to increase the exposure, or down to decrease the exposure from that point. This really came in handy as we walked through the amazing displays at the Monterey Bay Aquarium.

Monterey Bay Aquarium - ©TimeLine Media
Monterey Bay Aquarium – ©TimeLine Media

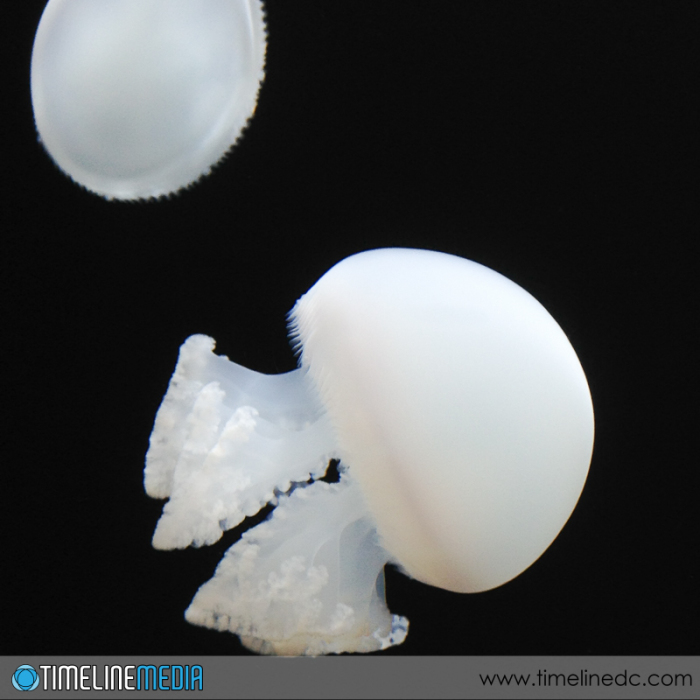
The glass that they use for display is so clear. You can put your smartphone right up to the glass without getting bad reflections through the lens. They also control the amount of stray light coming in with their darkened rooms,. This really puts the animals front and center. With the new exposure controls, I could ensure that the meter readings were taken from the bodies floating in the water, then took down the exposure. This helped to make a faster shutter speed to keep the subjects sharp, and helped to pop them out of the background. This was probably my most re-tweeted image yet!

Monterey Bay Aquarium - ©TimeLine Media
Monterey Bay Aquarium – ©TimeLine Media

TimeLine Mediawww.timelinedc.com
703-864-8208
Tech Thursday – Snow Melting!

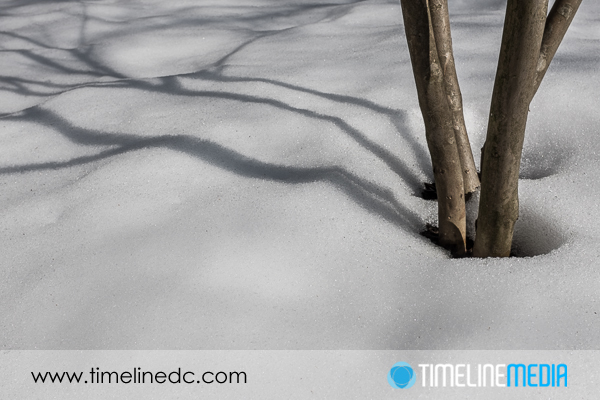
Melting snow with +1 stop exposure - ©TimeLine Media

We are starting a thaw out from last week’s wintry weather! It has taken a week, but finally we are starting to see some grass peeking out from under the snow. While it was falling heavily, I did not have the urge to take many photos. I am sure that there were some spectacular opportunities to do so. However, it just did not happen for me this time. Perhaps it was the preparation for the big ballroom dance event that stopped me from getting out. I have all the cameras and lenses to make something out there but I missed an opportunity.

Adjusting Exposure

Melting Snow - ©TimeLine Media
Melting Snow – ©TimeLine Media

With the shooting of the event now completed, and the warmer air outside, I wanted to get some photos before ALL the snow had melted. Going out there with the Fuji X100s made it easy to illustrate the first lesson that everyone learns when photographing in the snow. You need to “overexpose” or add more light to the scene than you normally would when taking photos.

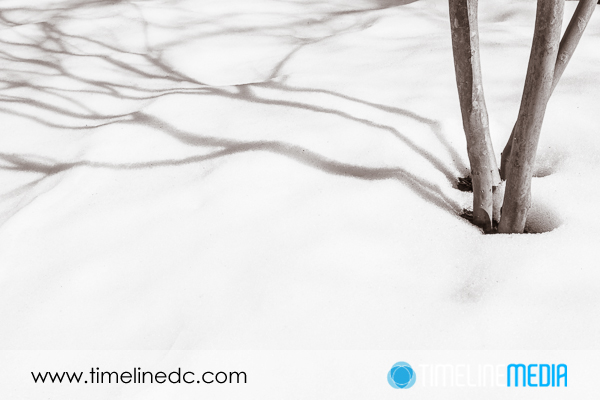
The meter built into your camera is designed to measure the light coming in through the lens. It will tell you what settings will make for a balanced exposure. Technical photographers will call this calculating the exposure for “middle gray”. In other words, the brightest areas will not be too bright that they lose detail. Concurrently the darkest areas will not be too dark to lose detail. Unfortunately, these settings will make your snow look like “middle gray” as in the example here:

Melting snow with metered exposure - ©TimeLine Media
Melting snow with metered exposure – ©TimeLine Media

Adjusting Defaults

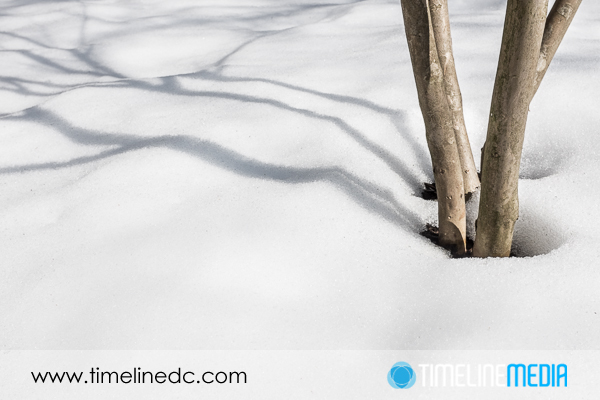
To restore the snow to its pretty white brightness, I had to add 1 stop of exposure, or overexpose the meter reading by one stop to get a nice white from the snow. Either the shutter speed is slowed down by one stop, or your can close down the aperture by one stop. Because I do not care to see any detail in the snow as it does not add to the photo, go ahead and let it be too bright. It is only a base or background for the frame, and does not need to be as detailed as the branches of the tree.

This technique not only works for snow, but works for window light, backlighting, or any other elements that are in your frame, but are not the main subject. They can be blown out, or overexposed without affecting the portrayal of your subject – the one thing you do want to see.

Melting snow with +1 stop exposure - ©TimeLine Media
Melting snow with +1 stop exposure – ©TimeLine Media

TimeLine Media www.timelinedc.com
703-846-8208

Night Sky Photography

©TimeLine Media - full moon in early morning

If you have been listening to the weather reports on the news, or science postings online, there are lots of unique objects to view in the dark skies. Firstly, there is the comet ISON. It is making a trek through the inner solar system, and will pass close to the sun this month. US viewers can view the comet before the sunrise. There have been many predictions that it may be a very bright display in early morning skies. 

Rocket Launch

Last night, there was a Minotaur rocket launch from the NASA launch center in Wallops Island, VA. Most of the US Eastern seaboard was in the view able area of the launch. I was not prepared to get photos of this event with any decent camera. I did not know what direction to even look for these! Luckily, my wife spotted the glow of the engines as it ascended above the tree line in our neighborhood.

This was my first experience seeing something like this. Moreover I was surprised at how quickly it passed in and out of view! Next time, I will try to get this on camera. However, for this launch, I am admiring the many photos that are being shared on social media. It could be seen from Virginia to New York. If you have never tried photographing the stars or moon, having a digital camera will greatly improve your images because of the preview on the back of the camera. Here is an example of an early morning view of the full moon:

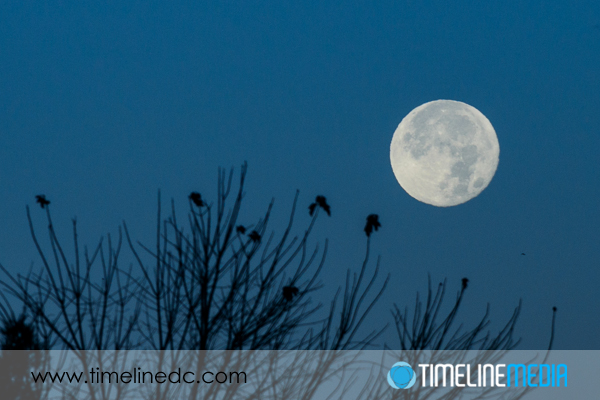
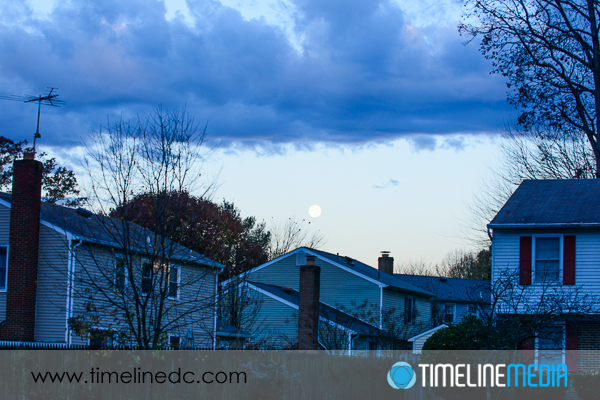
©TimeLine Media - full moon in early morning
Night Sky photography ©TimeLine Media

This illustrates how a camera meter will see a scene compared to your eyes. A camera will want to have everything in the frame be a middle gray which will make everything here too bright. You want to base your exposure on the brightness of the moon since that is the detail you want to see. The houses, and other things in the frame can go dark since they are not your main subject. To accomplish this, you can change the metering mode to a Spot meter instead of metering the whole frame, or you could just quickly change the overall exposure to be darker by increasing shutter speed. This is what I did since it was so cold out this morning! Once I had the moon looking good,  I just zoomed in as far as I could then fired a few frames before going back in to make tea.

©TimeLine Media - full moon in early morning
Night Sky photography with a full moon ©TimeLine Media

TimeLine Media – www.timelinedc.com
703-864-8208