White Balance
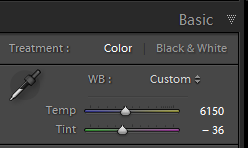
When shooting color images, digital photography gives us a lot more flexibility in color balance. This is usually one of the first options that photo applications will let you adjust in your photos. In Adobe Lightroom, they call this “Temperature” referring to the Kelvin setting in degrees. On the lower end of the scale are the “cooler” or bluer settings starting at 2000K. On the other end is going to the “warmer” or yellower settings 10000K to 50000K.
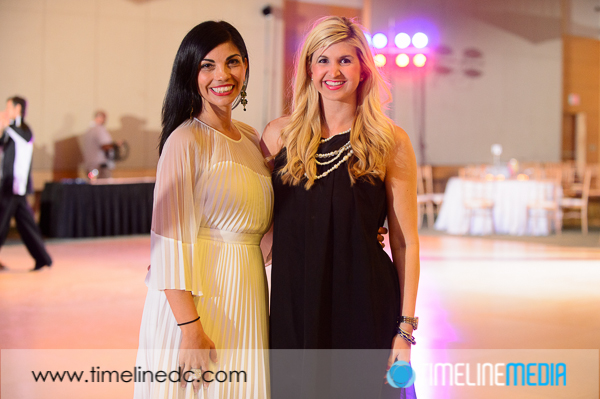
Similarly to a previous post which I talked about bouncing the light off of colored walls, having mixed lighting sources will also affect the look of your photos. At events where there is lighting setup to set a mood for the room, you will have strongly colored constant lights. These will usually be tinted with a gel or LEDs that can make every kind of color possible. This can be difficult to balance, as now there are competing sources of color in your frames.
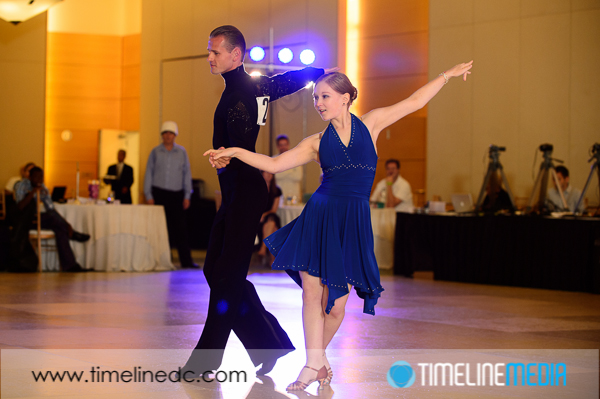
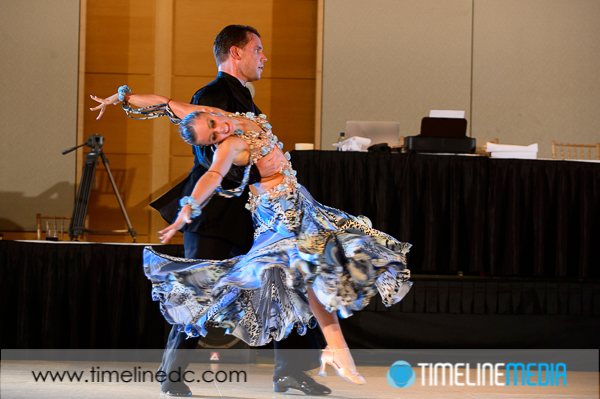
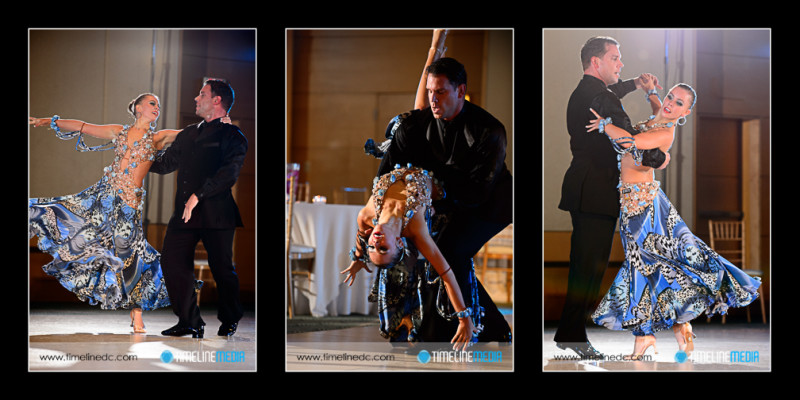
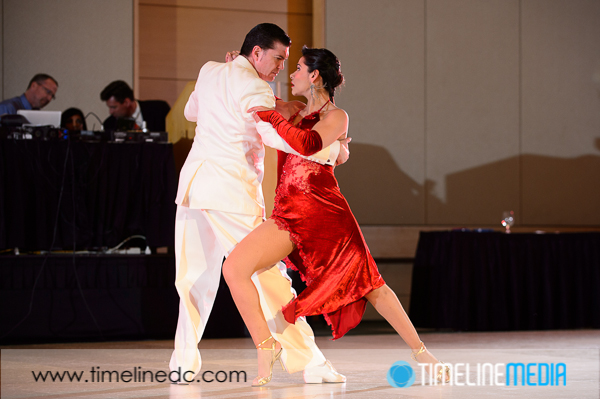
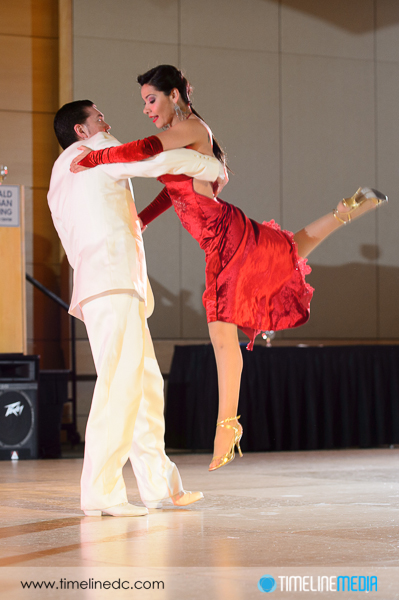
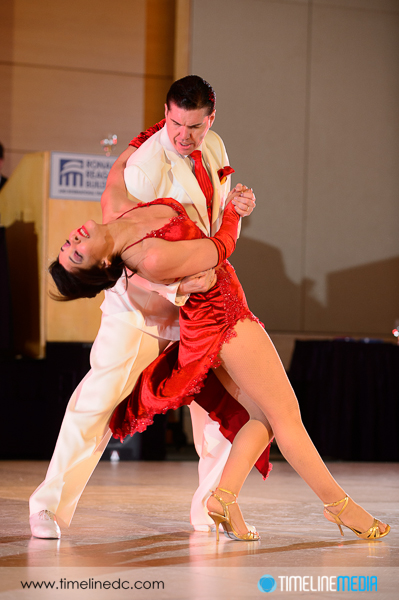
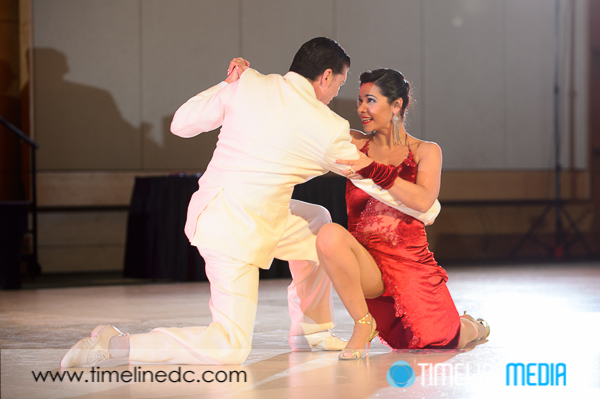
Ballroom Dance Photos
My thought in this situation is to use my flash to get the best exposure I can at the time. Having a good exposure means I can work with the file more easily in Lightroom later. The dance events usually has changing lights, so I cannot do a good white balance for each color, I just have to make a good exposure.
Back in Lightroom, I use the temperature and tint sliders to ensure that the skin of subjects in the frame looks good. It may not be exactly their skin tone as you see it, but neither is their color on the dance floor flooded with colored light. The downside is that the colored light in the background, or the ambient color of the room may change, but skin tones are my only concern. Whatever colors happen to change in the background or other room elements will have to be left as is. Let me know what you guys do when facing these room a wedding receptions, or other setups with special event lighting.
TimeLine Media – www.timelinedc.com
703-864-8208

