Posts Tagged ‘RAW’

Black and White Ballroom Dancers

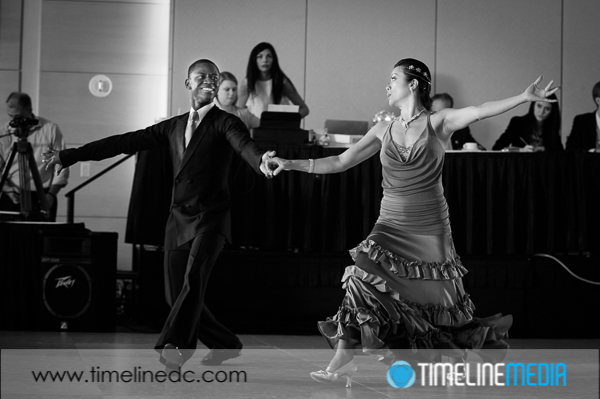
Dancesport monochrome photo - ©TimeLine Media

Washington, DC

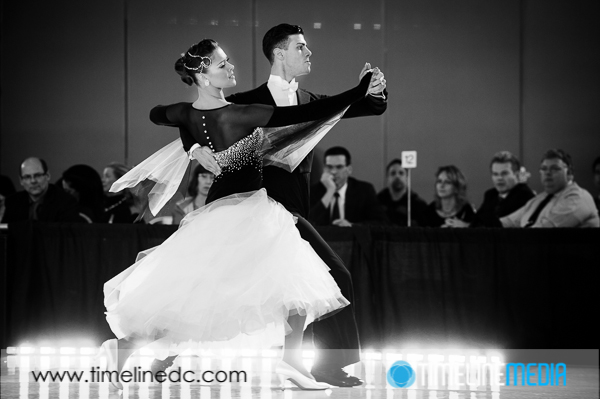
It is rare that I shoot ballroom dancing in black and white. For those that shoot RAW files with their cameras, it is possible to shoot in monochrome styles and preserve the color information in your images. What is displayed on the back of your camera is a JPG file. If you shoot to JPG files, there are many settings that the camera makes for you – sharpening, white balance, color saturation, that are more difficult to change once the settings are “baked in” to the JPG file. If you shoot RAW, all of these settings can be manipulated in the RAW processor/converter software afterwards. Adobe Lightroom or Adobe Camera Raw which is built into recent versions of Adobe Photoshop, are examples of these.

Ballroom dance monochrome photo - ©TimeLine Media
Ballroom dance monochrome photo – ©TimeLine Media

Black and White Images

Most digital cameras allow users to shoot monochrome images directly in camera. If you shoot to JPG, the color data from your image will be tossed out by the camera. It will be impossible to recover this color information. Similarly to shooting on black and white negatives on a film camera this information is not recorded. However, if you shoot to desaturated RAW files, the only file that will be black and white is the JPG preview that will be show on the back of the camera. The RAW file will still retain all the color information taken at the time of capture.

Ballroom dance monochrome photo - ©TimeLine Media
Ballroom dance monochrome photo – ©TimeLine Media

That being the case, you can easily go back to the RAW file and convert it to black and white in Lightroom, and possibly do a better conversion than your camera! The images in posting today were all captured in RAW files. Although it does take up more room on your memory cards and hard drives to do so, there are just so many advantages to shooting in RAW, that I cannot see myself doing it any other way. This color to black and white conversion is just one of the many reasons to do so.

Dancesport monochrome photo - ©TimeLine Media
Dancesport monochrome photo – ©TimeLine Media

TimeLine Media – www.timelinedc.com
703-864-8208

Adobe Lightroom Library – Tech Thursday

Adobe Lightroom Version 4

In photography school, my first digital class introduced me to Lightroom when it was still a free downloadable beta program. Much like Quickbooks for accountants, this program is the most essential piece of software for photographers today. In each version, they have added so many features, that it is rare when initially editing an event where I have to go into the full version of Photoshop. I think of Lightroom as the version of Photoshop with all of the non-photographer functions stripped out. Then fitted with a modern interface that is analagous to working on touchscreen or tablets more than keyboard and mouse.

Library Module

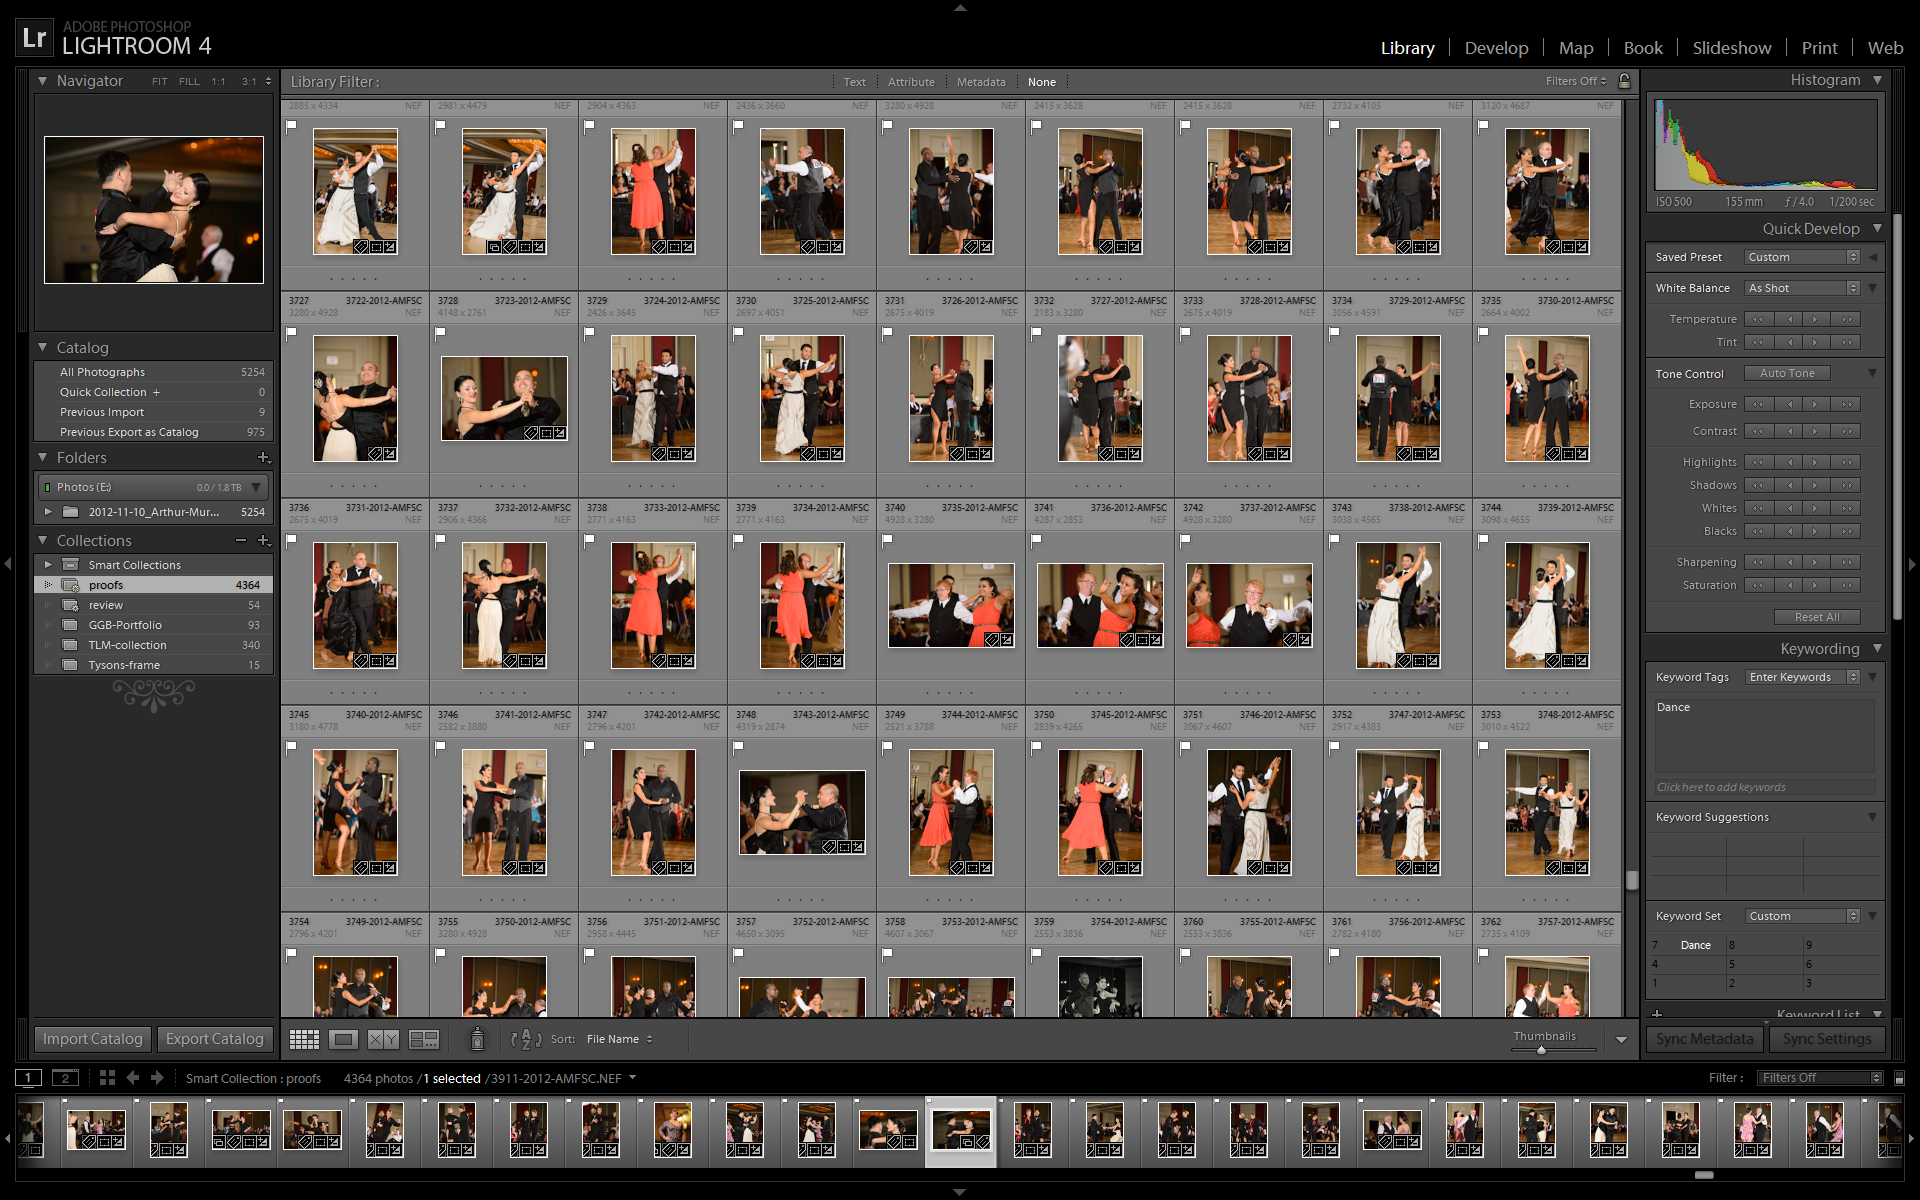
In the screen capture below, you can see the Library module – the default for working in Lightroom.

Adobe Lightroom 4 Library

TimeLine Media – www.timelinedc.com

In this module, you can get a quick overview of the photos in your collection. Each cell shows the file name, and some of the important data in the corners. There are also many icons around the image which help to identify your progress. You can sort by photos that you want to keep, delete photos that are not usable, and organize the thousands of photos into sections that you can break down prior to working.

On the left side of the screen is a Navigator which has an enlargement of the selected photo, then a file explorer-type interface for working with the files on your computer. This allows management of images whether they are stored locally, or on network drives. Collections also helps to keep track of photos that you may want use later, or favorites of especially good photos that you want to go back to in the future.

On the right side of the screen, there is a histogram of the selected image. This is a graphical representation of the tones in the images from darkest on the left, to lightest on the right. This helps to see how good an exposure is for each photograph – a curve skewing to the left will tend to be underexposed (too dark) while a curve skewing to the right will tend to be overexposed (too bright). In the Develop module, I will talk about this more, but it is in the Library module too if you want to use any of the Quick Develop functions just underneath the histogram.

Keywords

Keywording, underneath the Quick Develop, is another way that Lightroom makes managing photos great for working photographers and saves them lots of time in the process. If you have a catalog of thousands of photos of various events from weddings, ballroom dance, personal photos, etc., keywording lets you tag photos with descriptive words to help you identify photos in case you need to find them quickly in the future. This can be powerful for photojournalists or sports photographers to find previous subjects when requested by newspapers, customers, etc.

The last buttons on the right perform “Sync” functions from selected photos. “Sync Settings” will let you apply changes that you make to one photo (Exposure, color balance, saturation, etc.) and apply those same changes to a group of selected photos. This is an AMAZING time saver and helps me to work on more important aspects of an image, rather than having to make adjustments to many photos one at a time.

When I first started using Lightroom, I could not foresee that my photography career would lead to shooting ballroom dance events with 10,000+ photos each. This program alone has allowed me to make many photos for dancers and edit them as quickly as I can for them to see within 2 weeks of events. It is still a lot of work, but from the feedback I get from customers, I think the results are worth it.

TimeLine Media – www.timelinedc.com
703-864-8208