Posts Tagged ‘technique’

Photoshop – the Best Jig Saw Puzzle Solver

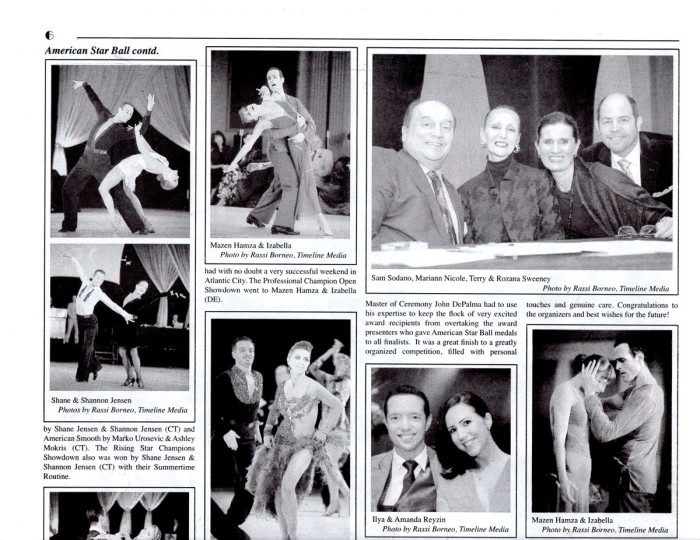
Source image for photo merge

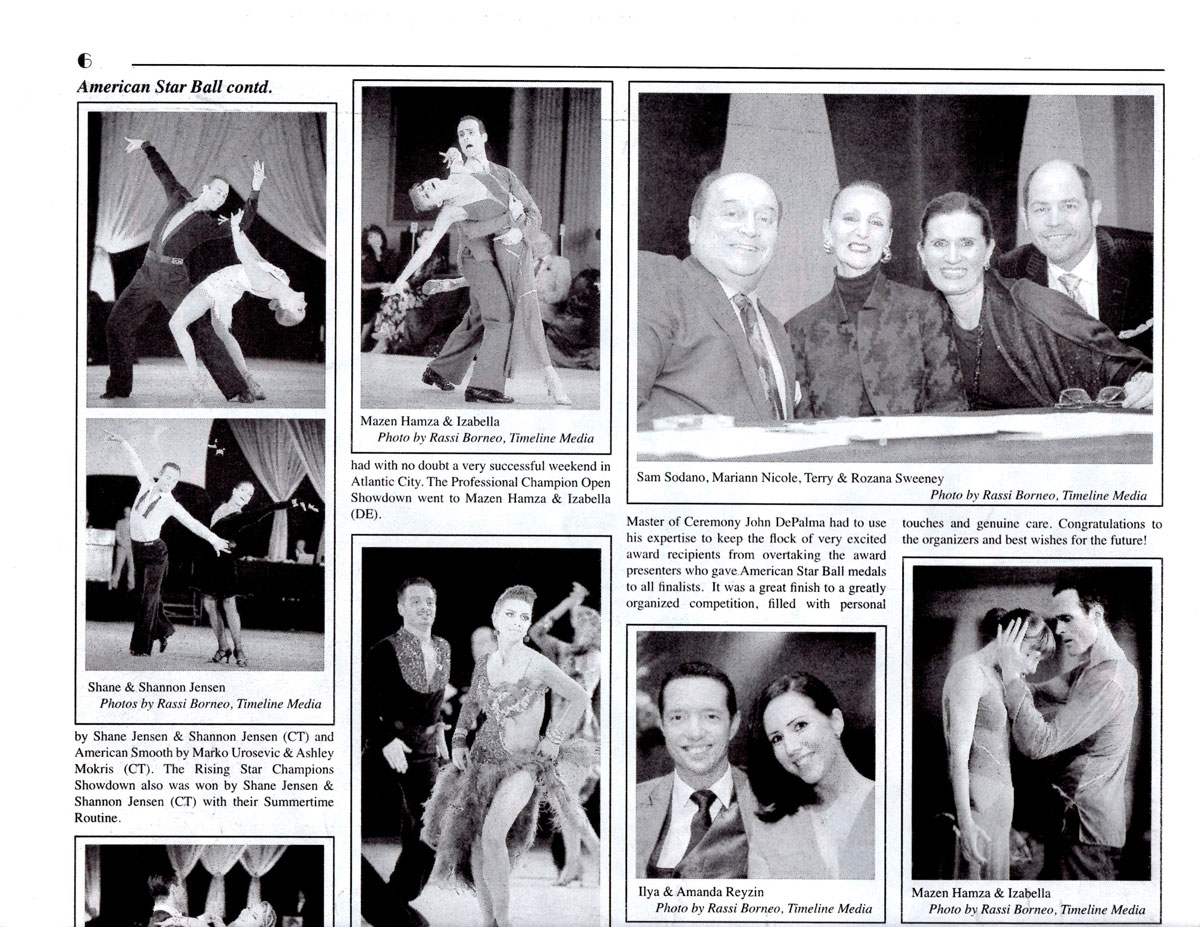
I am working on a personal project to preserve as much of my photo history before everything fades away. My memory will not hold for very long either, I suspect! In some cases, there are some publications where my photos are used, and these larger formats are difficult to preserve digitally. Due to the size of some of these publications, it is not possible to capture the entire spread with one pass of the scanner which is only letter sized. To do this before was a very complicated puzzle-building process. I would have to scan as much of the newspaper-sized pages on the scanner in sections making many different parts that overlapped each other in content. Sometimes, I would have up to 8 different images depending on the size of the print. In this example, I only have 2 separate images:

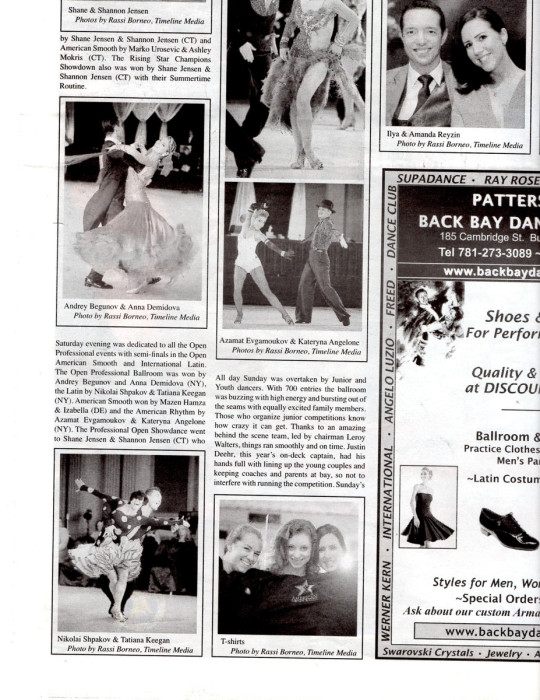
Source image for photo merge

Photo Merging

Source image for photo merge

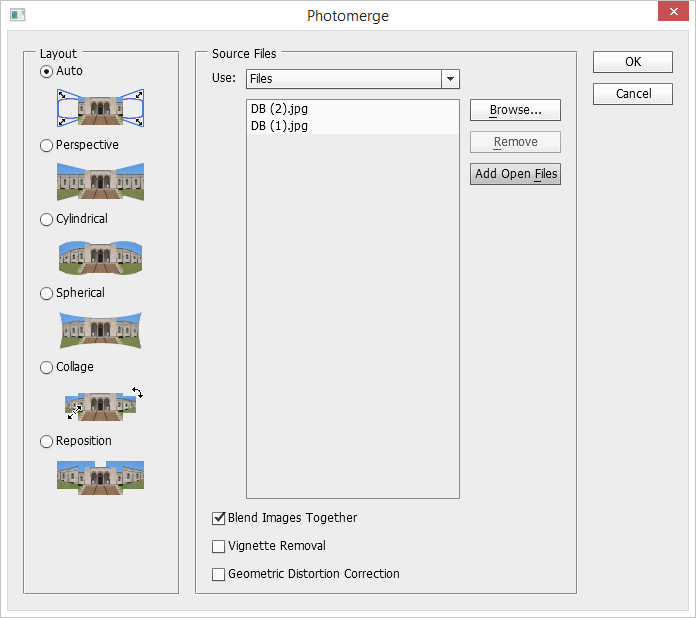
As can be seen in this example all the overlap between the text and the images on the page. In older versions of Photoshop, I would bring in both source images, and lay one on top of the other on a large empty background. Then I would reduce the opacity of the top layer, and maneuver it until the overlapping parts were right over each other on the layer below. It was time consuming, but it was possible. In the newer Photoshop versions, there is a nice automated way of doing this. First, open both images in Photoshop, then click on “File > Automate > Photomerge” which bring up this dialog box:

Photoshop CC Photomerge dialog box

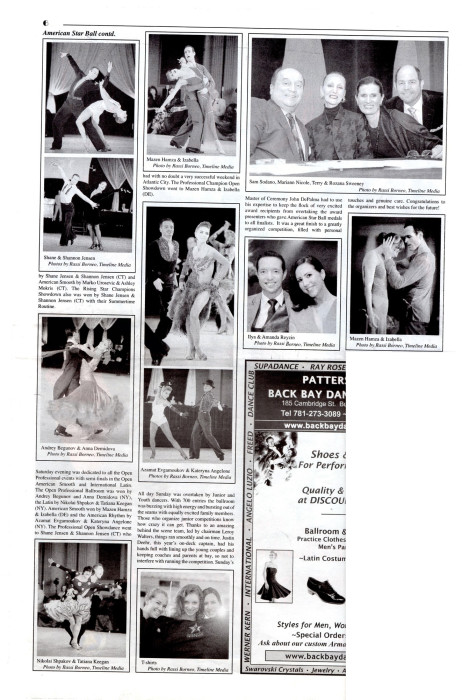
Click the Add Open Files button to add the open images to the process box. Make sure the box – Blend Images Together is selected, then click ‘OK’. Now Photoshop will quickly merge these two images using the overlapping information from each piece to create one large, merged document! This couldn’t be easier. I now only have to make sure that I have lots of overlapping areas from the large print. Knowing that the computer will do all of the aligning, you can scan in as many images as you would like. I have done this with up to 10 different images with no problem.

Large Merged Document

TimeLine Mediawww.timelinedc.com
703-864-8208

Creating Vignettes with Flash

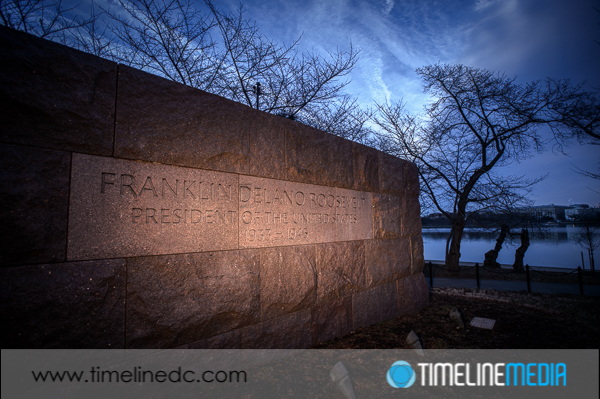
Lighting the Roosevelt Memorial with small flash - ©TimeLine Media

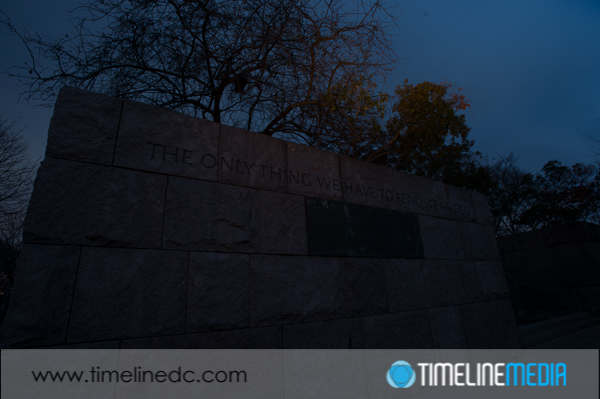
On yesterday’s post, I wrote about creating vignettes, in Photoshop. Today, I want to post some photos of another cool way to create vignettes, but this time, doing it in camera. I made these at the Franklin Delano Roosevelt Memorial in Washington, DC. In this walk-through park dedicated to the longest-serving US President, there are many of his quotes engraved into the large pink-colored blocks that make up the monument. You can use the color of the blocks to your advantage as pink and blue are next to each other on the color wheel, so they will work together well in a frame. Here is a frame of the manual exposure setup in the camera without the flash:

Roosevelt Memorial without flash - ©TimeLine Media
Roosevelt Memorial without flash – ©TimeLine Media

Washington, DC

I am just looking to keep a dark, saturated blue in the sky. The flash will be used to illuminate the foreground and pop the subject out of the frame. To setup the flash, I put a warming gel over the front of the flash. Additionally I zoomed the head in to 180mm. This focuses the flash into a tight circle as opposed to just spilling light all over the scene. This is what creates the vignette effect which will draw your viewer’s eye to where you want it to go. I hand held the flash with my left hand, and made this photo:

Lighting the Roosevelt Memorial with small flash - ©TimeLine Media
Lighting the Roosevelt Memorial with small flash – ©TimeLine Media

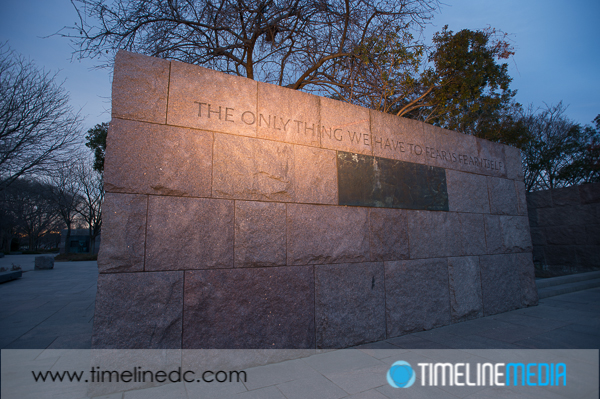
How far you zoom the head, can make the circle of light larger. Especially if you have more of an area you want to cover in light. This next photo, I zoomed the head out farther since I was standing farther away, and had more words that I wanted to light:

Lighting the Roosevelt Memorial with small flash - ©TimeLine Media
Lighting the Roosevelt Memorial with small flash – ©TimeLine Media

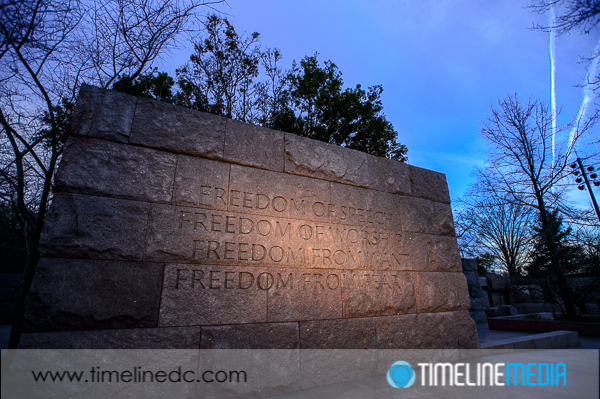
It was a challenge to get the light exactly right. Sometimes, I would flash the ground, sometimes, I would only light the trees above the blocks. It would be much easier to do this with the flash on a stand that you can control with more consistency, but I did not want to risk any entanglements with the park rangers. I simply used a hot shoe cable cord to get the flash off the camera, and fired away. Give it a try next time to get a different look at places that are photographed all the time!

Lighting the Roosevelt Memorial with small flash - ©TimeLine Media
Lighting the Roosevelt Memorial with small flash – ©TimeLine Media

TimeLine Mediawww.timelinedc.com
703-864-8208

Creating Vignettes in Lightroom – Tech Thursday

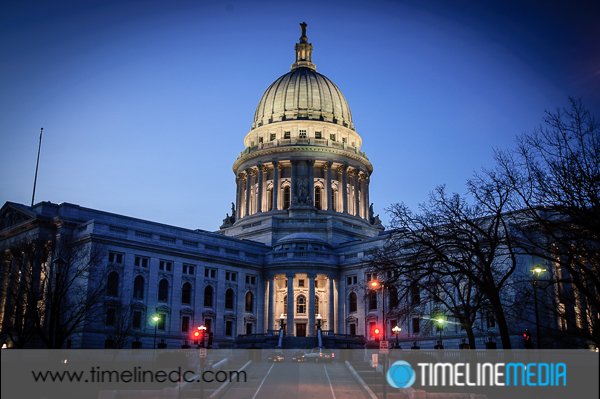
Wisconsin State Capitol at dusk - ©TimeLine Media

When Adobe Lightroom first came on the scene, it added the ability to create vignettes. I saw many photos with the darkened corners. It was not until I installed the beta of the program that I saw why! This look stems from the technical deficiencies of old cameras. Some larger format cameras or older lenses were not as precise with their ability to transmit light to the edges.

Post Processing

Wisconsin State Capitol at dusk - ©TimeLine Media
Wisconsin State Capitol at dusk – ©TimeLine Media

Now, every image editing app from Instagram to Snapseed has a way to purposefully add vignettes to your photos. I saw a demonstration where Parker J. Pfister had extreme uses of vignettes in his photos that brought the darkness in much farther into the frame. Some of the darkening did not even follow a light fall-off pattern that an old lens would produce, but the images were stunning. The reason that this works is that your eye will be attracted to the brightest thing in the frame first.

Event Portrait - ©TimeLine Media
Event Portrait – ©TimeLine Media

In most cases, you will want the brightest part of the frame to be your subjects face if you are photographing a person. Sometimes it will be an object in the foreground that you would like to emphasize over the background. Adding a vignette is very easy in the Effects panel of Lightroom 5. After you make your crop, the Post-Crop Vignetting tool is used to darken the corners, and you can set how far into the frame you would like to darken. You can also set how much you would like the vignette to darken, and how dramatic a drop off you want that to happen. Be cautious that you do not over do it! Over darkening of these edges where it becomes too obvious can make it distracting for your viewers taking away from the overall impact of the image.

Studio Portrait - ©TimeLine Media
Studio Portrait – ©TimeLine Media

TimeLine Media – www.timelinedc.com
703-864-8208

1 7 8 9 10 11 19