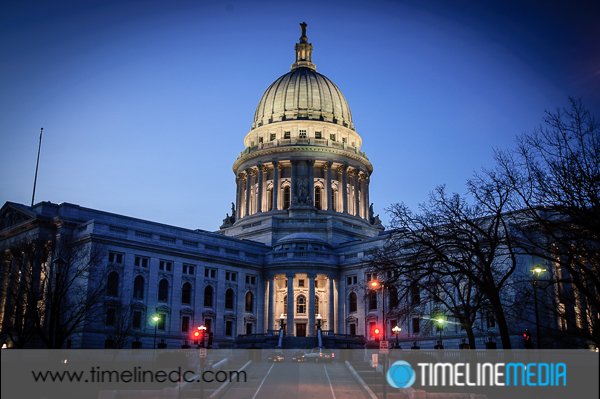
When Adobe Lightroom first came on the scene, it added the ability to create vignettes. I saw many photos with the darkened corners. It was not until I installed the beta of the program that I saw why! This look stems from the technical deficiencies of old cameras. Some larger format cameras or older lenses were not as precise with their ability to transmit light to the edges.
Post Processing
Now, every image editing app from Instagram to Snapseed has a way to purposefully add vignettes to your photos. I saw a demonstration where Parker J. Pfister had extreme uses of vignettes in his photos that brought the darkness in much farther into the frame. Some of the darkening did not even follow a light fall-off pattern that an old lens would produce, but the images were stunning. The reason that this works is that your eye will be attracted to the brightest thing in the frame first.
In most cases, you will want the brightest part of the frame to be your subjects face if you are photographing a person. Sometimes it will be an object in the foreground that you would like to emphasize over the background. Adding a vignette is very easy in the Effects panel of Lightroom 5. After you make your crop, the Post-Crop Vignetting tool is used to darken the corners, and you can set how far into the frame you would like to darken. You can also set how much you would like the vignette to darken, and how dramatic a drop off you want that to happen. Be cautious that you do not over do it! Over darkening of these edges where it becomes too obvious can make it distracting for your viewers taking away from the overall impact of the image.
TimeLine Media – www.timelinedc.com
703-864-8208


