My computer monitors are very durable! Through many moves, upgrades, and changes in operating systems, I have only use 2 monitors since starting my photography career. Last year, I upgraded from a CRT monitor to an LCD monitor, I needed on that would have the specifications to keep pace with CRT monitors for editing photos. I decided to get a refurbished IPS monitor direct from HP – the HP LP2480zx.
Editing Display
There are monitors for every budget, but like with cameras, I know that you can pay for performance. This is on the higher end for monitors, but they had a refurbished model at a discount. For photographers, this is important as having a monitor that can give you consistent color and brightness. It is important to ensure that how you view your photos on your monitor matches what your clients will receive on their prints. The monitor is a generous 24-inch widescreen that gives me plenty of room for panels for Lightroom, my main photo editing program:
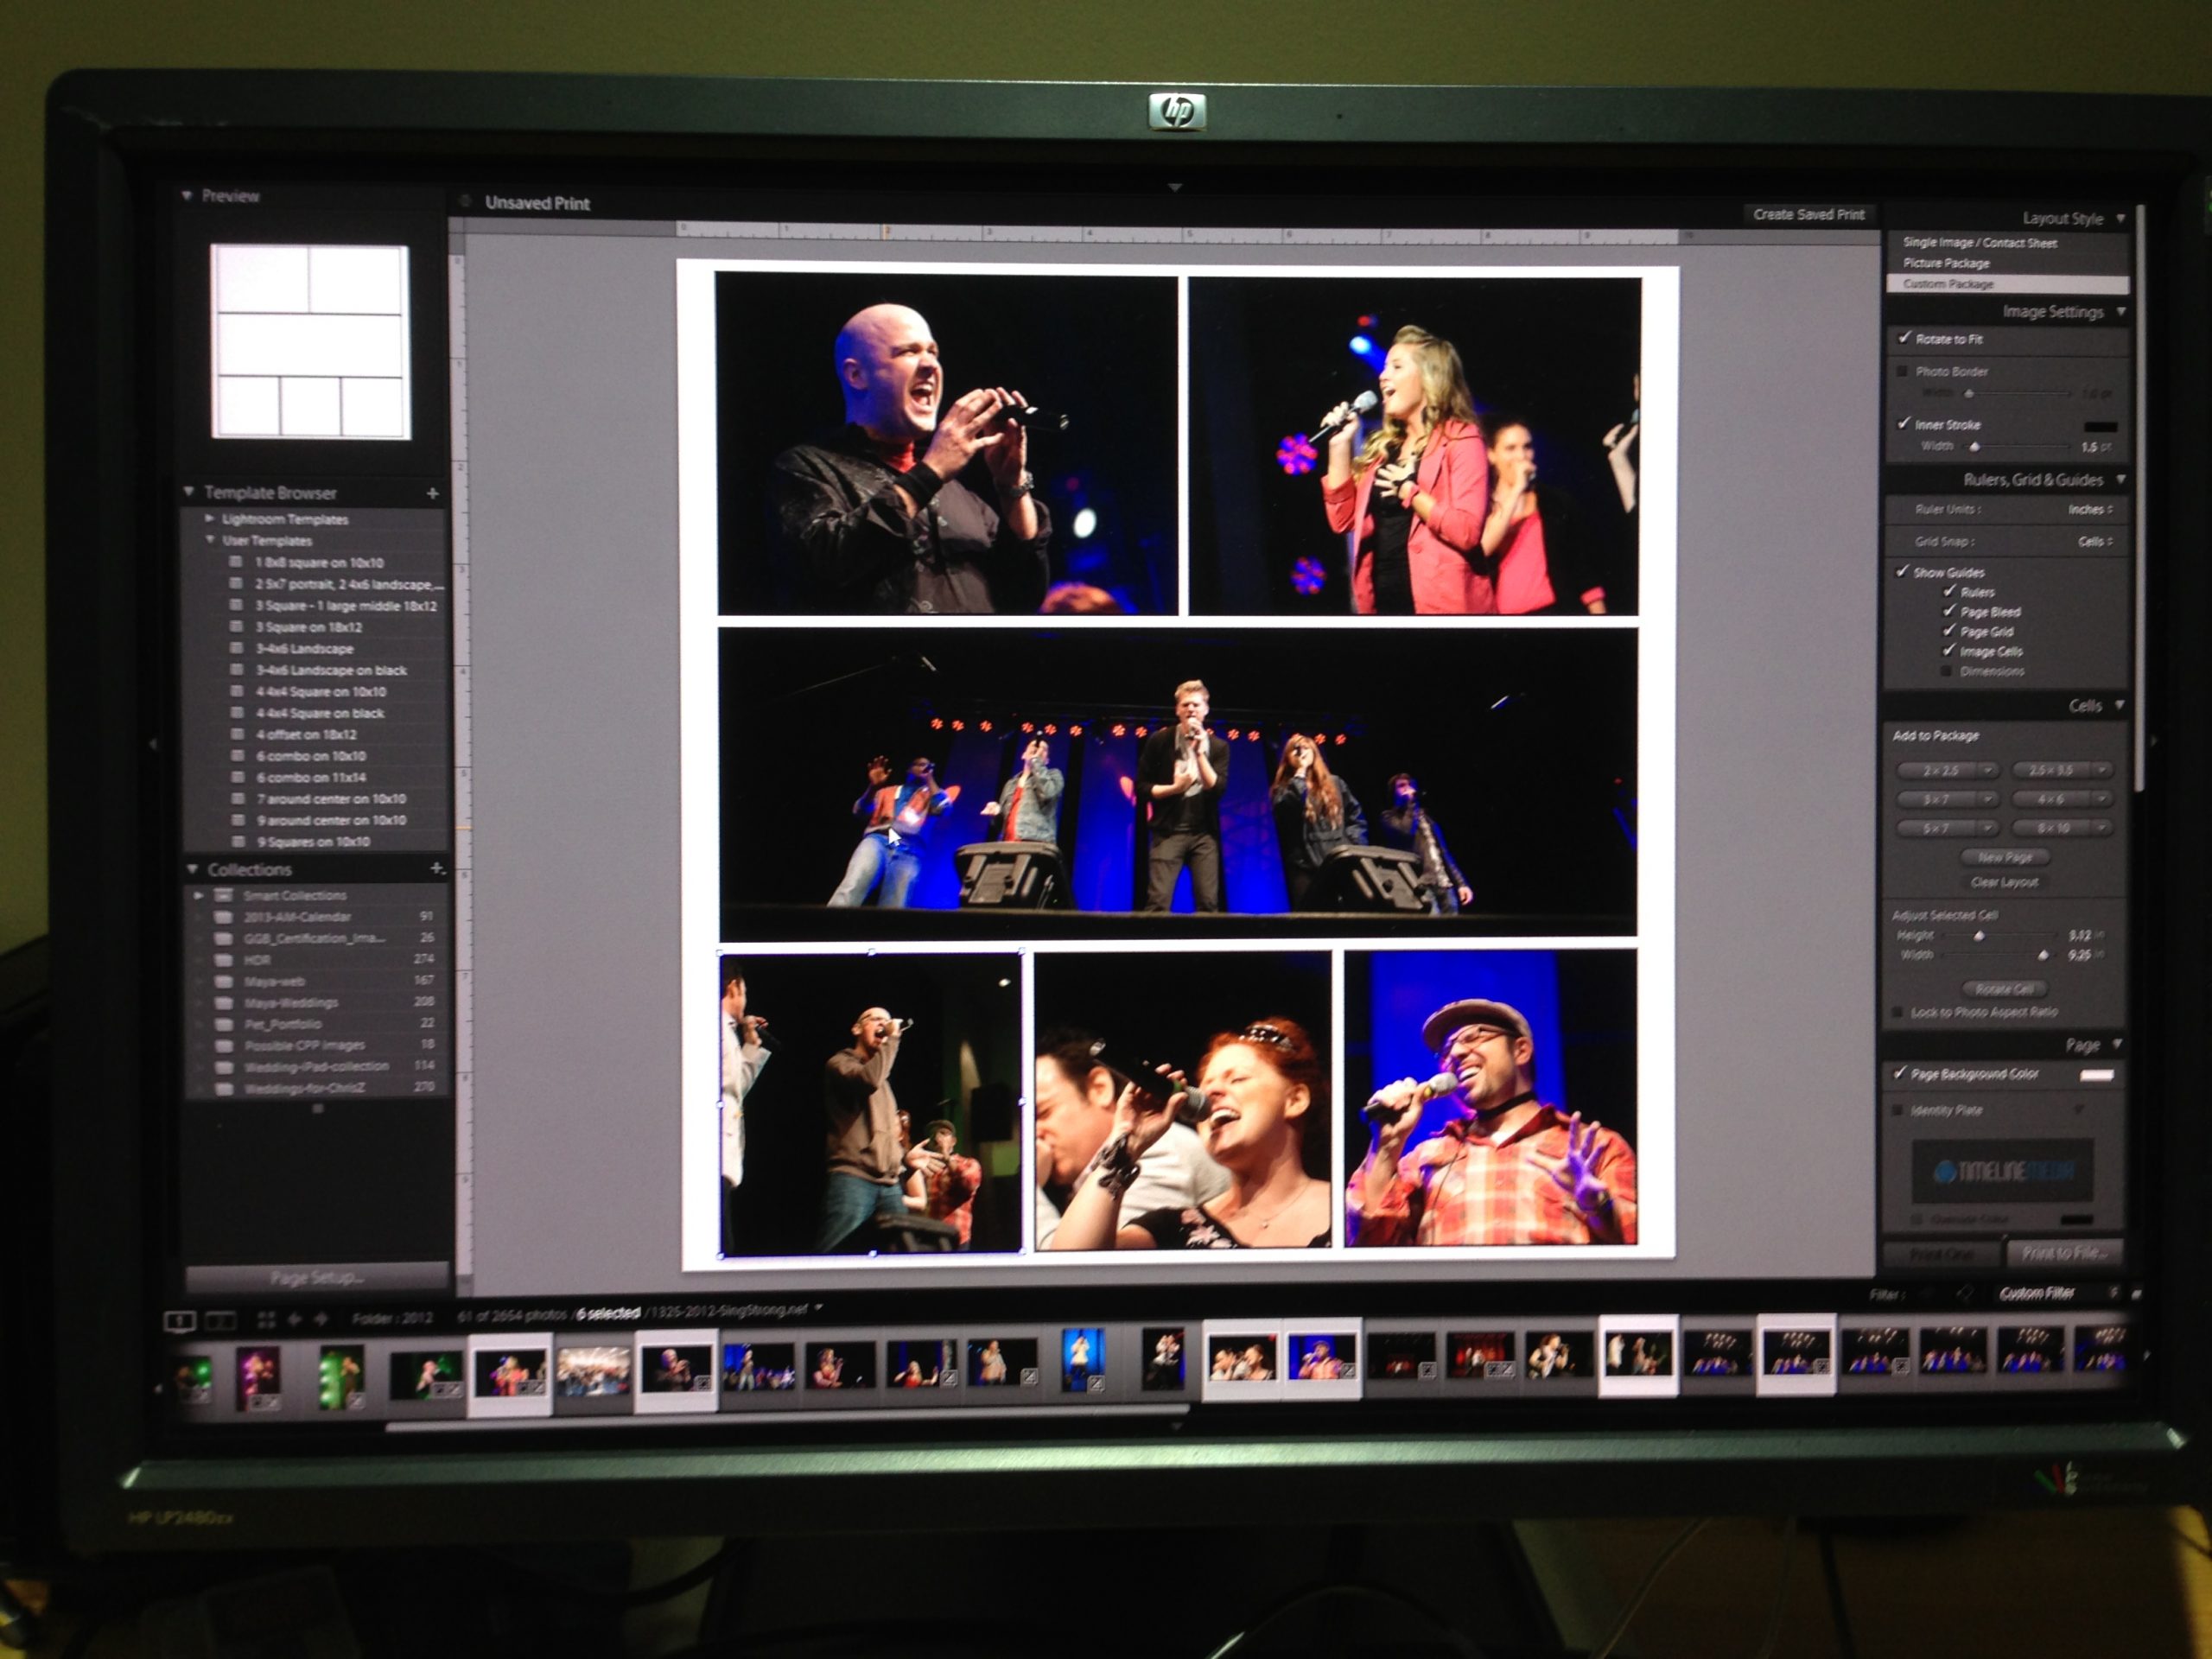
This view is of the Print Module in Adobe Lightroom – I am making a collage for a blog post tomorrow. There is plenty of room to have the Lightroom Library at the bottom of the screen with plenty of room to go through the presets for prints on the left, and editing the templates with the options on the right.
Monitor Calibration
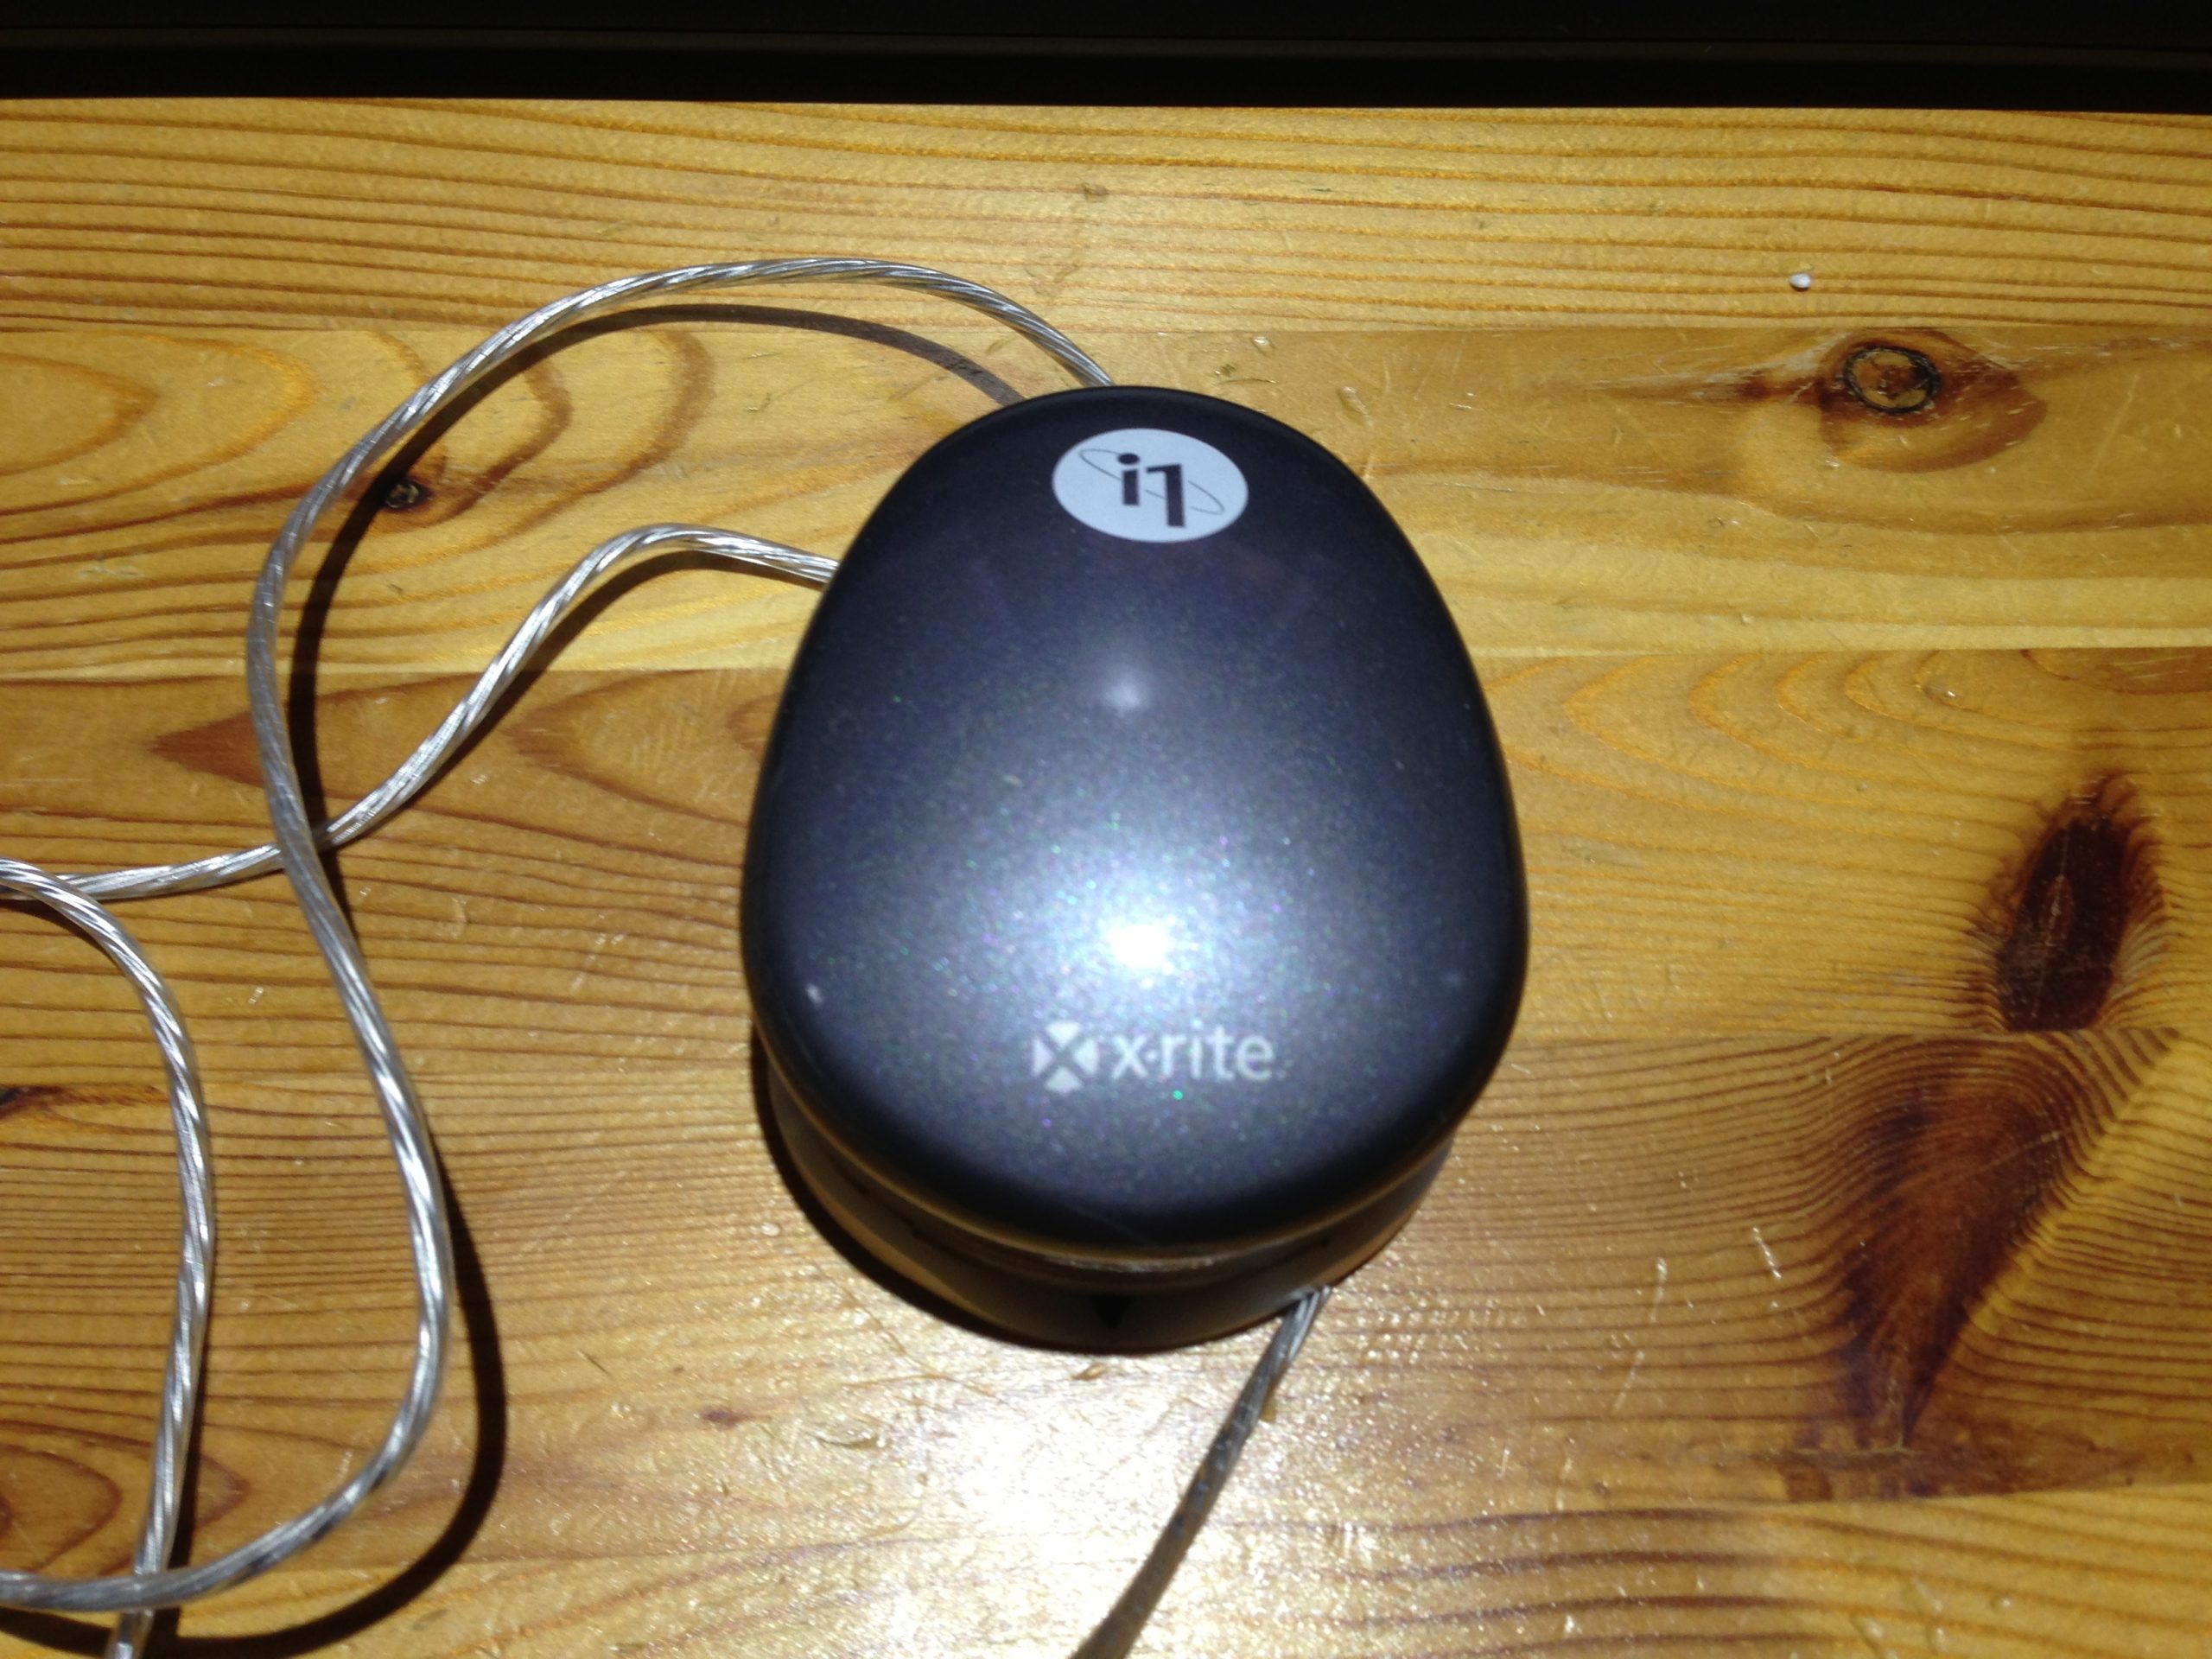
Along with the photo editing monitor, it is also important to have a monitor calibrator. Unfortunately, you cannot control how your photography is viewed online at all of your client’s workstations. You can, however, use a calibrator to ensure your monitor is profiled to be accurate locally and with printers your send files to whether they are your own, or at an outside lab. I use a discontinued product from X-rite, i1 Display 2. This calibrator scans your monitor, and the lighting surrounding your monitor, and creates a profile specific for your setup.
I have used this for over 5 years and get prints from the lab that match my Lightroom adjustments exactly for color, contrast, and brightness. It does add a step to your workflow, but I have not had any issues with having to reprint photos for color. This has saved me lots of money in reprint costs which could range from a few dollars for small prints, to hundreds of dollars for magazine-style albums! Calibrating your monitor will give you piece of mind when hitting the “Order Now” button. If you have any comments or suggestions on your color and editing workflow, let me know!
TimeLine Media – www.timelinedc.com
703-864-8208
Jae R
February 28, 2013 at 1:55 pmThanks for the info on the calibrator!
I jumped over to the Xrite site [xrite.com] and wondered which would be better for someone starting out …
–
Perhaps the “ColorMunki Smile” or the i1Deskplay Pro, escpecially due to the fact that you get what you pay for in performance/quality
–
Would be interested in your thoughts.
I have seen and heard of other calibrators …
–
Also noted that the partner for them in the DC area is Penn Camera – which is cool too!
rassi
February 28, 2013 at 5:37 pmThis is the first calibrator I have used, and have been satisfied with the results. It’s amazing how different Windows or OSX looks when you calibrate to the correct settings! So many monitors are turned to their highest brightness to help them look better on the shelf. Any calibration would be better than going with the defaults. Go for it!