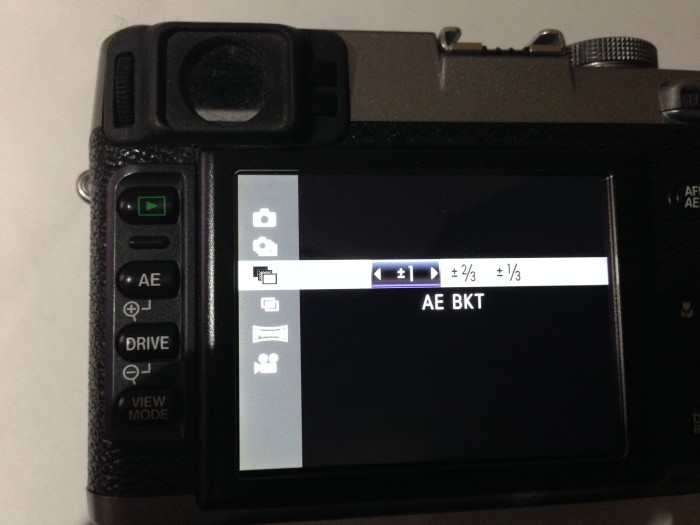
In delving through the manual of the Fuji X100s camera, I found bracketing operations in a menu. Previously, I have posted about the drive mode for making panoramas where the camera will continuously make images while guiding you to pan the camera to create super wide panorama photos. In that same menu, you also have access to create bracketed exposures!
Menu Exploring
I did not realize that this camera at first because there was not a dedicated function button for this, and it was not present in the Quick-access menu. It was only when really looking that I found this which really makes this a useful mode. Just like other ways of working with this camera, it is also much easier to setup this mode, and implement in taking photos. There are some limitations compared with the DSLR but for the trade off in size, it is worth it for light traveling.
If you click the Drive button, you can select the AE bracket icon, and you can select from three different options – whether to have the exposures 1.0, 2/3, or 1/3 stop apart. This is similar to the tick marks along the exposure line on the Nikon DSLR setup. I set my exposure brackets to be 1.0 stops apart. One of the limitations of the X100 compared to the Nikon in terms of bracketing, is that you are limited to only 3 exposures per shutter release. This makes it more difficult to make a larger set if you are hand-holding, which I do not recommend anytime you are trying to make these!
Bracketing Images
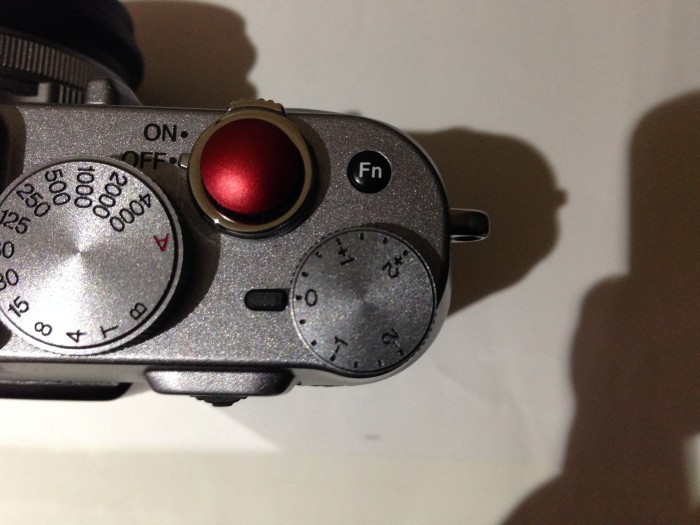
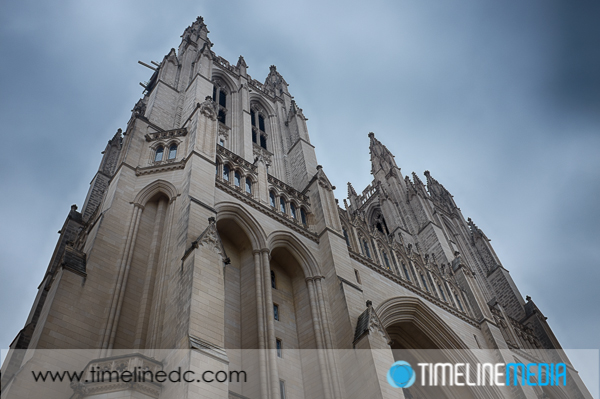
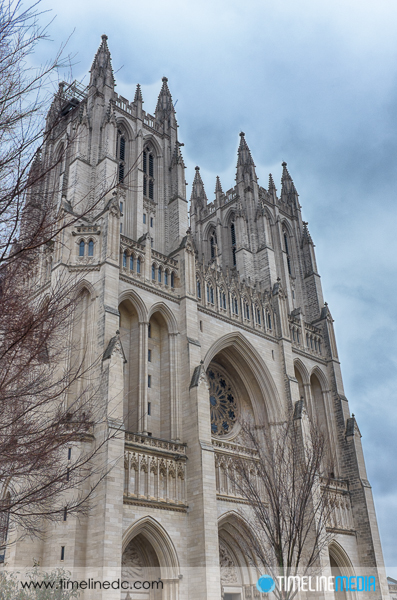
To make more bracket images, I make use of the exposure compensation dial. This button which is easier to use than on DSLRs, allows you to change the exposure up to -2 or +2 around the metered settings in the camera. When on a tripod, you can set the X100s to make bracketed exposures, then set the camera to -2 with the exposure compensation dial. Then make the 3 exposures around +2, and finally, turn off the bracketed exposures to just a single exposure mode. Move the dial back to 0, and take the metered exposure. This should give you a set of 7 exposures of the same scene all 1 stop apart. It is a lot more complicated to do so, but it will get the job done quickly even with this small camera! Here are some examples from a walk around the National Cathedral in Washington, DC.
TimeLine Media – www.timelinedc.com
703-864-8208


