Posts Tagged ‘Adobe Lightroom’

Lightroom Print Template – Tech Thursday

@TimeLine Media - Arthur Murray photo collage

Managing thousands of photos can be daunting task when returning from a shoot. The Library and Develop modules are where I live when using Adobe Lightroom. These have almost all the functions I need to manage and edit large sets of photos from events that I photograph.

Lightroom Module Selection Bar

Photography Software

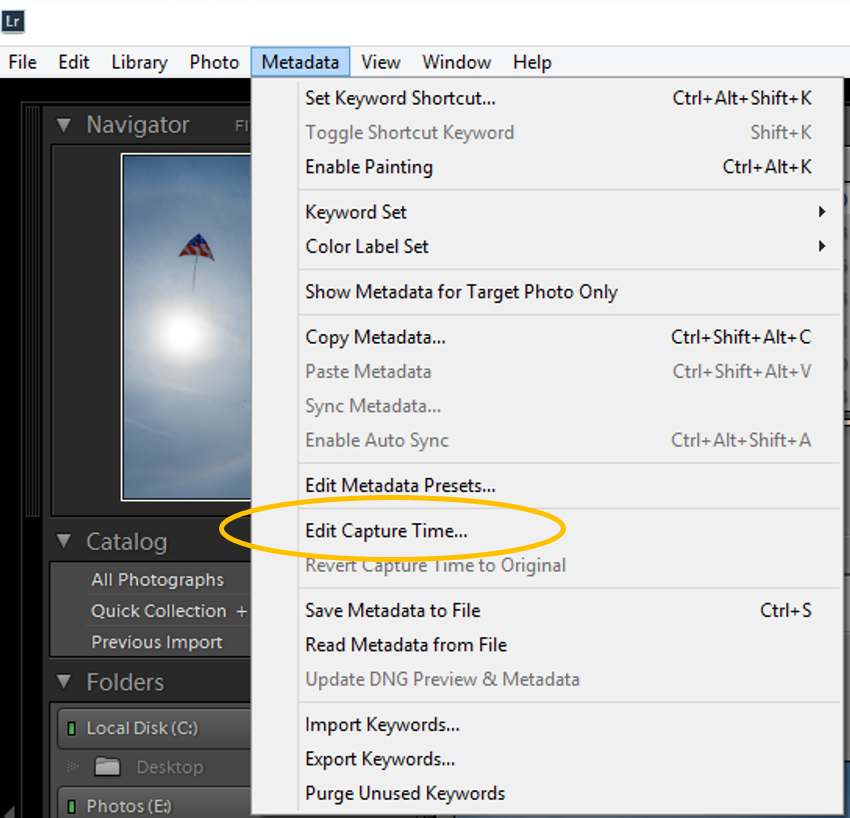
I have talked about the Library and Develop modules in previous posts, but today, I want to focus on the Print Module. This is the next most used section for me. From here, you can prepare images for printing at the lab or at your home printer if you have one available. None of the photos from TimeLine Media are printed at home – all are sent to professional labs prior to sending  in the mail. Why? The labs are experts at making prints. They print these optically onto photographic paper, not inkjet printing. There is still lots of development being done with professional inkjet printers, but I still prefer the optical prints on Kodak or Fuji paper.

Printing Options

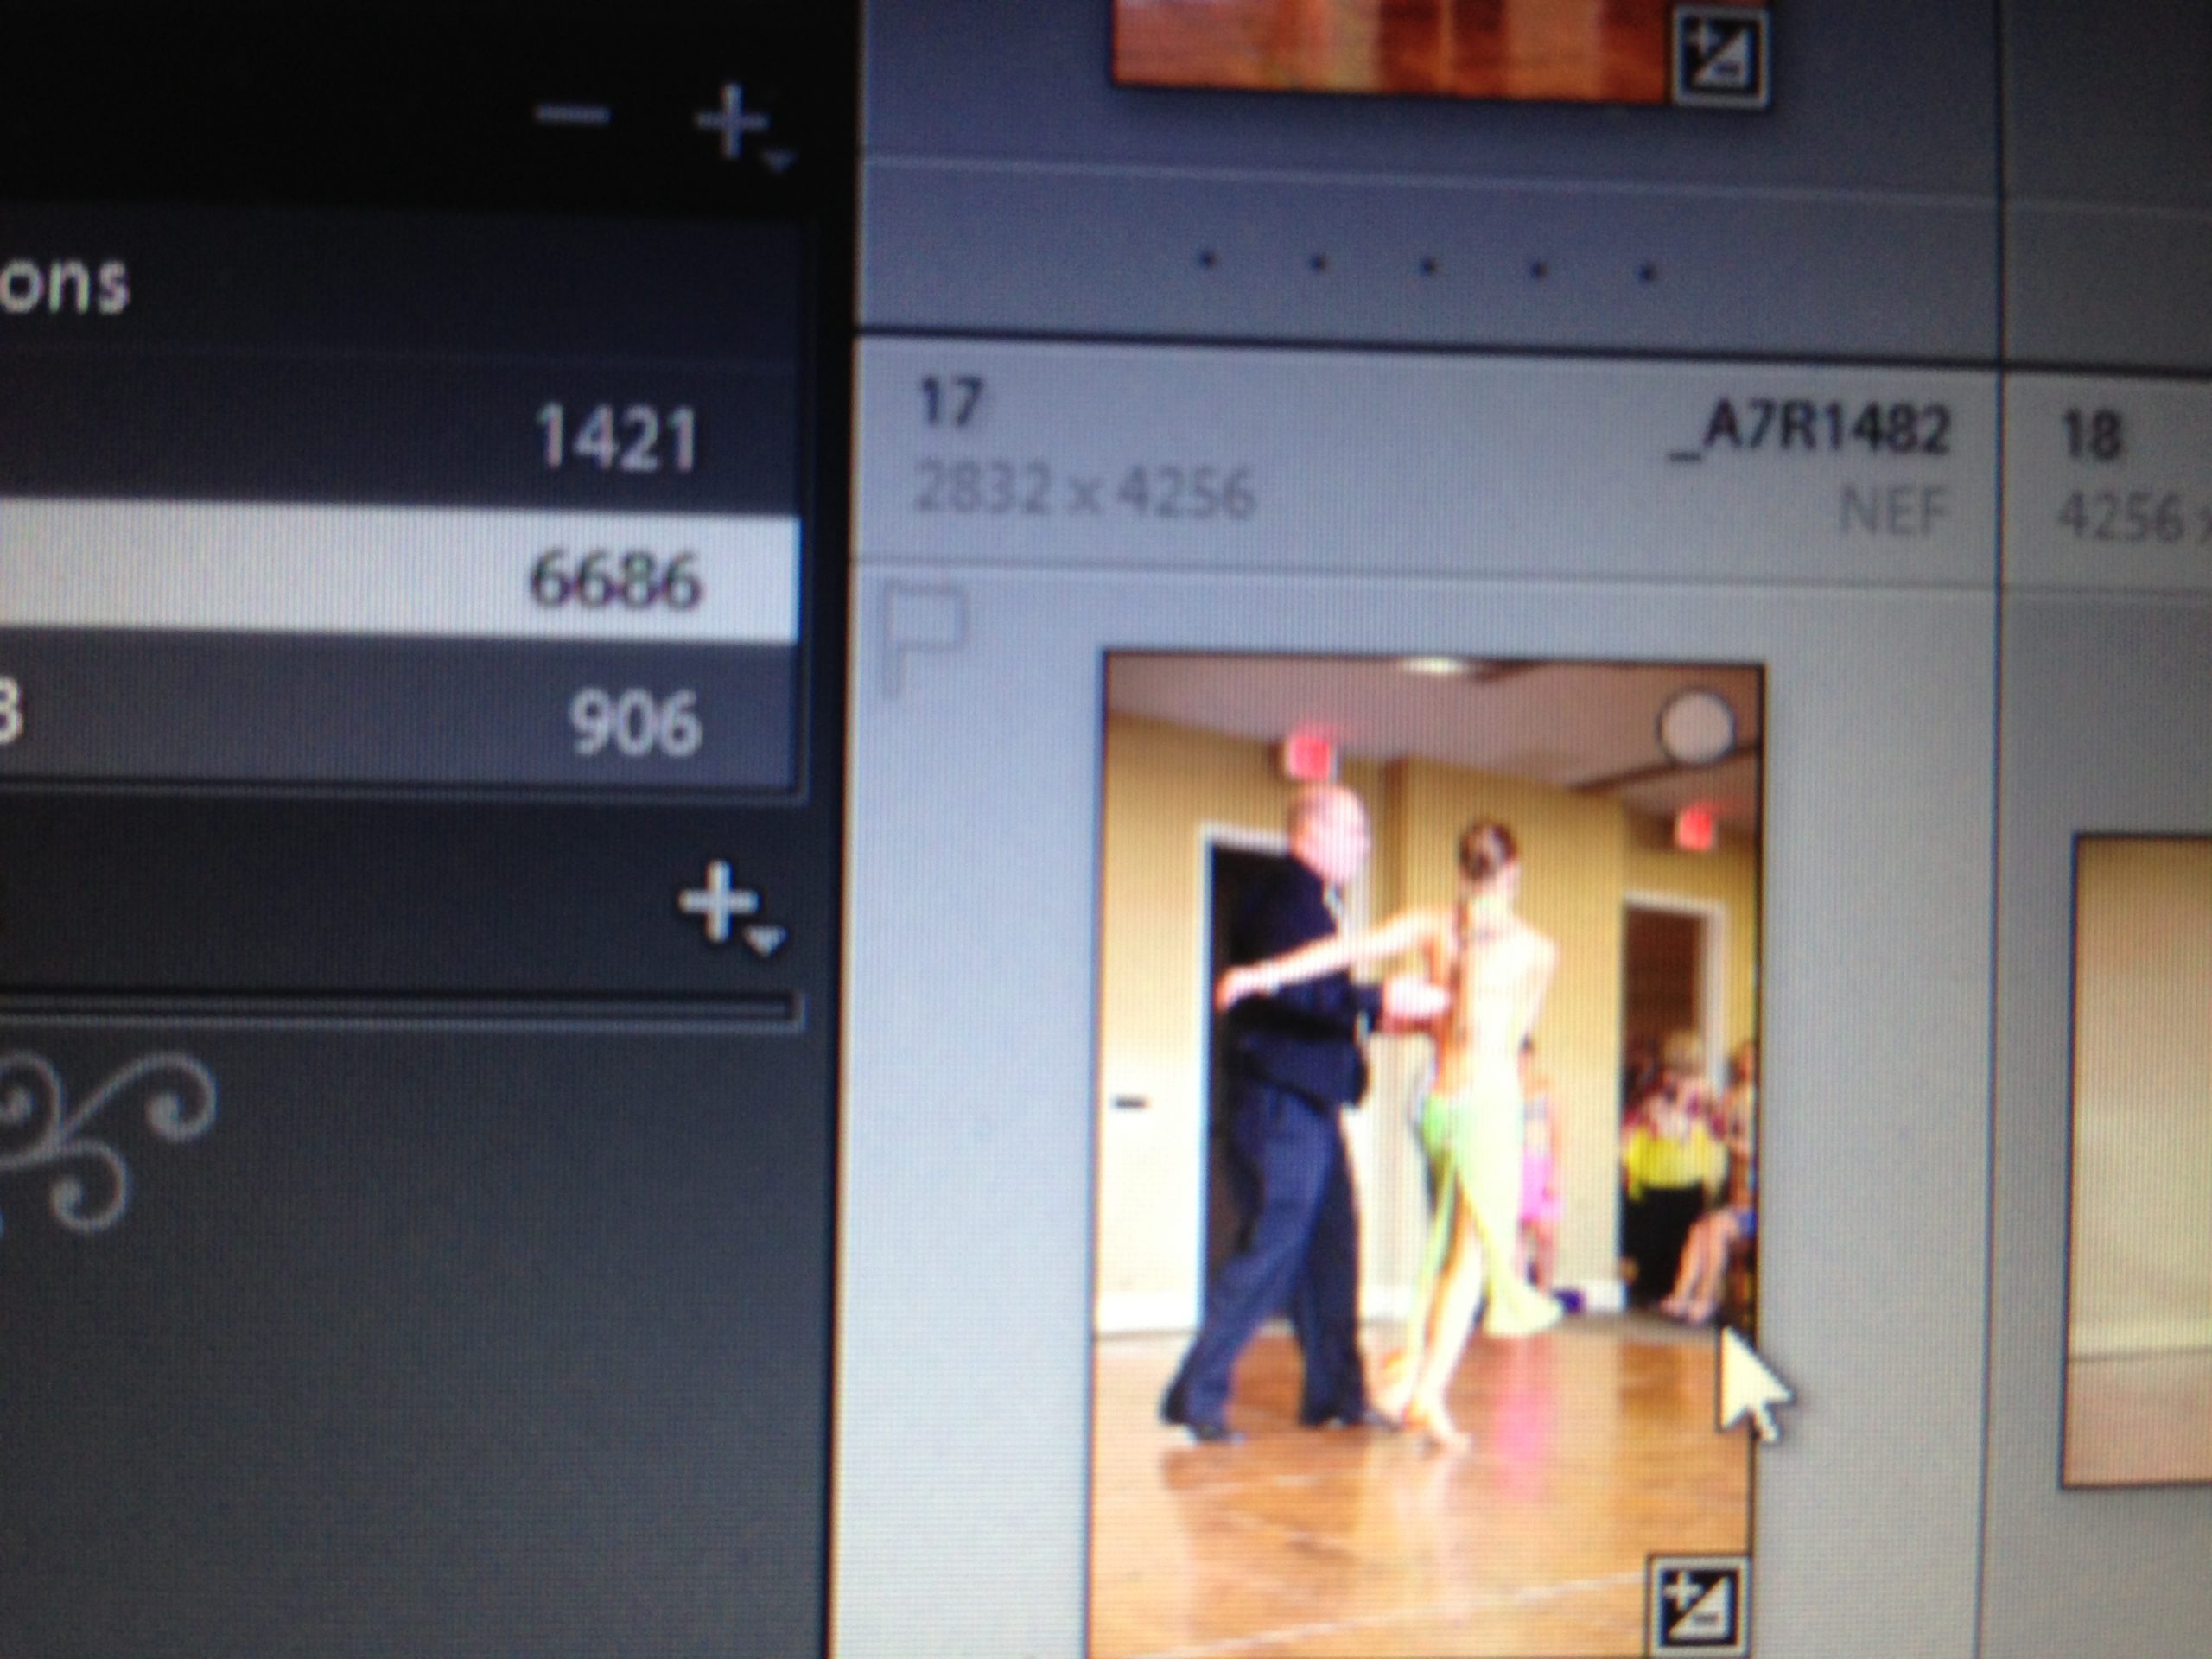
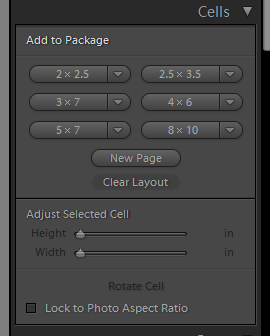
The Print Module, much like the Develop module, also has presets available to use in your work. Lightroom comes with some built in presets that define what size print you like to make, and on what size paper on which you are printing. This is very helpful if you have a specific frame size in mind for your photo. You simply select the size photo, and you can instantly see if the photo fits well, if you could go larger, or if you need to change the perspective of your photo. All of these changes are easily made within either the Print or Develop modules:

Photo size selector
Photo size selector

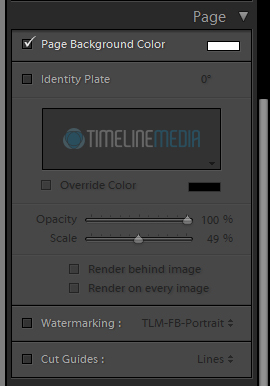
The next panel down allows you to change your page setup. Here you can change the background color of your page, or add a watermark. This helps to see if you final print will look better on a traditional white or black matte background, or if you would look better on a funky background that is uniquely fitted to your image:
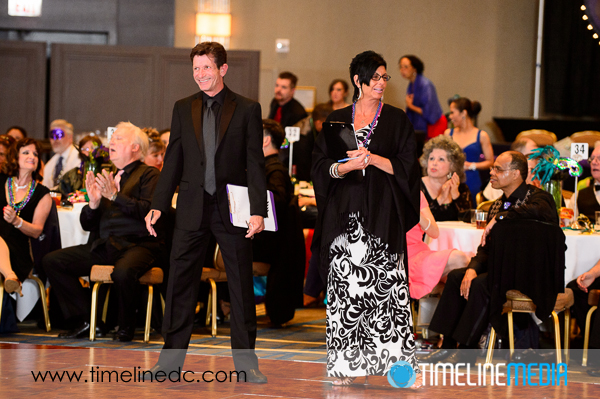
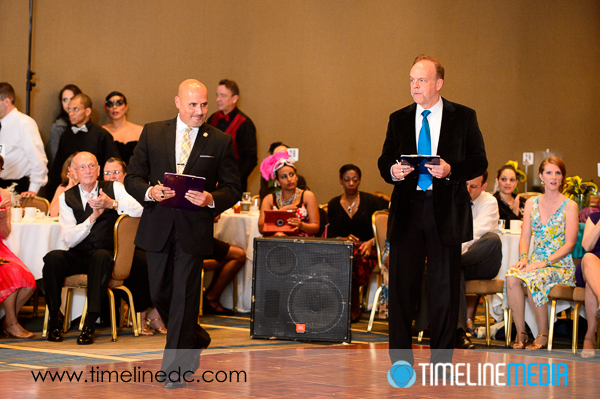
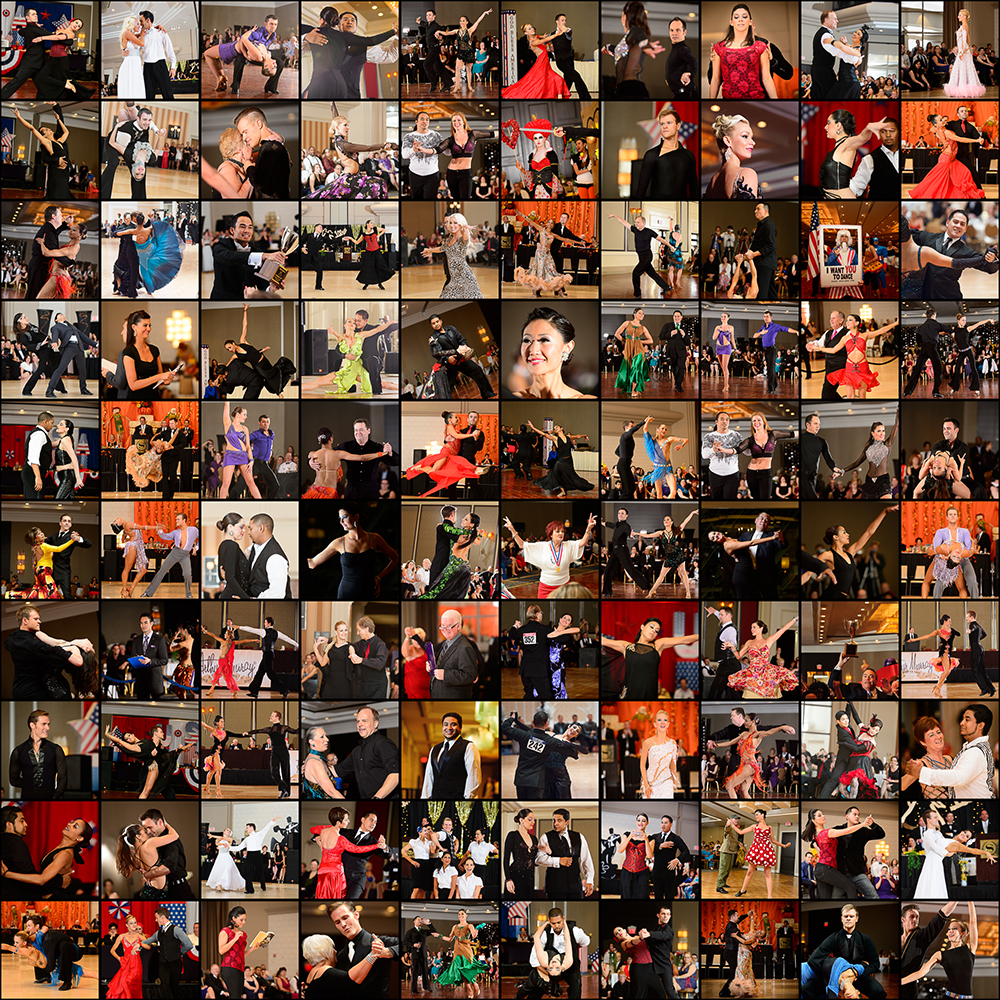
Page setup
Page setup

Ballroom Brag Book

Once you have all of your settings completed, you can save your favorite setup as a preset. This will allow you to apply this template for printing to any photo. You only need to select the photo from the Library Module, and drop it into the preset template in the Print Module. This is where you can add your creativity to your photography by creating new templates. I recently used this to make a ballroom dance book for the Arthur Murray studios in the area.

The book was 10″ x 10″, so I created a new template with these dimensions. My thought was to have a large collage with as many photos as I could fit on the cover to show how many great photos we have made over the passed year. Since the cover was square, I had the idea to make each image square. With this in mind I made a 1″x1″ square, then copied and stacked another 1″x1″ square on top of it. To complete a 10″x10″ cover, that made 100 photos! It took a long time to create the template, but I was really pleased with the results! It was a great way to get attention at the photo booth. If you want to use my template, I have attached it here-

TimeLine Media – 10×10 cover with 100 – 1×1 images

Give it a try and let me know how it works for you!

@TimeLine Media - Arthur Murray photo collage
@TimeLine Media – Arthur Murray photo collage

TimeLine Media – www.timelinedc.com
703-864-8208

Editing Update

©TimeLine Media - Arthur Murray judges at Summer Showcase

Thank you to everyone that visited the website yesterday with the expiring photos. It was altogether a very busy traffic day. Likewise I have a lot of orders to place with the lab. If you did order prints, they will be sent to the lab by this morning and should be sent this week. For the event editing, I am concurrently working through the Arthur Murray Summer Showcase photos. There is some editing progress being made!

©TimeLine Media - Adobe Lightroom
Screen shot of Adobe Lightroom software for photo post processing ©TimeLine Media

Out of over 8000 photos, I still have 6600+ to edit prior to sending to the website. I am on schedule t complete these by Saturday. Stay tuned here, or sign up for the email list at the proofing website [ http://proofs.timelinedc.com ] to get the latest updates.

As a sneak peak, the photos are looking really nice! There were some entertaining routines at the showcase, and you should be proud of your performances. Here are some photos of Lynn, John, Leonard, and Bobby – the judges that evaluated the dancers over the weekend.

©TimeLine Media - Arthur Murray judges at Summer Showcase editing
Arthur Murray judges at Summer Showcase in Tysons, VA ©TimeLine Media
©TimeLine Media - Arthur Murray judges at Summer Showcase editing
©TimeLine Media – Arthur Murray judges at Summer Showcase

TimeLine Media – www.timelinedc.com
703-864-8208

Synchronize Photos – Tech Thursday

Synchronize files - Adobe Lightroom

Having multiple cameras on a shoot is a must for professional photographers. Your camera will only fail at the worst time! There is never a good time to have your equipment fail. However, if you are at a wedding, or covering an important dance performance, or VIP meeting, you want to make sure you have a backup on hand in case something goes wrong. Another reason is to keep your creative options open. Having two different lenses on the cameras allows you to get a variety of images from what is happening right in front of you.

Now that you have things covered with your equipment, you may now have another problem. Unless you and your assistants are diligent, the clocks on your cameras may not be set to the correct time. Will this be important? It depends on what you are shooting, and how your clients will be viewing the photos. In most cases, people like to view their photos in chronological order. On a wedding day, you want to see the day starting with preparations before the ceremony. From there you progress to the ceremony, then the reception. Having some reception photos while still viewing ceremony or portrait shots, make the presentation confusing. If you are photographing dancers, you want to make sure that all the photos from a heat are together. This is so the dancers can find all their photos together after the event.

If you are using the same camera brand, use a GPS unit like this one from Nikon – the GP-1. This can synchronize the cameras to get your location information as well as synchronize your camera’s clock to the GPS clocks. No more accurate way to get your times right!

Nikon GP-1 - GPS unit
Nikon GP-1 – GPS unit

If you have different cameras, you can line up all your cameras and take one photo at the same time. Then after the event, go back to these photos, and set the time for the photos from one camera to match the others. I do this in Adobe Lightroom where I do most of my editing, but this can be done in other metadata managing programs such as Photo Mechanic. In the Library module in Lightroom, select all the photos from a camera, go to the Metadata menu and select “Edit Capture Time”.

Synchronize files - Adobe Lightroom
Synchronize files – Adobe Lightroom

Here you can enter in a time that exactly corresponds with the time from another camera taken at the same time. Now, if you sort all the photos by capture time in the Library, they should all be organized chronologically. This has saved me lots of time in finding dancer photos from long events, and has helped to organize wedding photos for viewing. Hope this helps!

Synchronize files - Adobe Lightroom
Synchronize files – Adobe Lightroom

TimeLine Media – www.timelinedc.com
703-846-8208

1 2 3 4 5