Posts Tagged ‘Adobe Lightroom’

Extreme Shutter Speed – Tech Thursday

©TimeLine Media - extreme high shutter speed

With Adobe Lightroom, it is very easy to sort your photos by all kinds of metadata. You can have the program show you photos that only meet certain criteria. Thus, you can gain some interesting insights into your photography. Very quickly, you can see what your “favorite” lens, camera, aperture, or shutter speed is just by looking at the raw numerical data. In college, I had a lot of training in reviewing scientific data, so having this metadata available for my photography is really cool!

Adobe Lightroom

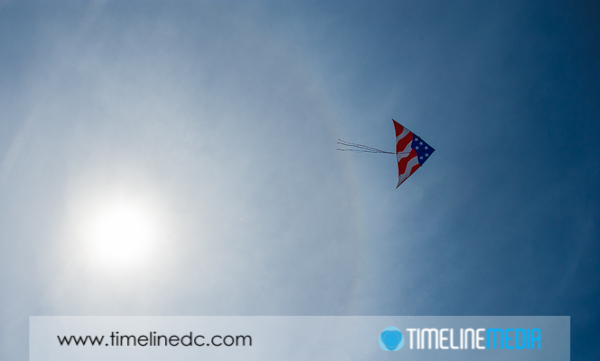
This time, I have looked at the shutter speed of all of my favorite 19000+ photos that I have kept from all of my shoots since 2004. These two photos were examples of the highest shutter speed allowed by the Nikon cameras that I use. The first is a little expected – a kite flying by the overhead sun. This was at the kite festival on the National Mall which seemed appropriate for an American-flag flyer.

©TimeLine Media - extreme high shutter speed
©TimeLine Media – extreme high shutter speed

The second was a little more unexpected for me – a bride in an open field just after her wedding. It was a beautiful late spring day, and the sun was out, but I don’t recall it being that bright! There was some nice shady trees behind her, and behind me, so maybe that is what I am remembering. In looking at the Lightroom adjustments, this photo did not have to be “recovered” by pushing the Exposure slider either, so this is how the photo came out of the camera.
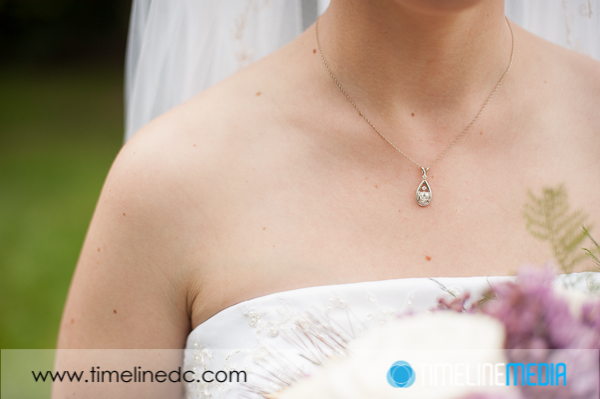
©TimeLine Media - extreme high shutter speed
©TimeLine Media – extreme high shutter speed

Shutter Speed

These next two show the slowest shutter speeds I have in my portfolio. This first one was exposed for 30 seconds. This is about the limit you can keep the shutter open before the moon and the stars start to lose their roundness, and start to smear light across the frame. Even with the long exposure, the photo needed to be pushed 1.5 stops higher in software to get it like this:
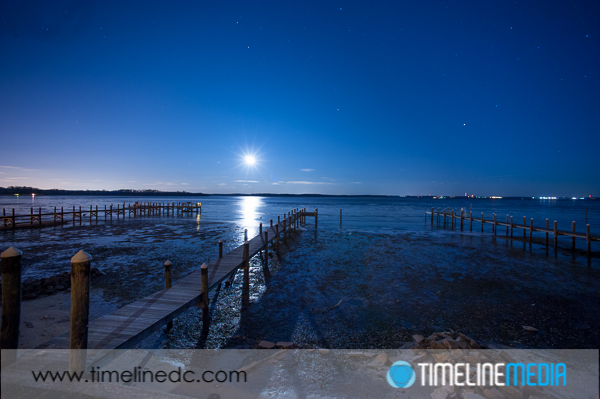
©TimeLine Media - extreme low shutter speed
©TimeLine Media – extreme low shutter speed

This last photo is the longest exposed photo in the collection – exposed for 1378 seconds – almost 23 minutes! I was attempting to make a star trail photo in the country. There were some clouds that moved through that you can see as the white streaks on the left. This was my only real attempt to do this as there is too much light pollution to do this near my home. Unfortunately, I did not get the North Star to center the photo, and there are too many sensor spots going through the trails to really show this on a larger scale. Guess I will have to try it again sometime. Take a look through your photos and see what lies at the extremes of your shutter speed scale.
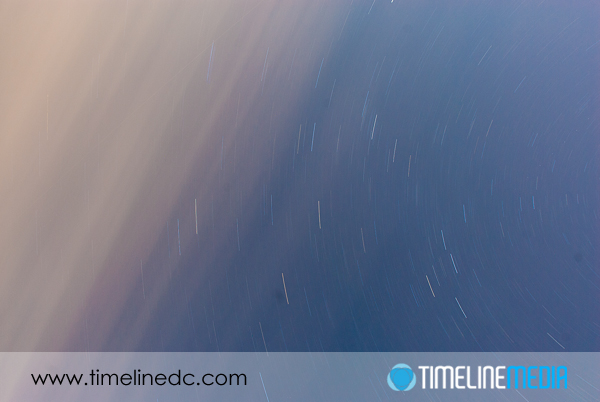
©TimeLine Media - extreme low shutter speed
©TimeLine Media – extreme low shutter speed

TimeLine Media – www.timelinedc.com
703-864-8208

Salsa Bachata – Saturday

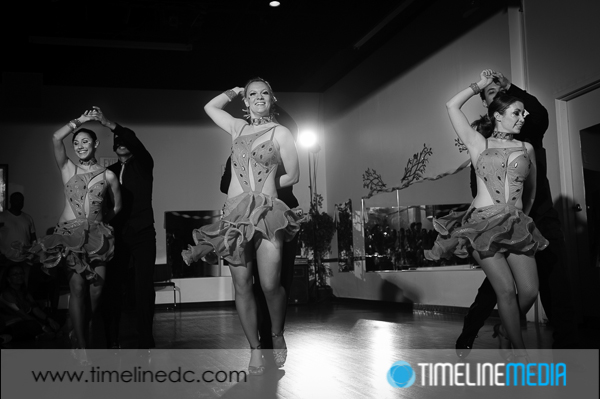
©TimeLine Media - Salsa Bachata Throwdown in monochrome

It has been a busy week of editing, and orders in the studio. Thanks to everyone that has visited the proofing site and the blog! It’s nice to hear from you, and how you are enjoying the new photos. I am going out for another shoot today to cover Marsha Bonet’s Showcase this evening, and I’m sure we will make more great photos there.

Dance Photography

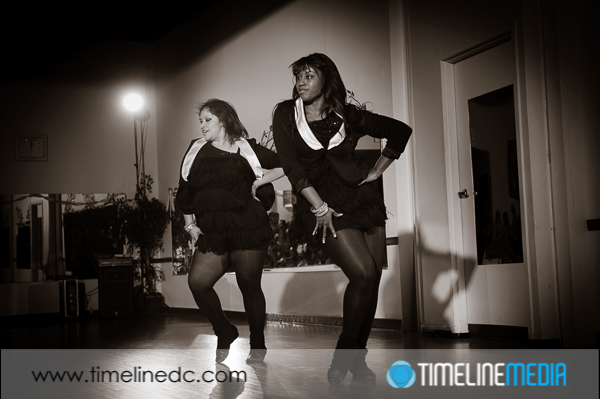
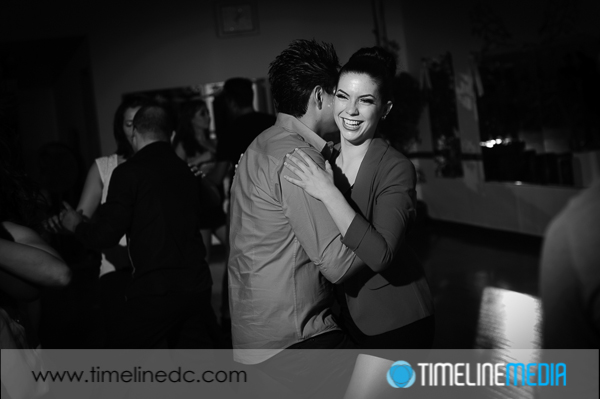
I have to get the gear cleaned and ready, so here are some of my favorite photos from last weekend’s Salsa Bachata Throwdown converted to monochrome which really gives them a different feel from the color versions. Many of the dancers were wearing very vibrant and colorful clothes for the social dance. Taking the color out of the photos, focuses more attention on faces and expressions. This helps to define your subjects, and really brings the viewer into your images.

©TimeLine Media - Salsa Bachata Throwdown in monochrome
Monochrome photos of a dance showcase ©TimeLine Media

The monochrome conversion was done in Adobe Lightroom version 4. With the color information, I used the histogram of the images to ensure that there were both true black and true white areas in the images. This boosts the overall contrast of the images making them look much better than the default conversion to gray scale settings. Try this with some of your images – make sure that there are area of complete black and complete white to make sepia or black/white images really pop off the screen.

©TimeLine Media - Salsa Bachata Throwdown in monochrome
©TimeLine Media – Salsa Bachata Throwdown in monochrome
©TimeLine Media - Salsa Bachata Throwdown in monochrome
Social Dancing in monochrome at a Rockville, Maryland studio ©TimeLine Media

TimeLine Media – www.timelinedc.com
703-864-8208
Tech Thursday – Fisheye Lens

©TimeLine Media - Fisheye Jefferson Memorial Corrected

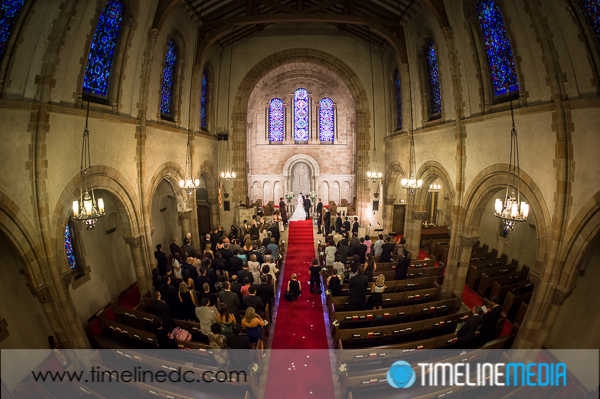
For today’s Tech Thursday post, I wanted to go to the opposite side of the focal length scale. Last time, I posted about the 70-200mm f/2.8 lens. This is by far the longest lens I use on a regular basis. One of the widest lenses that I have is the 16mm Fisheye lens from Nikon. This is undoubtedly an extremely wide-angle lens. In sum, it allows for a complete 180-degree field of view in the camera frame. This is one piece of camera gear that is overused by photographers when they first get their hands on it. You definitely need to get this out of your system with interiors and landscape images. Here is an example of a shot with the Fisheye lens from the balcony of a church overlooking a wedding ceremony.

Wedding Photography

©TimeLine Media - Fisheye wedding ceremony
©TimeLine Media – Fisheye wedding ceremony

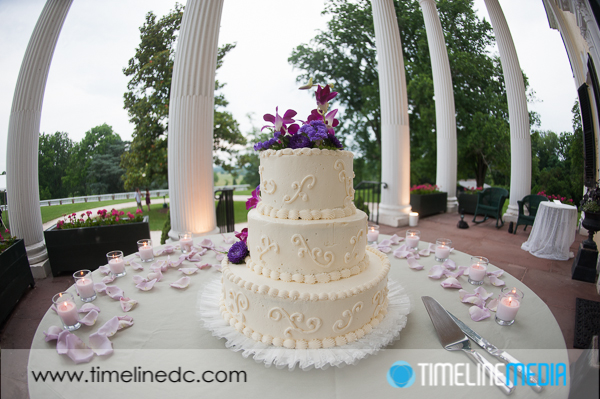
These make nice scene setting images for wedding albums. These are suited for photos where people faces are not prominent. The bowing of the image at the sides do not make this a good portrait lens. No one likes to be the curved/distorted one at the edge of a fisheye image! The wide field of view allows you to put lots of elements into a frame without resorting to a lot of post-production work to combine images. Here is another wedding image to put the cake in it’s complete setting.

©TimeLine Media - Fisheye wedding cake
©TimeLine Media – Fisheye wedding cake

The characteristic fisheye distortion is clearly seen in the columns. You will notice that the distortion is not as bad through the center of the picture. Place your subject as close to the middle of the frame to reduce the effect of the lens on your subject. This makes it challenging to keep the rule-of-thirds in the frame, but that is normal with these extreme lenses. If you do not want to have the curvature in the image, this can be corrected easily with software. In Adobe Lightroom 4, there is a lens correction feature that will fix the distortion in the image with a few clicks. I took a photo of the Jefferson Memorial in Washington, DC and corrected it Lightroom. Here are both the corrected and uncorrected versions of the photo:

Washington, DC

©TimeLine Media - Fisheye Jefferson Memorial Uncorrected
©TimeLine Media – Fisheye Jefferson Memorial Uncorrected
©TimeLine Media - Fisheye Jefferson Memorial Corrected
©TimeLine Media – Fisheye Jefferson Memorial Corrected

Now the angles have all been straightened, and the photo looks more “normal”. But you have the added benefit of having more of the area in the photo than is possible with a straight or rectilinear lens. Give these lenses a try next time you are thinking of visiting somewhere large expanses of views, or enourmous ceiling heights. They can be a lot of fun!

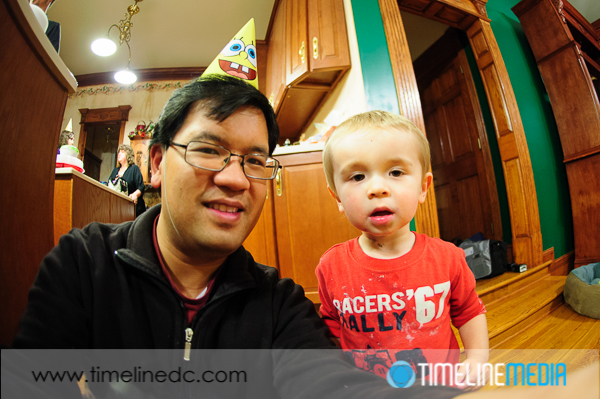
©TimeLine Media - example Fisheye photo
©TimeLine Media – example Fisheye photo

TimeLine Media www-timelinedc.com
703-864-8208

1 2 3 4 5