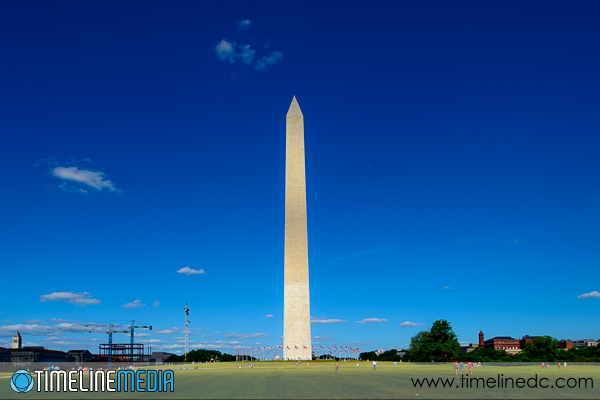
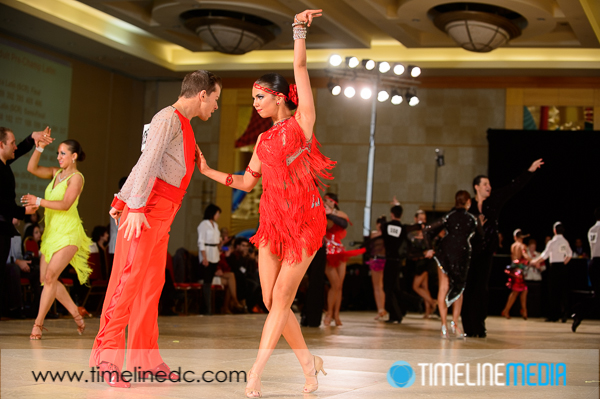
Posts Tagged ‘editing’

Content Aware Photoshop | Tech Tuesday

Outdoor Photos

It has been a busy week for putting in print orders – Thank you!! Some were talking to us about photos at the last ballroom dance event and had questions about dimensions of photos. This is an old discussion that photographers have been having for years. The cameras that most consumers use create images that have dimensions that are 2 x 3 natively. That means that to get the entire images onto a piece of paper without any borders or cropping, the size of the photos has to be 4” x 6”, 6” x 9” or 8” x 12”. Notice that the popular 5” x 7” or 8’ X 10” dimensions are not listed!
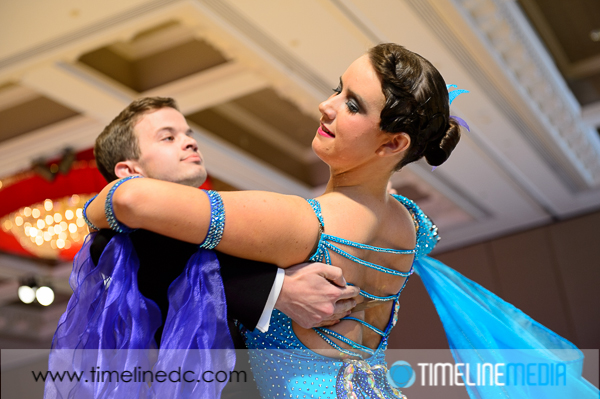
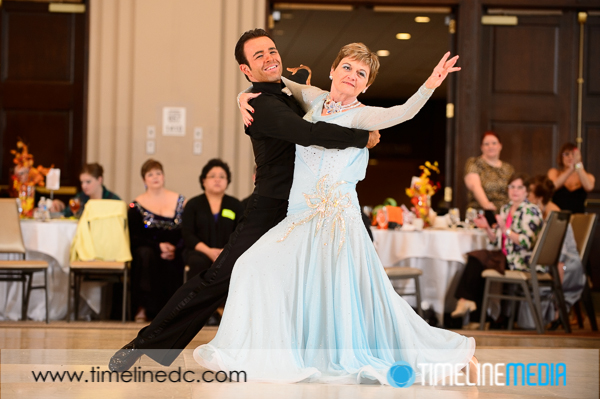
Initial-image-prior-to-editing-©TimeLine-Media

Photoshop Editing

In order to create those, some cropping is needed for these sizes. For the most part it means that something will get cut off in the frame. Please do not worry about this! As part of the editing process (that week where I am off social media and blogging after a big event) I am looking at each photo. With this in mind, I am cropping them down from their original state out of the camera to make sure the subjects are more prominent in the frame, and that they are placed better in the frame. This means that there are lots of cases where there is extra room where if you need an 8×10 print, I can redo the cropping to ensure nothing gets cut off, and all the important parts of the frame will still be in your photo before you receive it in the mail.

New Functionality

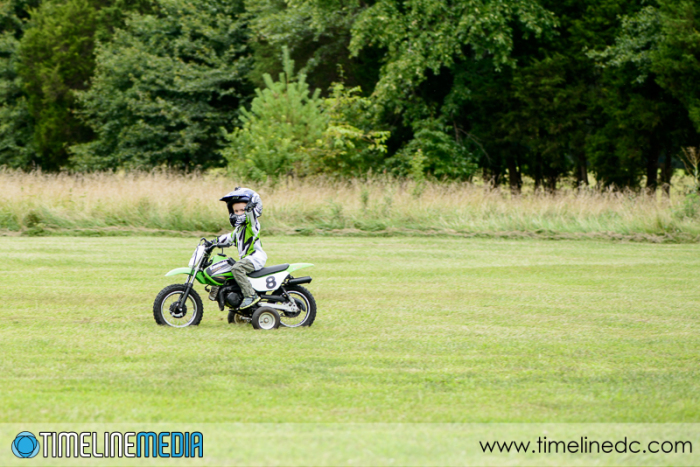
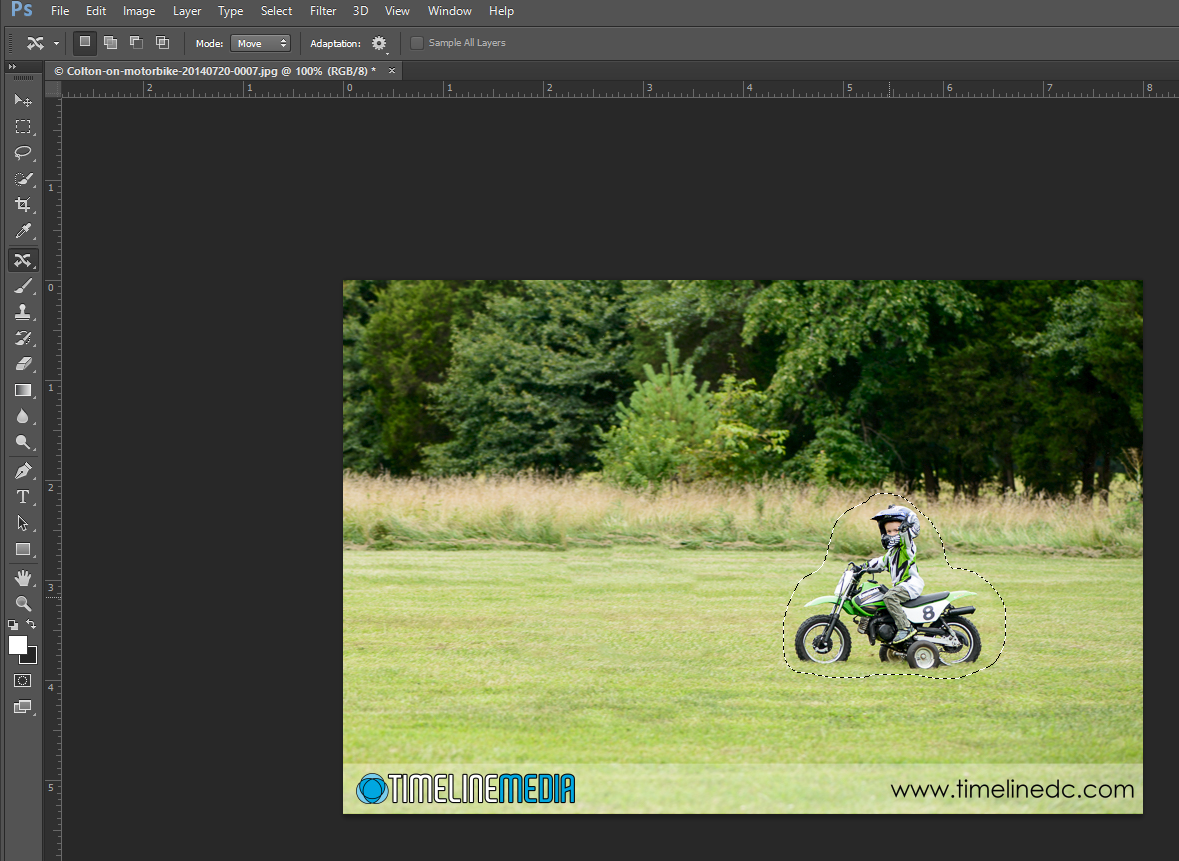
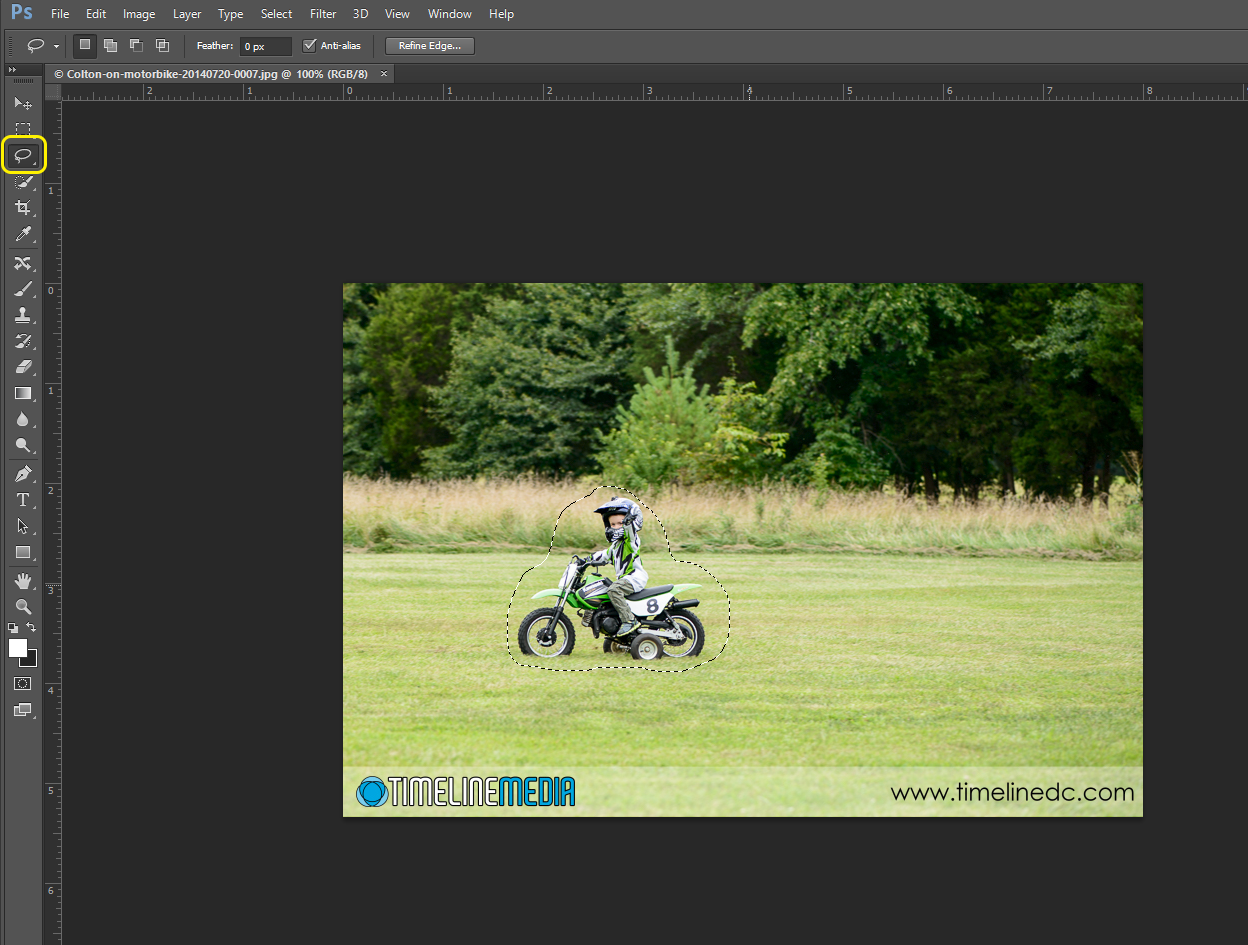
For extreme examples, I may have to do some Photoshop tricks to get things to work. At this point, this is where “Content Aware” functions do their magic. Using this example of my nephew riding a motorbike, you can see that the composition is not quite right. In fact, he is too far on the left of the frame riding out. A better composition would be for him to be more on the right with “room” to go through the frame. To move him back, I select an area around him with the Lasso tool: Select-subject-with-Lasso-tool


Then I click the “Content Aware Move” tool from the toolbar:

Select-content-aware-move-tool


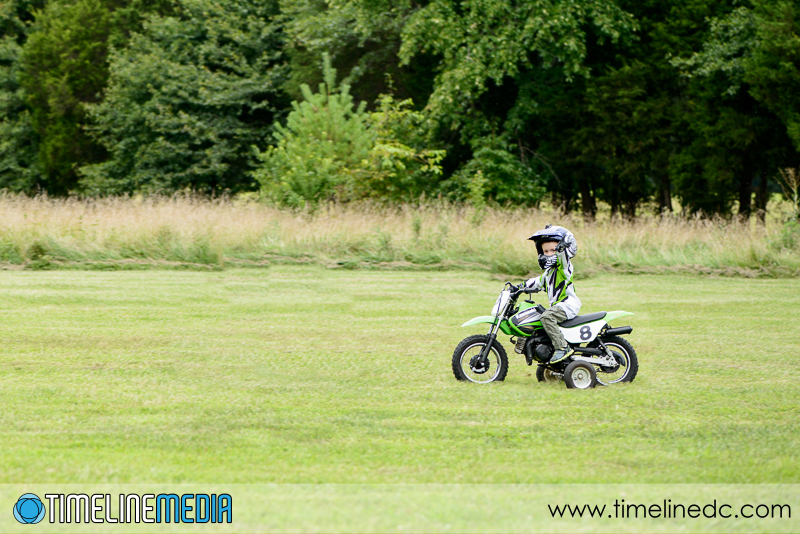
Then I just click the selected area, and move it down the frame – Photoshop will fill in the space that I cut him out with surrounding content.

Move-subject-in-frame


In that way, I can move subjects around a frame, and put them in a place that is easier for cropping images. Not every case is as easy as this one, but if you have a specific request, please know that there are lots of options to get the final photo that you need in a specific frame dimension.

Final-edited-photo-©TimeLine-Media

TimeLine Media – www.timelinedc.com
703-864-8208

Photo Editing Catchup

Today is a big catchup day in the studio. I have a couple of neat shoots that I have covered recently that I have not yet posted about on the blog. There are more shoots scheduled for this month, some dance related, some events, and some portraits. I am really excited about trying to make more photos for clients. Hopefully more blog readers and other visitors will ask me to help them with their photo projects. I am ready to take on the challenge!

HDR Image of Smithsonian Castle - ©TimeLine Media
HDR Image of Smithsonian Castle – ©TimeLine Media

Washington, DC

Speaking of challenges, every photo shoot has them. Before every shoot that I do, I am anxious about how I am approaching the task at hand. I no longer worry about whether or not I have the equipment. My gear is no longer a limiting factor. With all the different events and conditions I have covered in my career, I know that I have everything I need to make good photos. The only question is if I have mastered when to use each piece, and how to use specific gear.

Washington Monument on 70th Anniversary of D-Day - ©TimeLine Media
Washington Monument on 70th Anniversary of D-Day – ©TimeLine Media

Emphatically, there is no bigger regret as a photographer to have a piece of gear with you that you never took out of the bag. Esepcially if realize later it could have made your shoot better. This has happened to me on a few occasions, and it affects the way I view the images later. The fact that I could have done more but did not, really bothers me. It pushes me to learn the lesson and not repeat the mistake. This is one of the reasons that I think my job as a photographer is still exciting for me. I am far from mastering the craft, but I am encouraged by my progress. Each time I shoot, I have an opportunity to make new photos. Hopefully there are people reading this blog, or following my social media channels can see how things have changed for the better! Hopefully you get to catchup on your to-do list soon!

River Piers panorama - ©TimeLine Media
River Piers panorama – ©TimeLine Media

TimeLine Media – www.timelinedc.com
703-864-8208

Photo Proofing – Tech Thursday

Standard Ballroom Dance - ©TimeLine Media

Still have thousands of photos waiting to go on the website! I am still working late in to the night and getting up early to get as much time to go through the photos. My email is mostly on hold, and I only check in to social networks sparingly to link to new blog posts from here. This is all because I want to get these photos onto the proofing site as soon as possible. Why does it take so long? The reason is I want the images to look as good as they can before they are released for viewing.

Baltimore Dancesport Challenge

Showcase Dance - ©TimeLine Media
Showcase Dance – ©TimeLine Media

Images that are out of focus and immediately deleted. For ballroom dance and other events, any photos where the hands or other objects are obscuring the main subject are also removed. All of our cameras are set to shoot RAW files. This is a less-refined version of the JPG files that are more common. Shooting in RAW allows us to recover more detail from photos where the flashes did not pop, or to adjust the exposure in post.

Standard Ballroom Dance - ©TimeLine Media
Standard Ballroom Dance – ©TimeLine Media

In setting up the lights for competitive heats, we keep the flashes behind the photographers so they will light the faces of dancers as they pass in front. With ballroom dance floors being very large, there is a gradation of how far the flash will go. If dancers are closer to the photographers, they will be brighter than dancers that are farther away. Shooting in RAW means that there is a lot more data in each file that can be recovered. So to compensate for these differences, I can adjust the Exposure, Highlights or Shadow sliders in Adobe Lightroom to make the photos look similar to each other.

USA Dance Mid-Atlantic Championships

Latin Dance - ©TimeLine Media
Latin Dance – ©TimeLine Media

With the change in the amount of flash, there can also be changes in the color temperature of the photos. We set the cameras to be balanced to the color of the flashes. However if they do not fire, the photos take a very warm, yellow/orange color. This can also be easily adjusted with the White Balance slider. You do not have as much leeway when using JPG files. So again, the RAW files are necessary for this kind of shoot. It does take lot of space on the hard drives, and it takes a lot of time to make the corrections, but I think it’s worth it!

Smooth Ballroom Dance - ©TimeLine Media
Smooth Ballroom Dance – ©TimeLine Media

TimeLine Media – www.timelinedc.com
703-864-8208

1 2 3