Posts Tagged ‘lighting’

Flash basics – Tech Thursday

Flash with head in position to bounce off ceiling - ©TimeLine Media

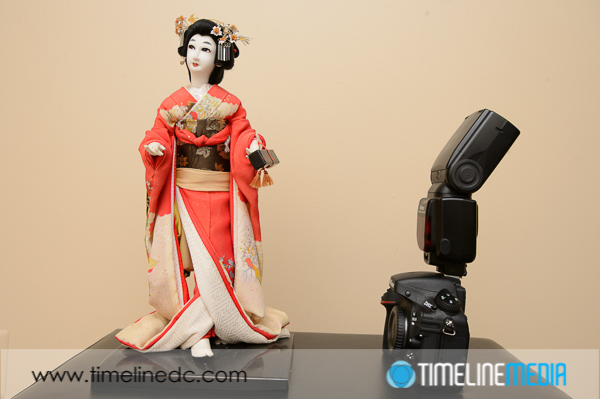
Testing with a Statue

Today, I have been reviewing previous posts about a new camera, or perhaps a flash. I have been making these posts from the side of what advice would I give to someone that just received a new DSLR for Christmas and what would they do with their new toy. After the first few weeks of just taking photos, getting comfortable with how the camera feels in the hand, and being confident that it would not lose any of the photos that you take with it.

One of the first accessories that people use frequently, but often incorrectly, is the flash. Going around the tourist areas, or looking at the crowds at sporting events, there are so many people that use their flash. This is because the photos from their camera using their default settings are too dark for the situation. Indoors under artificial light, or any photo taken at night, the flash will pop on your camera to brighten the scene. You will definitely make your photos brighter with the flash, but a lot of times, the light will be ugly! Here is the reason why, and how you can make it better.

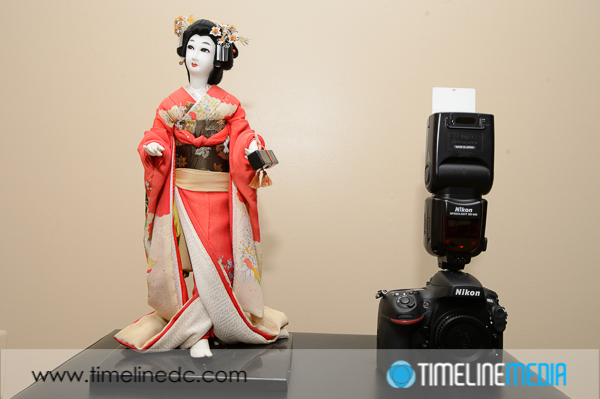
Flash with head pointed directly at subject - ©TimeLine Media
Flash with head pointed directly at subject – ©TimeLine Media

This first image shows the default direction for a speedlight flash mounted on a camera. The thinking here is what you want to brighten is right in front of the camera. So, firstly, point the flash directly in front of you. This will get you a sharp, bright photo. Likely, only whatever is right in front of the camera will get the light. There will be a dark, harsh shadow right behind your subject if you pose them against a wall. To make this light better, you can take your speedlight and point it straight up to the ceiling. Doing this will “bounce” the light from the ceiling back down to your subject.

Bounce Light

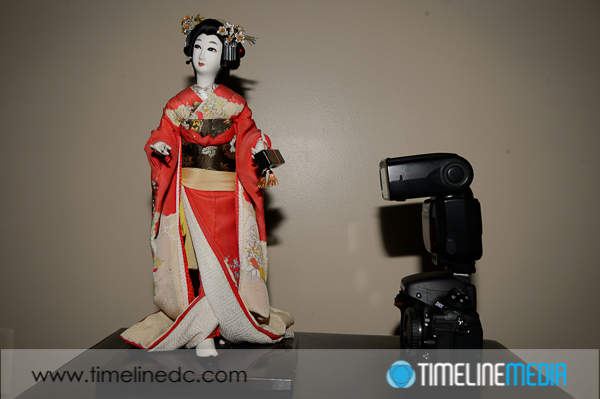
Flash with head in position to bounce off ceiling - ©TimeLine Media
Flash with head in position to bounce off ceiling – ©TimeLine Media

The result is that the light becomes very soft against your subject because you have made the light source much larger. Instead of coming from the front of the flash before hitting your subject, the light is spread out across the ceiling and surrounding walls. By the time it hits the subject, it is much larger in area, which makes light much softer. Easy!

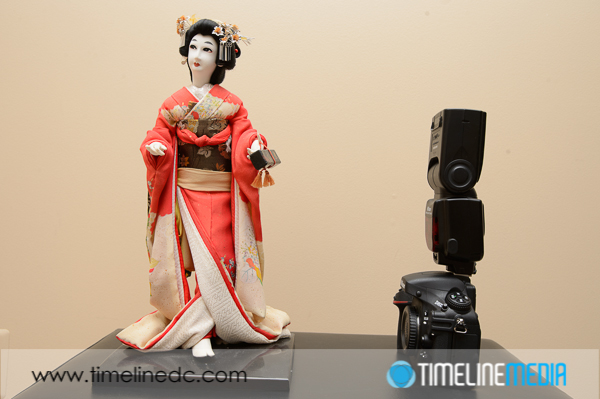
Flash with head in position to bounce off ceiling - ©TimeLine Media
Flash with head in position to bounce off ceiling – ©TimeLine Media

Some speedlights have a little white card inserted at the front of the flash. Pop this little accessory up to direct just a little more of the light forward if you are photographing a person. This will brighten their faces nicely with not as harsh a shadow behind the subject and keeping the overall light in the scene soft. If you are in a place with very high, or no ceiling, you can even point the flash directly behind the camera to bounce off a wall in back of you. It can give a similar result to bouncing off the ceiling. There are many other tips on using your speedlight flash, this is just the beginning. If you have any more questions on how to use your flash, let me know!

Flash with head in position to bounce behind wall - ©TimeLine Media
Flash with head in position to bounce behind wall – ©TimeLine Media

TimeLine Media – www.timelinedc.com
703-864-8208

Ice Sphere – Product Photography

Ice Sphere - Product Photography - ©TimeLine Media

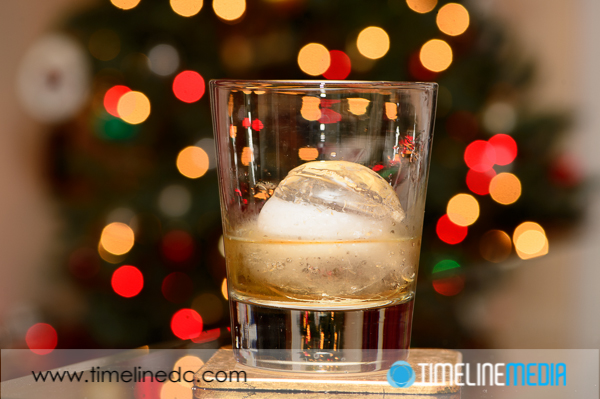
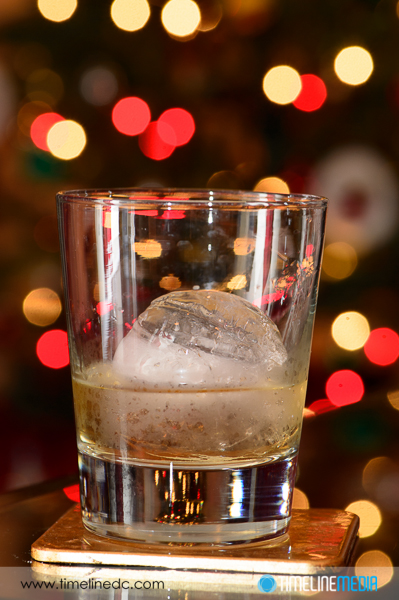
This was a nice gift my wife received this Christmas. From the moment I saw this, I knew it would be a nice subject for a product photography shoot, but it would be a challenge. This was my first attempt at it while the tree is still up. I think it is a good attempt, but looking at the images on the computer now, there are a few things that I will try next time. Here is my first exposure using no flash, and using the Aperture Priority metering in camera using a 105mm macro lens:

Ice Sphere - Product Photography - ©TimeLine Media
Ice Sphere – Product Photography – ©TimeLine Media

Product Photography

Because of the automatic metering, the camera makes the background lights the basis for the exposure. The lights are about right, but the glass with the ice is underexposed. With this result, I knew that I needed to add flash from a speedlight to bring a little life and sparkle to the subject. This should also darken the background, and make the lights separated, and a little more saturated.

Ice Sphere - Product Photography - ©TimeLine Media
Ice Sphere – Product Photography – ©TimeLine Media

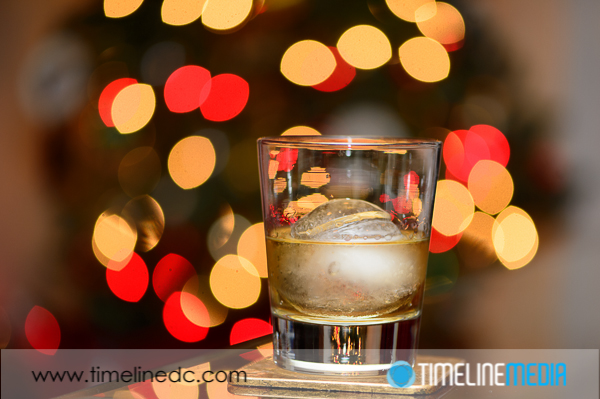
This is a little closer to what I was going for, but what I noticed first was the bokeh. In the blurred background of the tree lights, there was such a distance between the subject and the background, that the lights are no longer circular, and are taking on a strange oblong shape. To make them a little rounder, I moved the camera away from the subject, so lessen the difference between the subject and the background with respect to the lens:

Ice Sphere - Product Photography - ©TimeLine Media
Ice Sphere – Product Photography – ©TimeLine Media

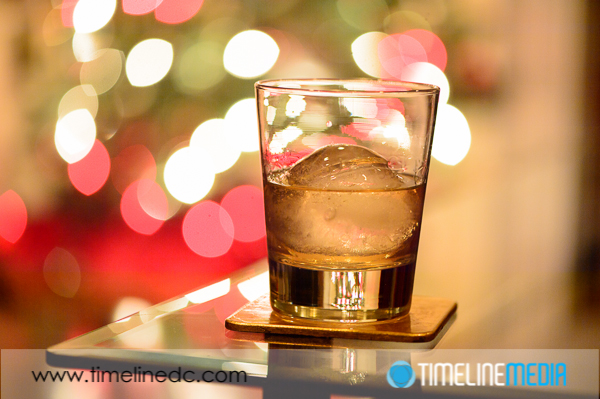
Now the lights are back to being round, and you can see more of their colors. On the plus side, the flash is not too overpowering on the subject. I decided that I still want to have the lights a little larger, so I moved halfway between my previous position and this one.

Ice Sphere - Product Photography - ©TimeLine Media
Ice Sphere – Product Photography – ©TimeLine Media

This was the best that I could get with this setup – the macro lens and one flash with the diffuser as the only modifier. Looking at the images now, I think I have one more idea to try. I think the background could be even darker. I’ll give it a try and post my results. Let me know if you have any ideas as to how to make this image any better.

Ice Sphere - Product Photography - ©TimeLine Media
Ice Sphere – Product Photography – ©TimeLine Media

TimeLine Media – www.timelinedc.com
703-864-8208
Special Event Lighting – Tech Thursday

©TimeLine Media - DC Dance Challenge

White Balance

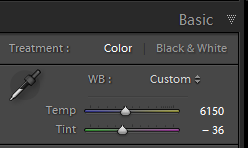
When shooting color images, digital photography gives us a lot more flexibility in color balance. This is usually one of the first options that photo applications will let you adjust in your photos. In Adobe Lightroom, they call this “Temperature” referring to the Kelvin setting in degrees. On the lower end of the scale are the “cooler” or bluer settings starting at 2000K. On the other end is going to the “warmer” or yellower settings 10000K to 50000K.

Lightroom - color temperature slider
Lightroom – color temperature slider

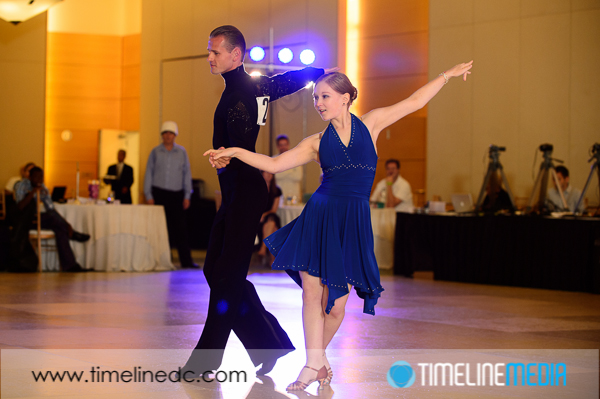
Similarly to a previous post which I talked about bouncing the light off of colored walls, having mixed lighting sources will also affect the look of your photos. At events where there is lighting setup to set a mood for the room, you will have strongly colored constant lights. These will usually be tinted with a gel or LEDs that can make every kind of color possible. This can be difficult to balance, as now there are competing sources of color in your frames.

Ballroom Dance Photos

©TimeLine Media - DC Dance Challenge ballroom dance
©TimeLine Media – DC Dance Challenge ballroom dance event lighting

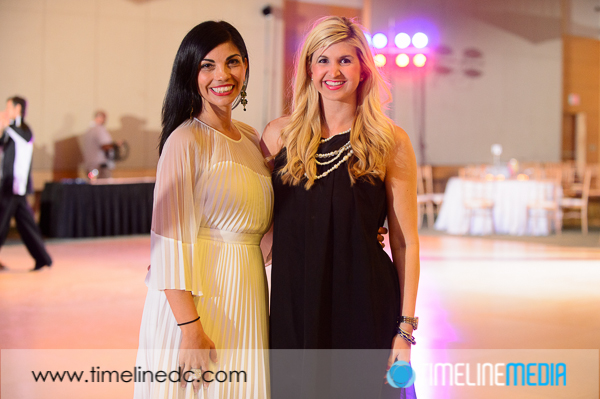
My thought in this situation is to use my flash to get the best exposure I can at the time. Having a good exposure means I can work with the file more easily in Lightroom later. The dance events usually has changing lights, so I cannot do a good white balance for each color, I just have to make a good exposure.

Back in Lightroom, I use the temperature and tint sliders to ensure that the skin of subjects in the frame looks good. It may not be exactly their skin tone as you see it, but neither is their color on the dance floor flooded with colored light. The downside is that the colored light in the background, or the ambient color of the room may change, but skin tones are my only concern. Whatever colors happen to change in the background or other room elements will have to be left as is. Let me know what you guys do when facing these room a wedding receptions, or other setups with special event lighting.

©TimeLine Media - DC Dance Challenge
©TimeLine Media – DC Dance Challenge

TimeLine Media – www.timelinedc.com
703-864-8208
1 5 6 7