Posts Tagged ‘post processing’

Comparing HDR to Non-HDR images

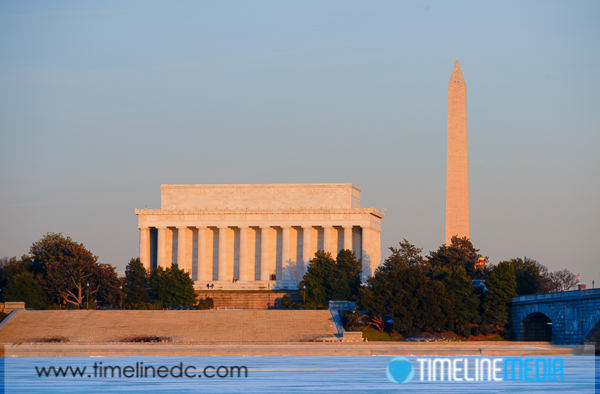
Lincoln Memorial and Washington Monument from Virginia - ©TimeLine Media

With all my landscape images, I have been bracketing exposures with the intent to do some post processing on the photos and create a high dynamic range (HDR) final image. One evening, I walked out on the Virginia side of the Potomac River from Washington, DC to the Memorial Bridge. This is a beautiful spot to make images of the Lincoln and Washington Monuments especially in the early evening. With the sun lowering, the white buildings again take on that pink/orange hue of the fading light.

Lincoln Memorial and Washington Monument from Virginia - ©TimeLine Media
Lincoln Memorial and Washington Monument from Virginia – ©TimeLine Media

HDR testing

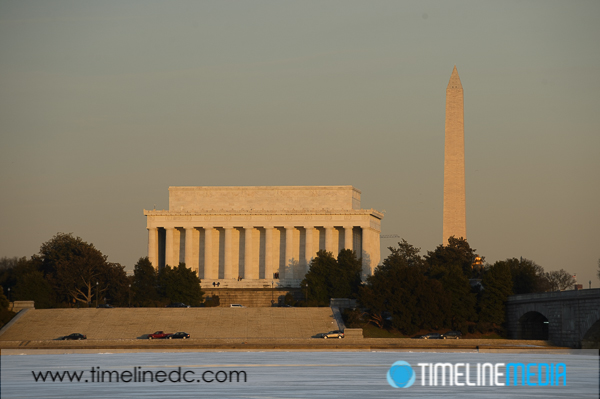
In looking through the set of images that I made after the shoot, I did notice that this night had a smoggy haze. With rush hour traffic starting to build, it did not make for as nice a scene as the crisp winter mornings. The haze came in the middle of the frames underneath the blue, and stayed over the pink part of the sky overlaying this ugly gray layer.

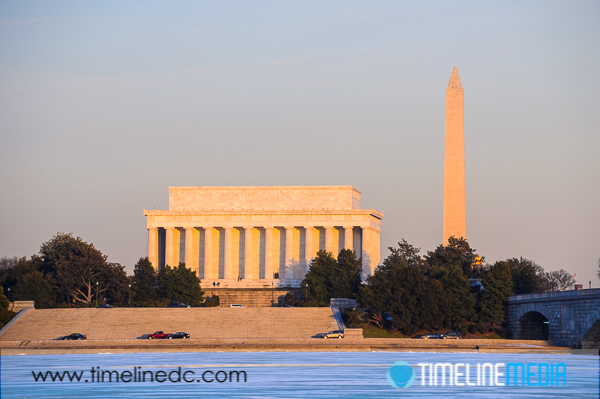
This was just bad luck for the time I happened to be out there shooting. Obviously, it makes me want to try this on a different day. Perhaps I can get a better result next time. In any case, I saw the result from the post processing the bracketed photos with Photomatix. I wanted to compare it to the RAW file images. With this in mind, I had a feeling that being able to shoot at a low ISO. Additionally, with all the detail and information that the Nikon D4 gathers, I could make one of the RAW files that was in the middle of the bracket look just as good as the HDR image.

Washington, DC

Lincoln Memorial and Washington Monument from Virginia - ©TimeLine Media
Lincoln Memorial and Washington Monument HDR from Virginia – ©TimeLine Media
Lincoln Memorial and Washington Monument from Virginia - ©TimeLine Media
Lincoln Memorial and Washington Monument non-HDR from Virginia – ©TimeLine Media

What I learned in looking at these photos, is that there is not a huge difference between the dark and light sections of the photo. Moreover it is very possible to make one exposure similar to a realistic HDR image from 7 bracketed photos. The Raw file was adjusted in Adobe Lightroom with just some contrast, clarity, and vibrance added to the original file.

I then adjusted the white balance of the scene to mimic the HDR, and these photos looked very similar. Although it is not something that I am comfortable yet pre-visualizing. So it is nice to have the bracketed photos as a backup. I will probably continue to shoot both ways, and processes them in 2 ways, until I can more easily predict when it will save me a lot of time and memory card space to shoot just one photo instead of the whole series.

TimeLine Media – www.timelinedc.com
703-864-8208

Creating Vignettes in Lightroom – Tech Thursday

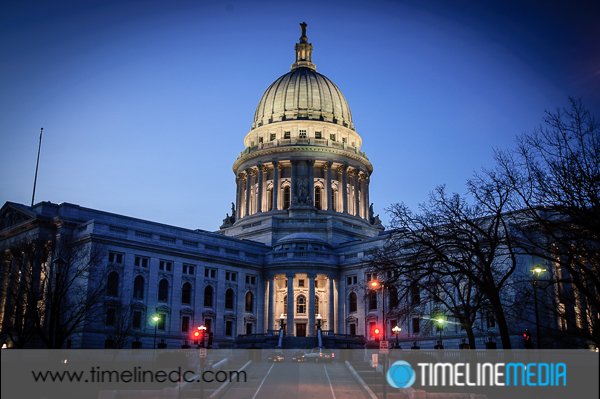
Wisconsin State Capitol at dusk - ©TimeLine Media

When Adobe Lightroom first came on the scene, it added the ability to create vignettes. I saw many photos with the darkened corners. It was not until I installed the beta of the program that I saw why! This look stems from the technical deficiencies of old cameras. Some larger format cameras or older lenses were not as precise with their ability to transmit light to the edges.

Post Processing

Wisconsin State Capitol at dusk - ©TimeLine Media
Wisconsin State Capitol at dusk – ©TimeLine Media

Now, every image editing app from Instagram to Snapseed has a way to purposefully add vignettes to your photos. I saw a demonstration where Parker J. Pfister had extreme uses of vignettes in his photos that brought the darkness in much farther into the frame. Some of the darkening did not even follow a light fall-off pattern that an old lens would produce, but the images were stunning. The reason that this works is that your eye will be attracted to the brightest thing in the frame first.

Event Portrait - ©TimeLine Media
Event Portrait – ©TimeLine Media

In most cases, you will want the brightest part of the frame to be your subjects face if you are photographing a person. Sometimes it will be an object in the foreground that you would like to emphasize over the background. Adding a vignette is very easy in the Effects panel of Lightroom 5. After you make your crop, the Post-Crop Vignetting tool is used to darken the corners, and you can set how far into the frame you would like to darken. You can also set how much you would like the vignette to darken, and how dramatic a drop off you want that to happen. Be cautious that you do not over do it! Over darkening of these edges where it becomes too obvious can make it distracting for your viewers taking away from the overall impact of the image.

Studio Portrait - ©TimeLine Media
Studio Portrait – ©TimeLine Media

TimeLine Media – www.timelinedc.com
703-864-8208
Panoramas – Tech Thursday

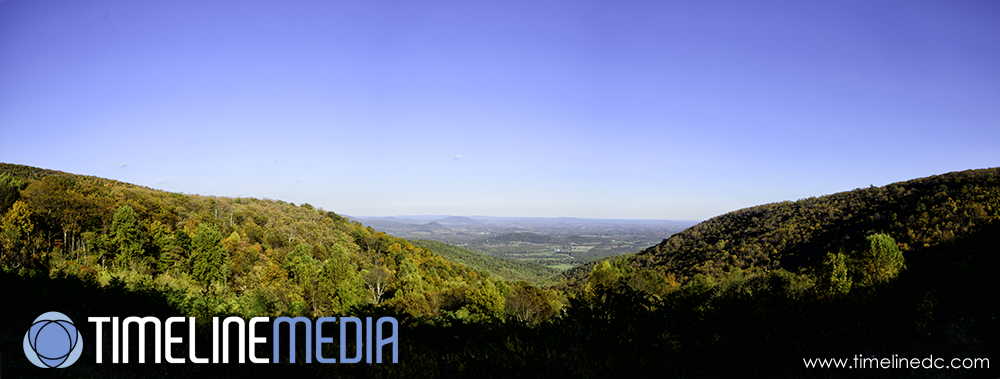
©TimeLine Media - panoramas from a dSLR

Event Update

Just a quick update on the Paragon Open photos. The editing is completed, and the upload has started at the website. It should not be much longer before they are viewable. The website needs to process the photos – create all the thumbnails for color, black and white previews, and setup all the ordering pages. By this afternoon, all the photos will be available here:

http://proofs.timelinedc.com/

Fall Photography

Around this part of the Mid-Atlantic, the autumn colors are in full swing. It is a beautiful time to drive and walk in wooded areas with the yellows, reds, and oranges on all the trees just before they fall. It is always difficult to determine when would be the best time to go out to take photos. Unfortunately, our busy schedule did not let us go at the optimal time.

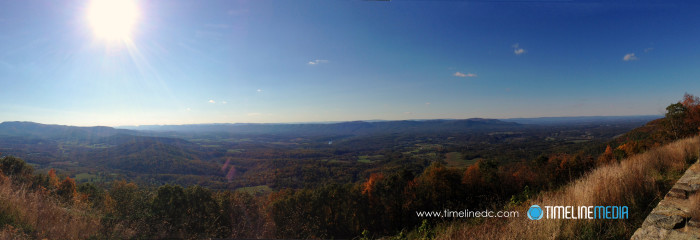
©TimeLine Media - panoramas from the iPhone
©TimeLine Media – panoramas from the iPhone

In the photo above, there were still more green than bright fall colors in the leaves. From the overlooks on Skyline Drive, the panorama feature on your smartphone is one of the best ways to capture the grand views on top of the mountains. The biggest challenge for me is to keep the horizon level straight! I had to crop this photo after capture to straighten the view, but my shaky panning also did not keep the mountain level straight through the frame.

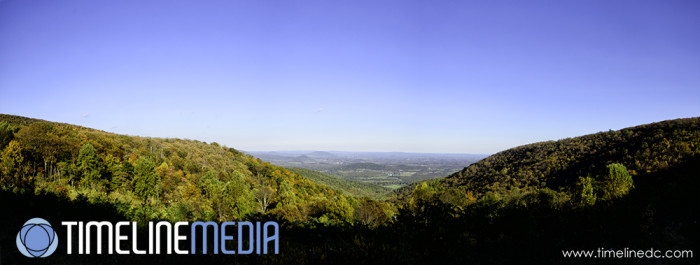
If you have a dSLR with you, the colors will be more saturated, and you can manipulate the RAW files much easier in post. Here is a photo from another overlook made from 3 separate frames. The images were then combined in Adobe Photoshop using the “File: Automate: Photomerge” function. I did not have to input any other information, and the program easily spit out a nice panorama! Having RAW files, you can make sure all the images in your panorama look the same prior to combining them, so it looks like it was snapped in one pull of the shutter.

©TimeLine Media - panoramas from a dSLR
©TimeLine Media – panoramas from a dSLR

TimeLine Media – www.timelinedc.com
703-864-8208
1 2 3 4 5 6 7