Tysons, Virginia
I received some questions about this photo from a few post ago:
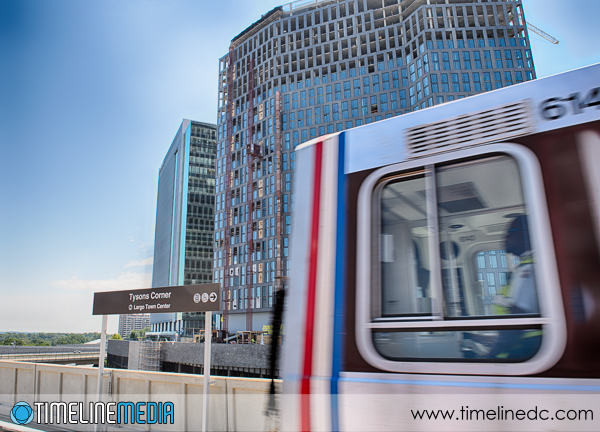
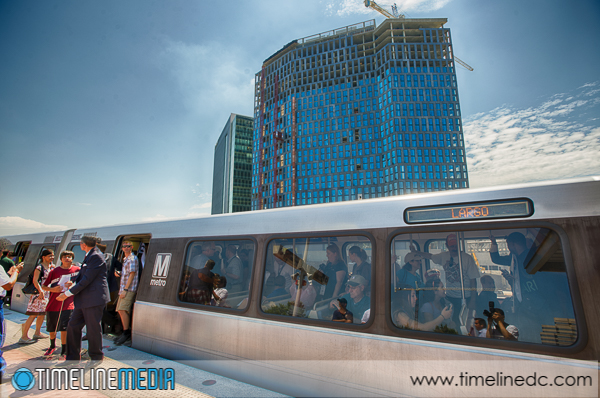
This was a high-dynamic range (HDR) photo from the Metro platform with an incoming train going through the frame. I really did not know if this would work at the time I took the images. For HDR, you need to make a series of exposures that differ in shutter speed. This will create a range of images that vary from underexposed to overexposed. Using the bracketing functions built into the camera, you can set this up in camera.
Using the very fast motor drive of the Nikon D4, there is very little difference in the composition of each frame. For the most part, you would not seen much differences except for the moving train cutting across the middle. This is what you need – the composition should be as similar as it can in each of the bracketed frames. With this in mind, the software can align each individual image for processing.
Post Processing
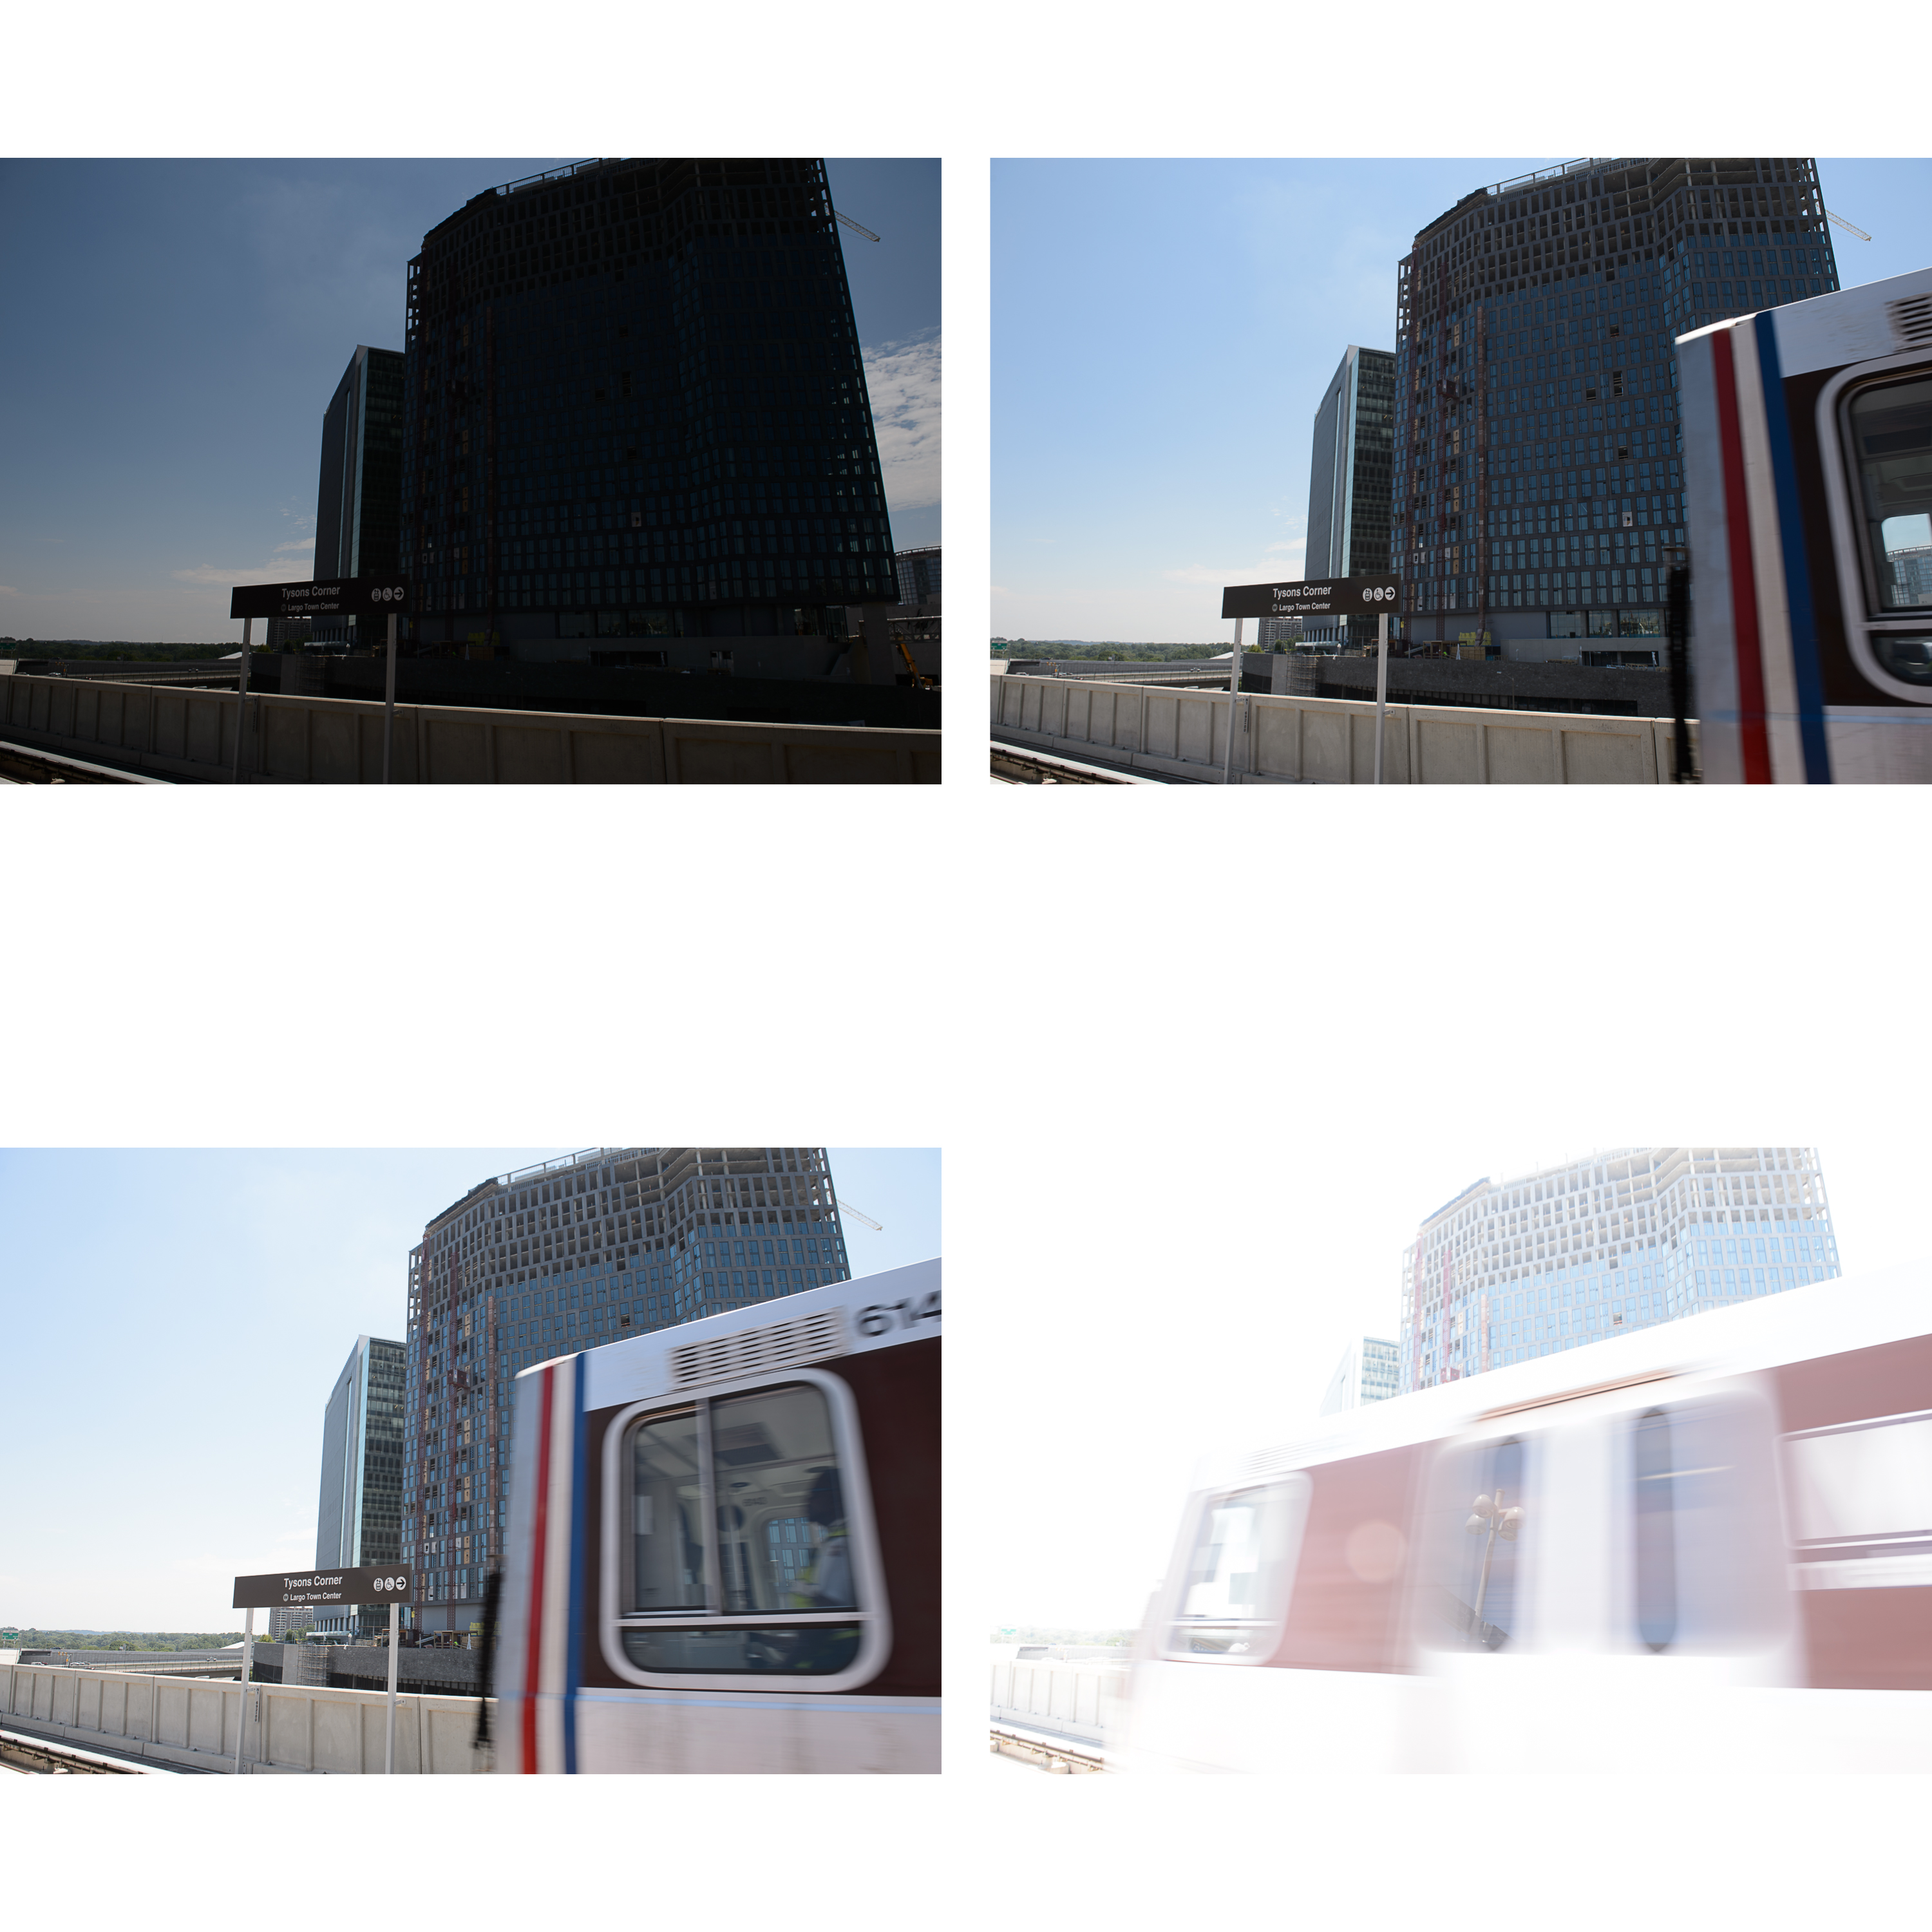
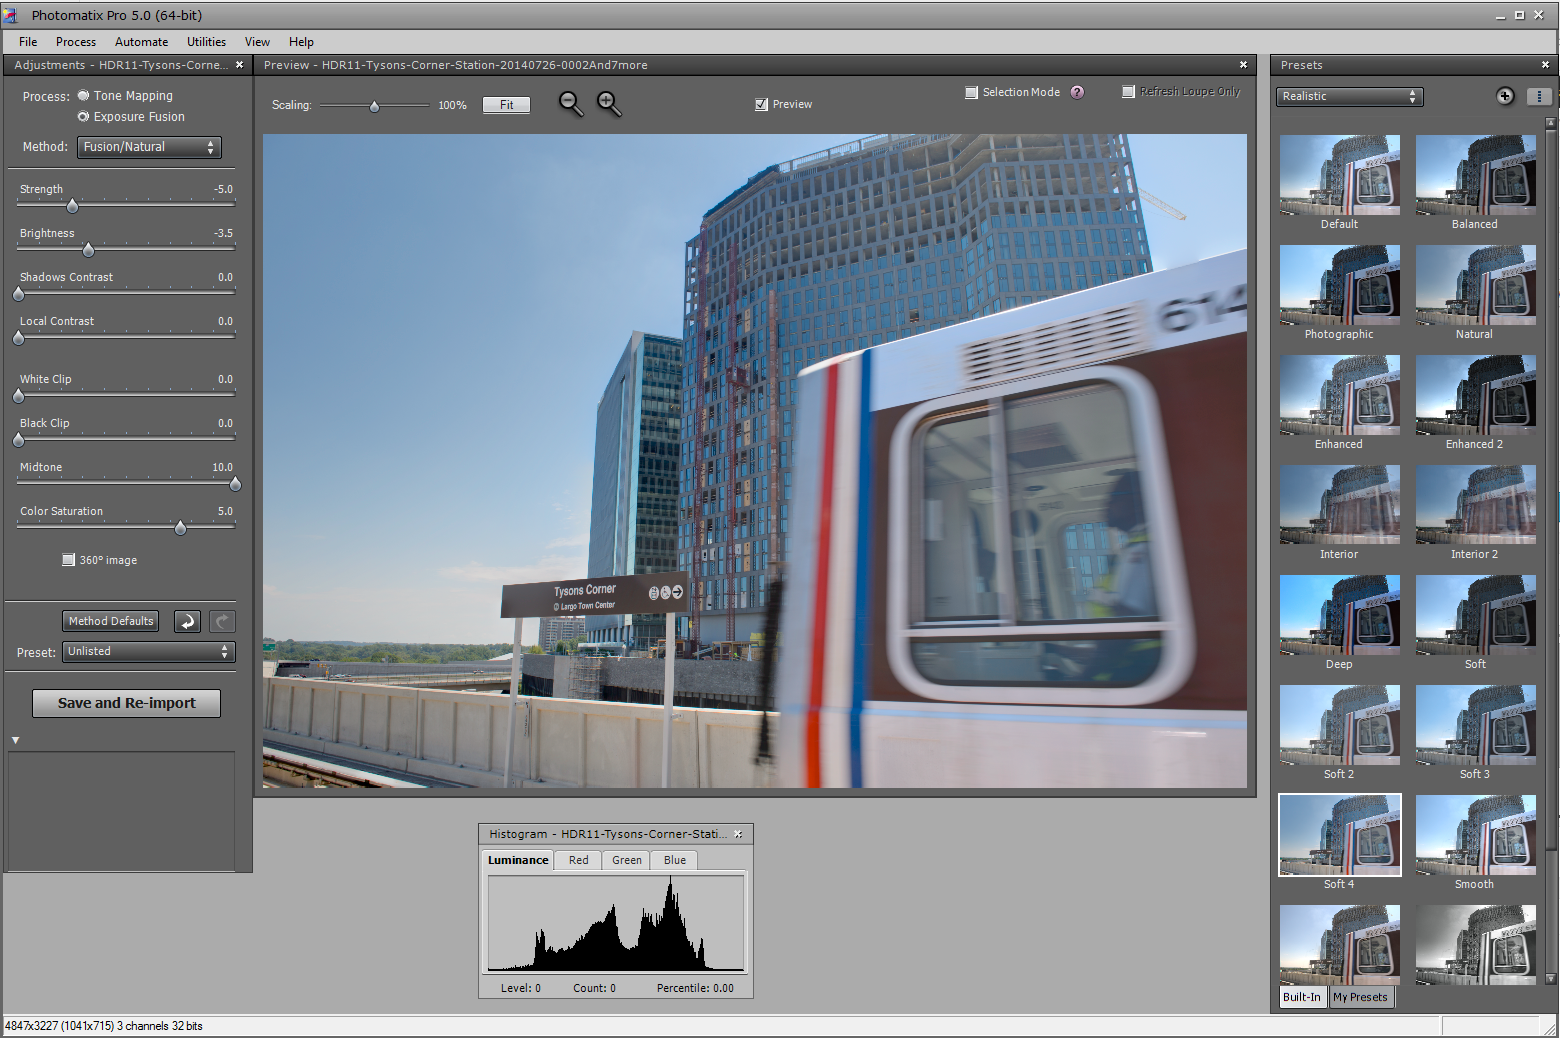
For this particular set, I brought the bracketed images into Photomatix Pro 5.0. After you export the images from Lightroom to Photomatix, you are presented with a Deghosting dialog box:
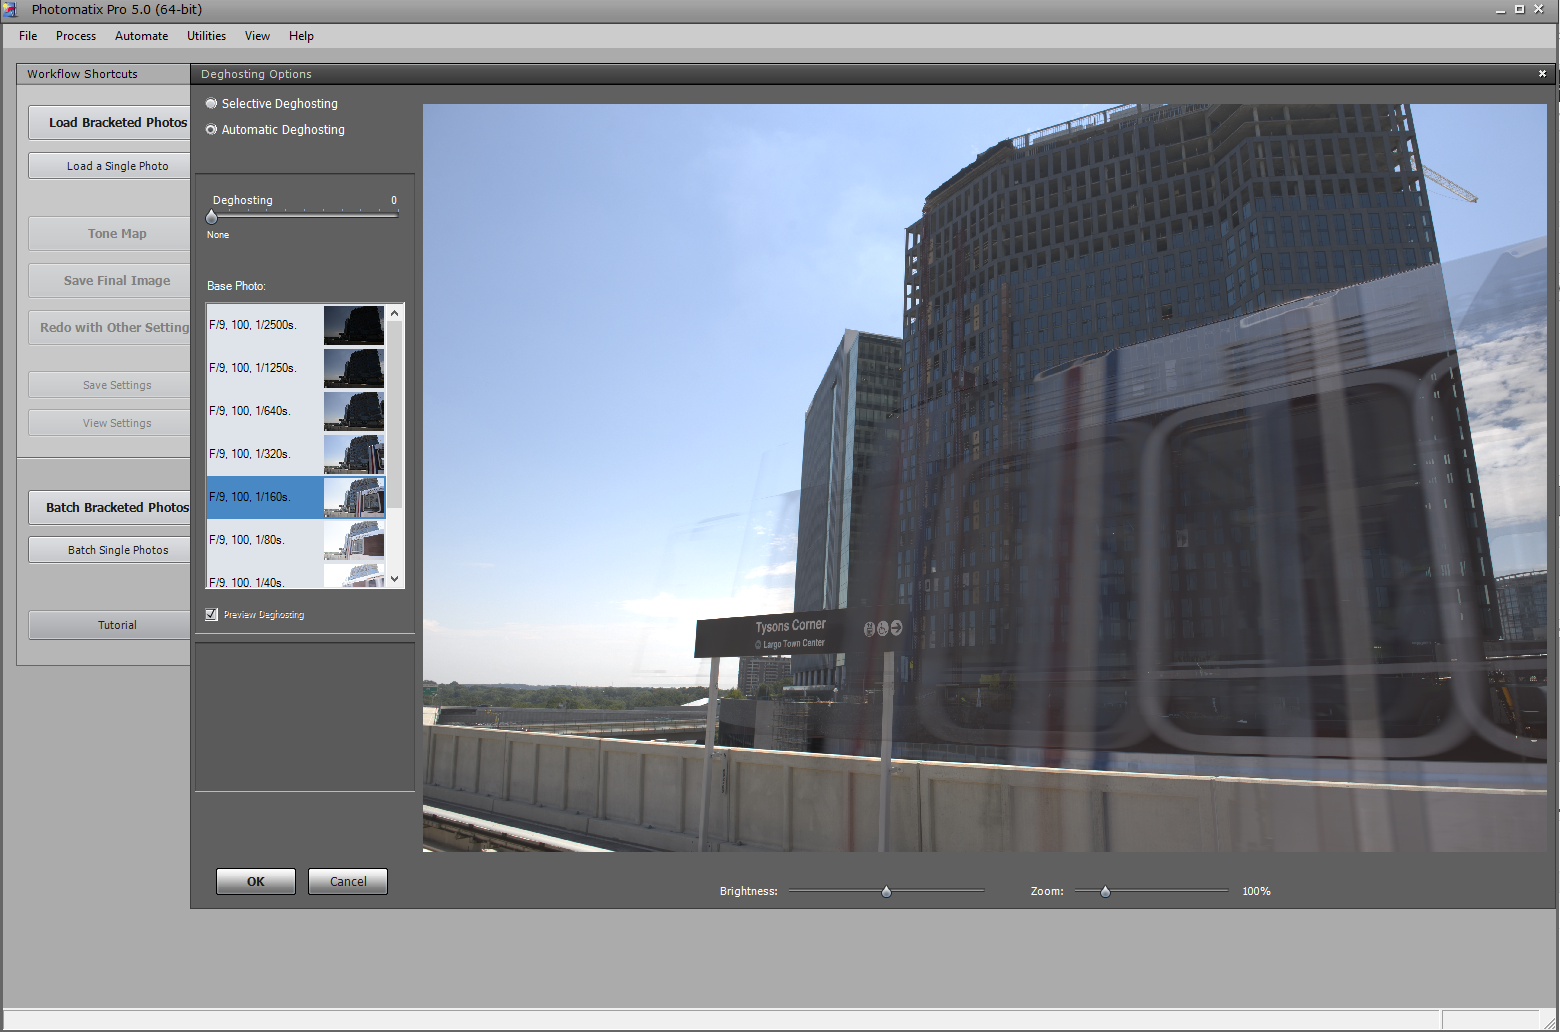
From the initial preview, you can see that the train is a mess. There are many different versions you are trying to stay, and the software is trying to put all of them into the combined image. To clean things up, you need to drag the “Deghosting” slides on the top left all the way to the right. This is the “Very Strong” setting. Then from the set of images below, select which of the bracketed photos you want to select as the master or source file that will take precedence over all the others. I chose the 1/160s one because the train was just starting to come into the frame. and you could still make out many of the numbers at the top of the train.
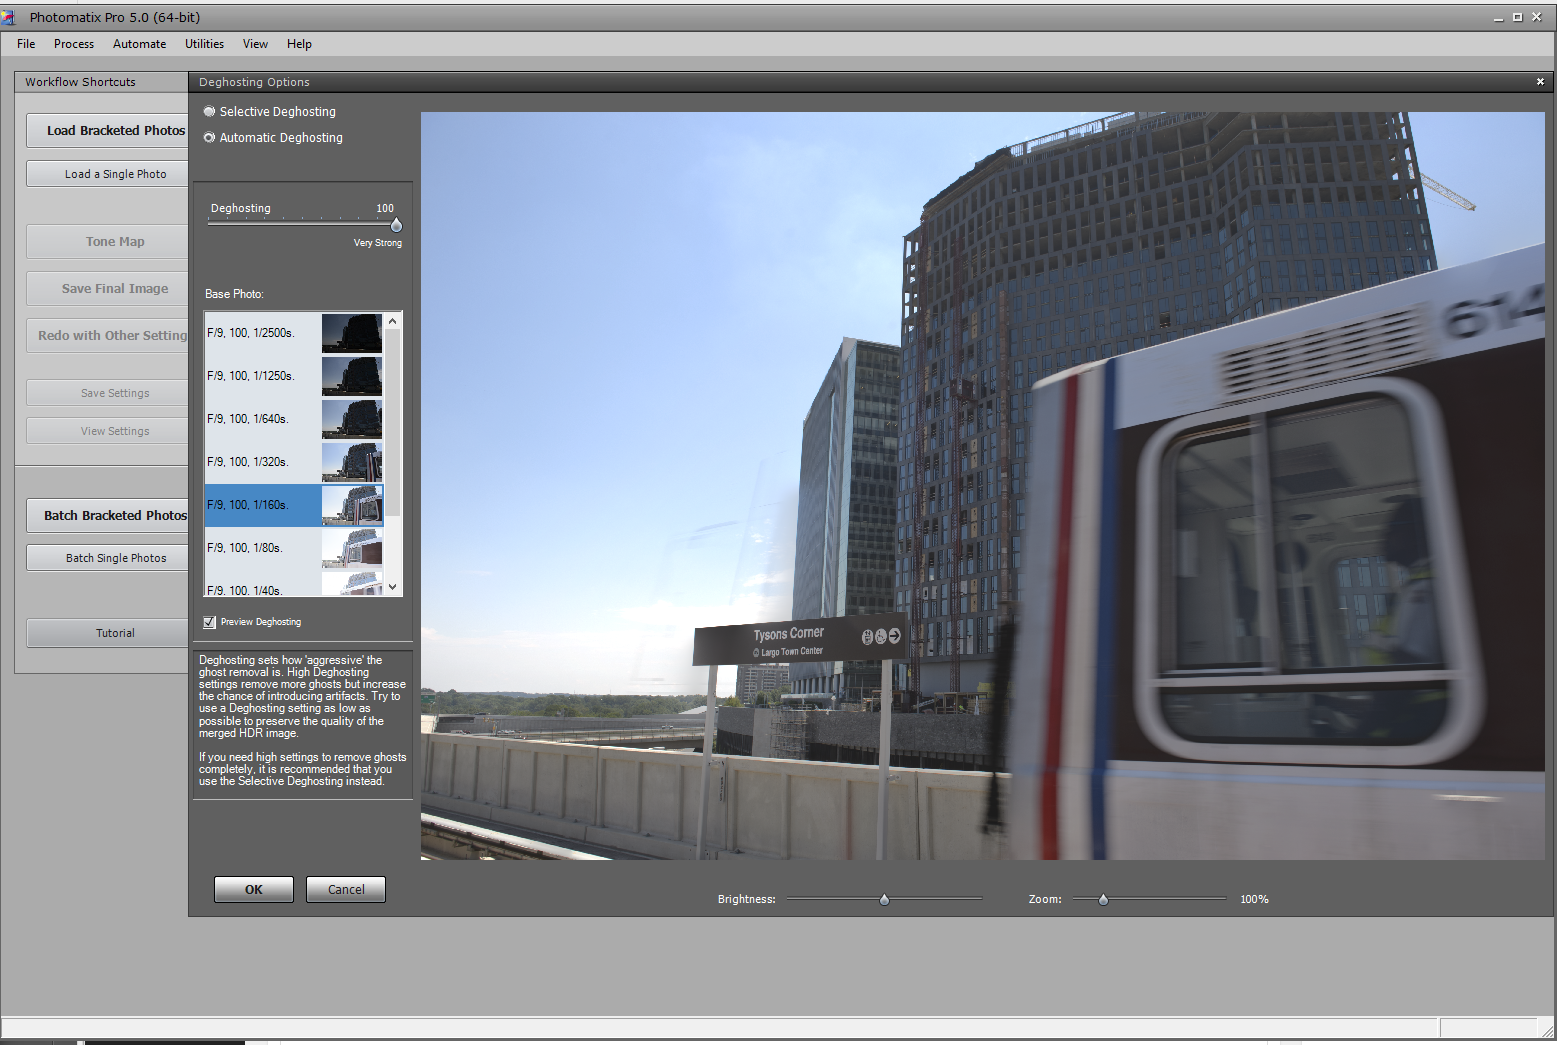
After selecting ‘OK’ you have a much cleaner file to tone map to your final HDR image in Photoshop. This is an extreme example, but it will work if you want to clean up moving people in an image, or anywhere that the preview HDR looks too muddy or blurry. Give it a try!
TimeLine Media – www.timelinedc.com
703-864-8208
HDR in Full Sun – Tech Thursday
Tysons, Virginia
How can HDR help your photography? Shooting early in the morning around sunrise or later in the afternoon near sunset, photography can be very easy. Why fight harsh lighting in your photos? Not only is it easier on your own eyes as you look through the viewfinder, but the lighting is much more flattering for subjects. This includes people and buildings! If you go outside at high noon or whenever the sunlight is the strongest outside, and you will see dark shadows everywhere.
Later in the day, the shadows will change direction giving more dimension to what you are photographing. Unfortunately, some photo assignments are not flexible enough to take advantage of nice golden hour sunlight. Last weekend, the Washington Metro system inaugurated service on its new Silver Line. I was sent to cover the first trains as they pulled into stations after they were open for service. The first trains were expected to go through the new stations between noon and 12:30PM in the afternoon. From when I first stepped out onto the platform, I knew that this was going to be a challenge!
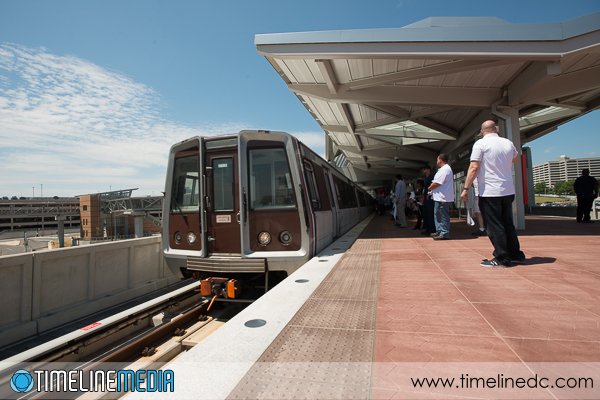
Metro Trains in Tysons
Looking at this photo, you can see that there are very dark shadows underneath the awning with bright sun out on the platform. It was so bright, it was difficult for me to even look at the back of the camera to make some adjustments. Since I was not sure exactly when the first train would be coming by, I did not waste too much time chimping the images. I was shooting at ISO 100, so I knew that there would be a lot of latitude for me to adjust the photos in post. These were easily adjusted by boosting the Shadows slider in Lightroom:
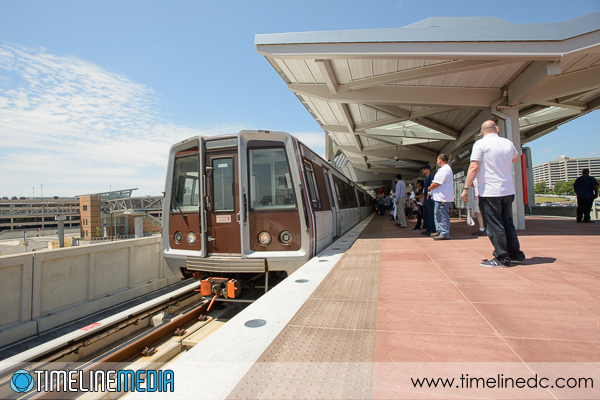
Another solution is to use HDR, high dynamic range, photography to bring out more of the details from the shadows while keeping details in the highlights. I have posted many times about HDR before where I describe how you take a series of images of the same scene at varying exposures. With the HDR software, you combine these images and make adjustments when you are presented with a very high contrast scene. It worked very well here. The first image is one of the single images from the series that I took, and the second is the combined HDR image.
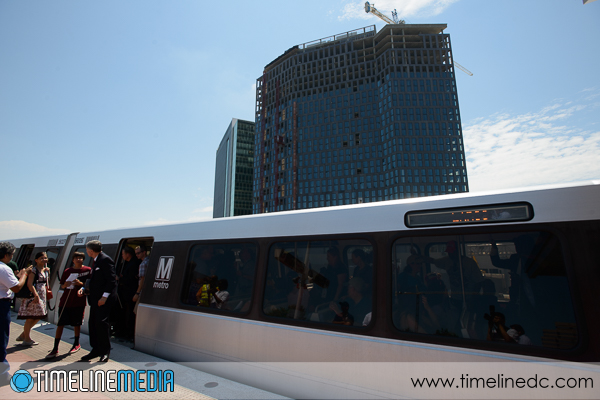
This really helped to solve to problem capturing all the detail of the scene in one image. It was so bright, so usually the shadow detail will be lost. If you try to get the darker areas to be brighter, you will lose detail in the highlights. HDR did take a little more work, but I was happy with how these turned out!

TimeLine Media – www.timelinedc.com
703-864-8208