Posts Tagged ‘technique’

Concert Lighting White Balance | Tech Tuesday

Theatrical lighting for stage performances adds to the spectacle of musical performances. In the times I have covered musical groups as they performed, I have enjoyed using the additional lights around the stage as cool props that can add to the images. The lights at SingStrong were especially timed with the performance which enhanced the mood of the performances. They can be challenge to get good focus as the darkened arena against the strong point light sources is not ideal for auto focus systems in cameras. There are a lot of missed shots in the collection!
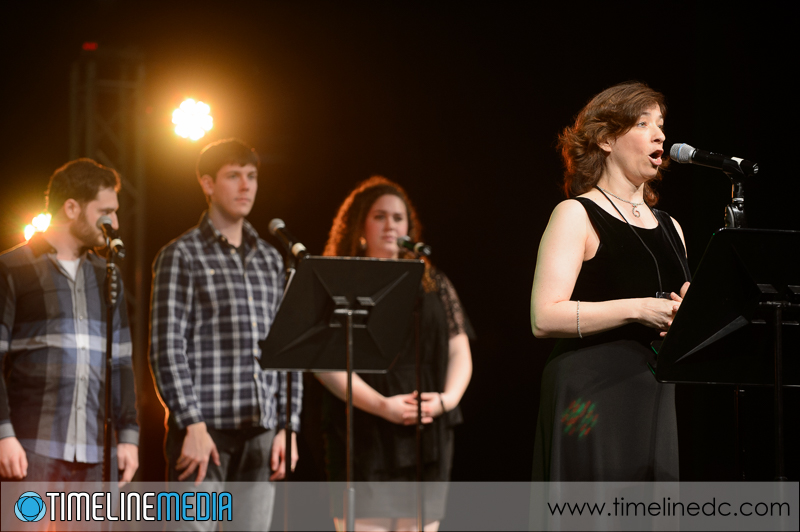
SingStrong-2014-©TimeLine-Media


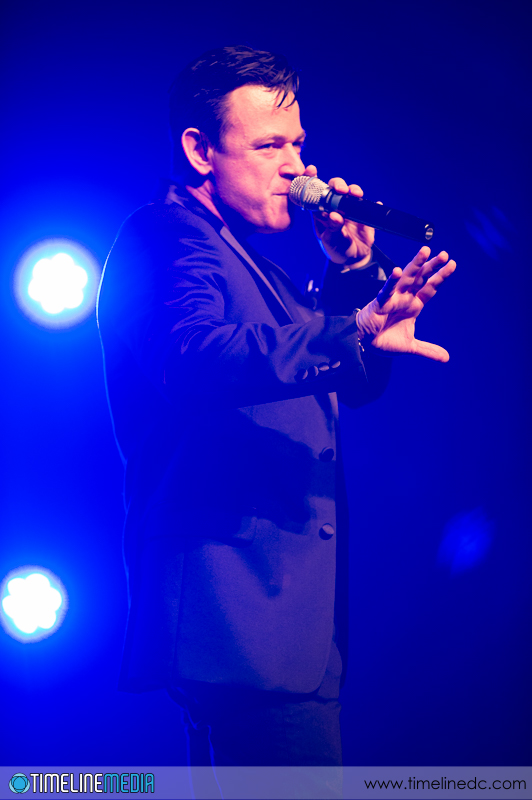
The other challenge comes in post processing the images after the concert. The lighting can be very strong in color casts. Whether that comes from gels over lights, or LEDs that can be any color, they will cast strong color. Of course, this color will be over their faces and skin tones which is always a challenge to balance afterwards. For this shoot, I had the white balance set to auto. Because I was shooting raw files, I planned to adjust the settings later in post.

Original-balance-out-of-camera-©TimeLine-Media


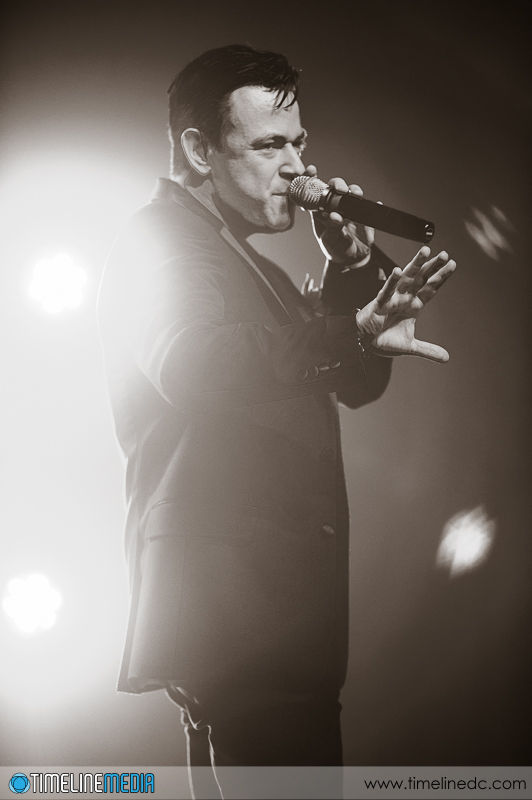
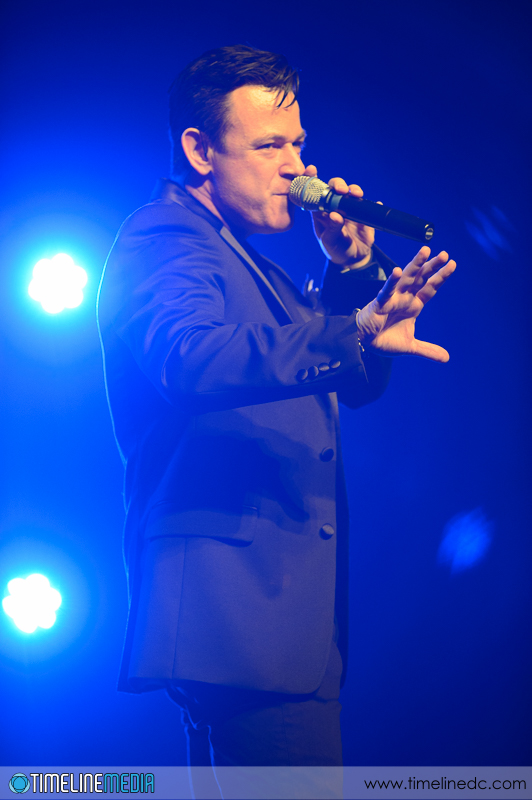
The lighting in the photo was a strong blue backlight that you can see on the left of the frame. From the front house lights, there was a red light on the front of the performers which is a common combination in stage lighting. To balance the color in Lightroom, I went into the Develop module, selected the White Balance tool, and then placed a point on the gray head of the microphone. I always look for gray colors for balancing as a starting point, and it worked well in this case toning down the pink skin tones.

Color-corrected-©TimeLine-Media


I have much better luck going for gray tones in the frame. Sometimes there is not enough data in white or black areas to get an accurate white balance setting. The software may tell you, however, it will not change anything in your photo depending on the image. Of course, it is always important to have a calibrated monitor to ensure consistency in printing images. If the color cast is too strong, removing all color from the photo is also an option, and one I go to frequently!

Monochrome-conversion-©TimeLine-Media

TimeLine Media – www.timelinedc.com
703-864-8208

Photography Zone – Tech Thursday

Long Work Days

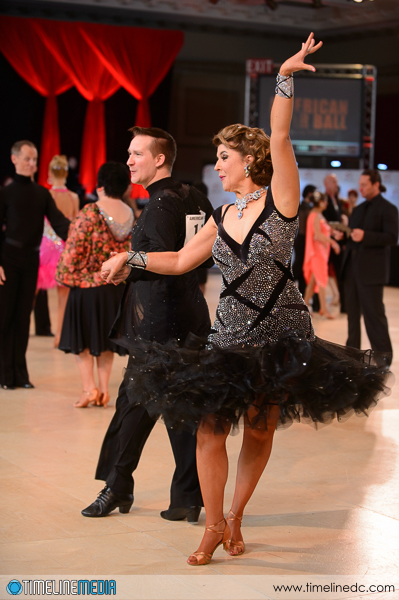
Not every photo shoot produces the same results as the next, but not in the way that I expected. Of course, I try to get better photos each time that I go out there. Like a musical or athletic performance, you can get into a zone where everything goes right, sometimes you can get into a slump, and if it is a particularly long assignment, it can be a combination of both. For some multi-day ballroom dance events, I can get fatigued with the length of time in between some awards breaks. I can feel that my concentration is not as good, and I try different kinds of things to snap me back to task.

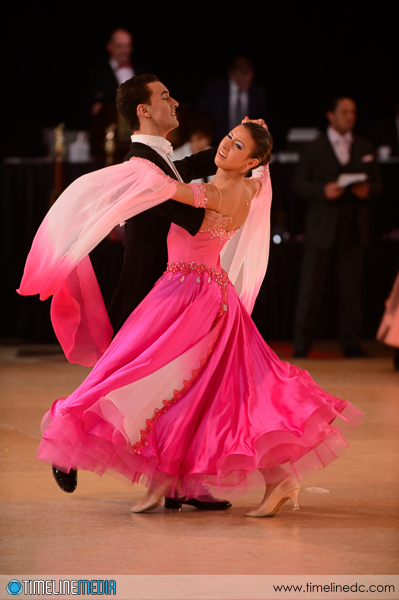
Ballroom-dancers-©TimeLine-Media

The first thing I try to remember is that every photo I make will have to be looked at again later in post. That means, I first try to make sure I have a clear view of one face, or two faces before I release the shutter. If I only have pictures of backs, that just takes time to look at, and delete. It may seem like it will not take that much time, but if you have thousands to look through, every second counts!

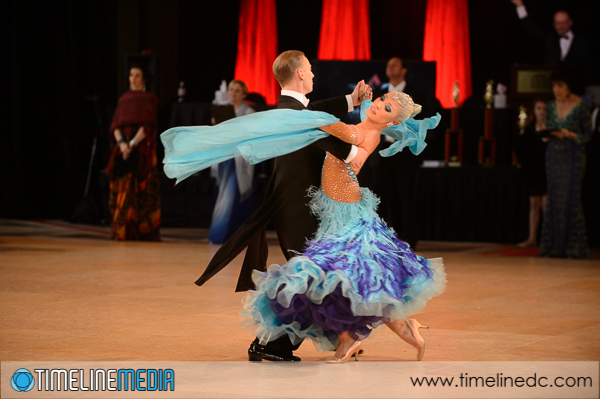
American-Star-Ball-©TimeLine-Media

Photography Patience

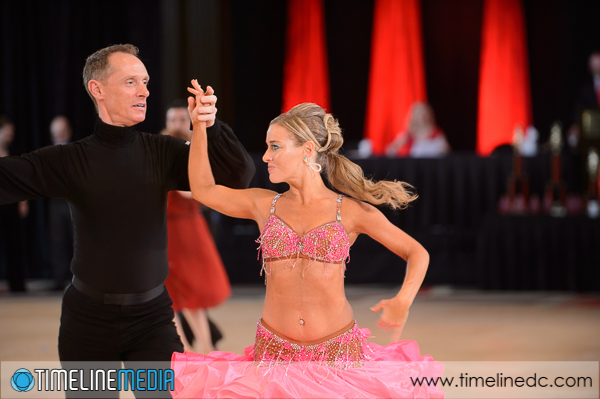
Next, I try to wait for some really good action from dancers. If they are just standing there waiting for the music to start, or holding a starting position before they start to go, you can get a really nice photo of them. It will likely be in focus, with perfect composition, but no “life”, no action, and no real reason to spend time with the photo. This is something that I did a lot more when I first started photographing dancers. I really like the images from a technical standpoint, but it was not much different than what you could get with a cell phone at the event, and did not have the spontaneity that comes from the best dance photos.

So now, I try to avoid “dead dresses” where the fabric is just hanging down to the floor. Even if it is just their first few steps out of the gate, having the dress in the middle of a move – up and away from the body is much better. You will come away with more keepers from a collection of static images of dancers that more resemble statues than dynamic figures.

Ballroom-dancers-©TimeLine-Media
American-Star-Ball-©TimeLine-Media

TimeLine Media – www.timelinedc.com
703-864-8208
Panoramic photos – Tech Thursday

Milwaukee, Wisconsin

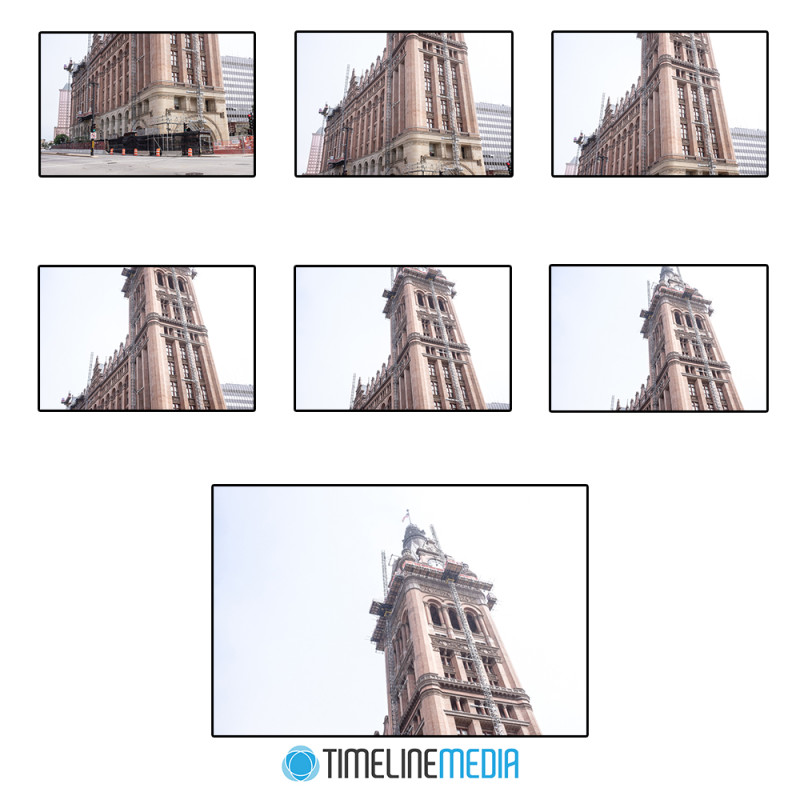
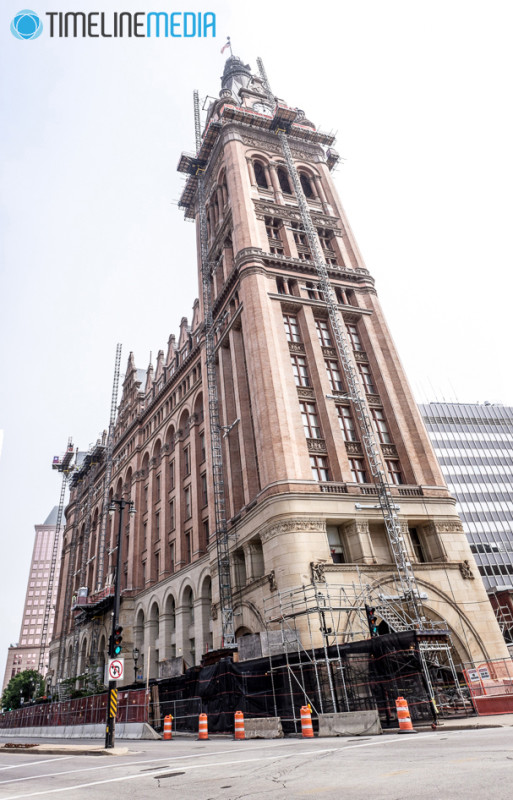
Trying to get in a large scene in one photo can be difficult if you do not have the right tools with you. While traveling, you may see panoramic scenes that you come across that are a challenge to get in one frame. This is especially true if you have a fixed lens camera. Moreover, a limited amount of time to get your photos adds to the problem. All the photos on this post were made with the Fuji X100s which as a fixed 35mm equivalent lens. It is not particularly wide, and I had no chance to get the entire tower of Milwaukee’s City Hall with this camera. Especially with the tour group moving on to the next point of interest, I had to go quickly. If you come across something similar, remember Photoshop for later. It is very good at creating panoramas from multiple images taken in series. For this attempt, I took this series of photos:

Source images for panorama - ©TimeLine Media
Source images for panorama – ©TimeLine Media

Post Processing

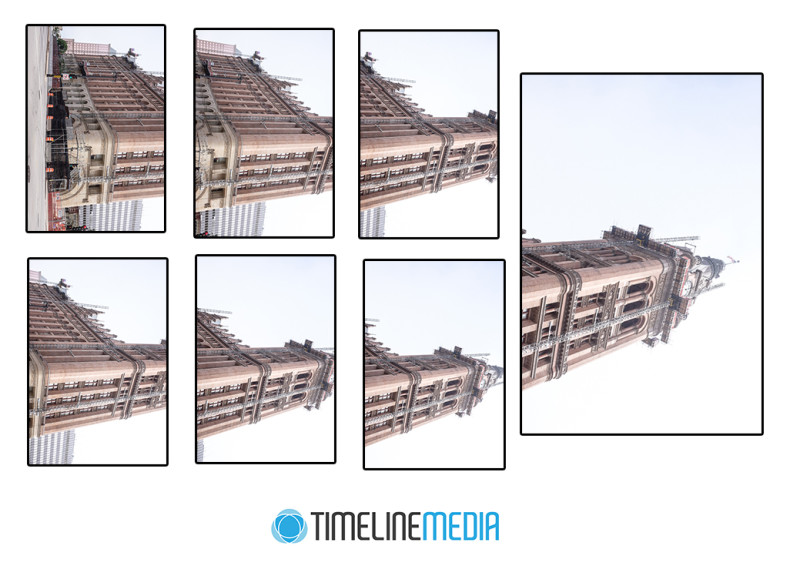
Starting at the bottom of the building, I took seven photos from the street to the top. I made sure that there was overlapping areas in each photo. Having this overlap will help the software find common points that will make for a more seamless panorama. One tip that I would give when you attempt this with landscape formatted photos going in a vertical direction for large tower structures such as this would be to turn change the orientation of the photos to portrait orientation prior to merging. Here is what the source images looked like after turning them 90 degrees clockwise:

Source images for panorama turned clockwise - ©TimeLine Media
Source images for panorama turned clockwise – ©TimeLine Media

After this, let Photoshop do the rest of the work! Open all the source images, then select File > Automate > Photomerge. Next, select the “Add Open Files” in the dialog box, and click OK. Photoshop will now work on the images, and will pop out a merge file:

Merged photos from Photoshop photo merge - ©TimeLine Media
Merged photos from Photoshop photo merge – ©TimeLine Media

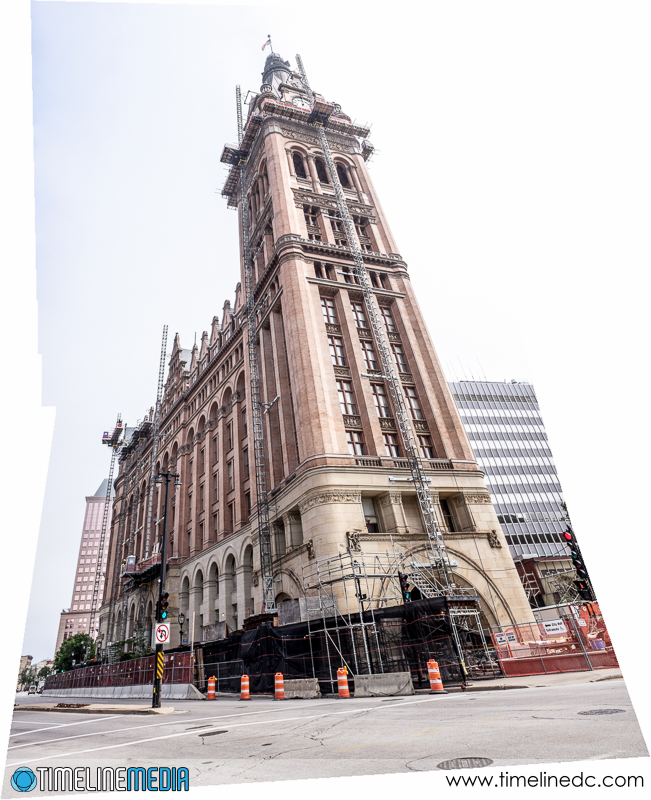
Because of the perspective differences with each photo in the panorama, this is the result. There are some areas where there is no data resulting in the blank spaces on either side of the photo. I just use the crop tool to remove these areas to get the final, large panoramic image!

Milwaukee City Hall - ©TimeLine Media
Milwaukee City Hall – ©TimeLine Media

TimeLine Media – www.timelinedc.com
703-864-8208
1 2 3 4 5 19