A few readers and Facebook friends have asked about how I watermark my images. This is the “TimeLine Media” bar that I add to the bottom edge of all the photos I post online. Currently, there is a hot debate online about the use of watermarks when posting photos online. With software, most watermarks are easily removed, and their addition to your image will add a VERY distracting element to the frame.
Yes, it may deter some from stealing your image, but if someone is out to take your image, they would never have been a paying client for you whether you added the it or not. That being the case, I continue to add watermarks to all my images – selfishly to see the images used around the web, and in case I forget that I made a particular photo. In case you were wondering, if you purchase a digital download (any size) from the proofing website, there is no mark whatsoever on the file. If you paid for it, you should have a clean image! As the debate goes on, I may change my stance on my personal posting, but for now, the watermarks stay. Here is how to watermark your images easily with Adobe Lightroom.
Adobe Lightroom

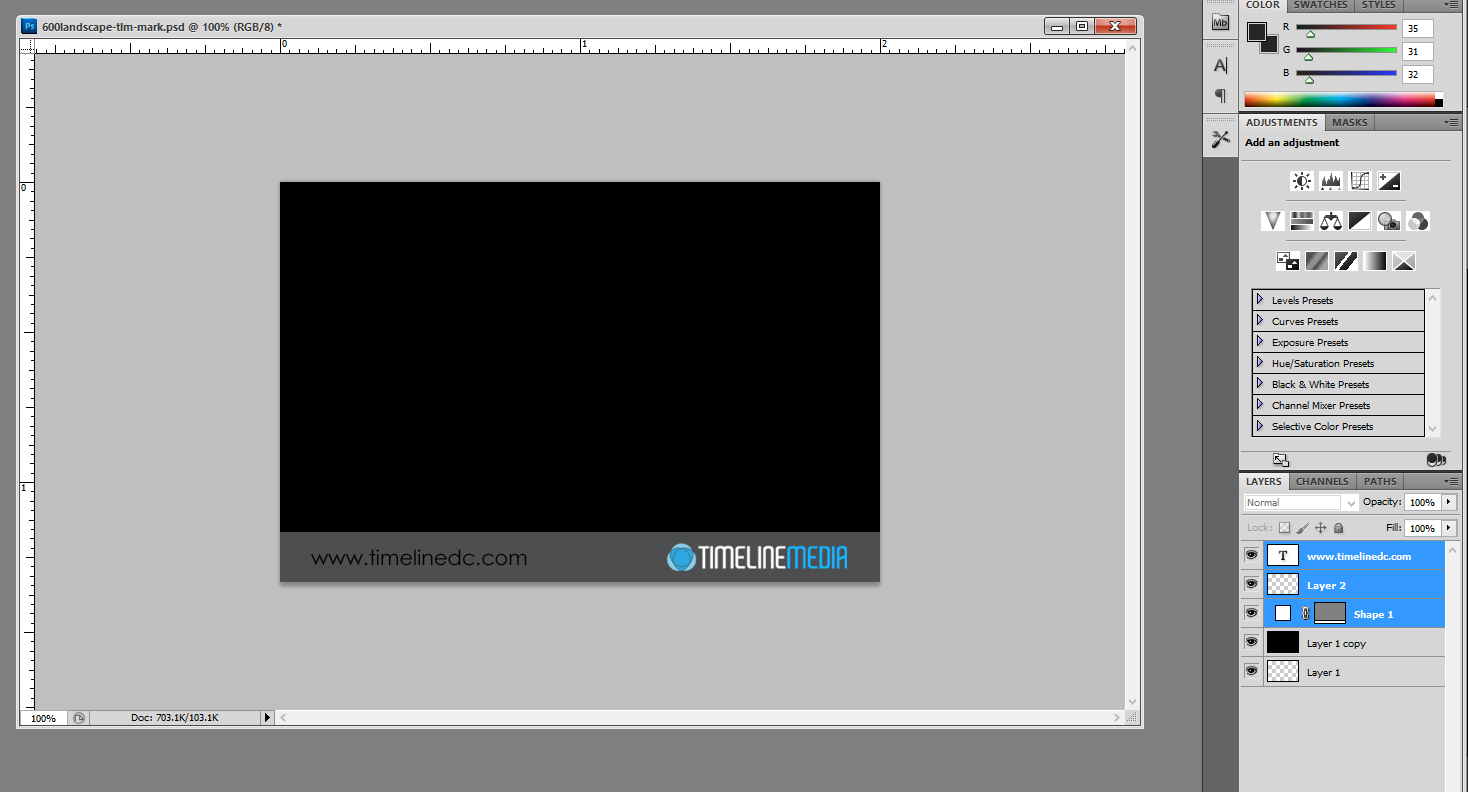
First, create a PNG file in Photoshop or other image editor like Microsoft Powerpoint with the design that you want for your watermark. I have a transparent bar at the bottom with my logo and text with my website. The file is sized 600 px by 400 px, my default size for posting images on the blog. Create your watermark with a transparent background, then save as a PNG file which will preserve the transparency over the larger part of the image which you do not want covered in any way. This is easily done in Photoshop, and here is a screen shot from my layer setup of the watermark image.
Watermark Images
In Lightroom, you can add a watermark at the bottom of the Export dialog box. From this box, you can add a text watermark such as “©TimeLine Media” or you can select your PNG file as your watermark. You can adjust many settings in this box including the font of the watermark (if using a text watermark). how much the watermark takes up in the photo, and whether you want it in a corner or over the center of the image.
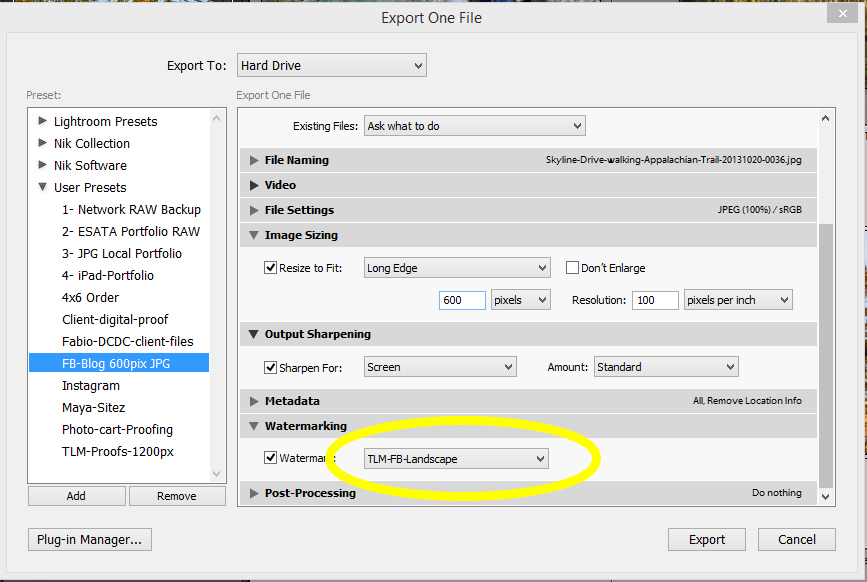
With Lightroom, you can select a group of photos to export at one time. If you choose to add a mark with this dialog box, it will add it to every image you export. If you like how it looks, and you think that you will use it more in the future, you can create a preset of your watermark that you can add with one click each time you import a batch of photos. Let me know how this goes for you, or if you have any other questions on how this is done. If you have any thoughts on the use of watermarks in general, please let me know!
TimeLine Media – www.timelinedc.com
703-864-8208