February 2014 archive

Creating Vignettes in Lightroom – Tech Thursday

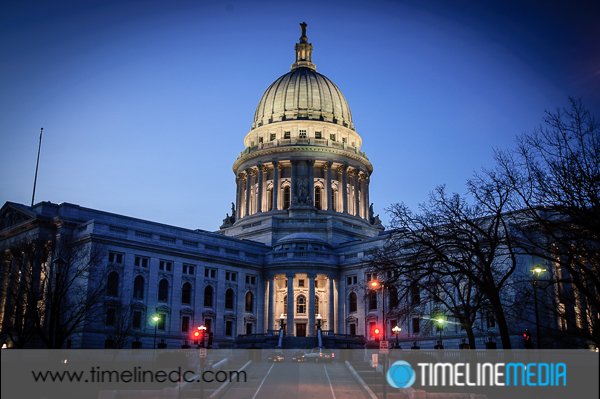
Wisconsin State Capitol at dusk - ©TimeLine Media

When Adobe Lightroom first came on the scene, it added the ability to create vignettes. I saw many photos with the darkened corners. It was not until I installed the beta of the program that I saw why! This look stems from the technical deficiencies of old cameras. Some larger format cameras or older lenses were not as precise with their ability to transmit light to the edges.

Post Processing

Wisconsin State Capitol at dusk - ©TimeLine Media
Wisconsin State Capitol at dusk – ©TimeLine Media

Now, every image editing app from Instagram to Snapseed has a way to purposefully add vignettes to your photos. I saw a demonstration where Parker J. Pfister had extreme uses of vignettes in his photos that brought the darkness in much farther into the frame. Some of the darkening did not even follow a light fall-off pattern that an old lens would produce, but the images were stunning. The reason that this works is that your eye will be attracted to the brightest thing in the frame first.

Event Portrait - ©TimeLine Media
Event Portrait – ©TimeLine Media

In most cases, you will want the brightest part of the frame to be your subjects face if you are photographing a person. Sometimes it will be an object in the foreground that you would like to emphasize over the background. Adding a vignette is very easy in the Effects panel of Lightroom 5. After you make your crop, the Post-Crop Vignetting tool is used to darken the corners, and you can set how far into the frame you would like to darken. You can also set how much you would like the vignette to darken, and how dramatic a drop off you want that to happen. Be cautious that you do not over do it! Over darkening of these edges where it becomes too obvious can make it distracting for your viewers taking away from the overall impact of the image.

Studio Portrait - ©TimeLine Media
Studio Portrait – ©TimeLine Media

TimeLine Media – www.timelinedc.com
703-864-8208

Fuji X100s – Exposure bracketing

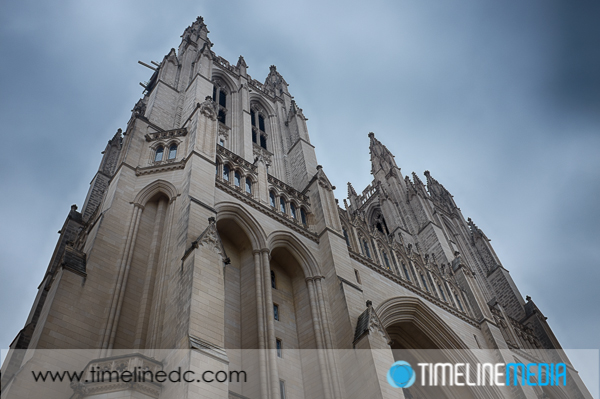
HDR - National Cathedral - ©TimeLine Media

In delving through the manual of the Fuji X100s camera, I found bracketing operations in a menu. Previously, I have posted about the drive mode for making panoramas where the camera will continuously make images while guiding you to pan the camera to create super wide panorama photos. In that same menu, you also have access to create bracketed exposures!

Menu Exploring

I did not realize that this camera at first because there was not a dedicated function button for this, and it was not present in the Quick-access menu. It was only when really looking that I found this which really makes this a useful mode. Just like other ways of working with this camera, it is also much easier to setup this mode, and implement in taking photos. There are some limitations compared with the DSLR but for the trade off in size, it is worth it for light traveling.

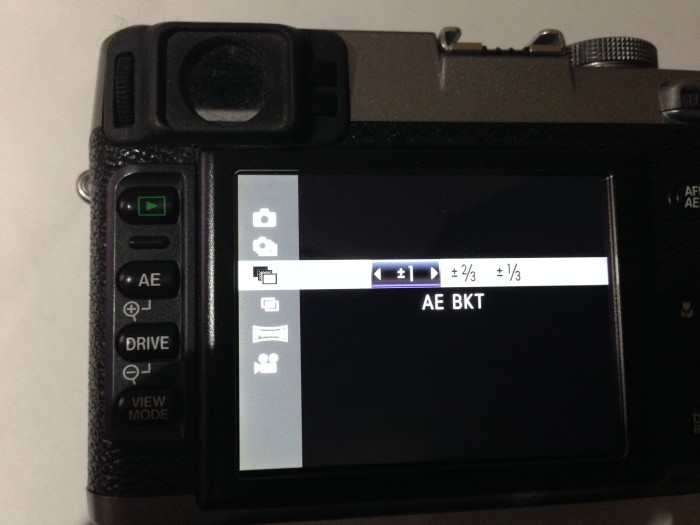
Fuji X100s exposure bracket setup
Fuji X100s exposure bracketing setup
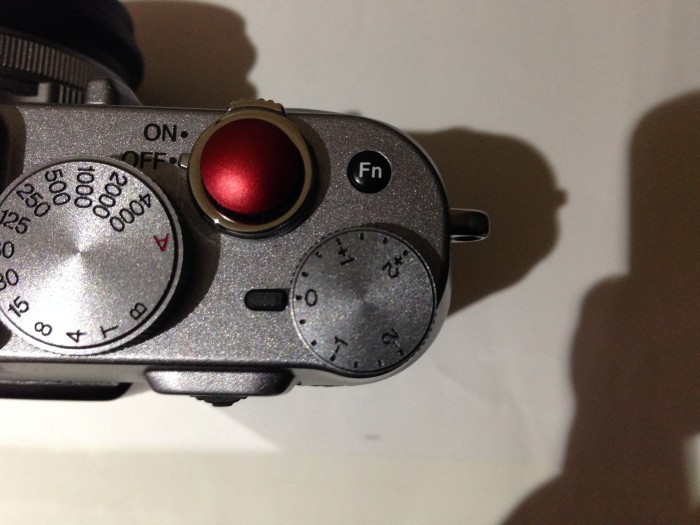
Fuji X100s exposure compensation dial

If you click the Drive button, you can select the AE bracket icon, and you can select from three different options – whether to have the exposures 1.0, 2/3, or 1/3 stop apart. This is similar to the tick marks along the exposure line on the Nikon DSLR setup. I set my exposure brackets to be 1.0 stops apart. One of the limitations of the X100 compared to the Nikon in terms of bracketing, is that you are limited to only 3 exposures per shutter release. This makes it more difficult to make a larger set if you are hand-holding, which I do not recommend anytime you are trying to make these!

Bracketing Images

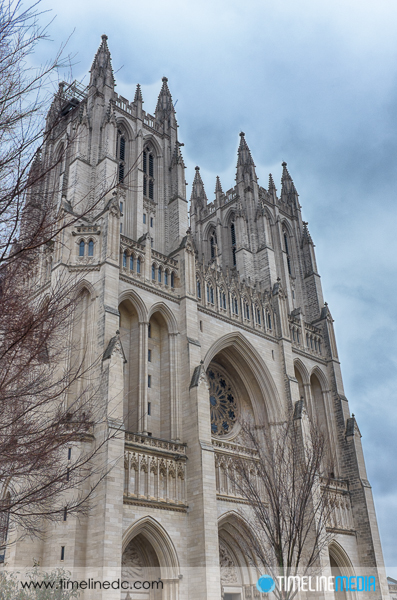
To make more bracket images, I make use of the exposure compensation dial. This button which is easier to use than on DSLRs, allows you to change the exposure up to -2 or +2 around the metered settings in the camera. When on a tripod, you can set the X100s to make bracketed exposures, then set the camera to -2 with the exposure compensation dial. Then make the 3 exposures around +2, and finally, turn off the bracketed exposures to just a single exposure mode. Move the dial back to 0, and take the metered exposure. This should give you a set of 7 exposures of the same scene all 1 stop apart. It is a lot more complicated to do so, but it will get the job done quickly even with this small camera! Here are some examples from a walk around the National Cathedral in Washington, DC.

HDR - National Cathedral - ©TimeLine Media
HDR – National Cathedral – ©TimeLine Media
HDR - National Cathedral - ©TimeLine Media
HDR – National Cathedral – ©TimeLine Media

TimeLine Media – www.timelinedc.com
703-864-8208

USA Dance – Mid Atlantic Championships

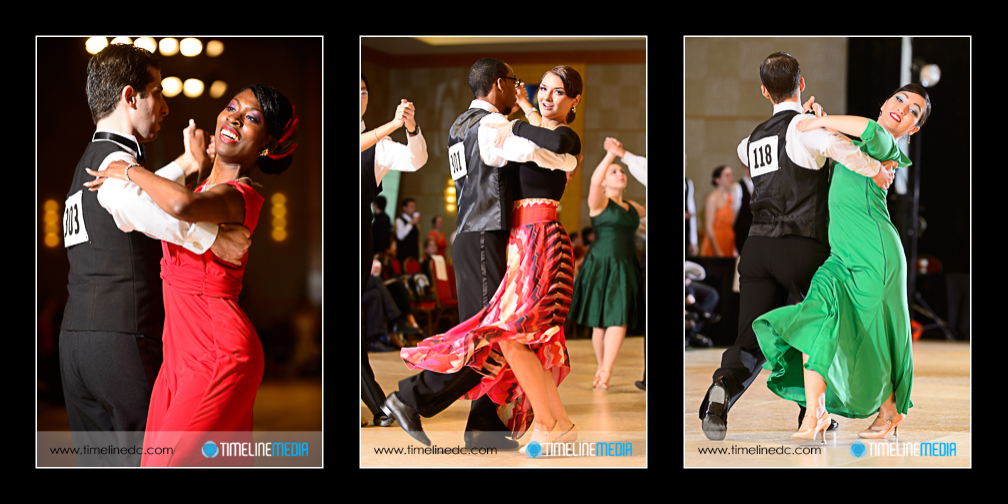
Smooth dance competition - ©TimeLine Media

It is only 10 days until we head out to cover our first ballroom dance event of 2014 – USA Dance MAC! I am really excited about getting out there to make another big collection of dance photos. It has been a while, and I am well rested from the editing and sorting of photos from last year. I have been busy making new ones with personal projects, but I cannot wait to get back to the colors, the music, and all the great action on the dance floor.

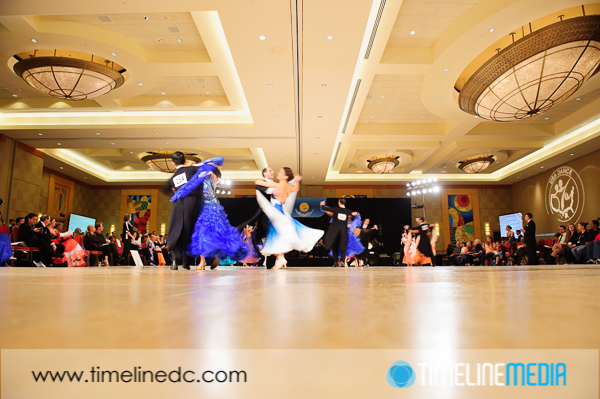
Ballroom Dance competition floor - ©TimeLine Media
Ballroom Dance competition floor – ©TimeLine Media

If you are in the metro DC area, you should make plans to come see at last some part of the competition. The USA Dance Mid-Atlantic Championships is a huge competition with lots going on both on and off the floor. The venue, the Bethesda North Marriott Hotel and Conference Center, is one of the nicest settings for dancing. It is a large, bright room that can accommodate the large floor, and all the couples easily. We try to improve our setup of lighting every year, and I have some ideas for this year to help me and photographers make the best photos for you. Please come out and see the action live, and come back here to see our photos.

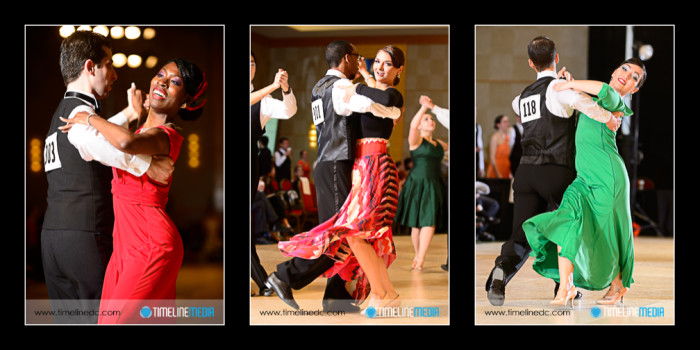
Smooth dance competition - ©TimeLine Media
Smooth dance competition – USA Dance ©TimeLine Media

I know the organizers are always trying new things with each competition. They have a lot of technology in use to make it easier for the judges, scrutineers, and dancers to stay on track. We really enjoy seeing their innovation, and am privileged to be covering their event for another year. It should be a fun weekend!

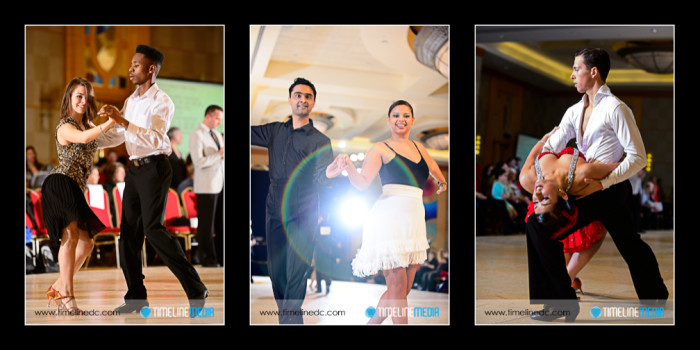
Rhythm Latin dance competition - ©TimeLine Media
Rhythm Latin dance competition – USA Dance ©TimeLine Media

TimeLine Media – www.timelinedc.com
703-864-8208

1 5 6 7 8