Archive of ‘Photography’ category

Assisting Saturday

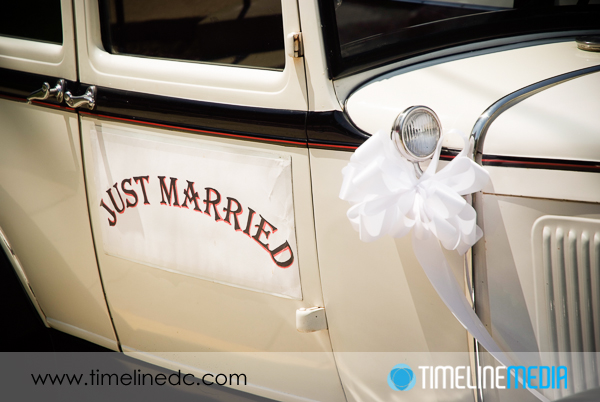
©TimeLine Media - wedding photography

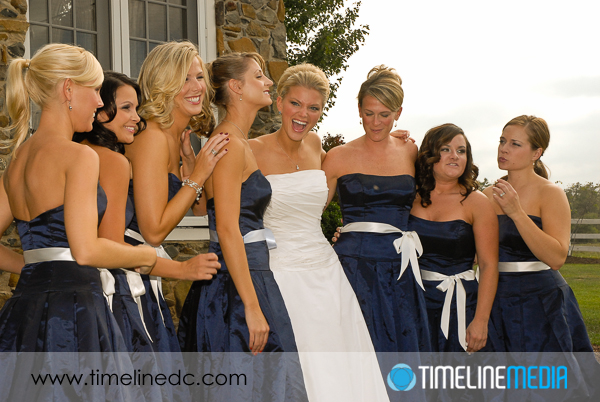
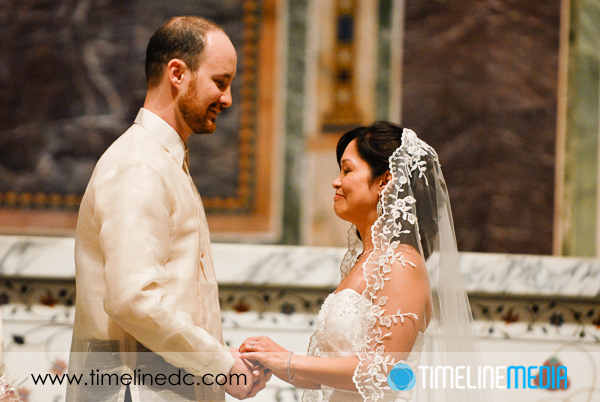
I am hoping it will be a beautiful Saturday! My assignment today is to be a second shooter and assistant on a wedding today. This is one of the best jobs as a photographer. You have to use all your photographic skills in technique and composition while trying to manage different environments, and lighting situations but from a slightly different perspective. When assisting, my first thought is not what looks best from behind my camera, but from the camera of the primary photographer. Do not be in his shot first and foremost! Then think what different lens you could use to capture the same scene so that they have a variety of photos to choose from when editing the whole day.

Second Shooting

©TimeLine Media - wedding photography
©TimeLine Media – wedding photography

With the gear you are carrying, make sure you keep your eye on it – the primary photographer may unexpectedly be running to keep up with the bridge and groom! You do not want them to worry about where their things are and missing shots because of that. Finally, during posed portraits, I do not have a camera in my hands. The less cameras pointed at a group during that time, the more likely that everyone will be looking at the primary photographer’s lens. This part will take much longer than anyone, including the photographer, wants it to take.

©TimeLine Media - wedding photography
©TimeLine Media – wedding photography

During this time, I will see if an extra light or reflector will help, or I will try to figure out family members that need to be in photos are ready when it is their turn. It is still a busy day even if you are not the main photo person in charge! Hope you have a great weekend!

©TimeLine Media - wedding photography
©TimeLine Media – wedding photography

TimeLine Mediawww.timelinedc.com
703-864-8208

Sports Photographer Idols

©TimeLine Media - American Star Ball

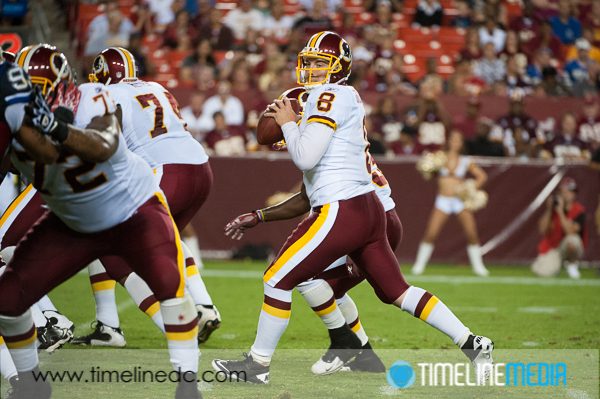
The Pre-Season NFL football games have begun indicating a quickly ending summer. From my one season of trying to photograph football from right on the field, I learned much about photographing sports – football specifically, and I learned about other applicable photography skills that I could use off the field. In researching how to better photograph the practices and the games, I visited lots of blogs, watched online videos and slideshows. One sports photographer that made an impression on me was John McDonnell.

Football Photography

At the Washington Redskins training camp, preseason and a regular season game, I had the opportunity to meet and watch Mr. McDonnell work as he covered action on the field. He has been a sports photographer at the Washington Post since the Superbowl years. You can view his images at the Post every day as the season unfolds both online and in the paper. I was not the only photographer that kept my eye on John’s shooting position! He is in the perfect position to capture the action more than most. I learned that there is always something that would be good capture to more complete the story of the game. This can be both on and off the field – there are coaches, trainers, people in the crowd, players on the bench – so much to get, that you have to keep your eye to the camera before the moment passes.

©TimeLine Media - NFL football game action
©TimeLine Media – NFL football game action

Attending an NFL football game in person is designed to be overload the senses. Trying to capture this event in camera is a challenge that definitely takes years to be comfortable doing season after season. Not only are the thousands of fans adding to the frenzied action, obstacles on the sidelines to avoid, but American football is a game of inches! Keeping track of the ball – who has it, who is getting it, and the game situations that could affect where the ball is going next keeps everyone on their toes.

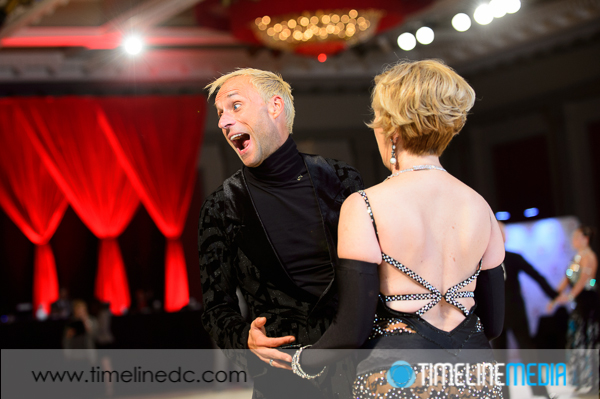
Thankfully, I will concentrate on photographing ballroom dancers. They have a much easier environment for photographers to work, but they have their own challenges. You should always keep your eye to the camera – dancers always make for fun moments to capture!

©TimeLine Media - American Star Ball
©TimeLine Media – American Star Ball

TimeLine Media – www.timelinedc.com
703-864-8208

Great Gatsby Poster Part 2 – Tech Thursday

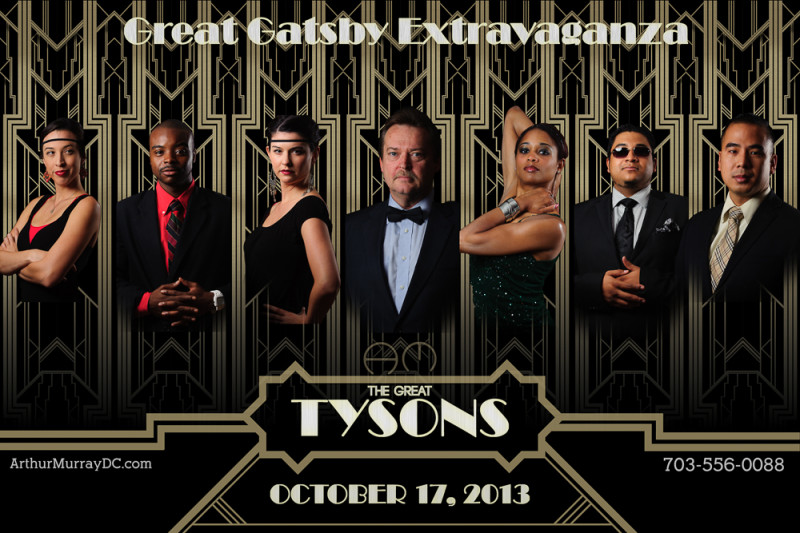
©TimeLine Media - Arthur Murray - Tysons Corner poster

Poster Creation

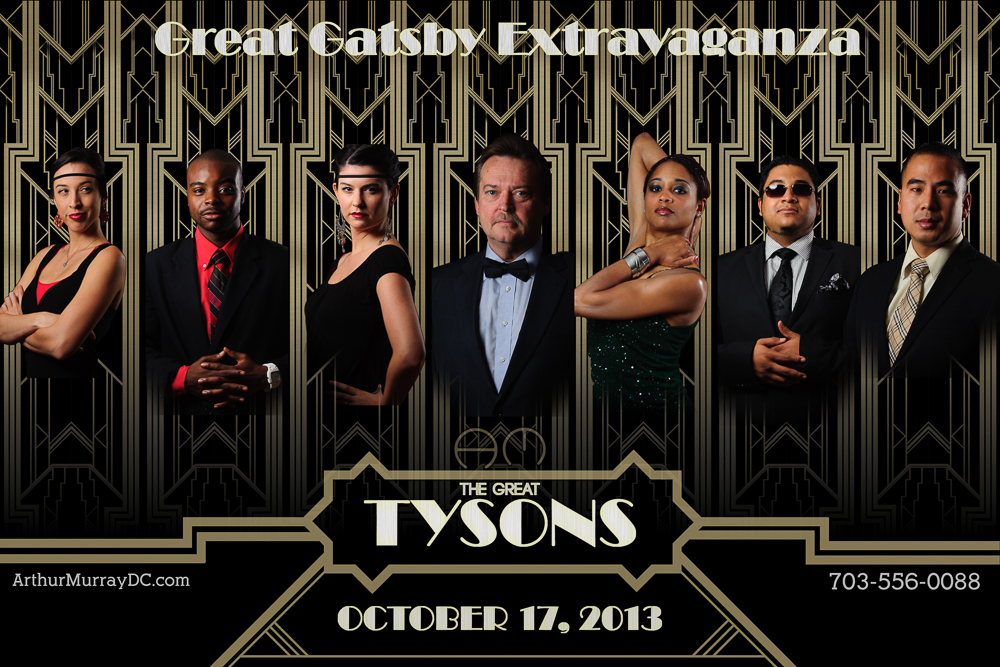
The last Tech Thursday, I posted about the Great Gatsby poster from the 2013 movie. I made myself a project to recreate the poster with our local dance studio since they are planning a party with a Great Gatsby theme this October. To start, I made portraits of all the staff, then made a background in Adobe Illustrator to place them. It was a background that was flipped and repeated so that it would give a consistent look to each of the portraits.

To come up with the dimensions for the backgrounds, I based it on a 20 x 30 image. This is a standard size for printing and framing of photos, and would be large enough to put 7 portraits on at one time. In Adobe Photoshop, you can create guides to help you line up elements in your image. So I started with a 20 x 30 image, then made guides all 14.3% apart from each other. This value comes from dividing 100 by 7, which is 14.28… Rounded to 14.3 would fill up the background close to 100% across – 100.1%, actually. Here are screen shots of how to do this:

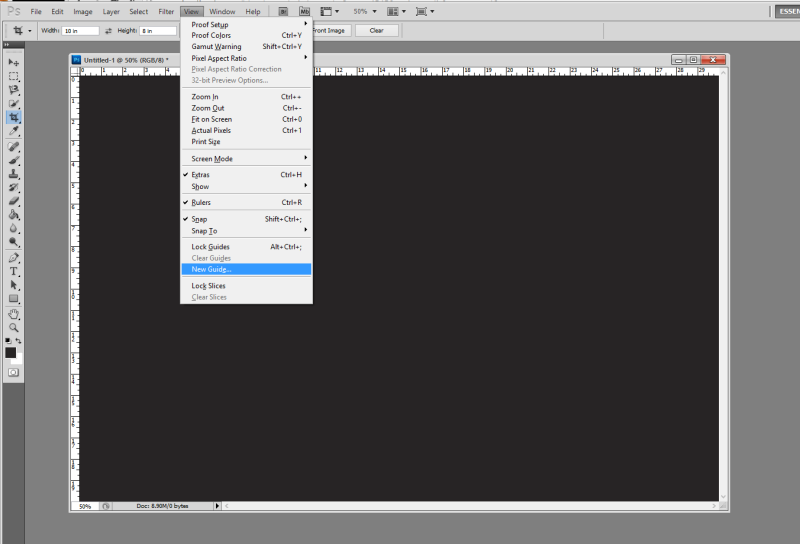
New Guide option from the menu in Photoshop CS5

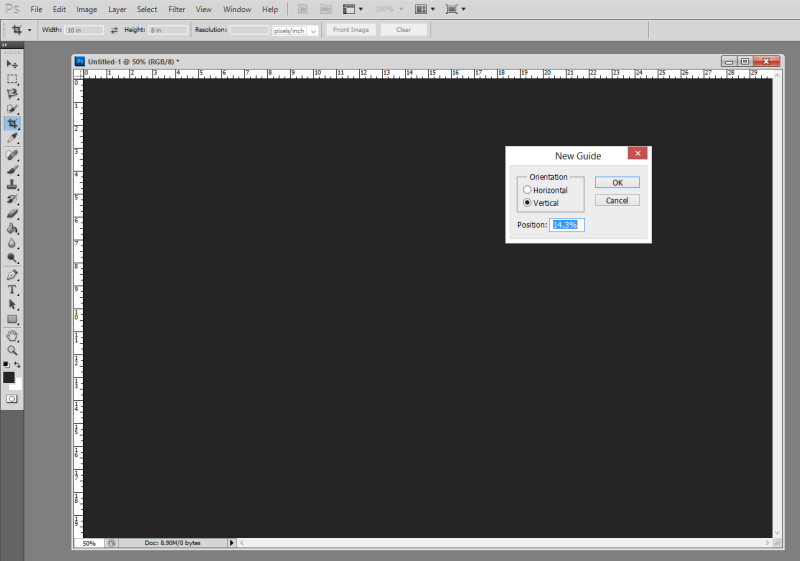
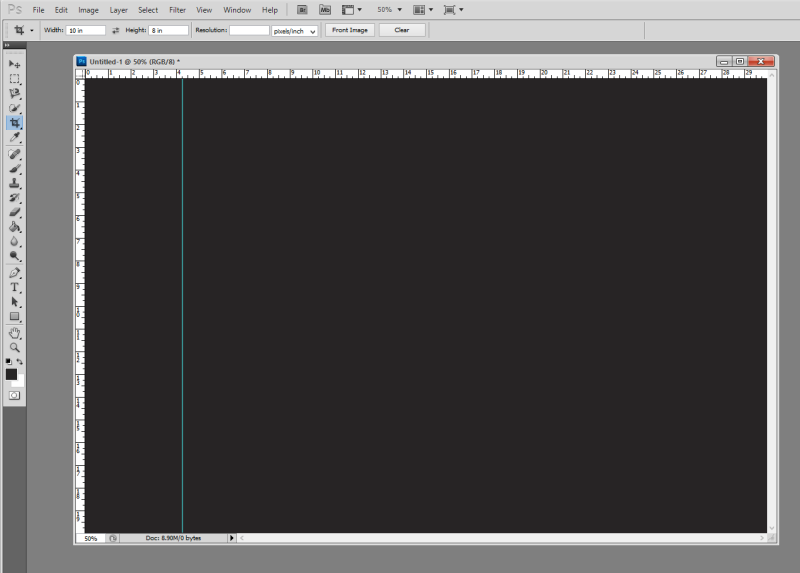
Select ‘View’ > ‘New Guide’ to create a guide on your image. The default units in this box are in inches, so change from in to %, and the guide will be placed 14.3% across the image vertically from the left.

Background Graphic Design

New guide at 14.3% of the background vertically

From here, I just selected the are to the left of the guide to get the dimensions to bring into Illustrator to create the background. Similarly, I made guides in Illustrator that divided the rectangle into quarters. I created the design in one corner, then flipped and moved the design until it filled up the entire area making the design nicely symmtrical:

©TimeLine Media - portrait background
©TimeLine Media – portrait background

I burned some of the smaller lines to make it look like they were continuing on under the larger lines. I also made a dark gradient towards the bottom of the frame to add more dimension to the background. Then I pasted the portraits on top of the background, and added them to the complete poster in my evenly spaced guides. This did take me about a day and a half to complete since I was learning a lot of new techniques in Adobe programs, but I think it came out nicely!

©TimeLine Media - Arthur Murray - Tysons Corner poster
©TimeLine Media – Arthur Murray – Tysons Corner poster

TimeLine Media – www.timelinedc.com
703-864-8208
1 236 237 238 239 240 331