Archive of ‘Technology’ category

Concert Lighting White Balance | Tech Tuesday

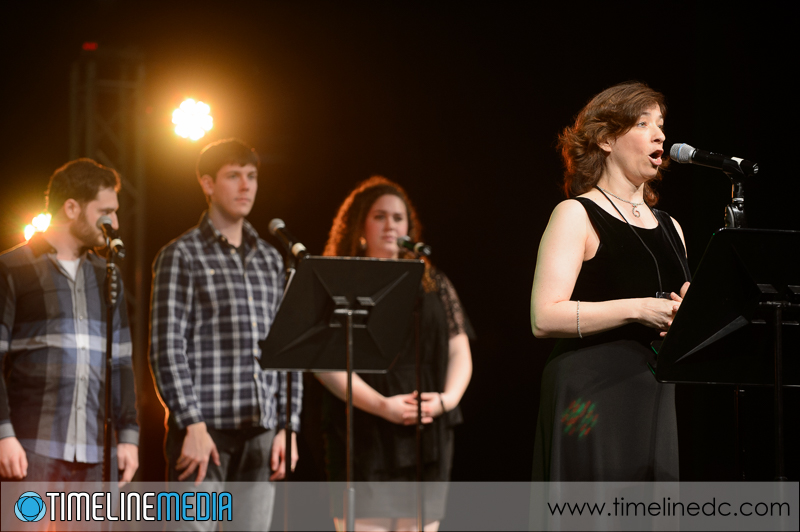
Theatrical lighting for stage performances adds to the spectacle of musical performances. In the times I have covered musical groups as they performed, I have enjoyed using the additional lights around the stage as cool props that can add to the images. The lights at SingStrong were especially timed with the performance which enhanced the mood of the performances. They can be challenge to get good focus as the darkened arena against the strong point light sources is not ideal for auto focus systems in cameras. There are a lot of missed shots in the collection!

SingStrong-2014-©TimeLine-Media


The other challenge comes in post processing the images after the concert. The lighting can be very strong in color casts. Whether that comes from gels over lights, or LEDs that can be any color, they will cast strong color. Of course, this color will be over their faces and skin tones which is always a challenge to balance afterwards. For this shoot, I had the white balance set to auto. Because I was shooting raw files, I planned to adjust the settings later in post.

Original-balance-out-of-camera-©TimeLine-Media


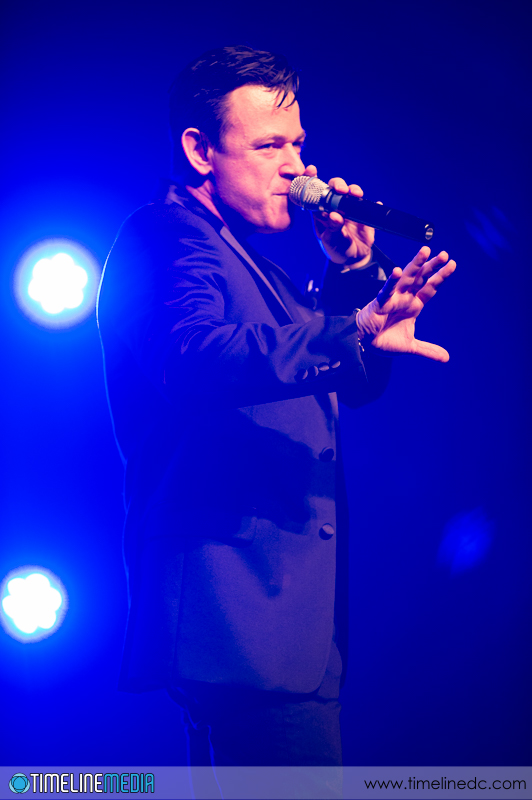
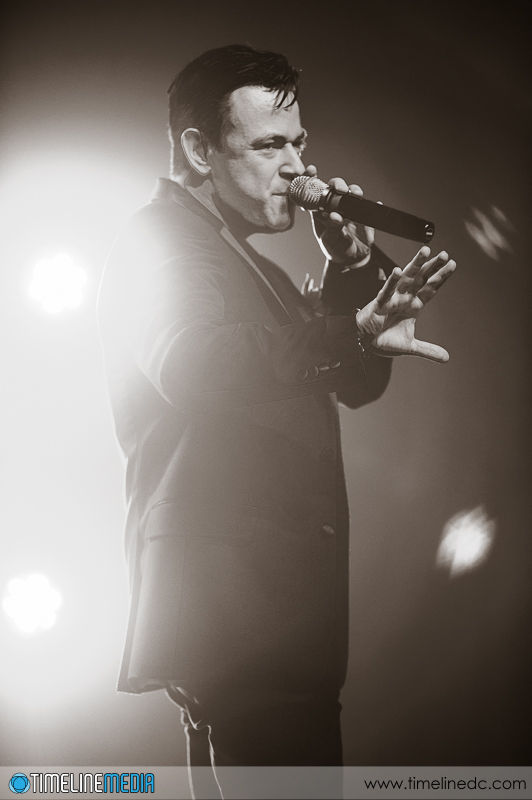
The lighting in the photo was a strong blue backlight that you can see on the left of the frame. From the front house lights, there was a red light on the front of the performers which is a common combination in stage lighting. To balance the color in Lightroom, I went into the Develop module, selected the White Balance tool, and then placed a point on the gray head of the microphone. I always look for gray colors for balancing as a starting point, and it worked well in this case toning down the pink skin tones.

Color-corrected-©TimeLine-Media


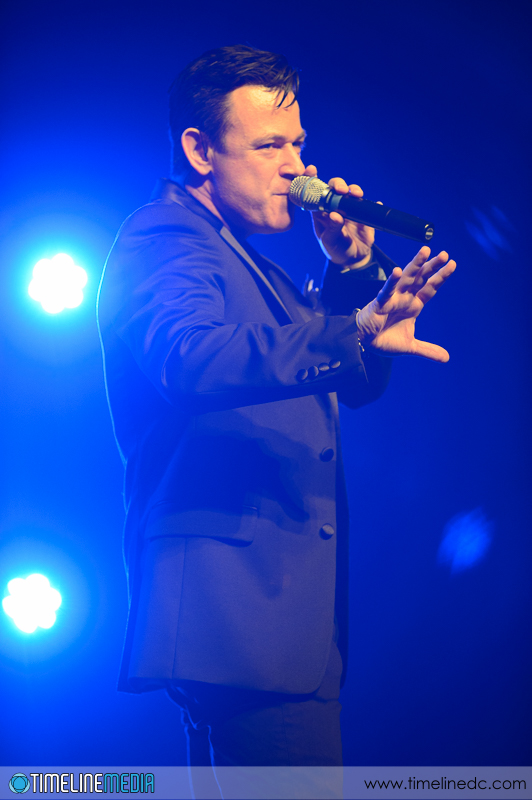
I have much better luck going for gray tones in the frame. Sometimes there is not enough data in white or black areas to get an accurate white balance setting. The software may tell you, however, it will not change anything in your photo depending on the image. Of course, it is always important to have a calibrated monitor to ensure consistency in printing images. If the color cast is too strong, removing all color from the photo is also an option, and one I go to frequently!

Monochrome-conversion-©TimeLine-Media

TimeLine Media – www.timelinedc.com
703-864-8208

HDR – Deghosting | Tech Thursday

Tysons, Virginia

I received some questions about this photo from a few post ago:

HDR-SilverLine-in-Tysons-Corner-©TimeLine-Media

This was a high-dynamic range (HDR) photo from the Metro platform with an incoming train going through the frame. I really did not know if this would work at the time I took the images. For HDR, you need to make a series of exposures that differ in shutter speed. This will create a range of images that vary from underexposed to overexposed. Using the bracketing functions built into the camera, you can set this up in camera.

Using the very fast motor drive of the Nikon D4, there is very little difference in the composition of each frame. For the most part, you would not seen much differences except for the moving train cutting across the middle. This is what you need – the composition should be as similar as it can in each of the bracketed frames. With this in mind, the software can align each individual image for processing.

Post Processing

HDR-Source-images-©TimeLine-Media


For this particular set, I brought the bracketed images into Photomatix Pro 5.0. After you export the images from Lightroom to Photomatix, you are presented with a Deghosting dialog box:

Photomatix-before-Deghosting-selected


From the initial preview, you can see that the train is a mess. There are many different versions you are trying to stay, and the software is trying to put all of them into the combined image. To clean things up, you need to drag the “Deghosting” slides on the top left all the way to the right. This is the “Very Strong” setting. Then from the set of images below, select which of the bracketed photos you want to select as the master or source file that will take precedence over all the others. I chose the 1/160s one because the train was just starting to come into the frame. and you could still make out many of the numbers at the top of the train.

Photomatix-Very-Strong-Deghosting-selected


After selecting ‘OK’ you have a much cleaner file to tone map to your final HDR image in Photoshop. This is an extreme example, but it will work if you want to clean up moving people in an image, or anywhere that the preview HDR looks too muddy or blurry. Give it a try!

Photomatix-Pro-5.0
Photomatix-Pro-5.0

TimeLine Media – www.timelinedc.com
703-864-8208

HDR in Full Sun – Tech Thursday

Tysons, Virginia

How can HDR help your photography? Shooting early in the morning around sunrise or later in the afternoon near sunset, photography can be very easy. Why fight harsh lighting in your photos? Not only is it easier on your own eyes as you look through the viewfinder, but the lighting is much more flattering for subjects. This includes people and buildings! If you go outside at high noon or whenever the sunlight is the strongest outside, and you will see dark shadows everywhere.

Later in the day, the shadows will change direction giving more dimension to what you are photographing. Unfortunately, some photo assignments are not flexible enough to take advantage of nice golden hour sunlight. Last weekend, the Washington Metro system inaugurated service on its new Silver Line. I was sent to cover the first trains as they pulled into stations after they were open for service. The first trains were expected to go through the new stations between noon and 12:30PM in the afternoon. From when I first stepped out onto the platform, I knew that this was going to be a challenge!

Silver-Line-in-Tysons-Corner-©TimeLine-Media

Metro Trains in Tysons

Looking at this photo, you can see that there are very dark shadows underneath the awning with bright sun out on the platform. It was so bright, it was difficult for me to even look at the back of the camera to make some adjustments. Since I was not sure exactly when the first train would be coming by, I did not waste too much time chimping the images. I was shooting at ISO 100, so I knew that there would be a lot of latitude for me to adjust the photos in post. These were easily adjusted by boosting the Shadows slider in Lightroom:

Silver-Line-in-Tysons-Corner-©TimeLine-Media

Another solution is to use HDR, high dynamic range, photography to bring out more of the details from the shadows while keeping details in the highlights. I have posted many times about HDR before where I describe how you take a series of images of the same scene at varying exposures. With the HDR software, you combine these images and make adjustments when you are presented with a very high contrast scene. It worked very well here. The first image is one of the single images from the series that I took, and the second is the combined HDR image.

Silver-Line-in-Tysons-Corner-©TimeLine-Media
HDR-SilverLine-in-Tysons-Corner-©TimeLine-Media

This really helped to solve to problem capturing all the detail of the scene in one image. It was so bright, so usually the shadow detail will be lost. If you try to get the darker areas to be brighter, you will lose detail in the highlights. HDR did take a little more work, but I was happy with how these turned out!

HDR-SilverLine-in-Tysons-Corner-©TimeLine-Media

TimeLine Media – www.timelinedc.com
703-864-8208

1 3 4 5 6 7 41