Posts Tagged ‘bounce’

Flash basics – Tech Thursday

Flash with head in position to bounce off ceiling - ©TimeLine Media

Testing with a Statue

Today, I have been reviewing previous posts about a new camera, or perhaps a flash. I have been making these posts from the side of what advice would I give to someone that just received a new DSLR for Christmas and what would they do with their new toy. After the first few weeks of just taking photos, getting comfortable with how the camera feels in the hand, and being confident that it would not lose any of the photos that you take with it.

One of the first accessories that people use frequently, but often incorrectly, is the flash. Going around the tourist areas, or looking at the crowds at sporting events, there are so many people that use their flash. This is because the photos from their camera using their default settings are too dark for the situation. Indoors under artificial light, or any photo taken at night, the flash will pop on your camera to brighten the scene. You will definitely make your photos brighter with the flash, but a lot of times, the light will be ugly! Here is the reason why, and how you can make it better.

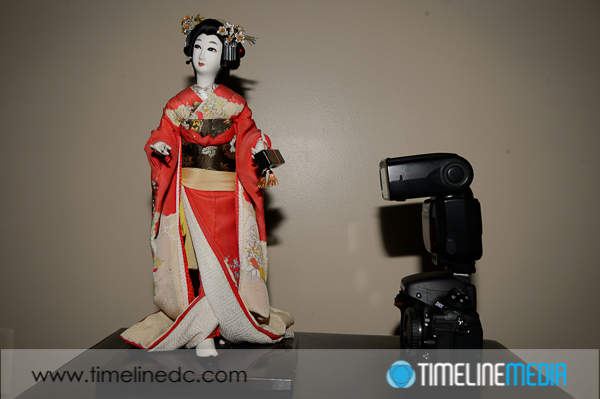
Flash with head pointed directly at subject - ©TimeLine Media
Flash with head pointed directly at subject – ©TimeLine Media

This first image shows the default direction for a speedlight flash mounted on a camera. The thinking here is what you want to brighten is right in front of the camera. So, firstly, point the flash directly in front of you. This will get you a sharp, bright photo. Likely, only whatever is right in front of the camera will get the light. There will be a dark, harsh shadow right behind your subject if you pose them against a wall. To make this light better, you can take your speedlight and point it straight up to the ceiling. Doing this will “bounce” the light from the ceiling back down to your subject.

Bounce Light

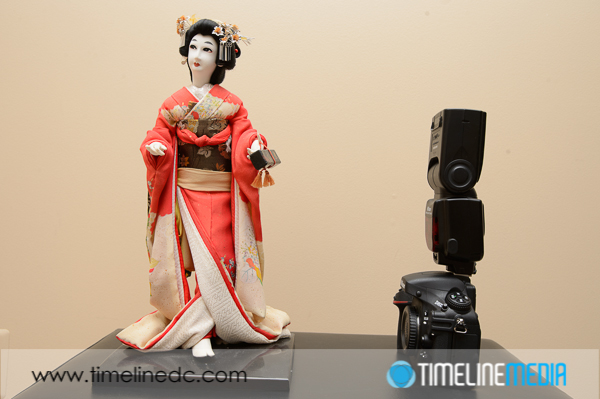
Flash with head in position to bounce off ceiling - ©TimeLine Media
Flash with head in position to bounce off ceiling – ©TimeLine Media

The result is that the light becomes very soft against your subject because you have made the light source much larger. Instead of coming from the front of the flash before hitting your subject, the light is spread out across the ceiling and surrounding walls. By the time it hits the subject, it is much larger in area, which makes light much softer. Easy!

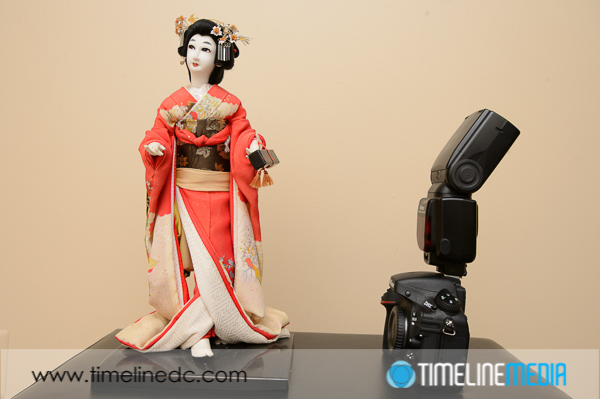
Flash with head in position to bounce off ceiling - ©TimeLine Media
Flash with head in position to bounce off ceiling – ©TimeLine Media

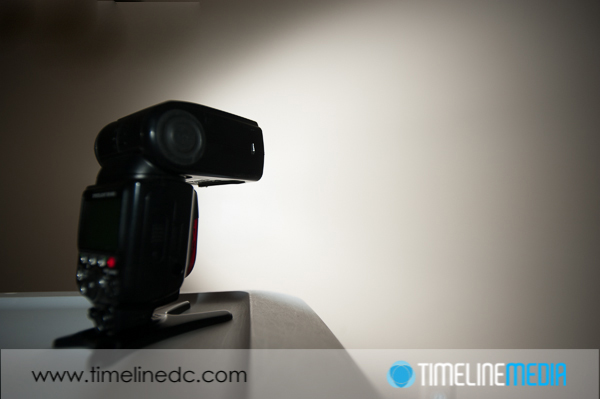
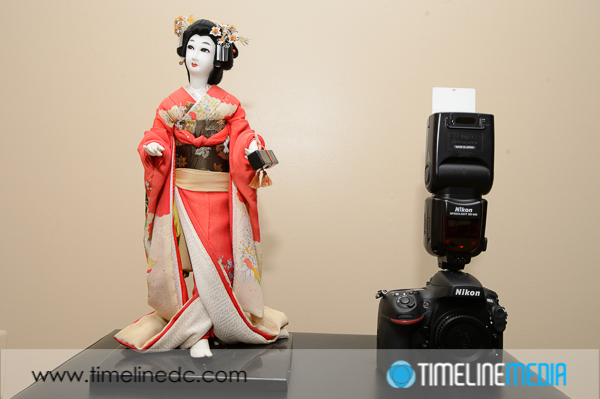
Some speedlights have a little white card inserted at the front of the flash. Pop this little accessory up to direct just a little more of the light forward if you are photographing a person. This will brighten their faces nicely with not as harsh a shadow behind the subject and keeping the overall light in the scene soft. If you are in a place with very high, or no ceiling, you can even point the flash directly behind the camera to bounce off a wall in back of you. It can give a similar result to bouncing off the ceiling. There are many other tips on using your speedlight flash, this is just the beginning. If you have any more questions on how to use your flash, let me know!

Flash with head in position to bounce behind wall - ©TimeLine Media
Flash with head in position to bounce behind wall – ©TimeLine Media

TimeLine Media – www.timelinedc.com
703-864-8208

Zoom Your Flash! – Tech Thursday

©TimeLine Media - motorcycle action photo with zoomed flash head

Of course you can zoom your lenses, but did you know you can zoom your speedlight flash? Depending on the model that you have, your flash head can be moved internally. On the Nikon SB-910, the flash head can be zoomed from 24mm to 200mm – a much larger range than their previous model, the SB-800 which had a range of 24mm to 105mm.

Speedlight Features

If you have this flash connected to modern Nikon cameras, the flash and the camera will talk to each other. They will automatically set the zoom of the flash to match the focal length of the lens that you are using by default. This is a great feature! As you use a longer focal length, the flash head will automatically zoom so that more flash power is given where you need it. Here are some example photos showing the difference in the light produced by the flash at different zoom lengths:

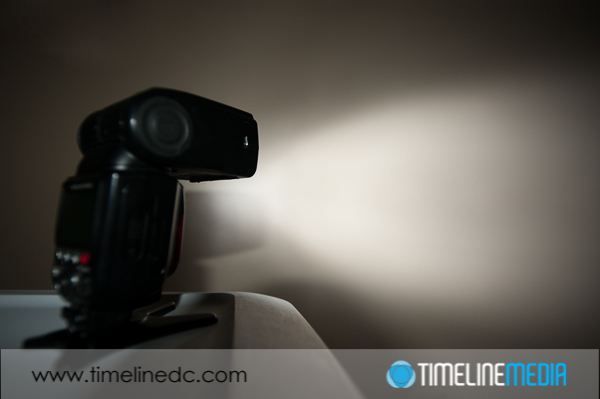
©TimeLine Media - Nikon Speedlight set at 24mm
©TimeLine Media – Nikon Speedlight set at 24mm

This first photo has the flash zoomed out to 24mm. It is giving it’s largest spread of light against the wall. If you need to cover more area with the flash, this is will cover a wider area. This also corresponds to a wider area seen by a camera lens set at 24mm.

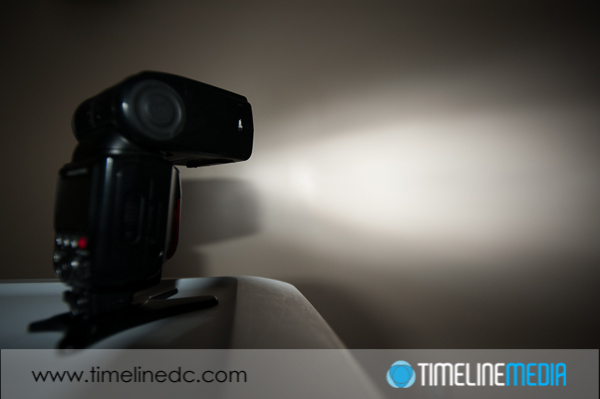
©TimeLine Media - Nikon Speedlight set at 70mm
©TimeLine Media – Nikon Speedlight set at 70mm

At 70mm, the light beam becomes more focused. There is not as much spread of light up and down from the flash. The more you zoom in with your lens, the less that you need the light to be spread out across the frame, so this only flashes what you need without worrying about the areas that are not going to be seen in camera.

©TimeLine Media - Nikon Speedlight set at 200mm
©TimeLine Media – Nikon Speedlight set at 200mm

Zooming Flash

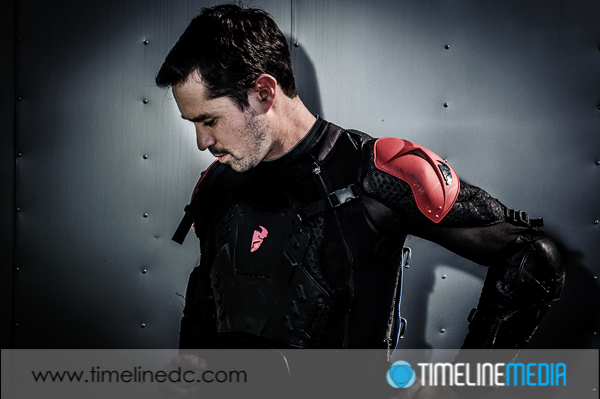
The tight beam of light that comes from the flash at 200mm is the most extreme setting. If you are zoom out this far with your lens, there will be a corresponding small area that you need to iluminate that far from the camera. Having these options for you gives you creative possibilities to focus light. You can manually set the zoom on the flash apart from the focal length of the lens. This works well to create more dramatic portraits just by zooming the light you are already carrying! Try it next time and let me know how it goes.

©TimeLine Media - Racer suiting up
©TimeLine Media – Racer suiting up
©TimeLine Media - motorcycle action photo with zoomed flash head
©TimeLine Media – motorcycle action photo with zoomed flash head

TimeLine Media – www.timelinedc.com
703-864-8208