Posts Tagged ‘bracketing’

Fuji X100s – Exposure bracketing

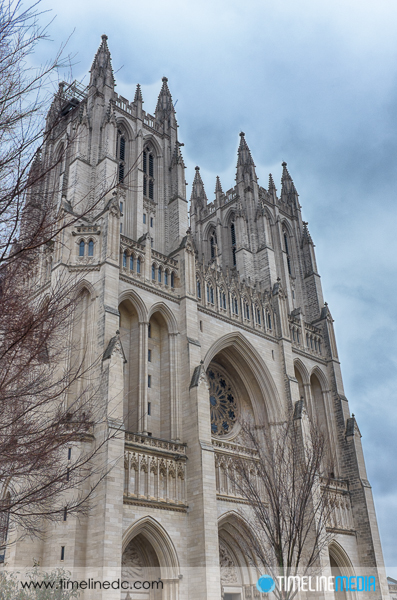
HDR - National Cathedral - ©TimeLine Media

In delving through the manual of the Fuji X100s camera, I found bracketing operations in a menu. Previously, I have posted about the drive mode for making panoramas where the camera will continuously make images while guiding you to pan the camera to create super wide panorama photos. In that same menu, you also have access to create bracketed exposures!

Menu Exploring

I did not realize that this camera at first because there was not a dedicated function button for this, and it was not present in the Quick-access menu. It was only when really looking that I found this which really makes this a useful mode. Just like other ways of working with this camera, it is also much easier to setup this mode, and implement in taking photos. There are some limitations compared with the DSLR but for the trade off in size, it is worth it for light traveling.

Fuji X100s exposure bracket setup
Fuji X100s exposure bracketing setup
Fuji X100s exposure compensation dial

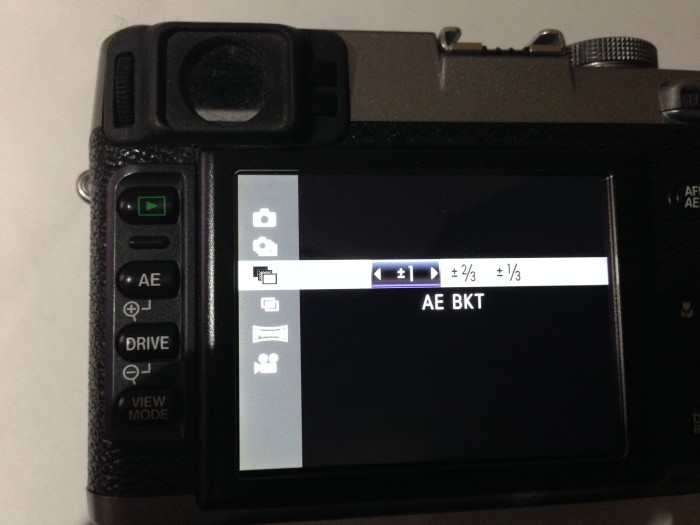
If you click the Drive button, you can select the AE bracket icon, and you can select from three different options – whether to have the exposures 1.0, 2/3, or 1/3 stop apart. This is similar to the tick marks along the exposure line on the Nikon DSLR setup. I set my exposure brackets to be 1.0 stops apart. One of the limitations of the X100 compared to the Nikon in terms of bracketing, is that you are limited to only 3 exposures per shutter release. This makes it more difficult to make a larger set if you are hand-holding, which I do not recommend anytime you are trying to make these!

Bracketing Images

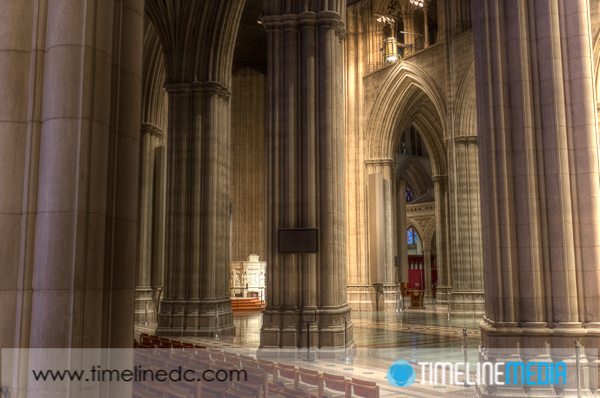
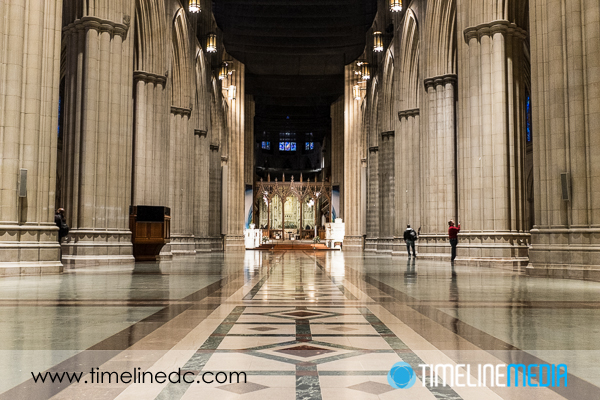
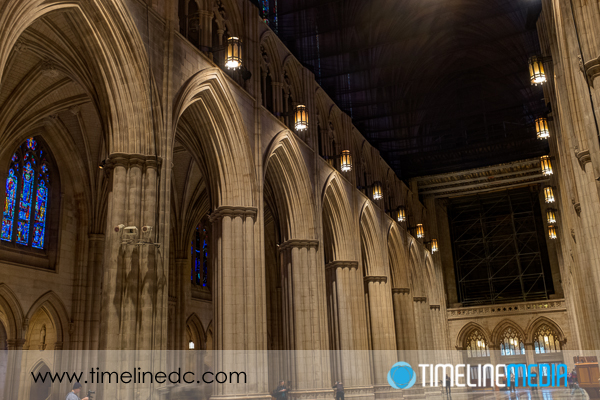
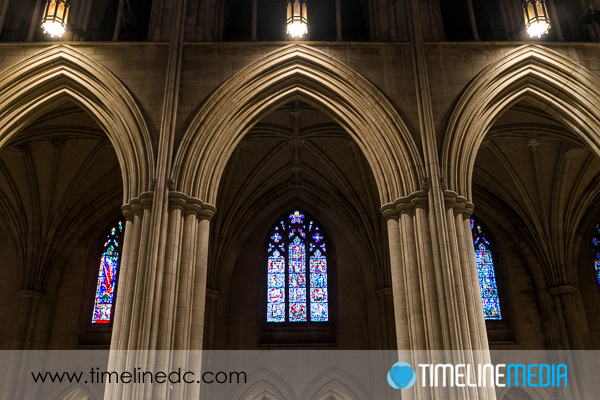
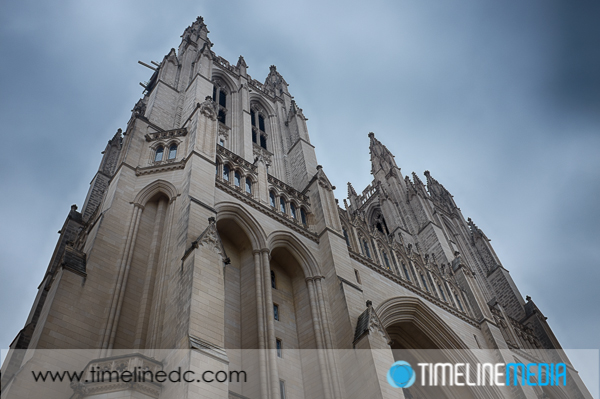
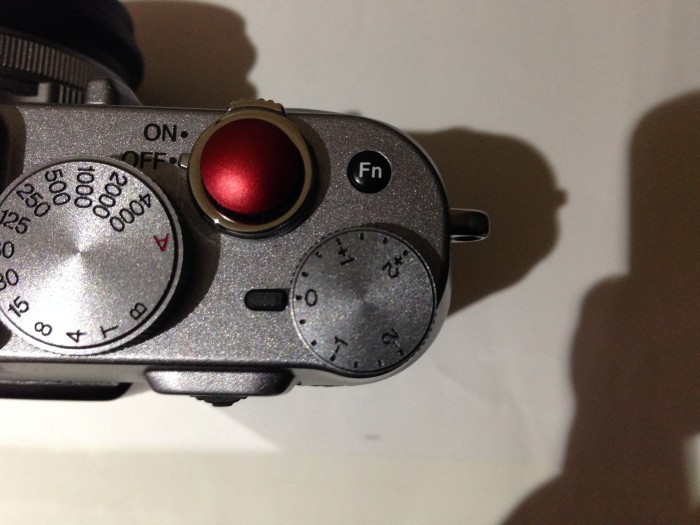
To make more bracket images, I make use of the exposure compensation dial. This button which is easier to use than on DSLRs, allows you to change the exposure up to -2 or +2 around the metered settings in the camera. When on a tripod, you can set the X100s to make bracketed exposures, then set the camera to -2 with the exposure compensation dial. Then make the 3 exposures around +2, and finally, turn off the bracketed exposures to just a single exposure mode. Move the dial back to 0, and take the metered exposure. This should give you a set of 7 exposures of the same scene all 1 stop apart. It is a lot more complicated to do so, but it will get the job done quickly even with this small camera! Here are some examples from a walk around the National Cathedral in Washington, DC.

HDR - National Cathedral - ©TimeLine Media
HDR – National Cathedral – ©TimeLine Media
HDR - National Cathedral - ©TimeLine Media
HDR – National Cathedral – ©TimeLine Media

TimeLine Media – www.timelinedc.com
703-864-8208

Tools for Bracketing Exposures – Part 2 – Tech Thursday

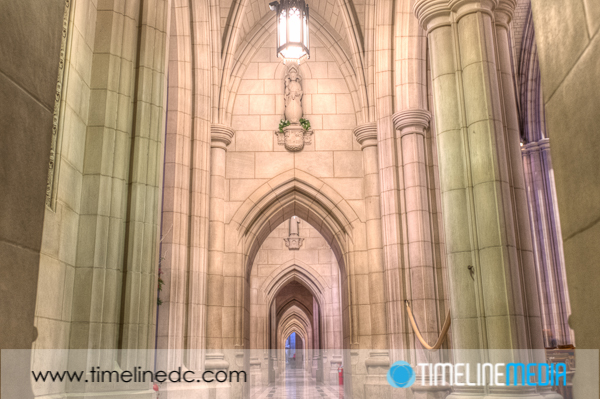
HDR photos of National Cathedral, Washington, DC - ©TimeLine Media

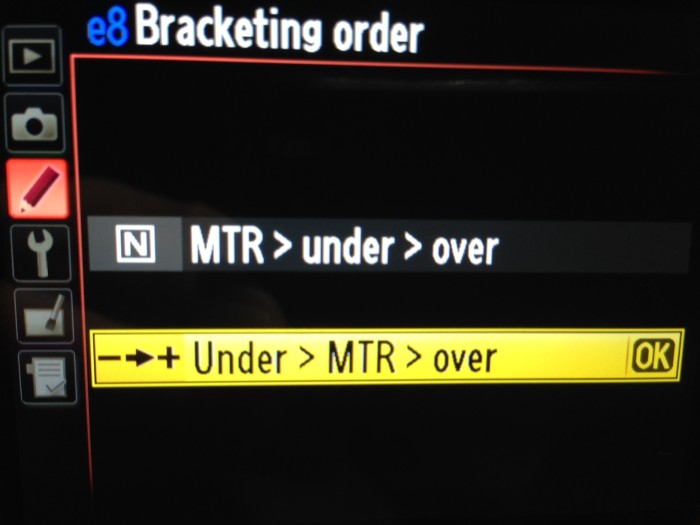
In the menus for Nikon cameras that have a bracketing feature. With this feature you can specify the order that the bracketed exposures are created. In this menu, it shows that the exposures start from underexposed frames first. Then the metered exposure (MTR), and finally the overexposed frames.

Bracketing Setup

Nikon bracketing setup
Nikon bracket setup

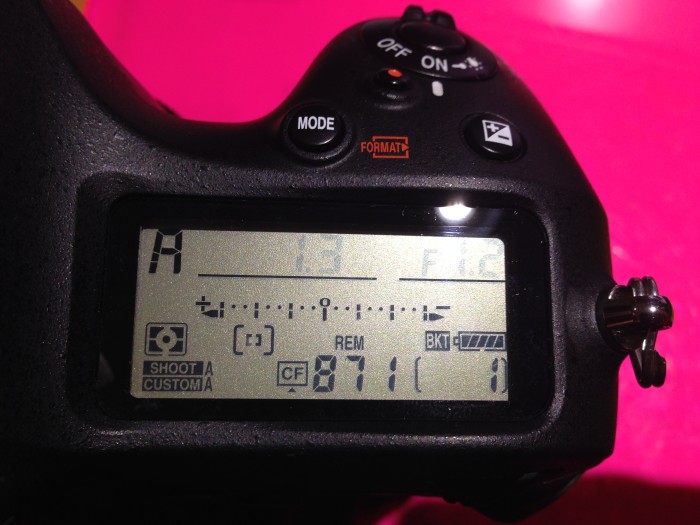
After that is all setup, go back and put your camera in Aperture priority. In this semi-automated mode, you can ensure that the aperture will not change as you make the bracketed exposures. The camera will then change the exposures from under to over. It does this changing the shutter speed after each time the shutter is fired. You can tell that your camera is set to make bracketed exposures by the tick marks along the exposure scale. This is an important indicator as you may setup your camera to make bracketed exposures, then forget, then wonder why your camera seems to have gone crazy with all these strange settings.

Nikon LCD screen setup for bracketing - ©TimeLine Media
Nikon LCD screen setup for bracketing – ©TimeLine Media

Camera Setup

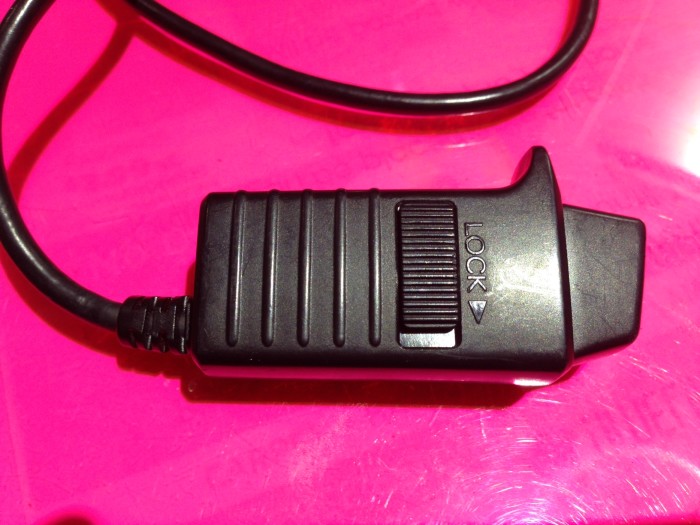
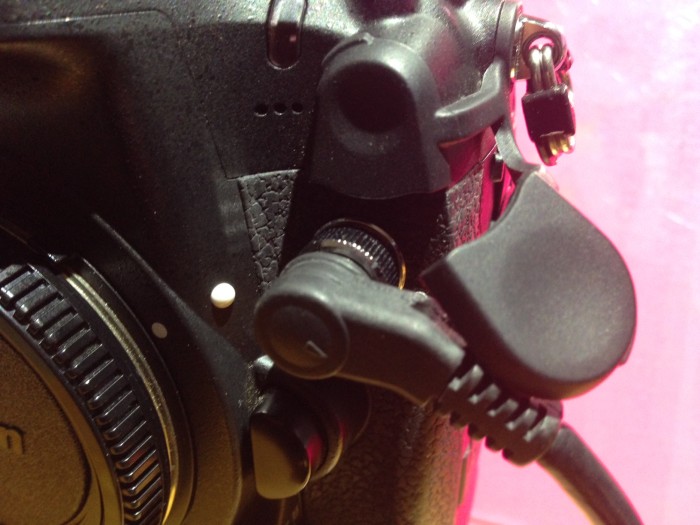
Once you have the camera setup for bracketing exposures, change the motor drive mode for the camera to the highest frame rate that is can shoot. On some cameras like this D4, you will be able to shoot a bracket of photos very quickly! In this case, if you have the bracket setup as above going from the underexposed to the overexposed frames, you will be able to hear the shutter slow as you go through the series. It is an especially nice audible check to know that the bracket was setup directly. Having a shutter release remote like the MC-30 for Nikon DSLRs will take your hands off of the camera body making the exposure even sharper by avoiding the camera shake from pressing the shutter button.

Nikon MC-30 remote shutter release
Nikon remote connection to DSLR

Just click and hold the big button on top until you hear the camera make all of the exposure that you had setup. In this case, it was setup to make 9 exposures, so I just held it down until it was done. Very easy! Now you will have all the exposures you need, that are easily brought into your favorite HDR program for processing.

HDR photos of National Cathedral, Washington, DC - ©TimeLine Media
HDR photos of National Cathedral, Washington, DC – ©TimeLine Media

TimeLine Media – www.timelinedc.com
703-864-8208
National Cathedral – Interior

National Cathedral interior - ©TimeLine Media

It has seemed like a long time since I have written a post! There is a nice backlog of things that I want to post about, but there are lots of things going on outside of photography that I am taking care of before I can get to them. Back to the photos – these were from an open shoot. The National Cathedral moved all of the chairs out of the nave which allowed you to view the expanse of the main worship space. Having an unobstructed view of the cathedral was a unique experience, and one that is difficult to capture in photos.

Empty Cathedral

National Cathedral interior - ©TimeLine Media
National Cathedral interior – ©TimeLine Media

With the repairs being done to the structure from the earthquake of August 2011, some of the stained glass windows were hidden from view. But there was still so much to photograph in the space. It took me 15 minutes just to get my bearings. It was nice to see so many photographers take the opportunity to come early on these two mornings to make some uncommon photos of this landmark.

National Cathedral interior - ©TimeLine Media
National Cathedral interior – ©TimeLine Media

I tried to stay out of the way as much as I could, but it was difficult. The other photographers were also very kind to gauge where each person was lining up a photo so as not to be in each other’s frame. Unfortunately, I did not have enough time to setup my big camera gear. With the DC traffic, I was already late and had lost some time to shoot.

National Cathedral interior - ©TimeLine Media
National Cathedral interior – ©TimeLine Media

So all of these photos were taken with the Fuji X100s. In every situation I bring this small camera, I am impressed by the capabilities. The noise performance, and the low light capture ability with the f/2.0 lens is impressive. If you need to make bracketed exposures for HDR, there is a drive mode that will create 3 very quick frames with 3 different exposures with one click of the shutter button. It came in handy in conjunction with the self-timer to get sharp photos in such a dark space!

National Cathedral interior - ©TimeLine Media
National Cathedral interior – ©TimeLine Media

TimeLine Media – www.timelinedc.com
703-864-8208
1 2