Posts Tagged ‘DC’

DC Dance Challenge photos expire today!

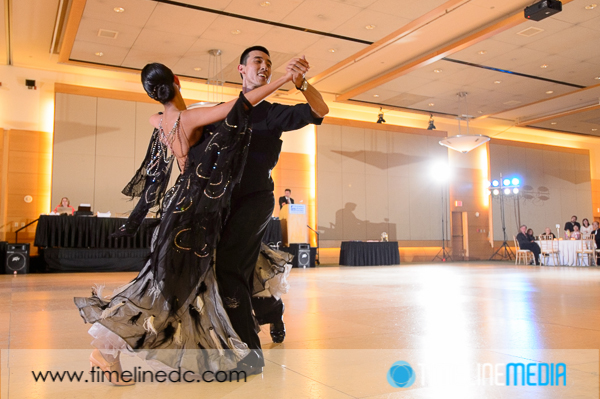
Ballroom dance competition - ©TimeLine Media

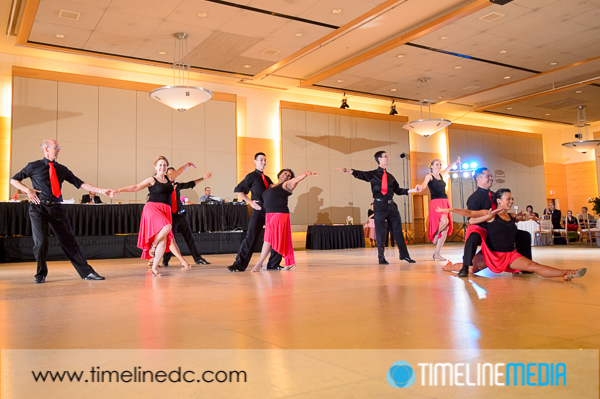
Tick, tick, tick – today is the last day to view and buy photos from the 2013 DC Dance Challenge!  After tonight, the images will be removed from the website, and put in the archive. We need to make more room for new events – starting with our first event of the year this upcoming weekend. There was some great ballroom, and Latin dancing from the participants, and an awesome professional Argentine Tango show to end the day.

http://proofs.timelinedc.com

Ballroom dance competition - ©TimeLine Media
Ballroom dance competition – ©TimeLine Media

Thanks to Fabio and Jennifer Bonini that have had us cover their event the last couple of years. They worked very hard every year to bring more to the dancers so that they have a good time on the dance floor and off. This last competition had their special challenges landing on the week of a federal government shutdown. This resulted in a change of venue right at the last minute, and they pulled it off nicely. The Ronald Reagan building was a beautiful venue for their event, and it would be nice if this becomes the new venue as it was great for photos.

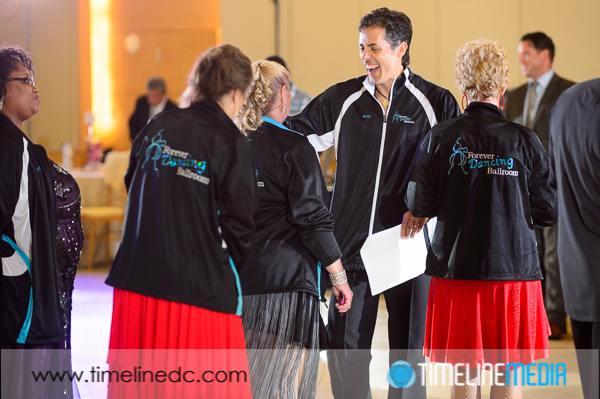
Dance Team at DC Dance Challenge - ©TimeLine Media
Dance Team at DC Dance Challenge – ©TimeLine Media

Whatever or where-ever the competition is held, you know that it will be worth your time to get in front of their judges, and enjoy the dancing of your friends and studio mates. They also have some great shows, and the unique “Dancing with the DC Stars” competition. We hope to be invited back again this year, so stay tuned to their website for more details as the date comes closer.

Dance formation ending - ©TimeLine Media
Dance formation ending – ©TimeLine Media

TimeLine Media – www.timelinedc.com
703-864-8208

Creating Vignettes with Flash

Lighting the Roosevelt Memorial with small flash - ©TimeLine Media

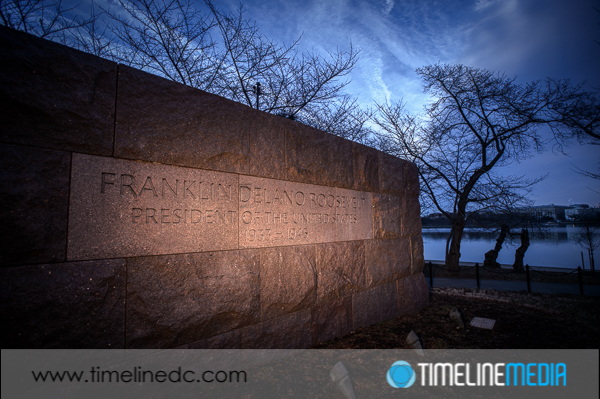
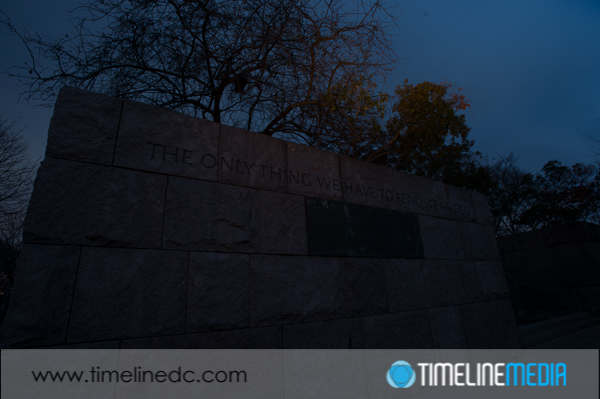
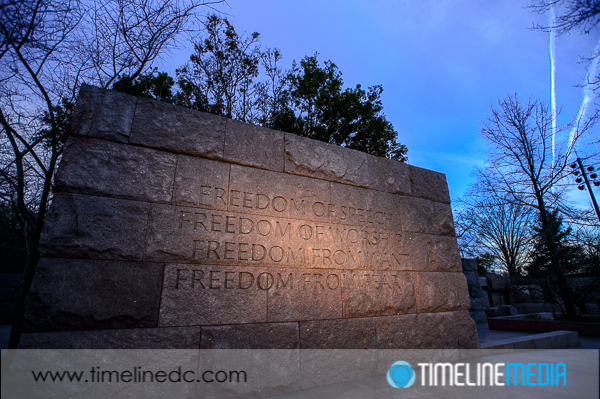
On yesterday’s post, I wrote about creating vignettes, in Photoshop. Today, I want to post some photos of another cool way to create vignettes, but this time, doing it in camera. I made these at the Franklin Delano Roosevelt Memorial in Washington, DC. In this walk-through park dedicated to the longest-serving US President, there are many of his quotes engraved into the large pink-colored blocks that make up the monument. You can use the color of the blocks to your advantage as pink and blue are next to each other on the color wheel, so they will work together well in a frame. Here is a frame of the manual exposure setup in the camera without the flash:

Roosevelt Memorial without flash - ©TimeLine Media
Roosevelt Memorial without flash – ©TimeLine Media

Washington, DC

I am just looking to keep a dark, saturated blue in the sky. The flash will be used to illuminate the foreground and pop the subject out of the frame. To setup the flash, I put a warming gel over the front of the flash. Additionally I zoomed the head in to 180mm. This focuses the flash into a tight circle as opposed to just spilling light all over the scene. This is what creates the vignette effect which will draw your viewer’s eye to where you want it to go. I hand held the flash with my left hand, and made this photo:

Lighting the Roosevelt Memorial with small flash - ©TimeLine Media
Lighting the Roosevelt Memorial with small flash – ©TimeLine Media

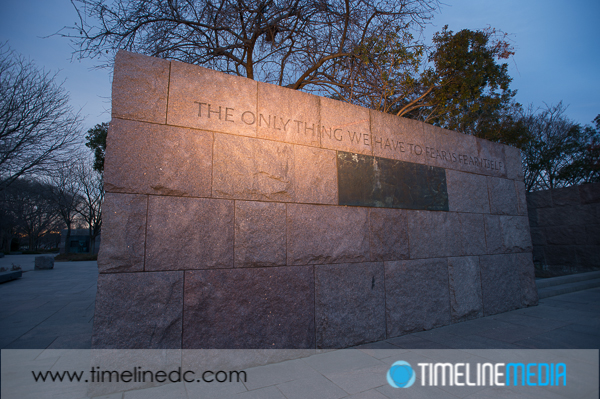
How far you zoom the head, can make the circle of light larger. Especially if you have more of an area you want to cover in light. This next photo, I zoomed the head out farther since I was standing farther away, and had more words that I wanted to light:

Lighting the Roosevelt Memorial with small flash - ©TimeLine Media
Lighting the Roosevelt Memorial with small flash – ©TimeLine Media

It was a challenge to get the light exactly right. Sometimes, I would flash the ground, sometimes, I would only light the trees above the blocks. It would be much easier to do this with the flash on a stand that you can control with more consistency, but I did not want to risk any entanglements with the park rangers. I simply used a hot shoe cable cord to get the flash off the camera, and fired away. Give it a try next time to get a different look at places that are photographed all the time!

Lighting the Roosevelt Memorial with small flash - ©TimeLine Media
Lighting the Roosevelt Memorial with small flash – ©TimeLine Media

TimeLine Mediawww.timelinedc.com
703-864-8208

Fuji X100s – Exposure bracketing

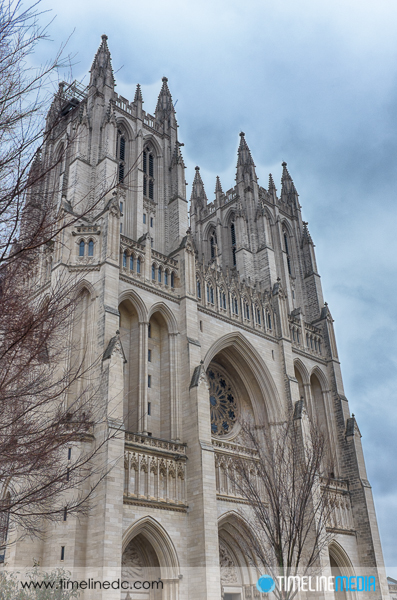
HDR - National Cathedral - ©TimeLine Media

In delving through the manual of the Fuji X100s camera, I found bracketing operations in a menu. Previously, I have posted about the drive mode for making panoramas where the camera will continuously make images while guiding you to pan the camera to create super wide panorama photos. In that same menu, you also have access to create bracketed exposures!

Menu Exploring

I did not realize that this camera at first because there was not a dedicated function button for this, and it was not present in the Quick-access menu. It was only when really looking that I found this which really makes this a useful mode. Just like other ways of working with this camera, it is also much easier to setup this mode, and implement in taking photos. There are some limitations compared with the DSLR but for the trade off in size, it is worth it for light traveling.

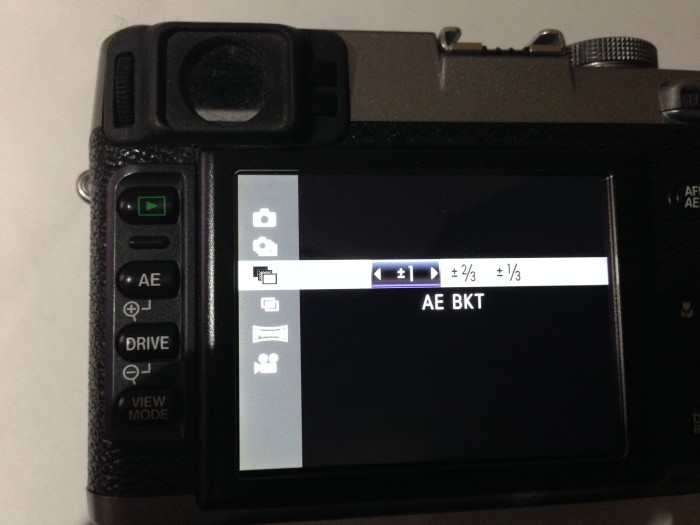
Fuji X100s exposure bracket setup
Fuji X100s exposure bracketing setup
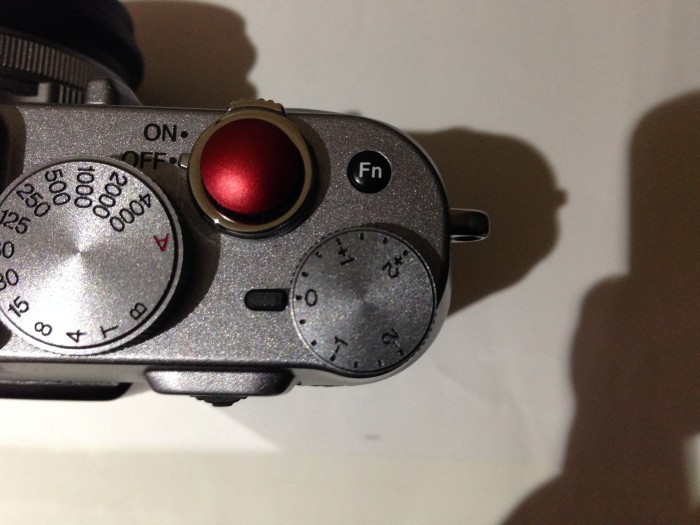
Fuji X100s exposure compensation dial

If you click the Drive button, you can select the AE bracket icon, and you can select from three different options – whether to have the exposures 1.0, 2/3, or 1/3 stop apart. This is similar to the tick marks along the exposure line on the Nikon DSLR setup. I set my exposure brackets to be 1.0 stops apart. One of the limitations of the X100 compared to the Nikon in terms of bracketing, is that you are limited to only 3 exposures per shutter release. This makes it more difficult to make a larger set if you are hand-holding, which I do not recommend anytime you are trying to make these!

Bracketing Images

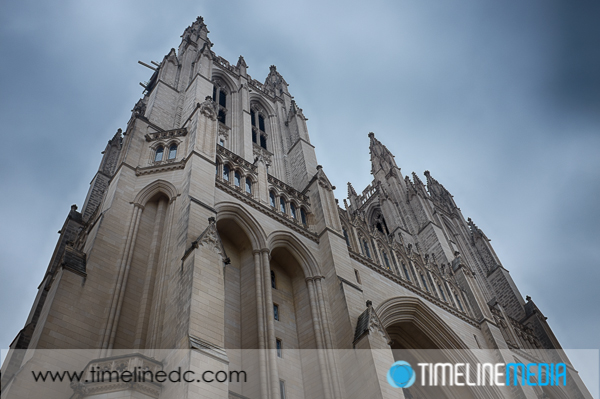
To make more bracket images, I make use of the exposure compensation dial. This button which is easier to use than on DSLRs, allows you to change the exposure up to -2 or +2 around the metered settings in the camera. When on a tripod, you can set the X100s to make bracketed exposures, then set the camera to -2 with the exposure compensation dial. Then make the 3 exposures around +2, and finally, turn off the bracketed exposures to just a single exposure mode. Move the dial back to 0, and take the metered exposure. This should give you a set of 7 exposures of the same scene all 1 stop apart. It is a lot more complicated to do so, but it will get the job done quickly even with this small camera! Here are some examples from a walk around the National Cathedral in Washington, DC.

HDR - National Cathedral - ©TimeLine Media
HDR – National Cathedral – ©TimeLine Media
HDR - National Cathedral - ©TimeLine Media
HDR – National Cathedral – ©TimeLine Media

TimeLine Media – www.timelinedc.com
703-864-8208
1 46 47 48 49 50 100