Posts Tagged ‘Nikon’

Tools for Bracketing Exposures – Part 2 – Tech Thursday

HDR photos of National Cathedral, Washington, DC - ©TimeLine Media

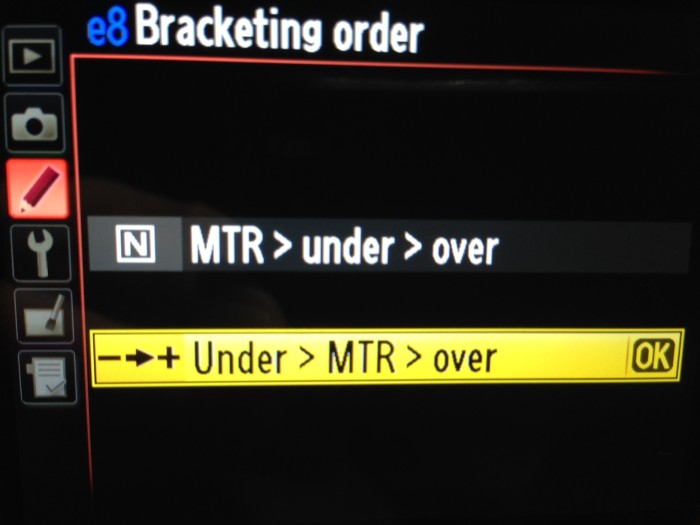
In the menus for Nikon cameras that have a bracketing feature. With this feature you can specify the order that the bracketed exposures are created. In this menu, it shows that the exposures start from underexposed frames first. Then the metered exposure (MTR), and finally the overexposed frames.

Bracketing Setup

Nikon bracketing setup
Nikon bracket setup

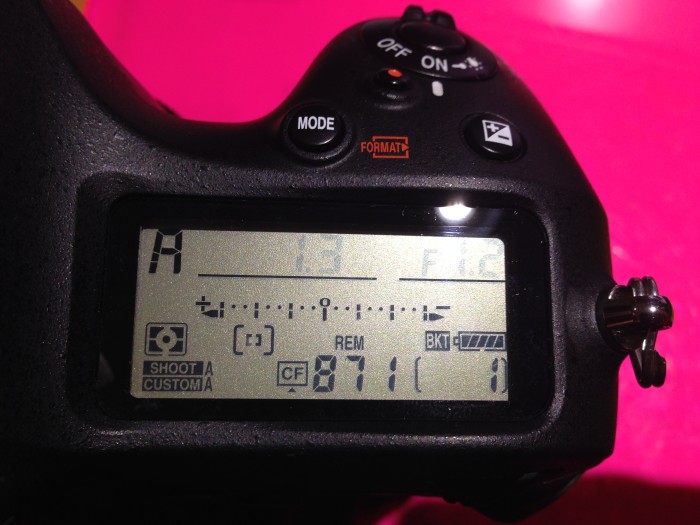
After that is all setup, go back and put your camera in Aperture priority. In this semi-automated mode, you can ensure that the aperture will not change as you make the bracketed exposures. The camera will then change the exposures from under to over. It does this changing the shutter speed after each time the shutter is fired. You can tell that your camera is set to make bracketed exposures by the tick marks along the exposure scale. This is an important indicator as you may setup your camera to make bracketed exposures, then forget, then wonder why your camera seems to have gone crazy with all these strange settings.

Nikon LCD screen setup for bracketing - ©TimeLine Media
Nikon LCD screen setup for bracketing – ©TimeLine Media

Camera Setup

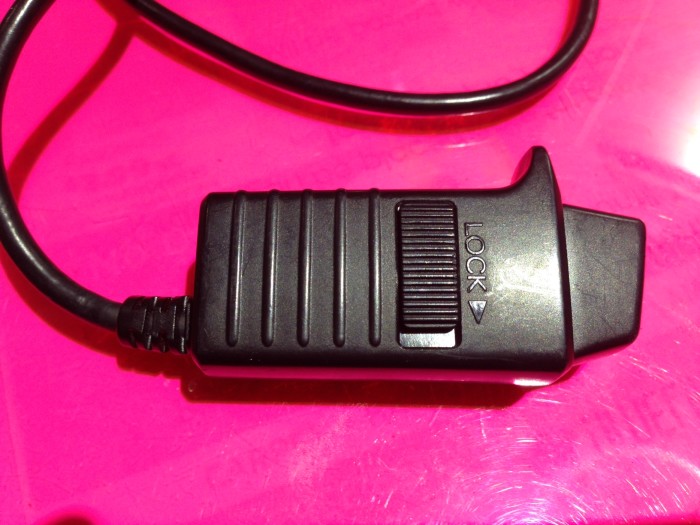
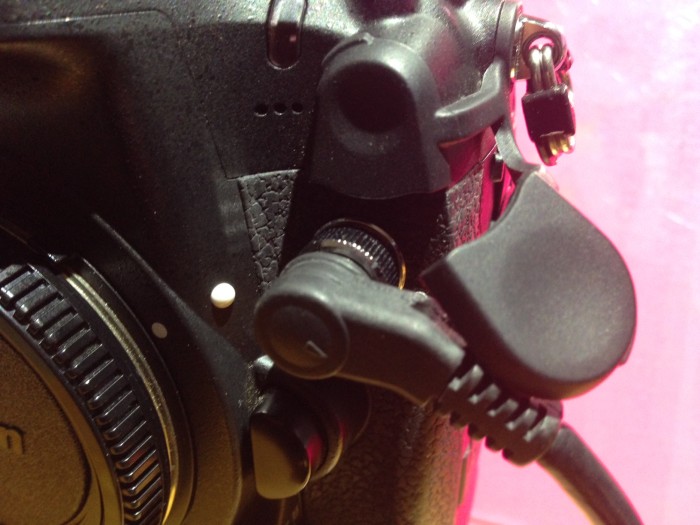
Once you have the camera setup for bracketing exposures, change the motor drive mode for the camera to the highest frame rate that is can shoot. On some cameras like this D4, you will be able to shoot a bracket of photos very quickly! In this case, if you have the bracket setup as above going from the underexposed to the overexposed frames, you will be able to hear the shutter slow as you go through the series. It is an especially nice audible check to know that the bracket was setup directly. Having a shutter release remote like the MC-30 for Nikon DSLRs will take your hands off of the camera body making the exposure even sharper by avoiding the camera shake from pressing the shutter button.

Nikon MC-30 remote shutter release
Nikon remote connection to DSLR

Just click and hold the big button on top until you hear the camera make all of the exposure that you had setup. In this case, it was setup to make 9 exposures, so I just held it down until it was done. Very easy! Now you will have all the exposures you need, that are easily brought into your favorite HDR program for processing.

HDR photos of National Cathedral, Washington, DC - ©TimeLine Media
HDR photos of National Cathedral, Washington, DC – ©TimeLine Media

TimeLine Media – www.timelinedc.com
703-864-8208

Illuminada

GGB-Nada-outside-diner-0001

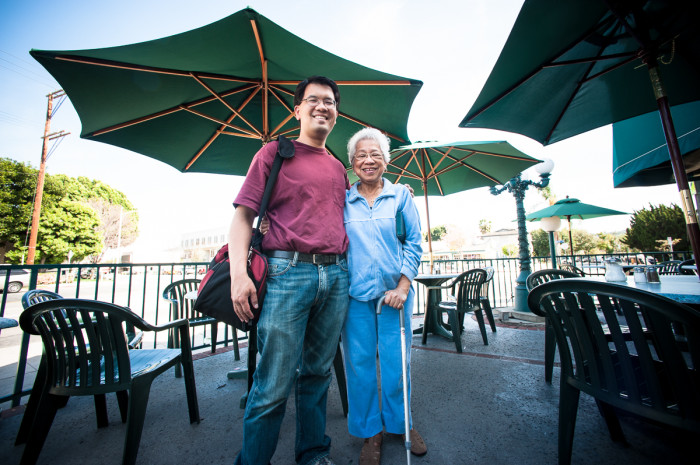
This post is dedicated to my aunt. She was my father’s sister that visited us often. Her brothers treated her with the respect that all good brothers show to their oldest sister. Compared to her, my dad was outwardly more energetic, and seemed to bring more attention to himself with loud laughter and funny stories. Tia Nada, as most called her, was more reserved in her actions, but she had many of the same personality traits underneath the surface. She too, had stories that could get the group going, and her humor fit right in with all of her siblings.

Family Photos

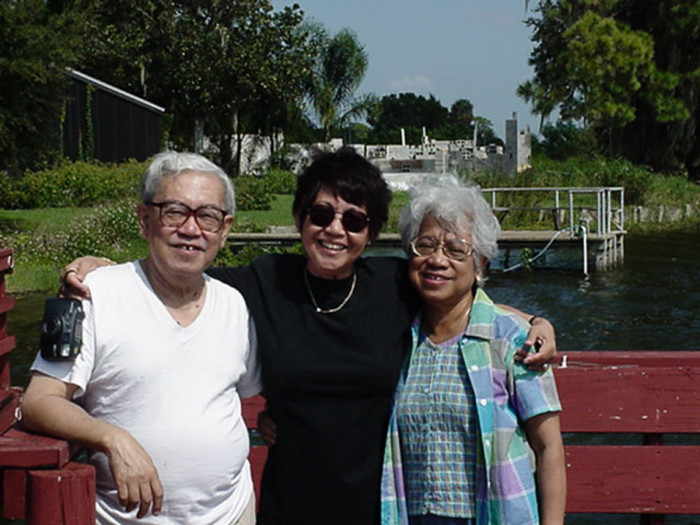
Nanay, Papa Titing, Tia Nada on deck2

From snippets of stories of the old days, it was Tia Nada that first met my mother. They both worked in the same hospital and became friends. Since the workplace was in Tia Nada’s town, it was natural for my mom to be invited to and meet the rest of the family. Who knows where I would be, or IF I would be if this circumstance was different!

Borneo-family-photo-pier-0001

I remember her as a gentle, yet strong and independent person. My mother could depend on her to help with her business if her regular assistants were on vacation. She could help with keeping her books, she helped to cook during our family reunions, and she even helped us move our things to a new house.

Tia Nada lived for a long time in Toluca Lake, California. While at home, she kept up with the headlines and all of the news of the celebrities in Southern CA. She would recount all of details of the OJ Simpsons trial when we call her. (C’mon now, every family has at least one person that followed the whole story!) She called us to make sure we were watching the Opening Ceremonies of the 1984 Olympics in her city. And driving through her neighborhood, she could give you her own tour of famous people’s homes, no map needed!

Tia-Nada-GGB-self-shot-0001-2

This always seemed to keep her younger in my mind. I admired her strength in challenging times. She relied on family, but we also relied on her. I hope much of her spirit survives in us after knowing her. 

Metering with Flash

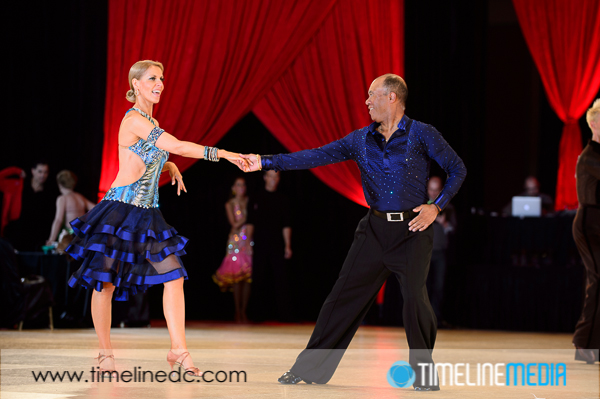
Ballroom dance photo - ©TimeLine Media

From the post about starting with flash, I did get a question about how this affects the camera metering. Great question! As a review, the meter in the camera measures the amount of light that is reflected off your subject. When you shoot in manual mode where you specify the aperture and shutter speed of your photo, the in-camera meter will tell you whether or not your settings will produce a good exposure. A good exposure is or an overall 18% gray image.

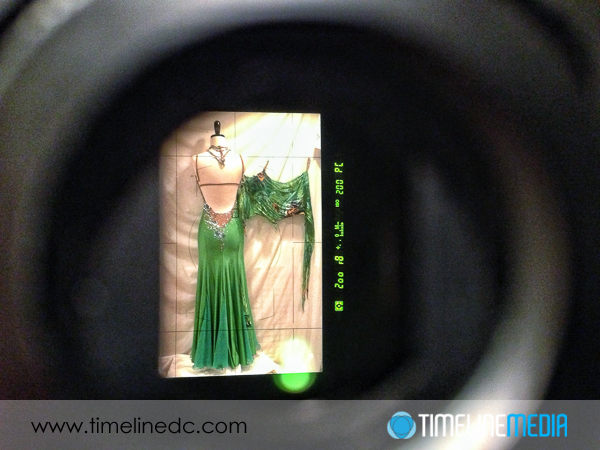
The computer in the camera does not know anything about the subject you are photographing. Moreover it does not know what you are attempting to do. So it takes all the data from dark to light that is coming into the camera, and it spits out a scale. Where on the scale it meters will show you what your current settings will give you. If you are in the minus side of the scale, your overall image will be dark. However, if you are on the plus side of the scale, your image will be bright. The question came in from a recent image I posted from a product shoot where I photographed the viewfinder with my iPhone, and the scale was all the way to the minus side! Were my photographs all too dark or underexposed?

Flash Setup

Nikon viewfinder during product shoot - ©TimeLine Media
Nikon viewfinder during product shoot – ©TimeLine Media

This is where you need to add the flash, and the meter that is built into the flash can take over. If you are using the through-the-lens or TTL metering of your flash, there is a pre-flash burst that fires as you hit the shutter button. In that small time, this burst will be enough information for the flash to take in the scene, like your in-camera meter, then dial in the right amount of flash to add for a good exposure. You do not have to do any calculations or adjustments, the speedlight will do all that for you! This is one of the reasons these small units are so powerful. In quickly changing circumstances such as a wedding reception, or indoor event, you can turn in different directions very quickly and keep making flashes without changing your settings before each photo.

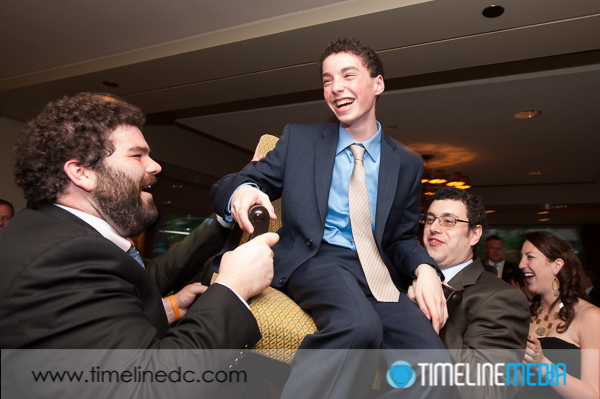
Bar Mitvah photo - ©TimeLine Media
Bar Mitvah photo – ©TimeLine Media

Just like using your in-camera meter, however, there can be some drawbacks. Depending on what you have in front of your lens, you may get over-exposed or under-exposed photos. Again, the camera cannot make any decisions on how you are composing your photo. It just sees dark and light. This is the reason why there are so many flash bulbs that will fire at the start of American football games – the cameras in the stands just see that light needs to be added to the scene. Why will using flash in this instance not work at all? I’ll post about that soon!

Ballroom dance photo - ©TimeLine Media
Ballroom dance photo – ©TimeLine Media

TimeLine Media – www.timelinedc.com
703-864-8208
1 2 3 4 5 6 10