Posts Tagged ‘print’

Heroic 3D Titles | Tech Tuesday

Dance Photo Posters

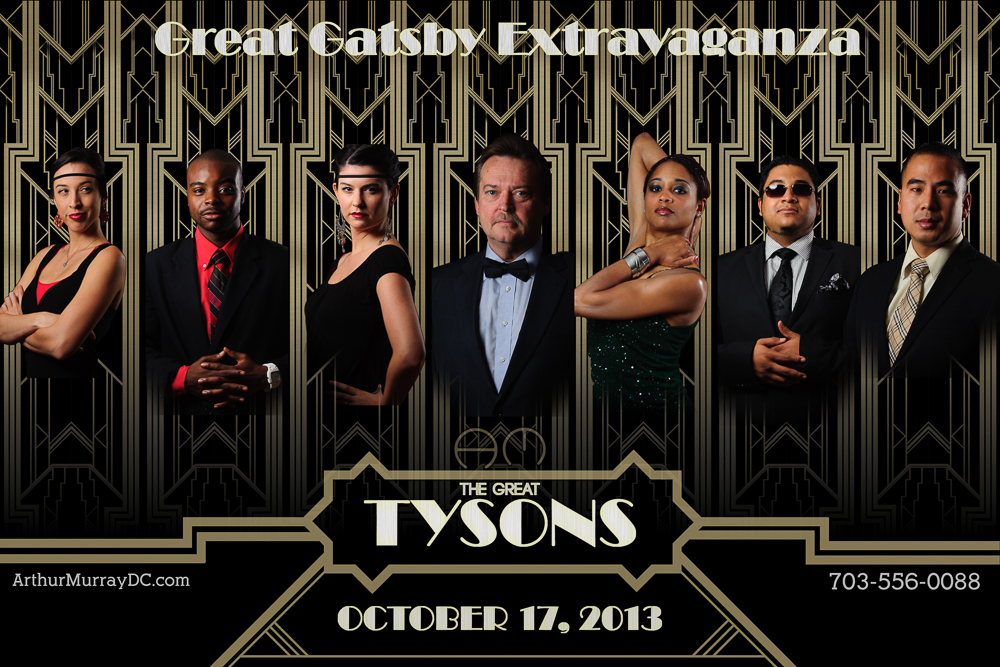
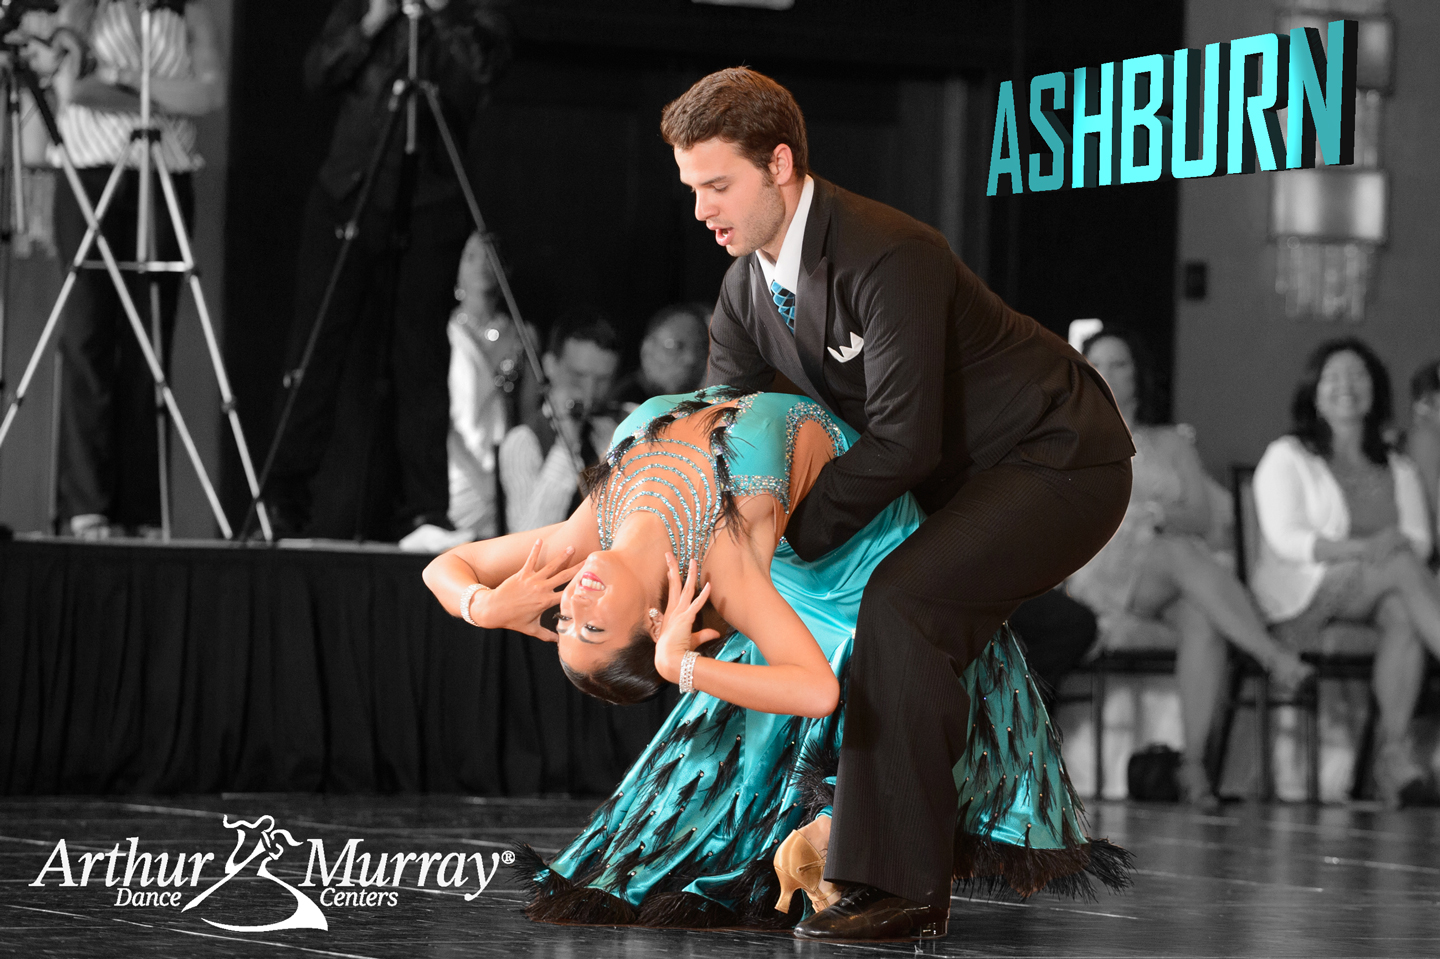
I had a record number of votes for the Arthur Murray professional show posters at the Facebook page! These featured an action photo from each of the dances performed with the dancers popped out in color. Additionally, I left the the monochrome background. On this occasion, I wanted to identify each of the studios that the dancers represented. Also, I wanted to make a new design for the titles. For the most part, I have a font with some kind of layer style applied in Photoshop. In many blog posts and videos online, I have seen a lot of features added to the 3D panel in Photoshop. Additionally that can make editable text into 3D models that can be easily added across multiple images.

Arthur-Murray-Ashburn-winning-poster-©TimeLine-Media


The 3D extrusion function was introduced in the CS6 version of Adobe Photoshop. Since it has been a few versions now, the technology has really evolved quickly, and is quite powerful for those that know what they are doing. I am just dipping my toe into this section, so I still in the hunting, testing, and experimenting phase. That being the case, I was really impressed with how easy and fast the 3D works in Photoshop CC 2014!

Starting-text-layer-©TimeLine-Media


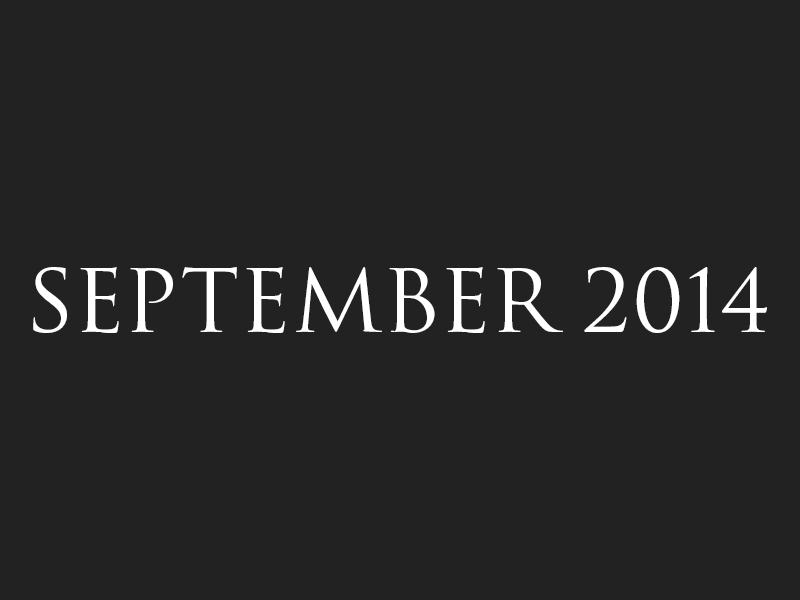
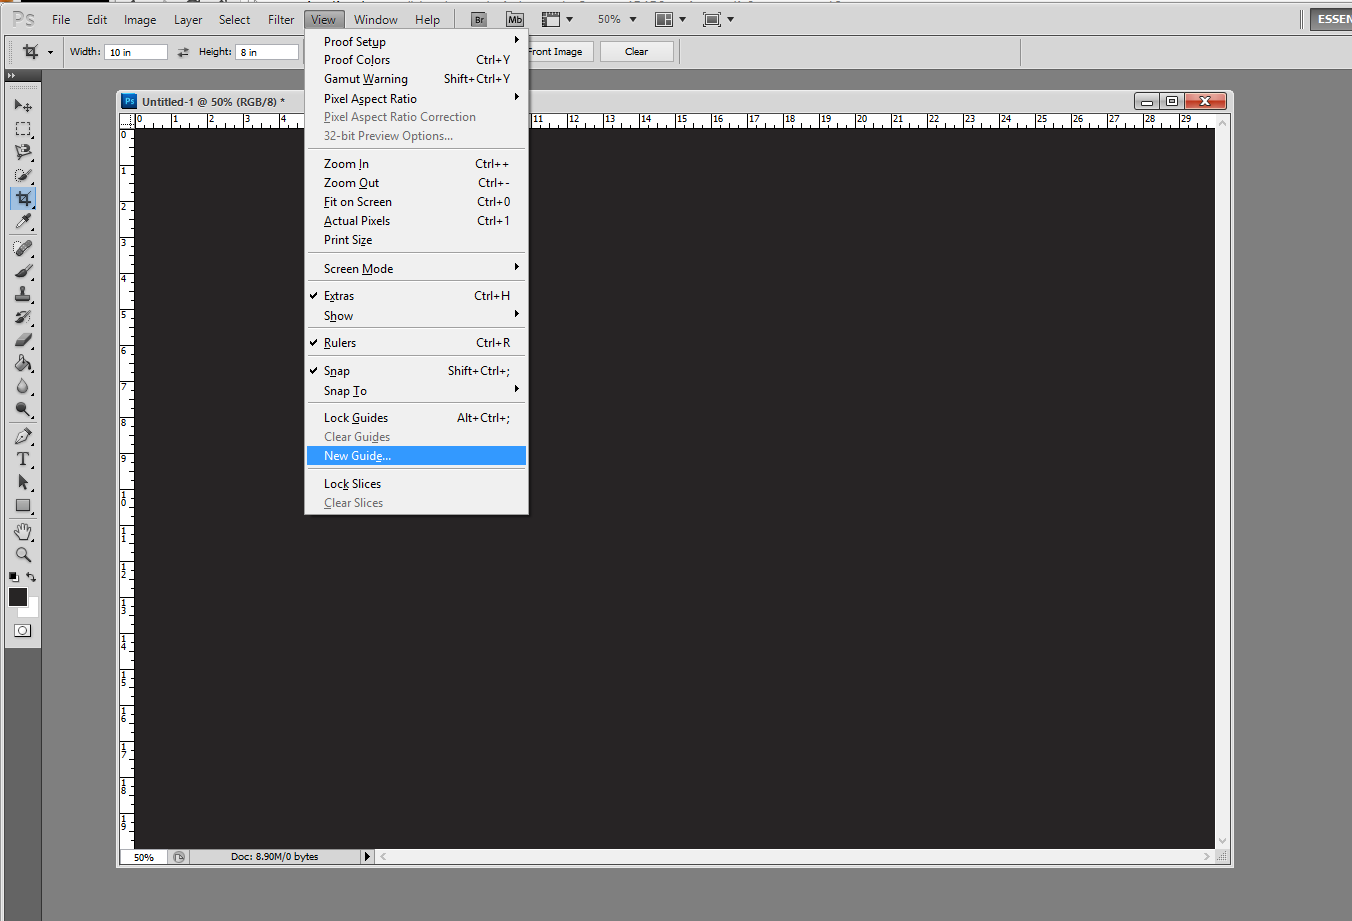
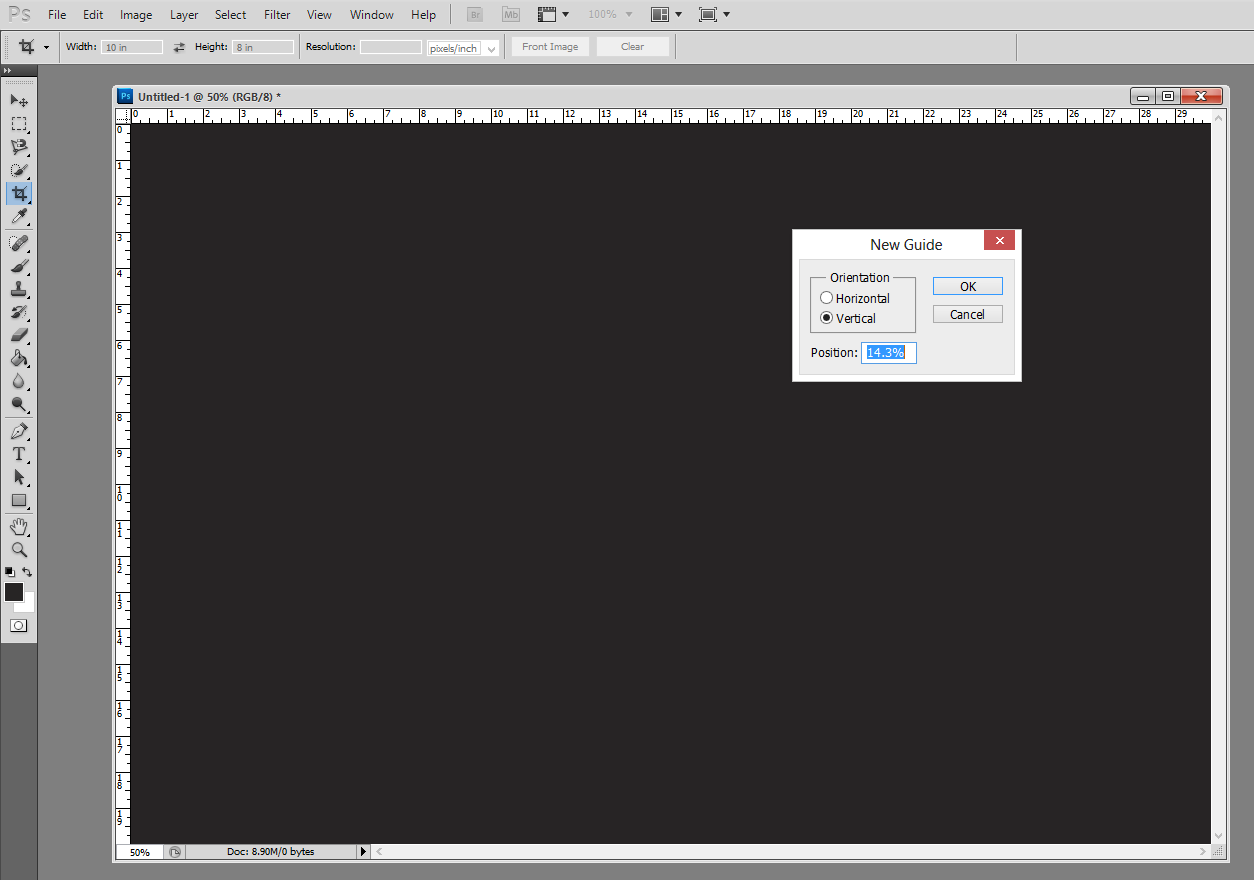
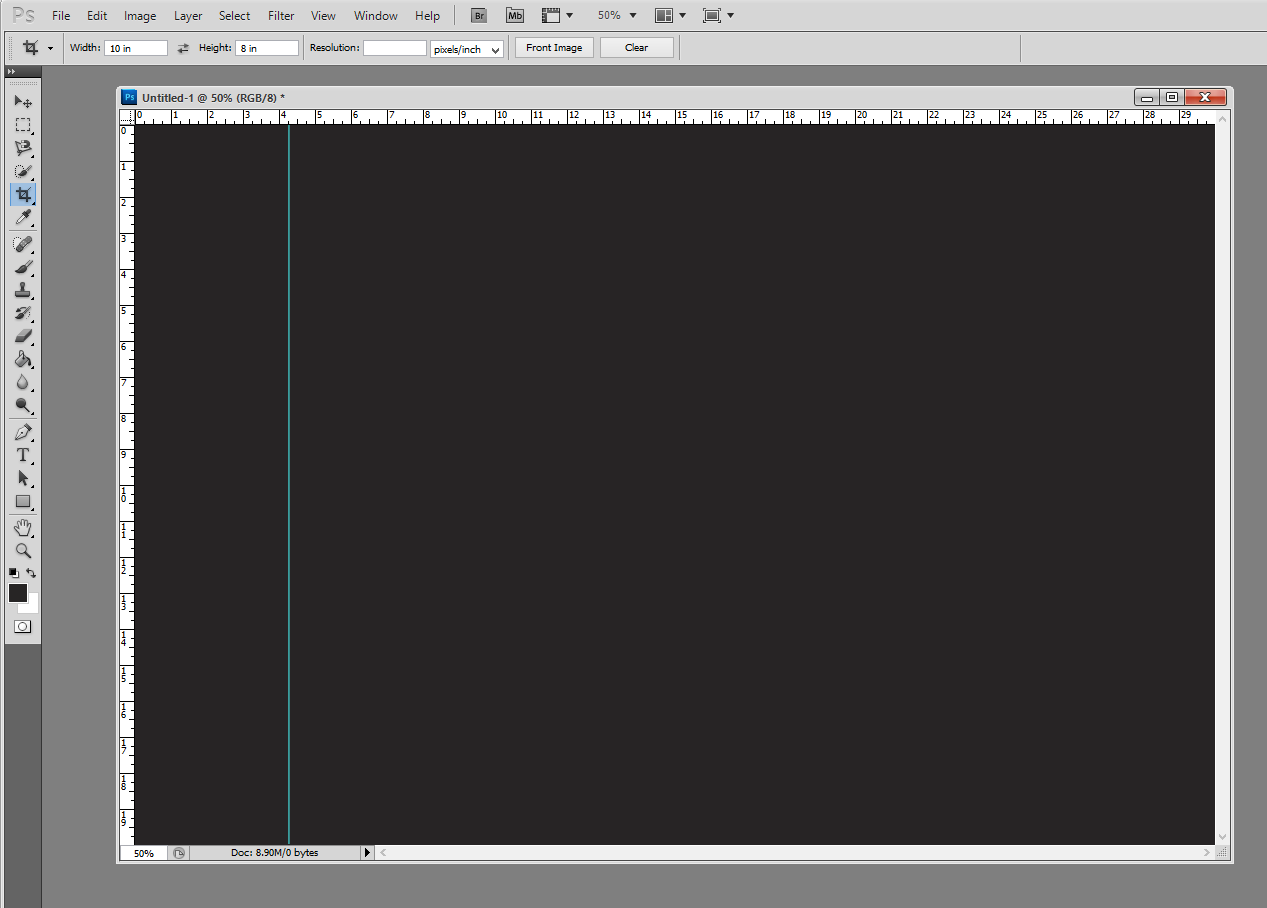
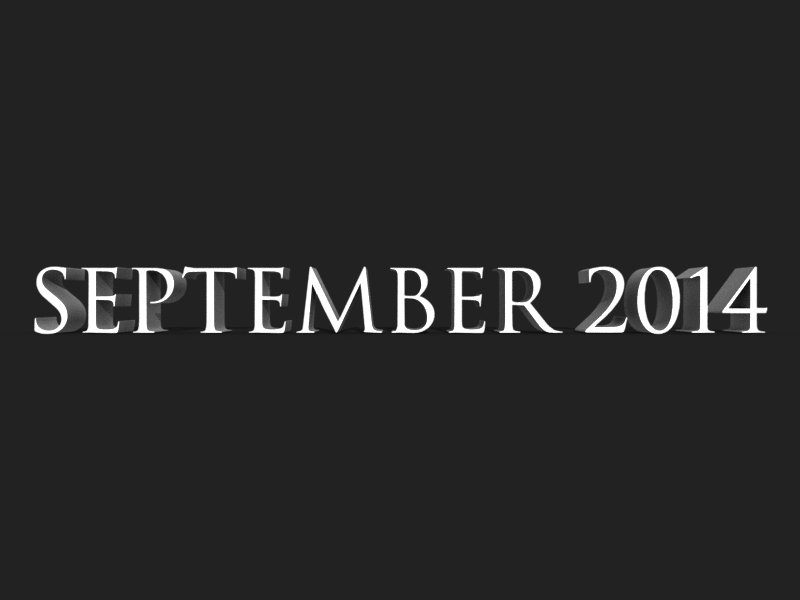
Start by making a simple text layer on a dark, contrasted background. Clicking on the 3D Menu, then “New 3D Extrusion from Selected Layer” will transform the text layer into a 3D object. This is now the ultimate Smart Object! Viewing the 3D panel, and the Properties panel, you will notice a large number of options to manipulate the design from here.

3D-Extrusion-of-Text-Layer-©TimeLine-Media


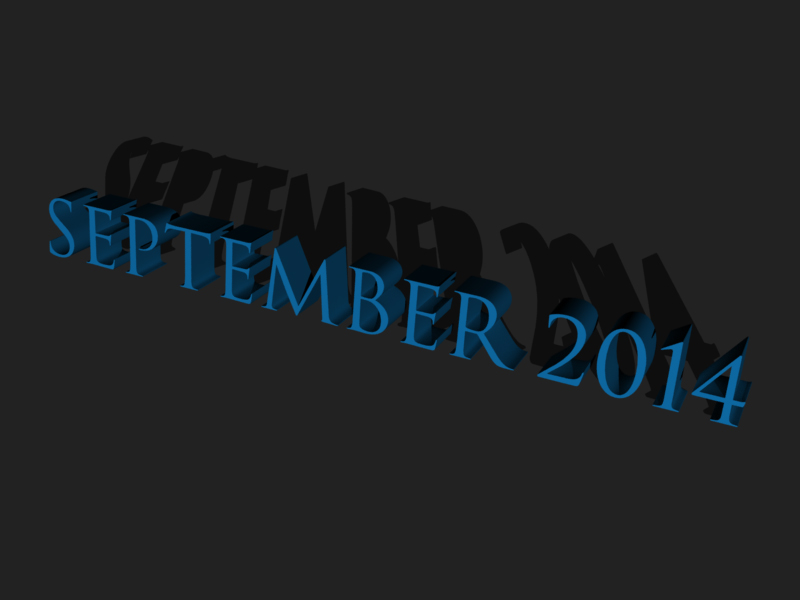
From here, you can change the rotation of the text, the depth of the 3D object, and the angle of the text to the view. And this is all by the clicking and holding the mouse and dragging it around the screen! It does not take much to produce some nice dimensional effects for titles. In future entries, I’ll post more about the details that I played around with to get the final versions. However, I’ll start with the basics to get others playing around with 3D just for the fun of it!

3D-Title-with-color-lighting-and-shadow-©TimeLine-Media

TimeLine Media www.timelinedc.com
703-864-8208

Canvas Prints – Tech Thursday

©TimeLine Media - hanging prints in living room

For customers visiting the new TimeLine Media proofing website, I try to give lots of options for displaying your photos. For hanging on the wall, I prefer canvas prints compared to framed paper prints. The presentation of the image is very modern. Without the frame or matting, there is no other decoration surrounding the canvas. The wall that the canvas is hanging on becomes the backdrop, helping to pop the image even more. Here is an example of a display of prints in the living room:

©TimeLine Media - hanging prints in living room
©TimeLine Media – hanging prints in living room

Printing on Canvas

These four prints are each 20 x 20 in size. As a recommendation I would not hang any image smaller than 11 x 14 on the wall. Many think that an 8 x 10 is sufficient, but for me, it would be too small to appreciate anywhere but up close. The larger prints allow the images to be a focal point in the room as soon as one enters. On the website, I do offer 8 x 10 canvas prints in case it will hang in a small space, or hallway, or if you want to put a collection of them together against a wall. I would be happy to discuss with you about how displaying your prints as a single or collection would work for your wall space. I enjoy working on a collection like this one in a while.

Additionally, here are some detail images of these prints. They arrive well-packed from the lab to your home ready-to-hang! They are mounted with a wall hanger and bumpers on the back of the print to prevent any damage to paint on your walls.

Canvas wall hanger
Canvas wall hanger
Canvas wall bumper
Wall bumper on the back of a canvas print

Canvas prints can be made in most popular image sizes, but custom dimensions can be made too! The image is printed directly onto canvas, and is wrapped around a wooden frame. Sometimes the image can be made to wrap around the edge, or it can be wrapped with an edge of black, white or any custom color. These were wrapped on white edges.

Canvas edge detail
Canvas edge detail

TimeLine Media – www.timelinedc.com
703-864-8208

Great Gatsby Poster Part 2 – Tech Thursday

©TimeLine Media - Arthur Murray - Tysons Corner poster

Poster Creation

The last Tech Thursday, I posted about the Great Gatsby poster from the 2013 movie. I made myself a project to recreate the poster with our local dance studio since they are planning a party with a Great Gatsby theme this October. To start, I made portraits of all the staff, then made a background in Adobe Illustrator to place them. It was a background that was flipped and repeated so that it would give a consistent look to each of the portraits.

To come up with the dimensions for the backgrounds, I based it on a 20 x 30 image. This is a standard size for printing and framing of photos, and would be large enough to put 7 portraits on at one time. In Adobe Photoshop, you can create guides to help you line up elements in your image. So I started with a 20 x 30 image, then made guides all 14.3% apart from each other. This value comes from dividing 100 by 7, which is 14.28… Rounded to 14.3 would fill up the background close to 100% across – 100.1%, actually. Here are screen shots of how to do this:

New Guide option from the menu in Photoshop CS5

Select ‘View’ > ‘New Guide’ to create a guide on your image. The default units in this box are in inches, so change from in to %, and the guide will be placed 14.3% across the image vertically from the left.

Background Graphic Design

New guide at 14.3% of the background vertically

From here, I just selected the are to the left of the guide to get the dimensions to bring into Illustrator to create the background. Similarly, I made guides in Illustrator that divided the rectangle into quarters. I created the design in one corner, then flipped and moved the design until it filled up the entire area making the design nicely symmtrical:

©TimeLine Media - portrait background
©TimeLine Media – portrait background

I burned some of the smaller lines to make it look like they were continuing on under the larger lines. I also made a dark gradient towards the bottom of the frame to add more dimension to the background. Then I pasted the portraits on top of the background, and added them to the complete poster in my evenly spaced guides. This did take me about a day and a half to complete since I was learning a lot of new techniques in Adobe programs, but I think it came out nicely!

©TimeLine Media - Arthur Murray - Tysons Corner poster
©TimeLine Media – Arthur Murray – Tysons Corner poster

TimeLine Media – www.timelinedc.com
703-864-8208

1 2 3 4