Posts Tagged ‘Washington’

Fuji X100s – Exposure bracketing

HDR - National Cathedral - ©TimeLine Media

In delving through the manual of the Fuji X100s camera, I found bracketing operations in a menu. Previously, I have posted about the drive mode for making panoramas where the camera will continuously make images while guiding you to pan the camera to create super wide panorama photos. In that same menu, you also have access to create bracketed exposures!

Menu Exploring

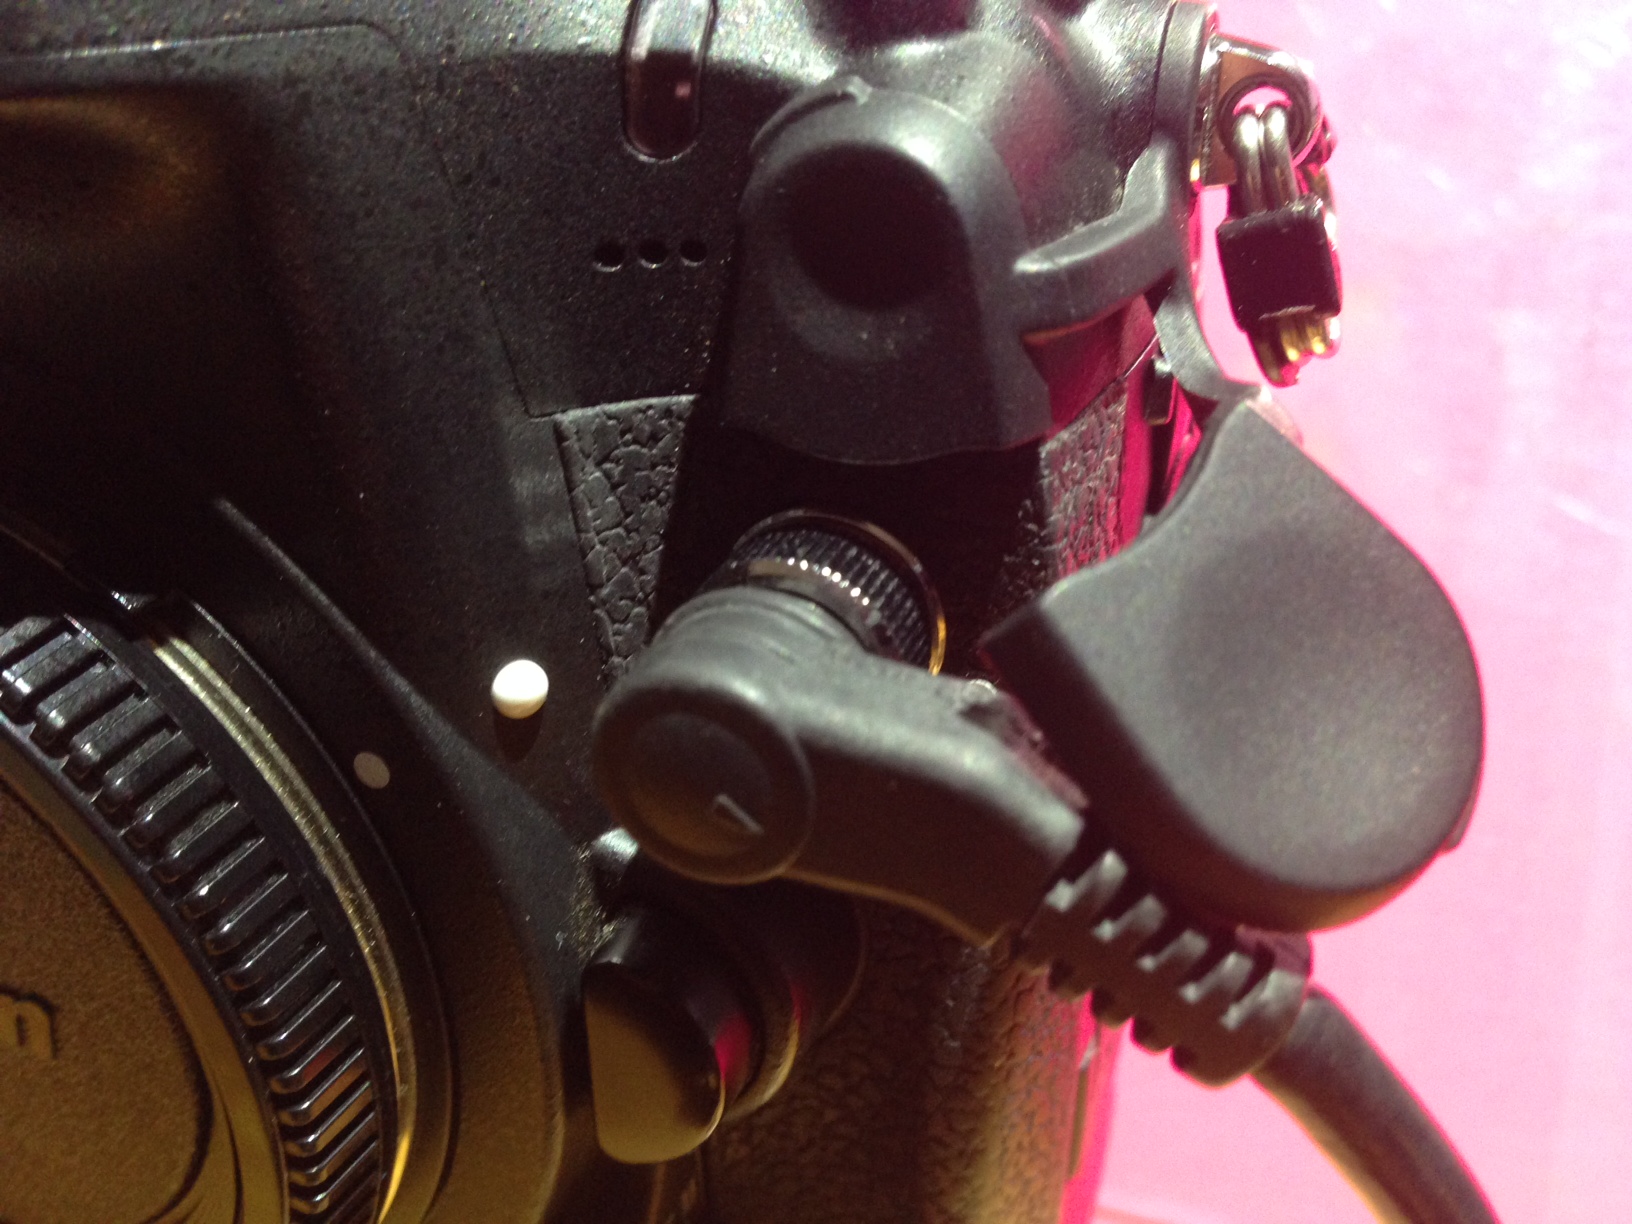
I did not realize that this camera at first because there was not a dedicated function button for this, and it was not present in the Quick-access menu. It was only when really looking that I found this which really makes this a useful mode. Just like other ways of working with this camera, it is also much easier to setup this mode, and implement in taking photos. There are some limitations compared with the DSLR but for the trade off in size, it is worth it for light traveling.

Fuji X100s exposure bracket setup
Fuji X100s exposure bracketing setup
Fuji X100s exposure compensation dial

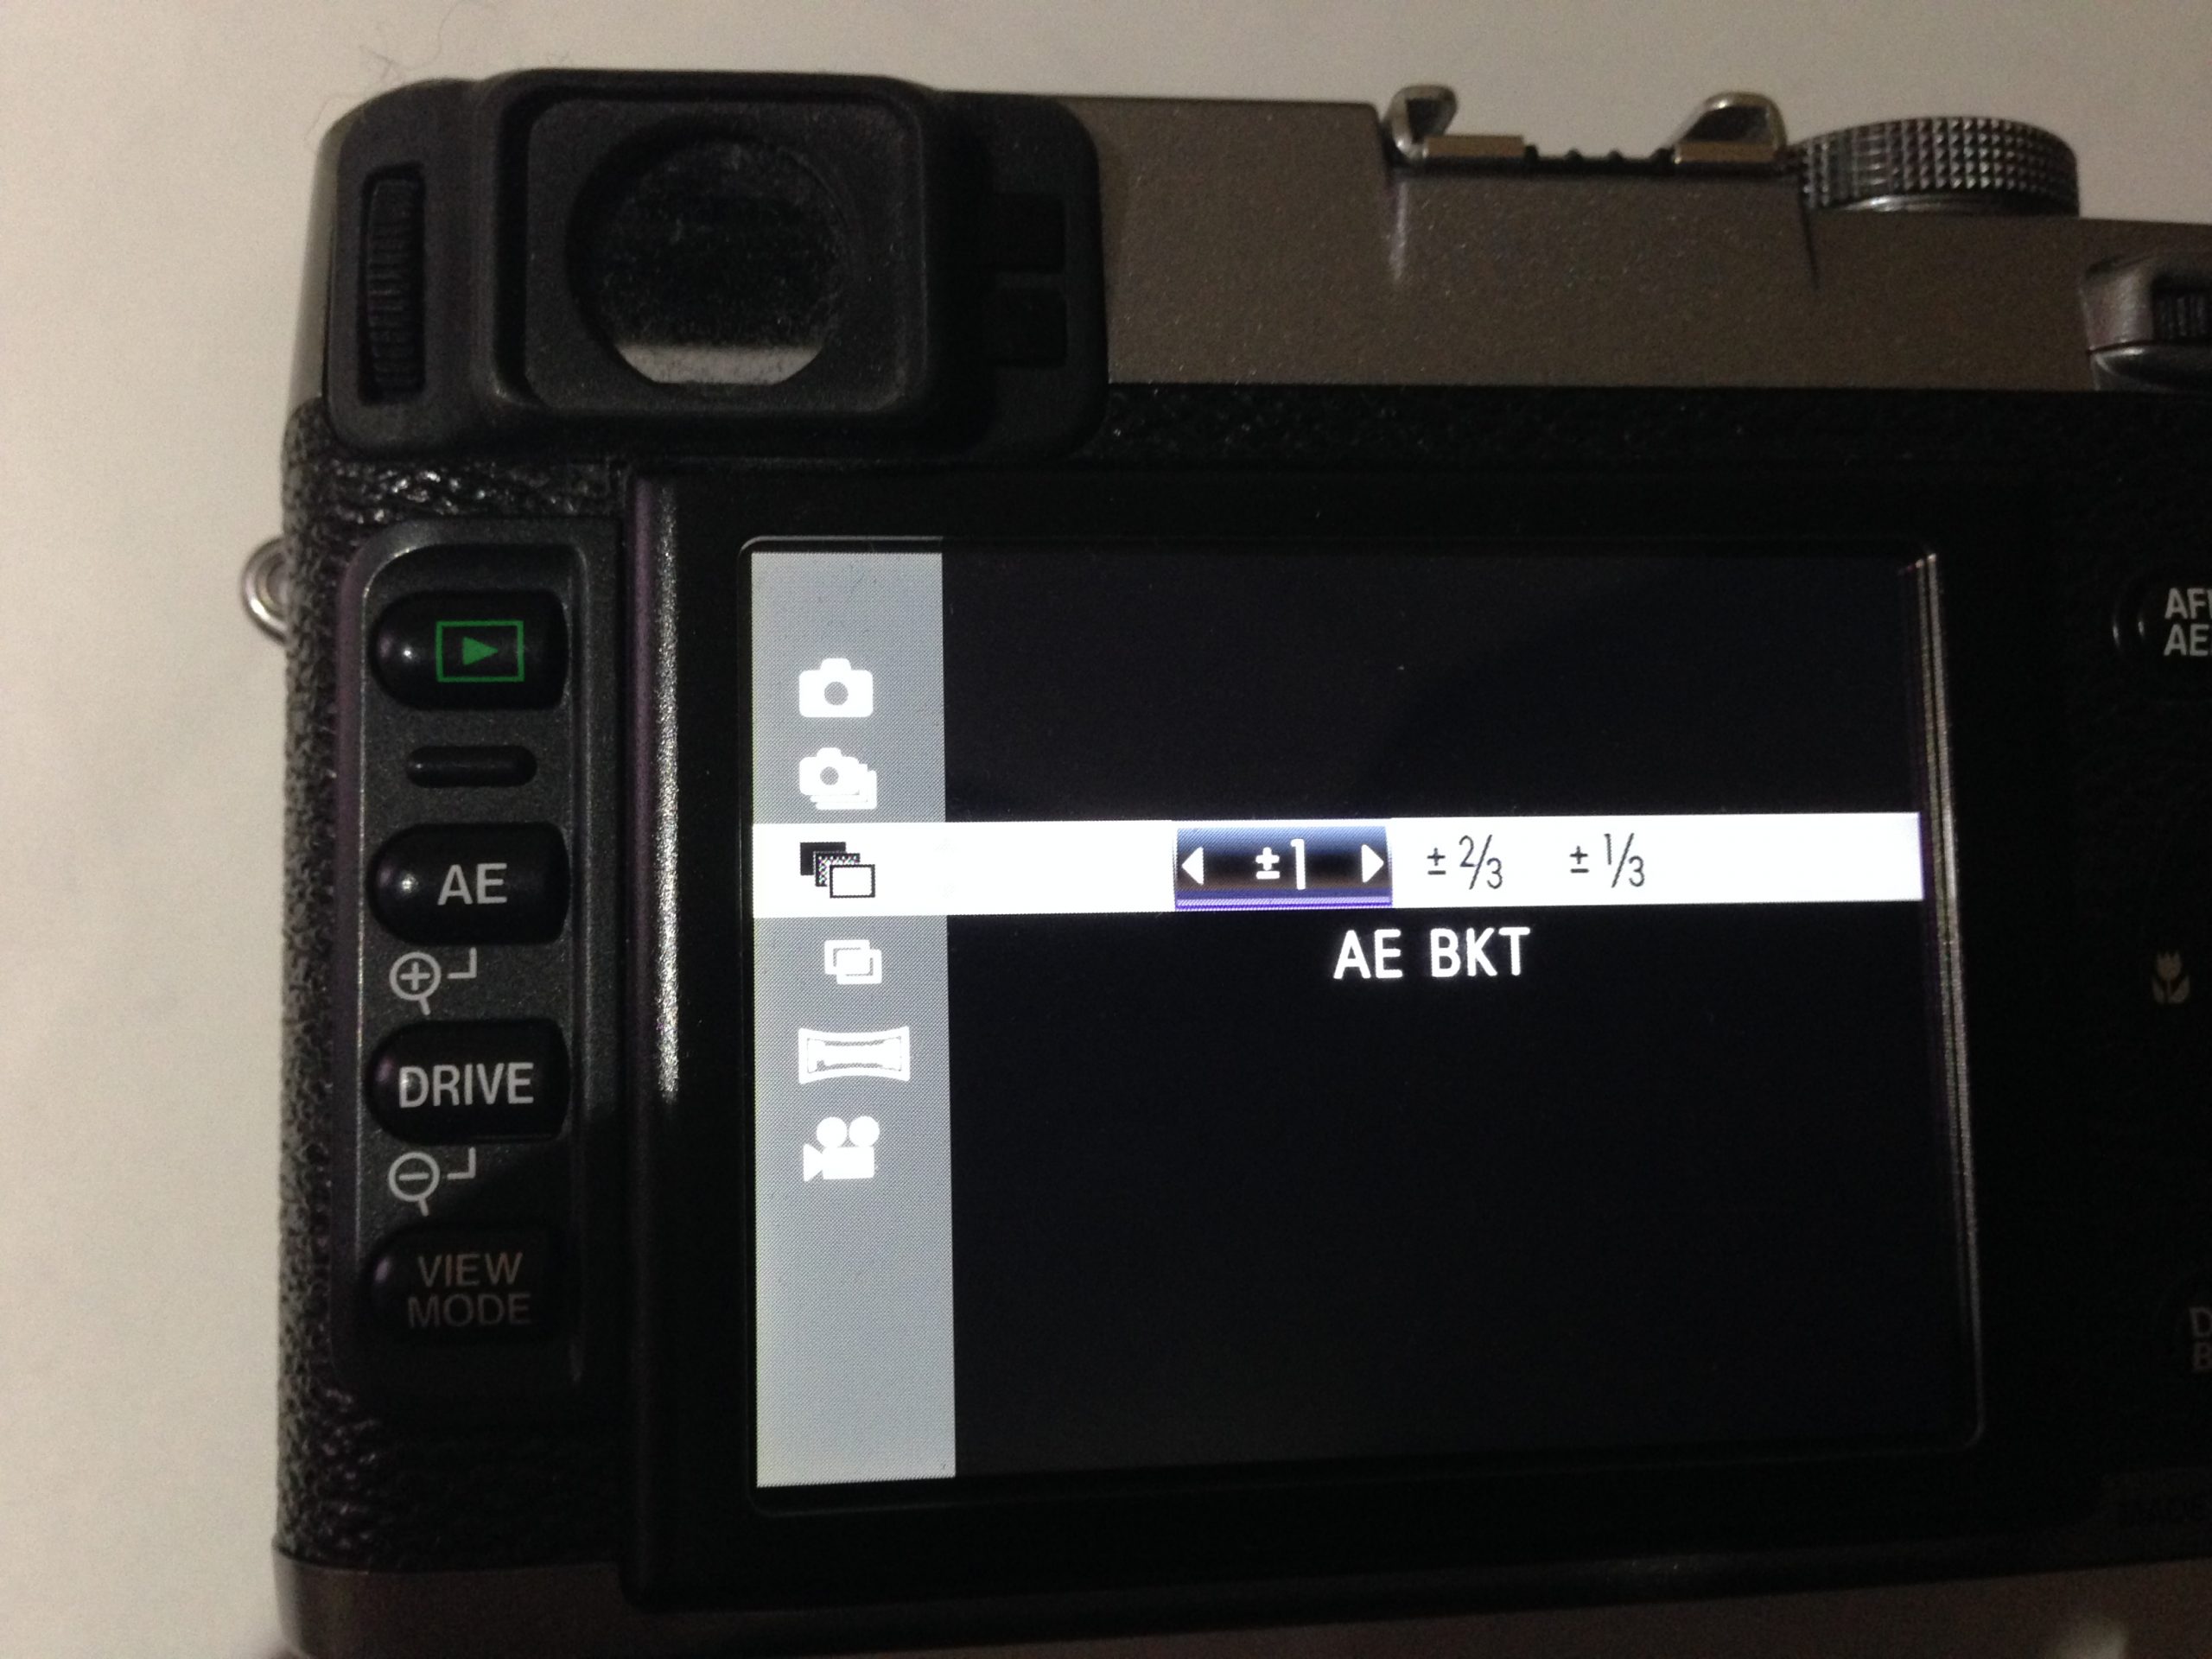
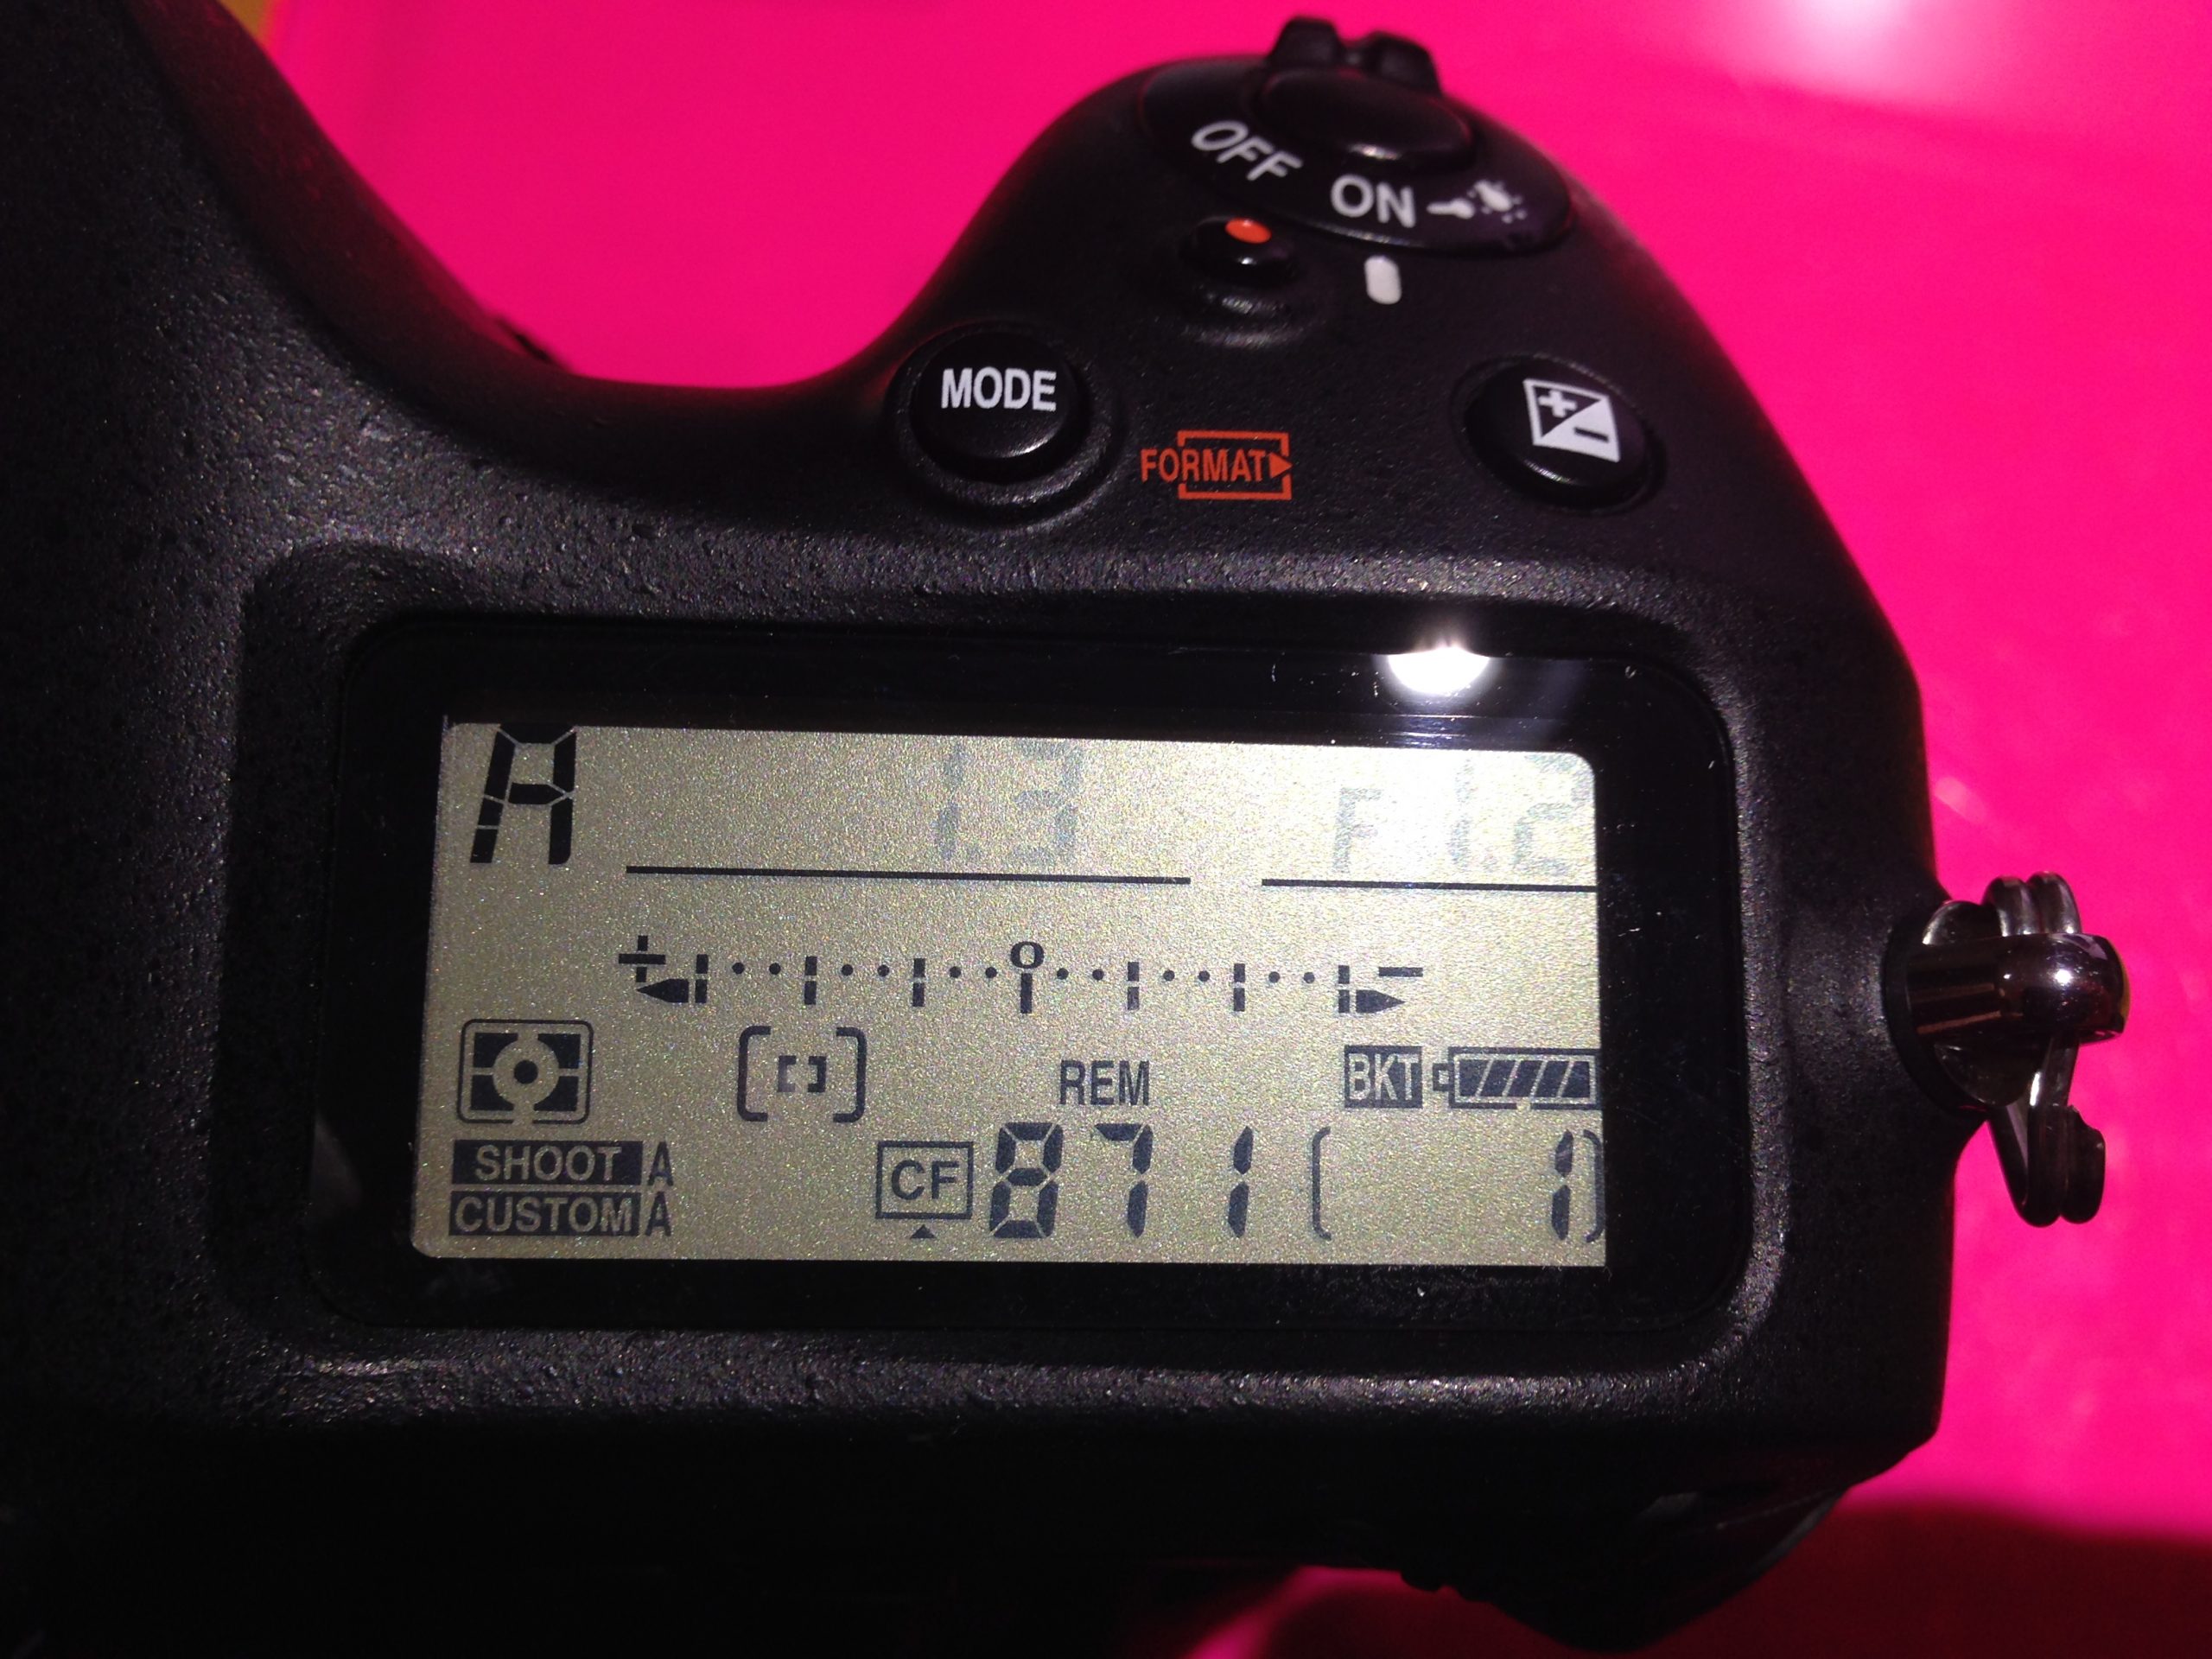
If you click the Drive button, you can select the AE bracket icon, and you can select from three different options – whether to have the exposures 1.0, 2/3, or 1/3 stop apart. This is similar to the tick marks along the exposure line on the Nikon DSLR setup. I set my exposure brackets to be 1.0 stops apart. One of the limitations of the X100 compared to the Nikon in terms of bracketing, is that you are limited to only 3 exposures per shutter release. This makes it more difficult to make a larger set if you are hand-holding, which I do not recommend anytime you are trying to make these!

Bracketing Images

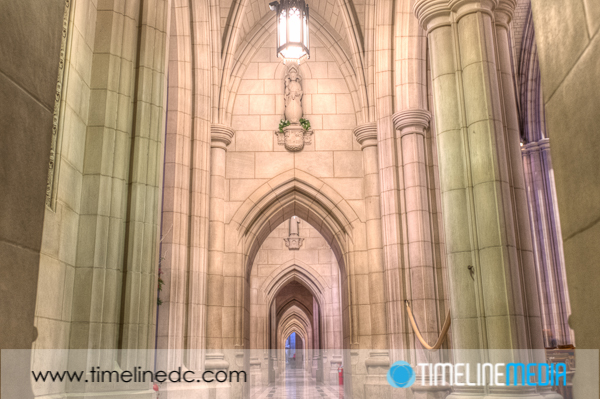
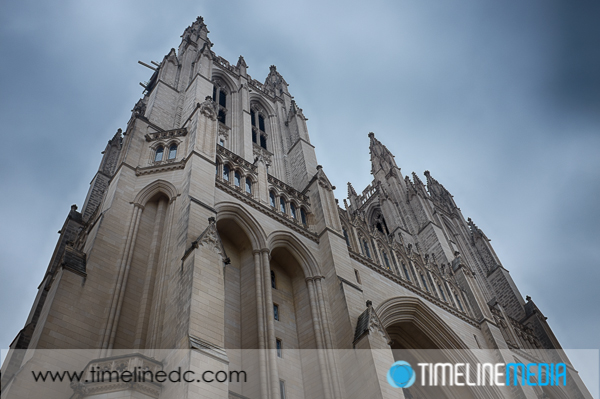
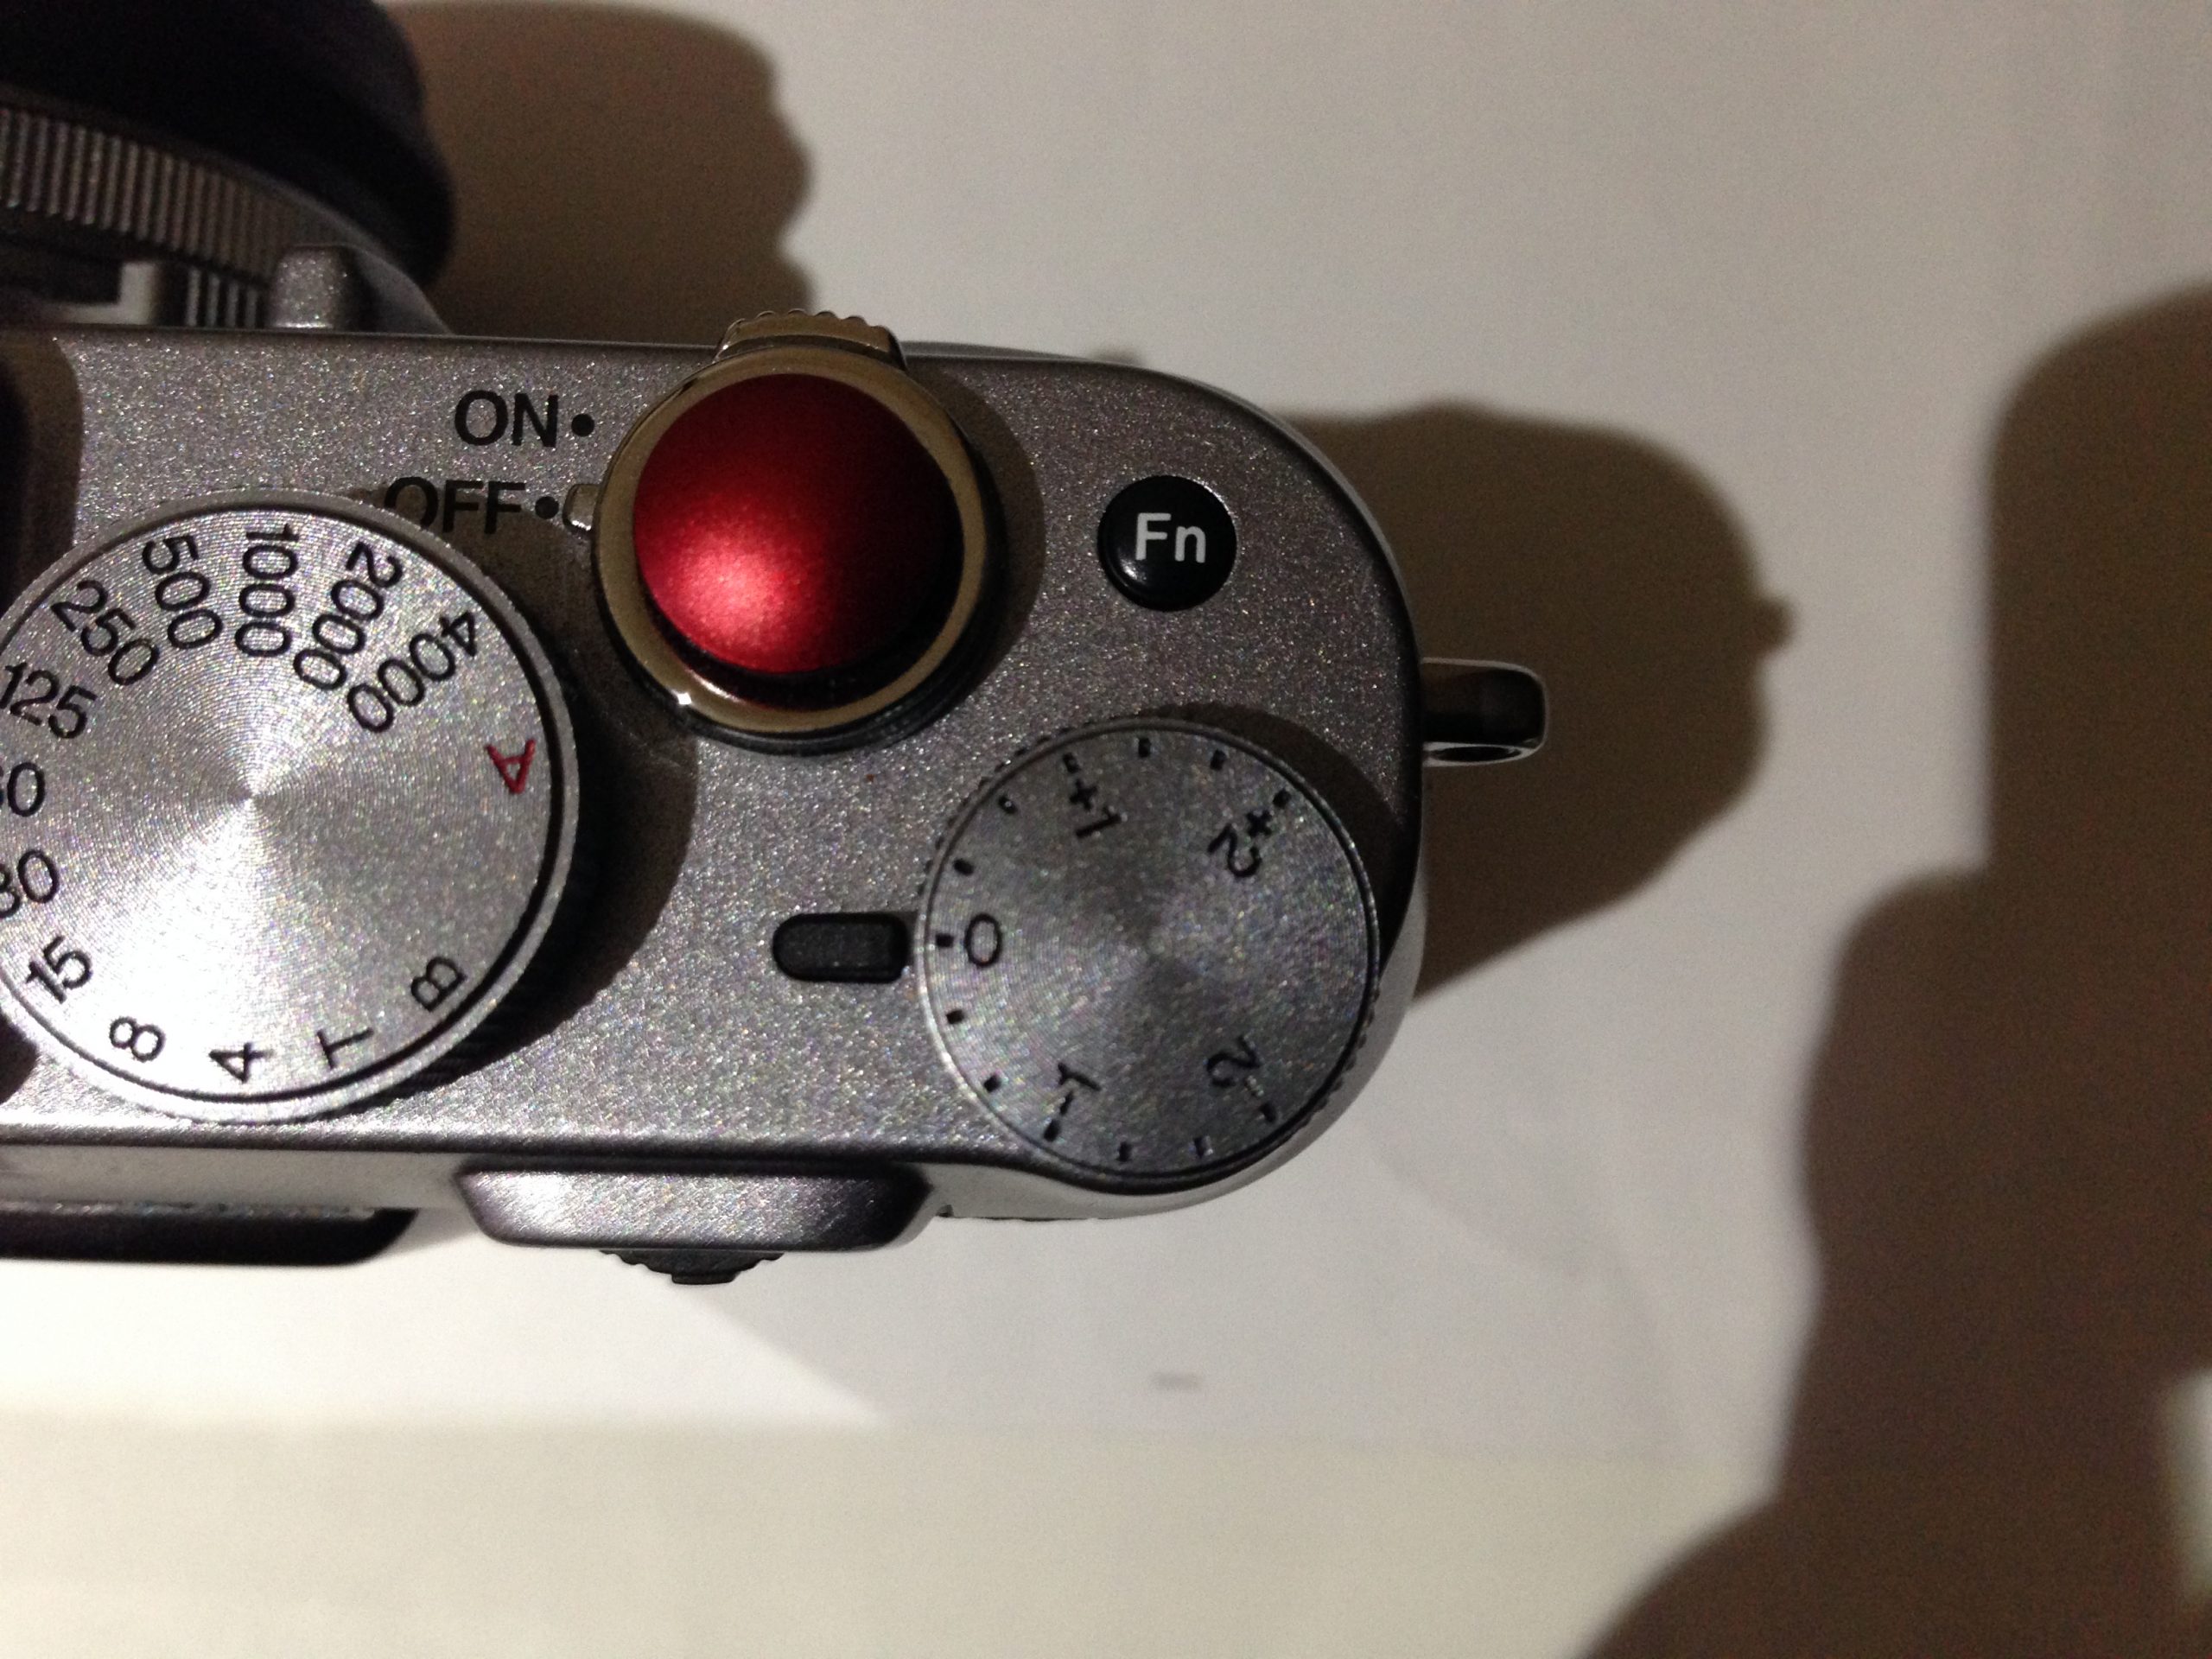
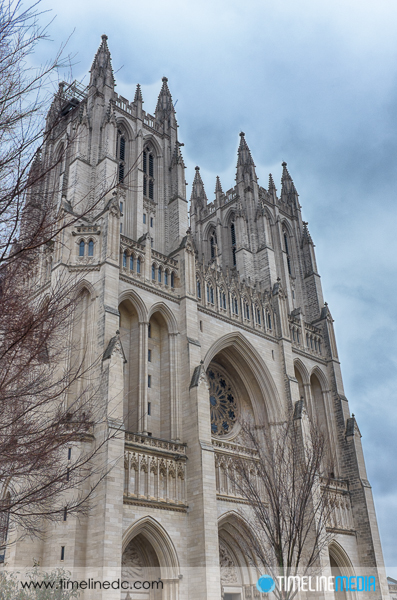
To make more bracket images, I make use of the exposure compensation dial. This button which is easier to use than on DSLRs, allows you to change the exposure up to -2 or +2 around the metered settings in the camera. When on a tripod, you can set the X100s to make bracketed exposures, then set the camera to -2 with the exposure compensation dial. Then make the 3 exposures around +2, and finally, turn off the bracketed exposures to just a single exposure mode. Move the dial back to 0, and take the metered exposure. This should give you a set of 7 exposures of the same scene all 1 stop apart. It is a lot more complicated to do so, but it will get the job done quickly even with this small camera! Here are some examples from a walk around the National Cathedral in Washington, DC.

HDR - National Cathedral - ©TimeLine Media
HDR – National Cathedral – ©TimeLine Media
HDR - National Cathedral - ©TimeLine Media
HDR – National Cathedral – ©TimeLine Media

TimeLine Media – www.timelinedc.com
703-864-8208

DC Dance Challenge photos expiring soon

Washington DC ballroom dance - ©TimeLine Media

Just a quick post today! There is one public event that is expiring early in February. At this time the photos from the 2013 DC Dance Challenge will expire on Monday February 10, 2014. I will send out an email blast to the mailing list to let everyone know on there when they are about to be removed, but I wanted to give lots of heads up for this one. I hope all of you have a great weekend!

Click here for the photos from this event at the proofing website- http://proofs.timelinedc.com

All the photos are organized by the man’s number. If you have any trouble finding your photos, please send me an email [ rassi @ timelinedc.com ] or call 703-864-8208.

Dance competition floor at the Ronald Reagan Building ©TimeLine Media
Dancing with Friends studio at a competition in Washington DC - ©TimeLine Media
Dancing with Friends studio at a competition in Washington DC – ©TimeLine Media

Overall, we want to thank Jennifer and Fabio Bonini for inviting us to their event. On this occasion, the full dance floor made the job of finding dancers throughout the event very easy! We are also selecting photos for the top student awards. Stay tuned for updates!

pro am dancers ©TimeLine Media
Washington DC ballroom dance event – ©TimeLine Media
Pro-Am dancers at the DC Dance Challenge competition- ©TimeLine Media
Pro-Am dancers at the DC Dance Challenge competition- ©TimeLine Media 

TimeLine Media – www.timelinedc.com
703-864-8208

Tools for Bracketing Exposures – Part 2 – Tech Thursday

HDR photos of National Cathedral, Washington, DC - ©TimeLine Media

In the menus for Nikon cameras that have a bracketing feature. With this feature you can specify the order that the bracketed exposures are created. In this menu, it shows that the exposures start from underexposed frames first. Then the metered exposure (MTR), and finally the overexposed frames.

Bracketing Setup

Nikon bracketing setup
Nikon bracket setup

After that is all setup, go back and put your camera in Aperture priority. In this semi-automated mode, you can ensure that the aperture will not change as you make the bracketed exposures. The camera will then change the exposures from under to over. It does this changing the shutter speed after each time the shutter is fired. You can tell that your camera is set to make bracketed exposures by the tick marks along the exposure scale. This is an important indicator as you may setup your camera to make bracketed exposures, then forget, then wonder why your camera seems to have gone crazy with all these strange settings.

Nikon LCD screen setup for bracketing - ©TimeLine Media
Nikon LCD screen setup for bracketing – ©TimeLine Media

Camera Setup

Once you have the camera setup for bracketing exposures, change the motor drive mode for the camera to the highest frame rate that is can shoot. On some cameras like this D4, you will be able to shoot a bracket of photos very quickly! In this case, if you have the bracket setup as above going from the underexposed to the overexposed frames, you will be able to hear the shutter slow as you go through the series. It is an especially nice audible check to know that the bracket was setup directly. Having a shutter release remote like the MC-30 for Nikon DSLRs will take your hands off of the camera body making the exposure even sharper by avoiding the camera shake from pressing the shutter button.

Nikon MC-30 remote shutter release
Nikon remote connection to DSLR

Just click and hold the big button on top until you hear the camera make all of the exposure that you had setup. In this case, it was setup to make 9 exposures, so I just held it down until it was done. Very easy! Now you will have all the exposures you need, that are easily brought into your favorite HDR program for processing.

HDR photos of National Cathedral, Washington, DC - ©TimeLine Media
HDR photos of National Cathedral, Washington, DC – ©TimeLine Media

TimeLine Media – www.timelinedc.com
703-864-8208

1 5 6 7 8 9 23