Posts Tagged ‘technology’

Hard Drives – Tech Thursday

I have been pursuing a good strategy for storage backup for close to 20 years. In college, I started to feel the need to have multiple copies of my work across different floppy discs. Luck has been on my side when it comes to disc storage. I have not had many major crashes where I have lost irreplaceable files.

Data Backup

However, I have had hard drives fail, but have been lucky to have data at another place whether it be a disc, or another drive. Since then, I have tried everything – Iomega Zip drives, Jaz drives, burned CDs, burned DVDs, and external hard drives. Some have been connected by serial port, USB 1.0, 2.0, and 3.0, Firewire, and eSATA connections. I have tried almost everything out there, but I think I have finally settled on a method that I will use for a foreseeable future.

Backing up everything to burnable CDs or DVDs has proven to be difficult to store physically. The amount of data that you can generate with the newest DSLRs makes storing discs problematic – stacked discs can be warped from long-term storage, and differences in quality of discs makes longevity of their data integrity somewhat questionable. Some discs that burned 3 years ago are no longer readable! So I have turned to duplicate hard drives for my main backups. Two identical Seagate GoFlex desktop drives connected by USB 3.0.

Hard Drives for Backups

Seagate GoFlex, www.timelinedc.com

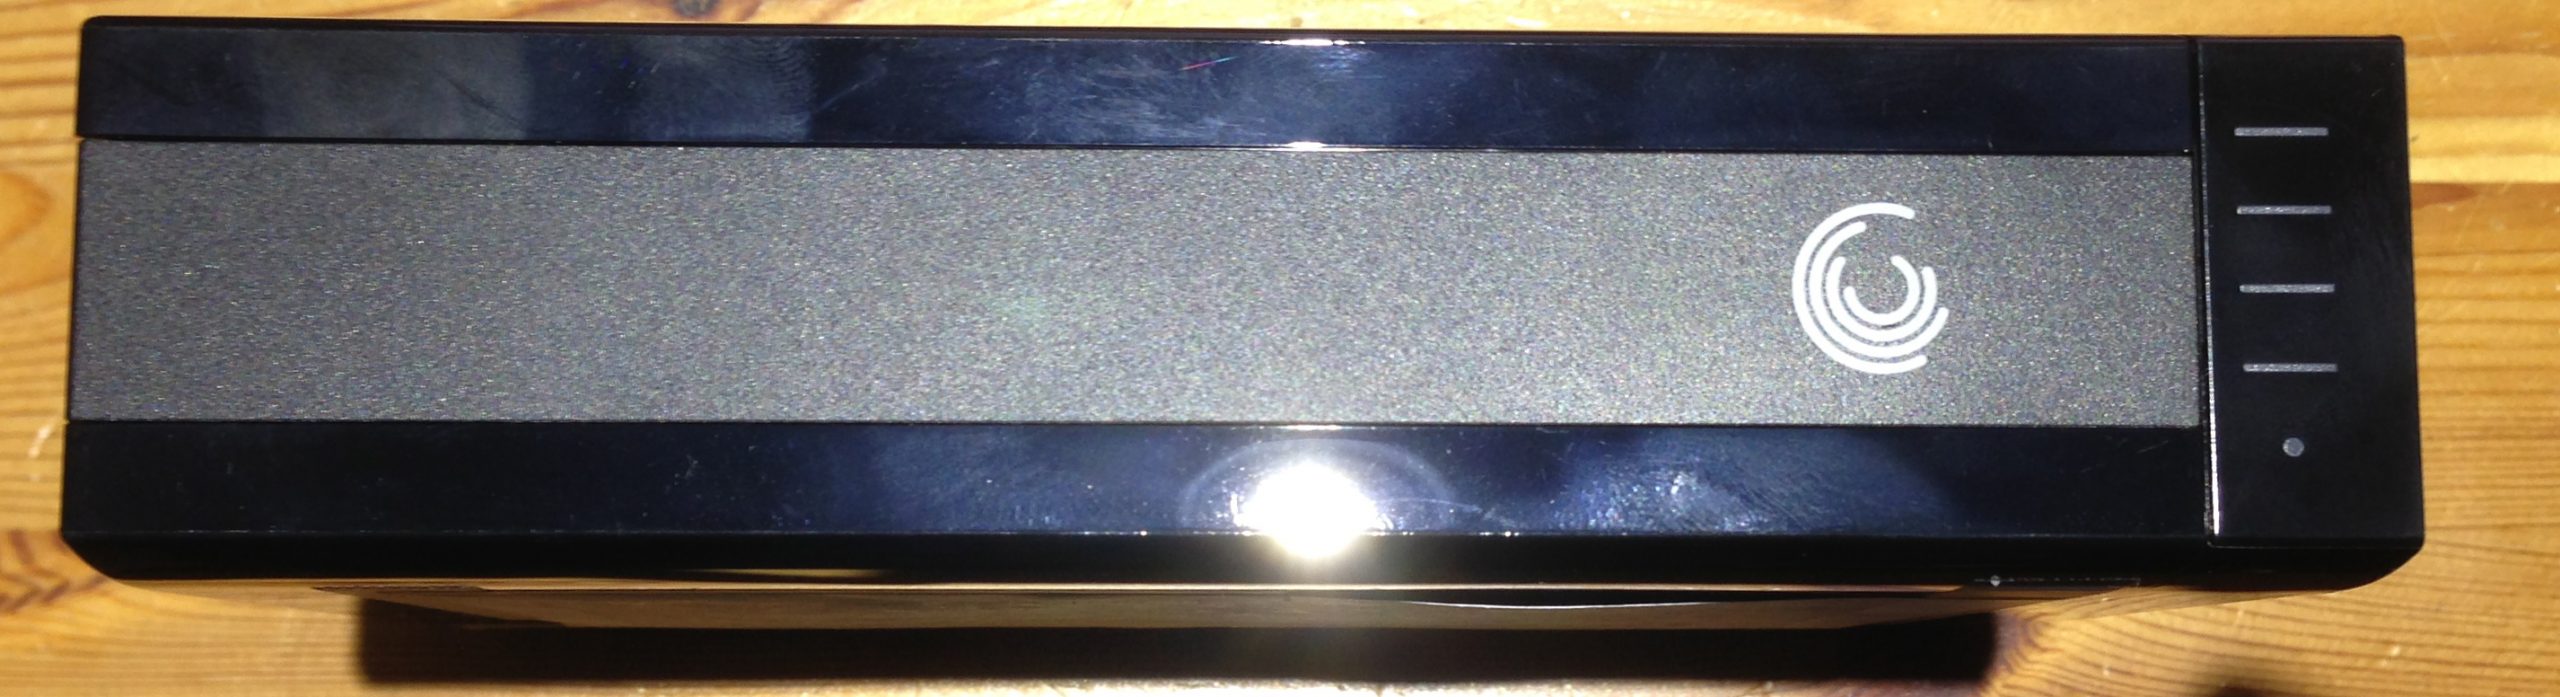
This quick connection allows for a fast transfer for gigabytes worth of RAW files. One of the mirrored drives is stored at home, the other at another location in case something catastrophic happens in the studio. The Seagate system also has a nice feature in that the interface between the drive and the cable can be separated from the drive. This makes switching between drives very easy!

So, when one drive if full, you do not have to remove the connector/cable assembly, just pop the drive off the top, and replace it. This makes moving drives between computers at separate locations quite easy. With the prices of hard drives going down, and storage going up, this seems to make the most sense for my needs. With the connector also separate, there is the possibility that if a new connection to the computer is created, Seagate will make an adapter that can work with this series of drives. Connectors already exist for eSATA and Thunderbolt connections.

Seagate GoFlex, www.timelinedc.com

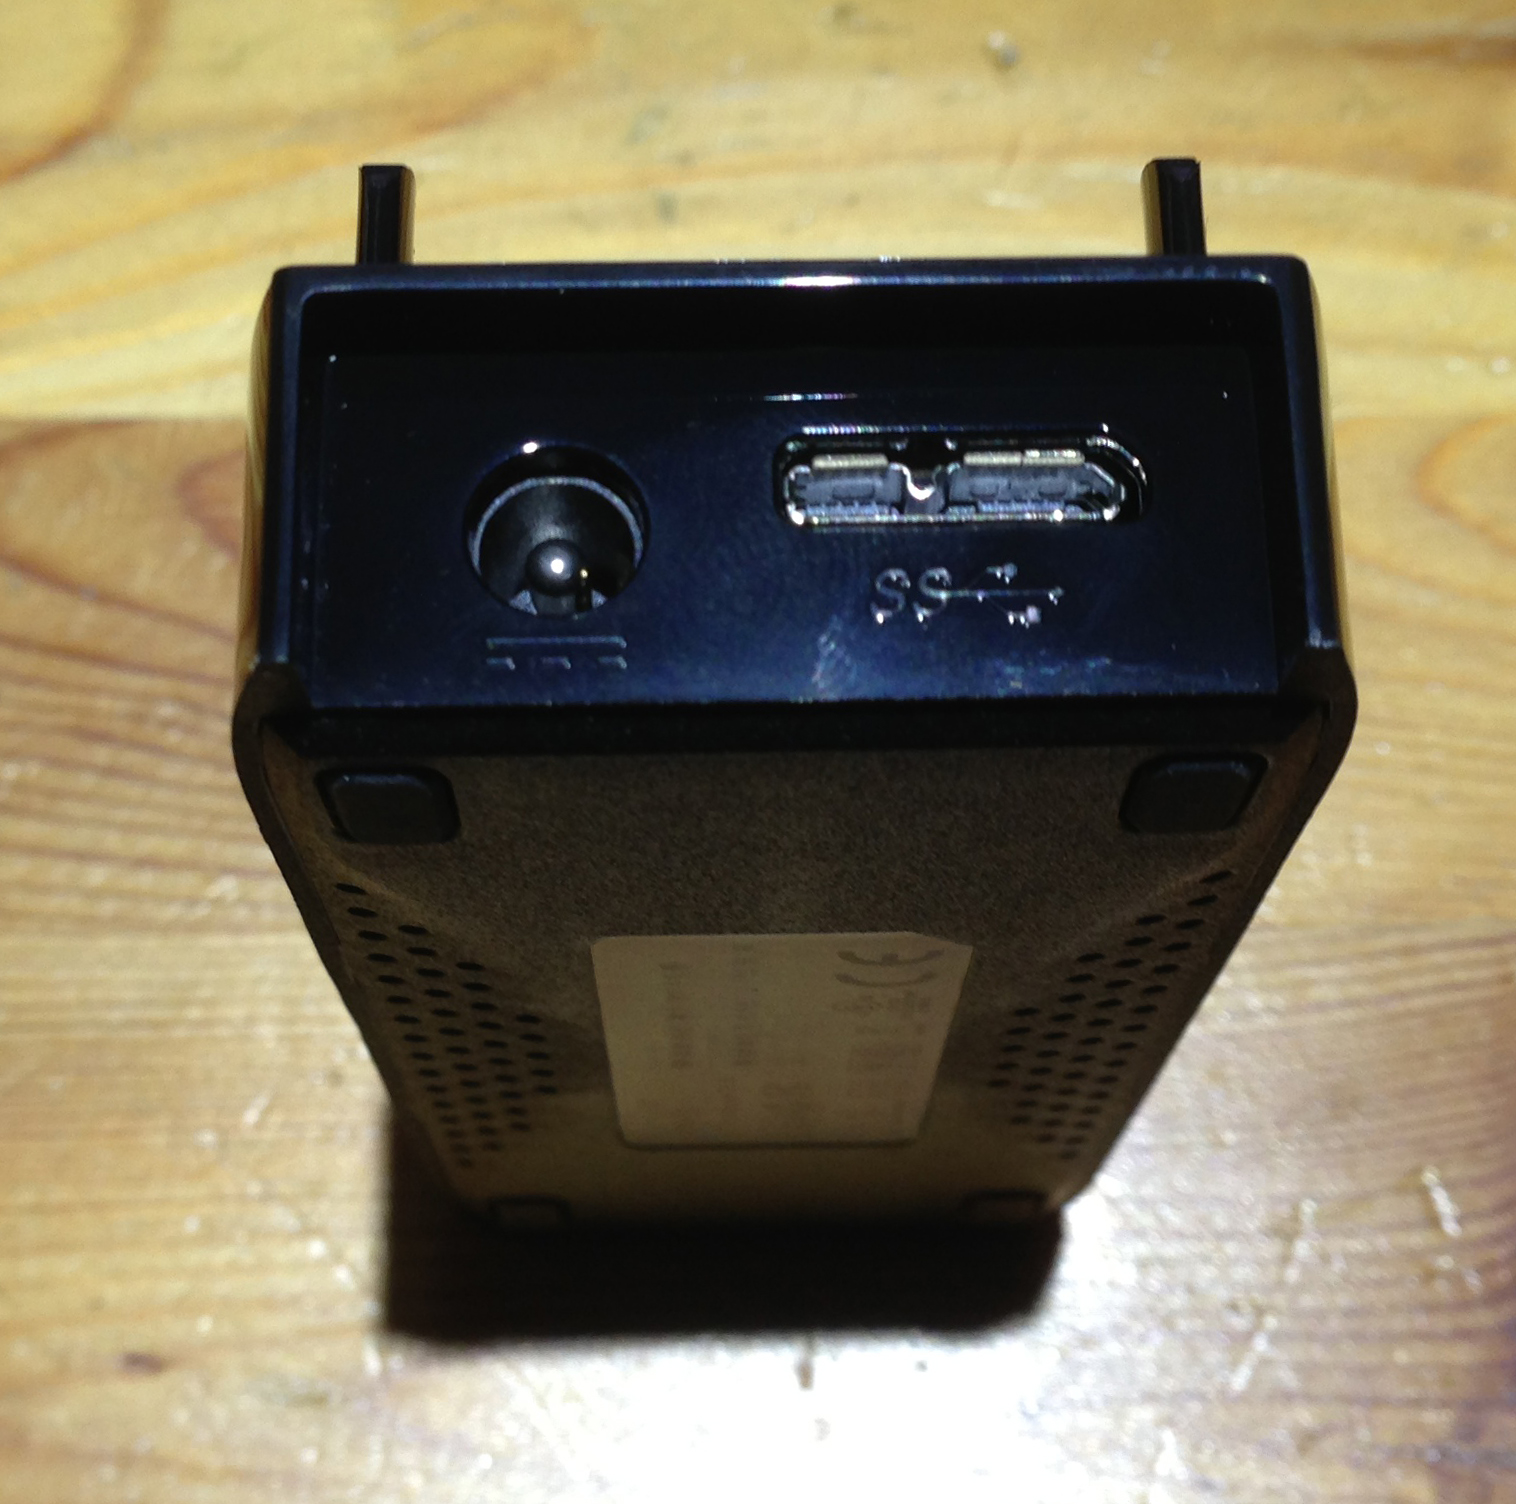
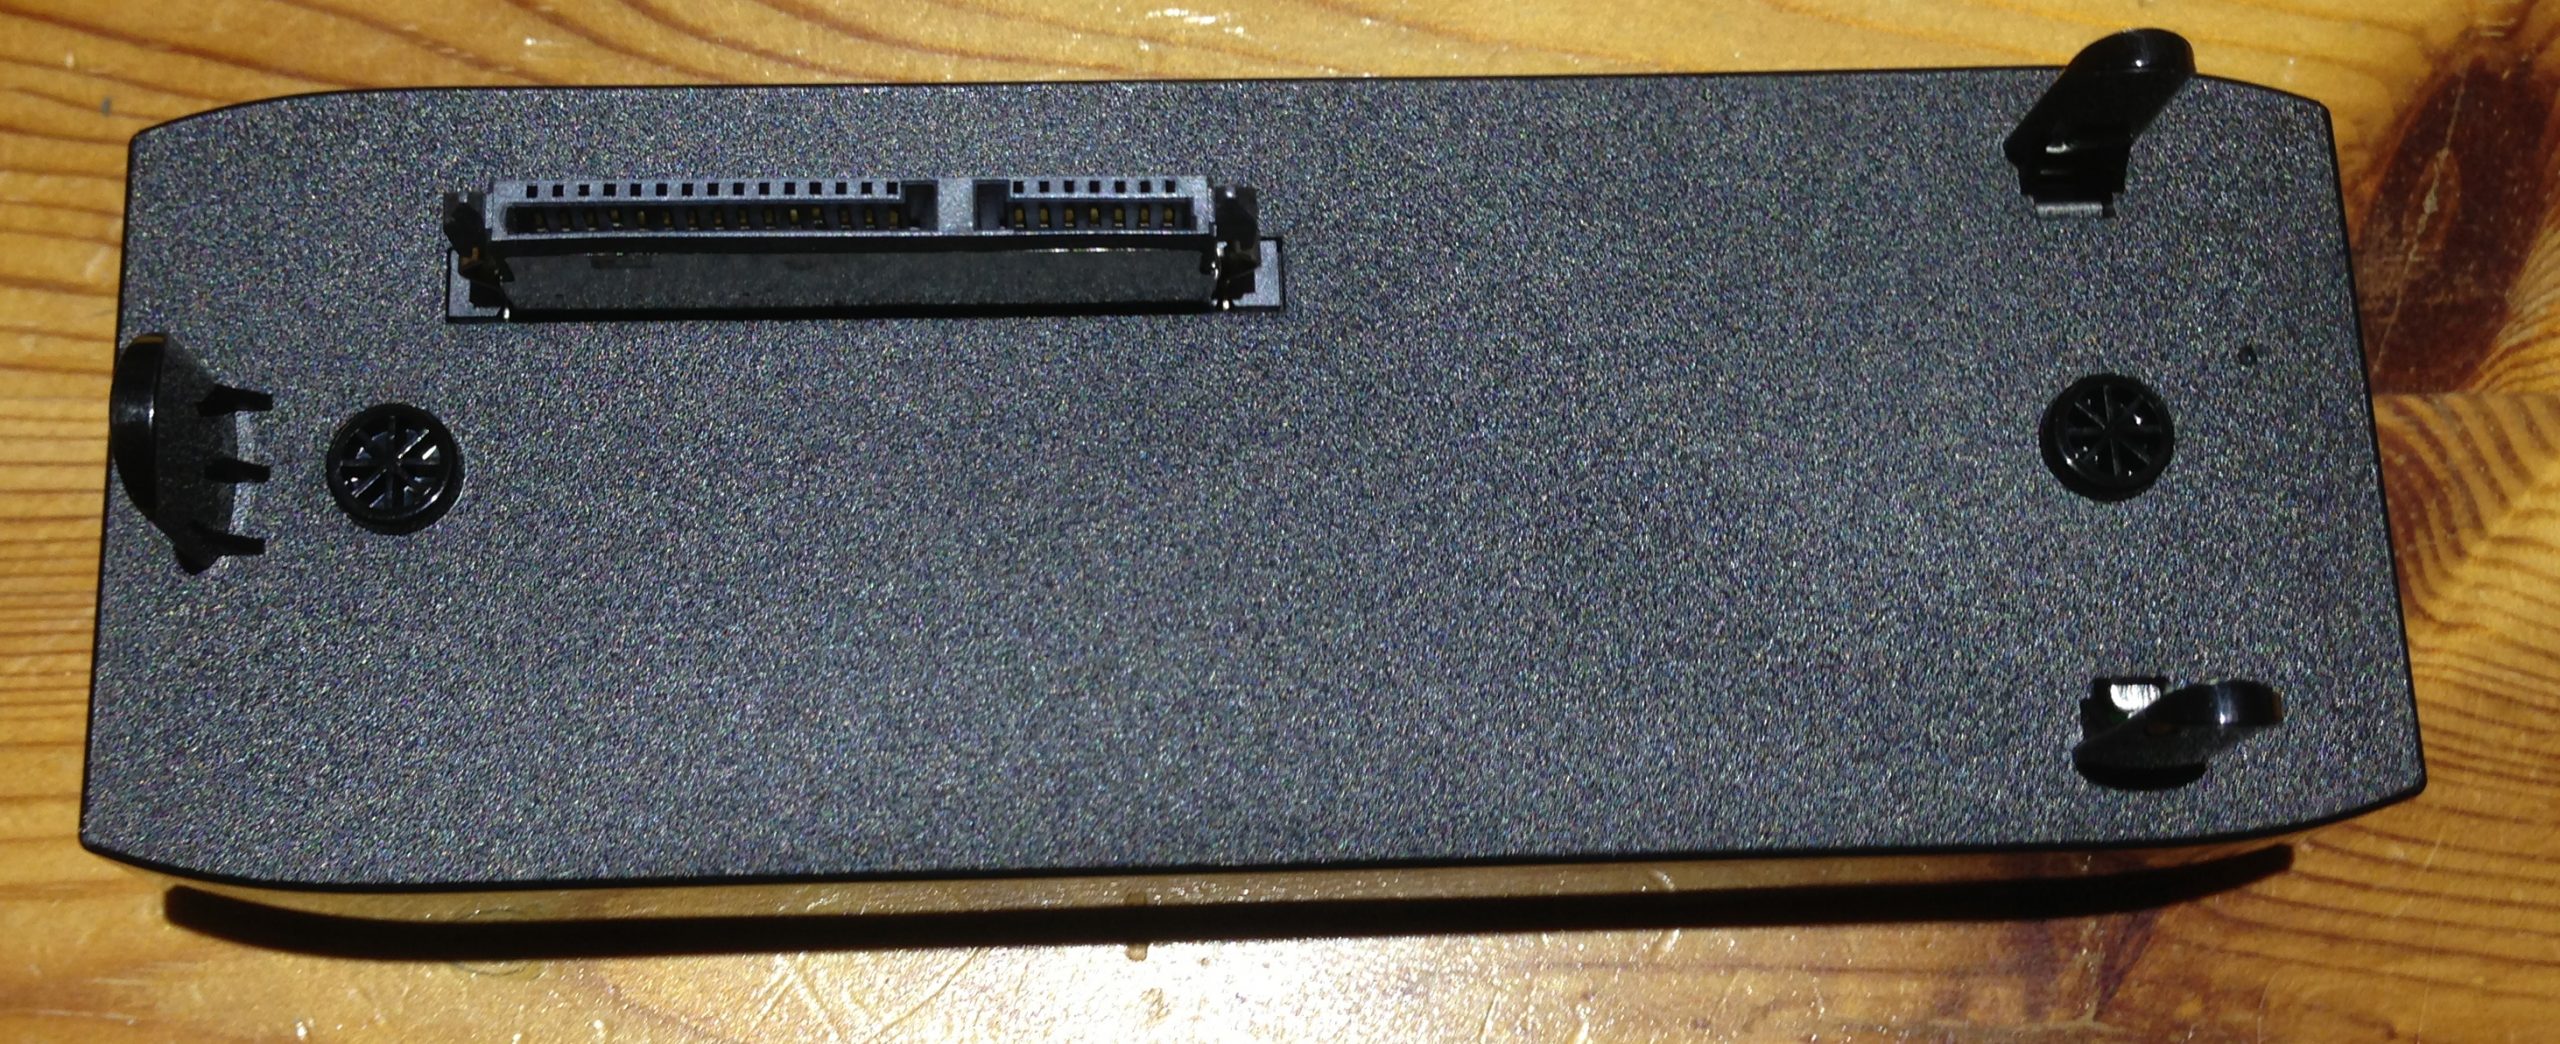
USB 3.0 connection on Seagate GoFlex Desk Adapter

TimeLine Media – www.timelinedc.com
703-864-8208

Photo editing monitor – Tech Thursday

My computer monitors are very durable! Through many moves, upgrades, and changes in operating systems, I have only use 2 monitors since starting my photography career. Last year, I upgraded from a CRT monitor to an LCD monitor, I needed on that would have the specifications to keep pace with CRT monitors for editing photos. I decided to get a refurbished IPS monitor direct from HP – the HP LP2480zx.

Editing Display

There are monitors for every budget, but like with cameras, I know that you can pay for performance. This is on the higher end for monitors, but they had a refurbished model at a discount.  For photographers, this is important as having a monitor that can give you consistent color and brightness. It is important to ensure that how you view your photos on your monitor matches what your clients will receive on their prints. The monitor is a generous 24-inch widescreen that gives me plenty of room for panels for Lightroom, my main photo editing program:

HP LP2480zx monitor, www.timelinedc.com
Copyright TimeLine Media

This view is of the Print Module in Adobe Lightroom – I am making a collage for a blog post tomorrow. There is plenty of room to have the Lightroom Library at the bottom of the screen with plenty of room to go through the presets for prints on the left, and editing the templates with the options on the right.

Monitor Calibration

Along with the photo editing monitor, it is also important to have a monitor calibrator. Unfortunately, you cannot control how your photography is viewed online at all of your client’s workstations. You can, however, use a calibrator to ensure your monitor is profiled to be accurate locally and with printers your send files to whether they are your own, or at an outside lab. I use a discontinued product from X-rite, i1 Display 2. This calibrator scans your monitor, and the lighting surrounding your monitor, and creates a profile specific for your setup.

I have used this for over 5 years and get prints from the lab that match my Lightroom adjustments exactly for color, contrast, and brightness. It does add a step to your workflow, but I have not had any issues with having to reprint photos for color. This has saved me lots of money in reprint costs which could range from a few dollars for small prints, to hundreds of dollars for magazine-style albums! Calibrating your monitor will give you piece of mind when hitting the “Order Now” button. If you have any comments or suggestions on your color and editing workflow, let me know!

X-rite i1 Display LT, www.timelinedc.com
Copyright TimeLine Media

TimeLine Media – www.timelinedc.com
703-864-8208

Nikon 70-200mm F/2.8 – Tech Thursday

Photo with Nikon 70-200mm, www.timelinedc.com
Flower bed photographed with the Nikon 70-200mm F/2.8 lens

This Nikon 70-200mm lens is the first professional lens I had the opportunity to purchase. The above photo is the first I took with it right out of the box. Just a simple shot of the front bed of mums. Truth be told, my mom helped me out with the payment – but I have made good use of the investment.

Professional Gear

The 70-200mm is the most versatile lens in my bag. I have used it on almost every assignment from ballroom dance, to weddings, sports, and portraits. When I first started using the lens, it seemed like it instantly transported my photography to the next level. This was different from other “new” lenses because of two factors. The first is the focal length – starting at 70 and going to 200 means that you cannot take a shot that is too wide.

Photo with Nikon 70-200mm, www.timelinedc.com

Anything you are trying to photograph with this lens has to be a good distance from the camera, and many distractions will be eliminated from the frame. Both of these factors already change how you think about composition, making it simpler than if you had a wider angle lens on your camera. With an isolated subject, now you only need to think about placement of your main subject, and maybe something at the edges that would give some context.

Portraits

Photo with Nikon 70-200mm, www.timelinedc.com

All camera manufacturers make a variant of this lens, so this information is not exclusive to Nikon. The other technical specification of this lens that helps your photography is it’s constant f/2.8 maximum aperture across all focal lengths. There are kit lenses that are sold with cameras that have longer focal lengths, but their max apertures vary getting smaller as the lenses is zoomed out to it longest focal length. Having f/2.8 allows me to photo at lower ISO settings in low light situations like conference rooms, and dance studios.

Photo with Nikon 70-200mm, www.timelinedc.com

For shooting any field sports, the 70-200mm lens would be a minimum for catching action on the field. It was often too short to catch game action for me without extreme cropping. On the practice field or warm ups before the game, however, it was still able to work its magic. 

TimeLine Media – www.timelinedc.com
703-864-8208

1 12 13 14 15 16